2
Image Drums
Black..................OKI #41514708
Cyan ..................OKI #41514707
Magenta .............OKI #41514706
Yellow................OKI #41514705
Fusers
120 V .................OKI #41531401
230 V .................OKI #41531403
Order Numbers
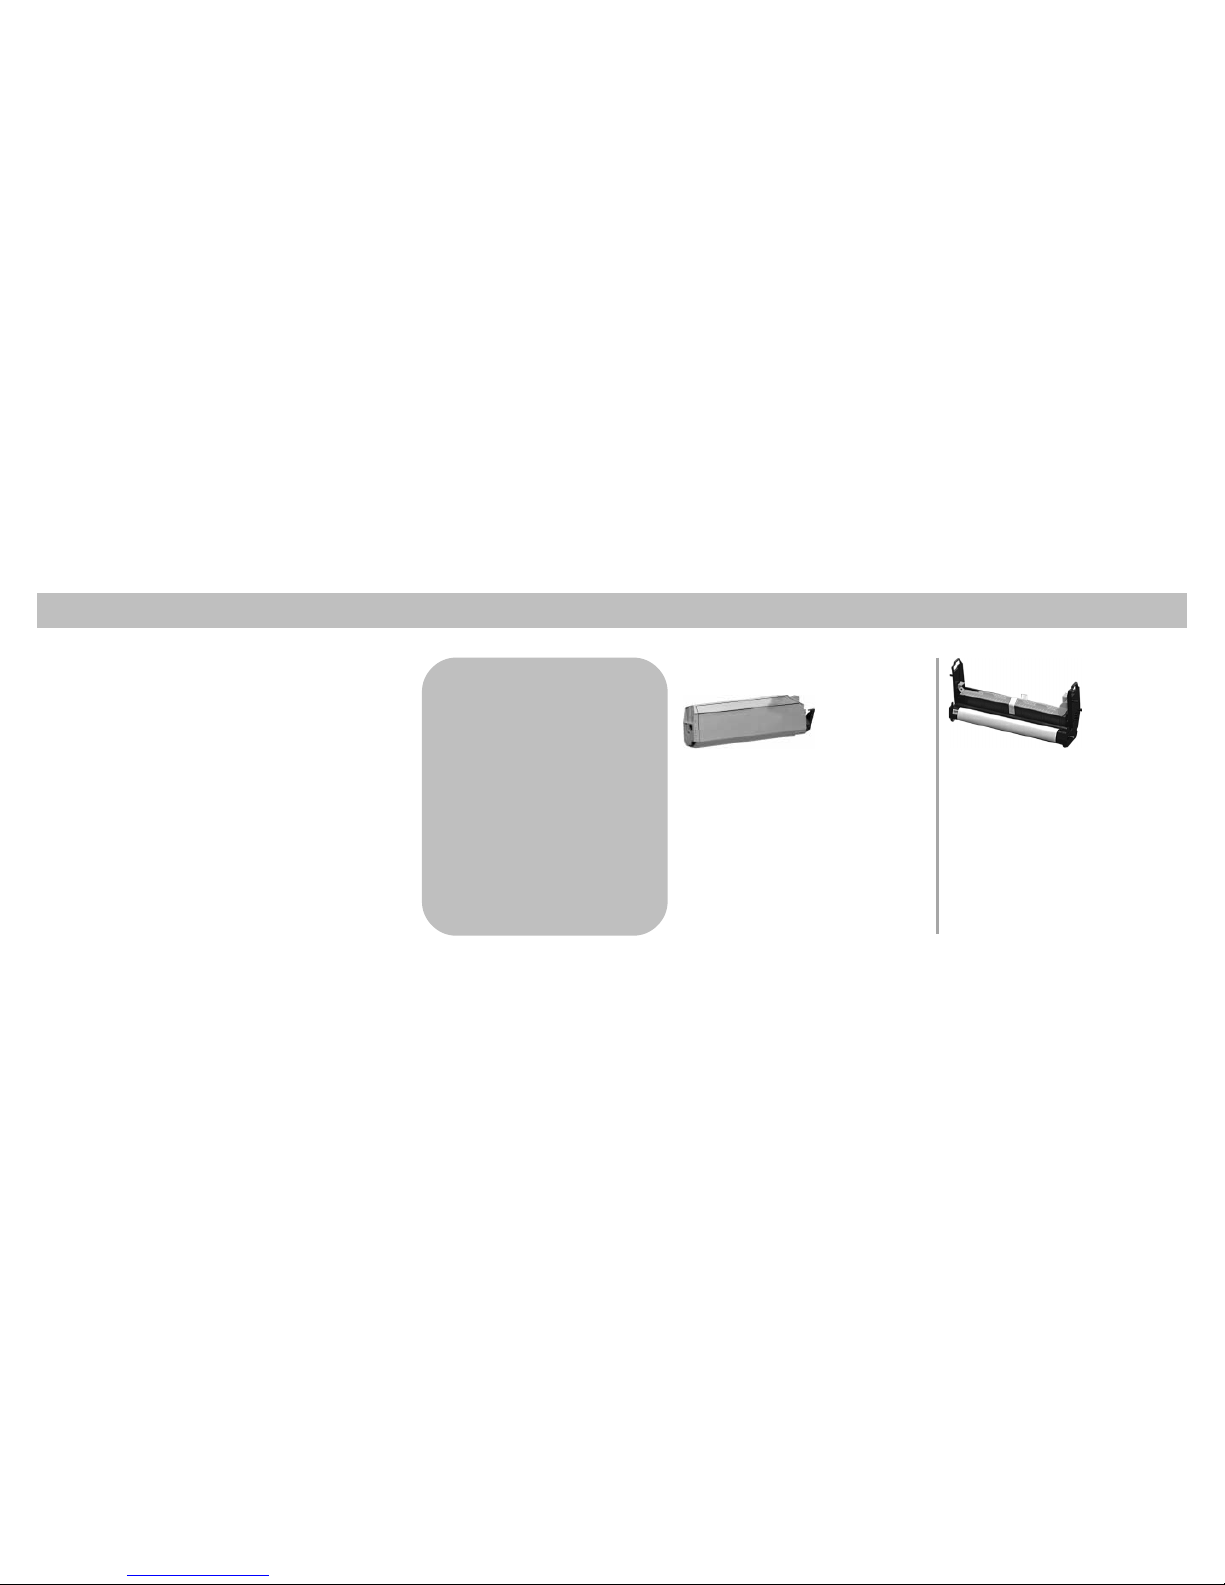
Toner Cartridges
Black..................OKI #41515208
Cyan ..................OKI #41515207
Magenta .............OKI #41515206
Yellow................OKI #41515205
Transfer Belt
Transfer Belt......OKI #41531501
Ordering Replacement Supplies
How to Order
• Consult the dealer where you purchased your printer.
• Consult an Oki Data Authorized Sales or Service
Dealer. (Call 1-800-OKI-DATA [1-800-654-3282] for
the nearest Authorized Sales and Service location.
Have your ZIP code ready.)
•U.S., Puerto Rico, Guam, and U.S. Virgin Islands only:
Order on the Internet http://www.okidata.com.
•U.S. only: Order toll-free at 1-800-OKI-DATA, using
VISA®, MasterCard®or American Express®. $10.00
minimum purchase required.
• Check office supply catalogs or your local stationery
store. Most carry OKI brand supplies.
Take Advantage of
OKI’s Supply Manager
Don’t run out of supplies again!
• Calculates your usage based on
information you provide.
• Sends you an email reminder
when it’s time to reorder.
As easy as 1-2-3:
1. Go to http://www.okidata.com.
2. Click Buy Online.
3. Click the Supply Manager icon
and register directly on line!