manuals.online logo
Brands
  1. Home
  2. •
  3. Brands
  4. •
  5. Optex
  6. •
  7. Security Sensor
  8. •
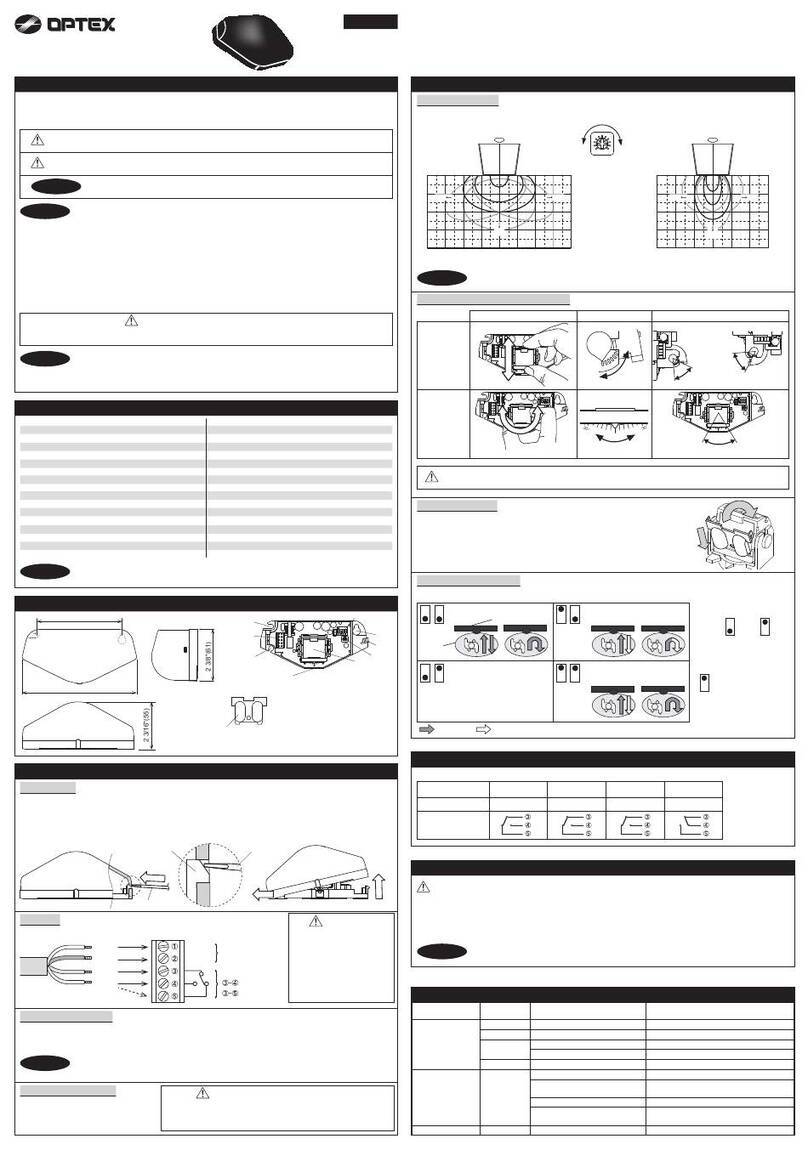
  9. Optex FitLink User manual

Optex FitLink User manual

1
3
2
2’7” to 3’11”
(0.8 to 1.2m)
Parallel
It’s extremely important to stay
within recommend heights of
2ft.,7in. to 3ft.,11in. to prevent
missed and unwanted alarms.
MOUNTING HEIGHT
FitLink QUICK REFERENCE GUIDE
DETECTION RANGE
MOUNTING POSITION
Make sure to adjust detection range to
best fit application.
16.4' (5m) or 6.6' (2m)
Make sure to keep detector vertical and
level to the ground. When mounting
detector, do not tilt, turn upside down, or
mount horizontal. Detector should alway be
mounted vertical for best operation.
4FINAL TESTING
Make sure to insert battery to power
detector and perform Walk Test.
After unit has been installed and
programmed, make sure to walk test and
confirm detector is performing affectively.
Once confirmed be sure to flip dip switch #1
from TEST (factory setting) to NORMAL.
TEST:
Regardless of DIP switch 4 (LED) and DIP
switch 2 (BATTERY SAVING MODE)
settings, LED will illuminate and detector will
trigger every time.
This is used for Walk Test ONLY.
NORMAL:
The LED lights depending on the DIP switch
4 (LED) setting and DIP switch 2 (BATTERY
SAVING MODE) setting is active.
Horizontal Upside DownTilt
If 6.6’ (2m) is required, rotate the
lower lens 180 degrees.
Do not remove the upper lens.
Note>>
16.4ft. (5m) detection length (Factory default)
6.6ft. (2m) detection length
3.3
3.9
(ft)
2.6
3.30 6.6 9.8 13 16.4
(ft)
3.3
3.9
(ft)
2.6
0 6.6 9.8 13 16.4
(ft)
Side view
Side view
ON
1 2 3 4 5 6
TEST
NORM
Not detected
Detected
PROGRAMMING GUIDE
Front Porch;
Backyard Carport;
Gate Entrance;
Deck
Crawl Space;
Basement;
Storage Shed;
Garage or
Sliding Glass Door;
Screened in Porch;
Sunroom
Driveway;
Sidewalk;
Public Areas
No
No
No
No
No
Yes
Yes
No
Yes
Yes
Yes
Yes
No
Instant
Alarm
Entry
delay 2
No
No
Instant
Alarm
Entry
delay 2
No
Yes
Yes
Yes
No
Toggle
On or Off
On during
disarm
On during
disarm
Toggle
On or Off
Location Panel
Event Chime
Alarm Output Report to CMS
Disarm Away Stay Alarm Trouble
Set up “FITLINK” according to location as desired. Below are zone configurations for typical location types. For
specific panel types and programming instructions for your specific control panel, refer to installation instructions.
ENROLLING HONEYWELL ENROLLING INTERLOGIX
ENROLLING 2GIG
ENROLLING DSC
1. While in program mode, press *56 to enter Zone
Programming Menu Mode.
2. Select 0 or 1 to determine if you will “confirm” the sensor
after learning it.
3. Enter the zone number that you wish to program (or 00 to
exit zone programming). Press [*] to continue.
4. A summary display appears, press [*] to continue.
5. Enter “Zone Type” according to table found in Installation
Instruction.
6. Enter “Partition No.”
7. Enter “Report codes” according to table.
8. Enter “Input Type” to “3” = RF (supervised RF transmitter).
9. Learn or input transmitters serial number. (To learn
FITLINK, trip the tamper three times.)
10. Change “Loop Number” to 1.
1. Select “Wireless Zone #” (01 to 48).
2. Select “Sensor Type” from following:
(23) No Response Type, (03) Perimeter, (02) Exit/Entry 2
3. Select “Sensor Equipment Code” as “[0000] Other or
[0609] Existing Motion Detector”.
4. Select “Sensor Other Equip code as “[0]” (this menu only
appears if [0000] Other was selected in the previous menu.
5. At the “Sensor Serial Number” menu, press shift, then
press Learn, and then trip detector tamper switch.
6. Select “Equipment Age” as “New”.
7. Select “Loop Number ” as “Loop 1”.
8. Select “Dialer Delay” as “Enabled”.
9. Edit “Voice Descriptor” according to location.
10. Select “Sensor Reports” according to above table.
11. Select “Sensor Supervised” to “Enabled”.
12. Select the desired chime.
1. Put control panel in learn sensor mode.
2. Push tamper switch to enroll FITLINK.
3. Press [*] key to confirm ID.
4. Enter [zone #].
5. Enter [zone type]
6. Enter “Loop Number” 1.
7. Set “Zone Types” and “Zone Attributes”
ENROLLING QOLSYS
1. Enter Settings Menu and select "Installation".
2. Select "Security Sensors" and then select "Auto Learn
Sensor".
3. Trip the tamper to enroll within 2min.
4. Panel will chime and display the sensor's code. Select OK to
confirm.
5. Set "Sensor Type" to "Motion".
6. Set "Sensor Name" to the correct name from the list.
7. Set "Chime Type" to your preferred type.
8. Set “Sensor Group” according to table found in Installation
Instruction.
9. Select "Add New" to complete.
1. Put control panel in learn sensor mode.
2. Push tamper switch to enroll FITLINK.
3. Depending on panel type, select “Sensor Number”,
“Sensor group”, Sensor Name, and/or partition. Refer to your
control panel RF programming guide for specific details.
OPTEX recommendations can be found in the FitLink manual.
4. Press save to save the changes.
For programming technical support: 877-260-5578
For OPTEX support: 800-966-7839
[email protected]
www.optexamerica.com
Other Optex Security Sensor manuals

Optex WXI-R User manual

Optex

Optex WXI-R User manual

Optex WNX-40HW User manual

Optex

Optex WNX-40HW User manual

Optex RXC-DT-X5 User manual

Optex

Optex RXC-DT-X5 User manual

Optex WFX-360HW User manual

Optex

Optex WFX-360HW User manual

Optex Smart Line SL-350 QNR User manual

Optex

Optex Smart Line SL-350 QNR User manual

Optex FTN-RRHW User manual

Optex

Optex FTN-RRHW User manual

Optex DX-40 User manual

Optex

Optex DX-40 User manual

Optex OVS-01GT User manual

Optex

Optex OVS-01GT User manual

Optex AX-100TFR Series User manual

Optex

Optex AX-100TFR Series User manual

Optex sensor User manual

Optex

Optex sensor User manual

Optex VX-402R User manual

Optex

Optex VX-402R User manual

Optex OVS-01CC User manual

Optex

Optex OVS-01CC User manual

Optex FTN-R User manual

Optex

Optex FTN-R User manual

Optex Smart Line Series User manual

Optex

Optex Smart Line Series User manual

Optex InSight INS-QXI-ST User manual

Optex

Optex InSight INS-QXI-ST User manual

Optex FlipX Series User manual

Optex

Optex FlipX Series User manual

Optex CX-502 User manual

Optex

Optex CX-502 User manual

Optex REDWALL-V Guide

Optex

Optex REDWALL-V Guide

Optex HX-40 User manual

Optex

Optex HX-40 User manual

Optex X-ZONE User manual

Optex

Optex X-ZONE User manual

Optex OA-6500S T User manual

Optex

Optex OA-6500S T User manual

Optex HX-40RAM User manual

Optex

Optex HX-40RAM User manual

Optex URX-P01WH Operation and maintenance manual

Optex

Optex URX-P01WH Operation and maintenance manual

Optex HX-40 User manual

Optex

Optex HX-40 User manual

Popular Security Sensor manuals by other brands

Brica by-my-side 60004 instructions

Brica

Brica by-my-side 60004 instructions

Total Tools TTi TTIVP1000V operating instructions

Total Tools

Total Tools TTi TTIVP1000V operating instructions

TTS TEMPO Directions for use

TTS

TTS TEMPO Directions for use

PCB 2302-02A Installation and operating manual

PCB

PCB 2302-02A Installation and operating manual

Honeywell Miller QuickPick Rescue Kits User instruction manual

Honeywell

Honeywell Miller QuickPick Rescue Kits User instruction manual

Konyks Senso Charge quick start

Konyks

Konyks Senso Charge quick start

Dectris PILATUS 1M user manual

Dectris

Dectris PILATUS 1M user manual

Honeywell Lyric W1 installation instructions

Honeywell

Honeywell Lyric W1 installation instructions

Datalogic SG4-30-015-OO-E instruction manual

Datalogic

Datalogic SG4-30-015-OO-E instruction manual

EMX Ultra II D-TEK quick start guide

EMX

EMX Ultra II D-TEK quick start guide

Visonic NEXT CAM PG2 datasheet

Visonic

Visonic NEXT CAM PG2 datasheet

Sperian Miller Scorpion User instruction manual

Sperian

Sperian Miller Scorpion User instruction manual

SORHEA BIRIS II 50 installation instructions

SORHEA

SORHEA BIRIS II 50 installation instructions

C-LOGIC 610-MD instruction manual

C-LOGIC

C-LOGIC 610-MD instruction manual

VOLTCRAFT IRF260-10S operating instructions

VOLTCRAFT

VOLTCRAFT IRF260-10S operating instructions

Secure Wireless PIR-REC3 user manual

Secure Wireless

Secure Wireless PIR-REC3 user manual

Elektrotechnik Schabus SHT 5000 operating instructions

Elektrotechnik Schabus

Elektrotechnik Schabus SHT 5000 operating instructions

EUCHNER MGBS Series Assembly instructions

EUCHNER

EUCHNER MGBS Series Assembly instructions

manuals.online logo
manuals.online logoBrands
  • About & Mission
  • Contact us
  • Privacy Policy
  • Terms and Conditions

Copyright 2025 Manuals.Online. All Rights Reserved.