Quick Reference Guide
A pupils radio aid system consists of
two parts:
• Transmitter (worn by teacher) and
• Receivers (worn by pupil)
For audio shoe advice visit
www.phonak.com/eschooldesk
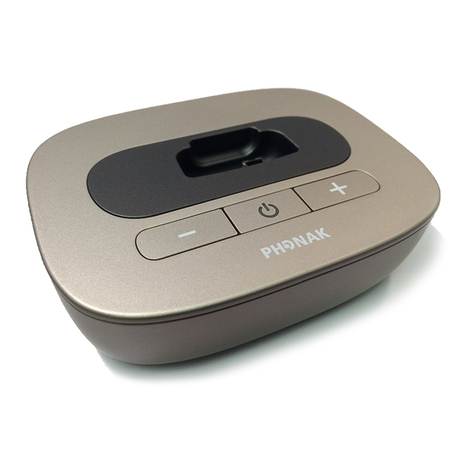
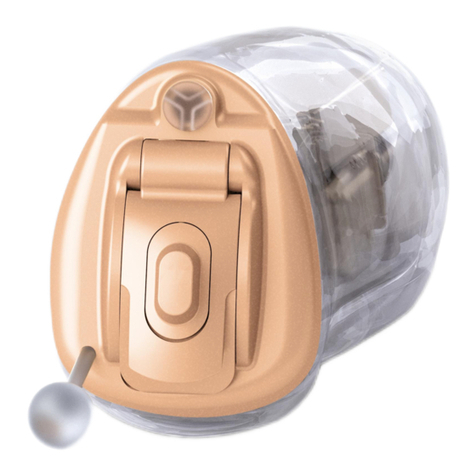
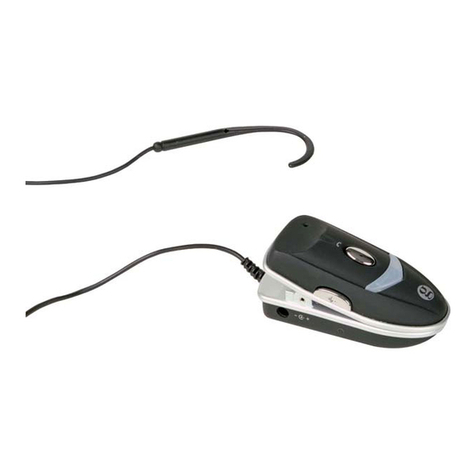
ZoomLink+ transmitter Audio Shoes MLxi receiver Integrated
receiver
Phonak recommends
that you push the
Middle "Zoom" button
down for 2 seconds to
turn off and on for
normal teaching.
To synchronise a receiver, turn the
ZoomLink+ on within a 50cm range
of the receiver. The receiver should
beep through the hearing aid to
confirm this action.
On/Off Button
Wearing & Adjustment Microphone Directionality
ZoomLink+ Compatability
Charging
For more information about your ZoomLink+ and how to use other functions
please consult the user manual, or visit www.phonak.com/eschooldesk
✓✓
Standard 3.5mm audio cable
IF
OR
Order Ref: ZoomLink+ Quick Ref Guide - Phonak UK
Channel Number
Battery Status
LCD Display
Key
ZoomLink+ Interface
Synchronising
15
6
7
8
A
B
C
3
Twin Microphone Ports
On/Off & Mic Positions
Toggle Button
Lavaliere Cord / Antenna
Clip
LCD Display
Channel Select
ZoomLink+ Interface Port
1
2
3
4
5
6
7
8
A
B
C
Audio Input
ZoomLink+ interface
should be attached to
charge the ZoomLink+
or attach external
devices.
4
!
6 inches
➔
Zoomlink+ has three microphone settings...
Superzoom
Narrow beam directionality for, in exceptional
circumstances, pointing at sound source, or
extremely harsh teaching environments.
Zoom (Recommended)
The recommended directional setting for
everyday teaching scenarios.
Omni-directional
For using in quiet, group discussion situations
by placing at the opposite end of the table.
Audio in
Mic in
Charging Port
Push button down
with pen to scroll
channels.
Release to stop
and synchronise
any receivers
within range.
Change Channel
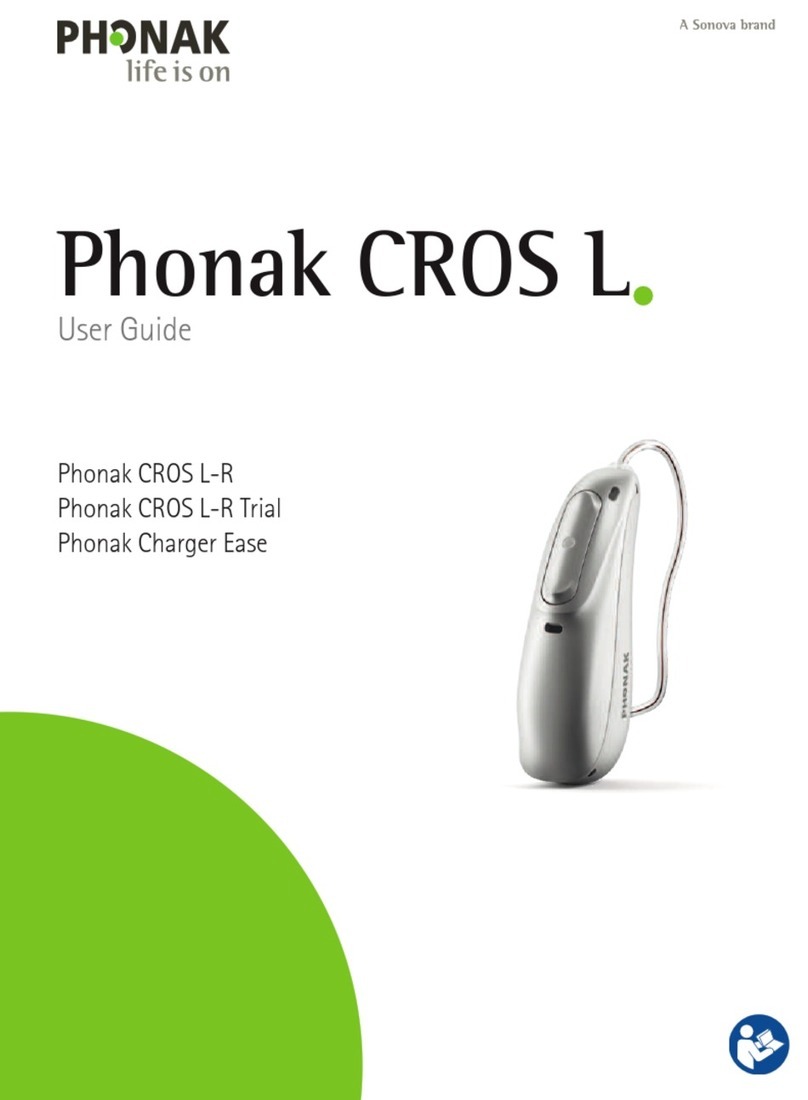
Zoomlink+ is fully compatible with
ALL of Phonak’s FM receivers, past
and present (examples shown).
Simply turn on the transmitter...
and start teaching!
Mic Position
- Superzoom
- Zoom
- Omni (360°)
2

