manuals.online logo
Brands
  1. Home
  2. •
  3. Brands
  4. •
  5. Phonocar
  6. •
  7. Recording Equipment
  8. •
  9. Phonocar VM330 User manual

Phonocar VM330 User manual

VM330
CAR RADIO
JVC - KENWOOD - PHONOCAR
INTERFACCIA PER CLIMATRONIC,
SENSORI DI PARCHEGGIO E COMANDI A VOLANTE.
INTERFACE FOR CLIMATRONIC, PARKING SENSORS
AND STEERING-WHEEL COMMANDS.
I- Dispositivo elettronico che su VW dal 2009>, SEAT e SKODA dal 2011> permette di visualizzare sullo
schermo dell’autoradio i sensori di parcheggio originali, il climatronic, i comandi al volante e i servizi
(sottochiave, freno a mano, odometro, illuminazione e retromarcia).
Il dispositivo è compatibile con le seguenti autoradio :
JVC - KEENWOOD - PHONOCAR modelli VM031 - VMN032 - VM033 - VM036 - VM037 - VM066 - VM080.
GB - On VW 2009> and on SEAT/SKODA 2011>, this electronic Video-Interface VM330 will show, on the
car-radio-screen: Original parking-sensors, Climatronic, Steering-wheel commands, Services (under-
key, hand-brake, hour-meter, illumination, reverse-gear).
The VM330 is compatible with the following car-radios:
JVC - KEENWOOD - PHONOCAR models VM031 - VM032 - VM033 - VM036 - VM037 - VM066 - VM080.
FR - Dispositif électronique qui sur VW de 2009>, SEAT et SKODA de 2011> permet de visualiser sur
l’écran de l’autoradio les capteurs de stationnement originaux, le climatronic, les commandes au volant
et les services (après contact, frein de stationnement, odomètre, illumination et marche arrière).
Le dispositif est compatible avec les autoradios suivants:
JVC – KENWOOD – modèles PHONOCAR VM031 - VM032 - VM033 - VM036 - VM037 - VM066 - VM080
D - Bei VW 2009> und bei SEAT/SKODA 2011>, bewirkt die Video-Interface VM330 die Ausweisung, auf
dem Radio-Bildschirm, folgender Funktionen: Original-Parksensoren, Climatronic, Lenkrad-Steuerun-
gen, Betriebsfunktionen (Zündplus, Handbremse, Tacho, Beleuchtung, Rückwärtsgang).
Die VM330-Interface ist mit folgenden Autoradio-Modellen kompatibel:
JVC - KEENWOOD – PHONOCAR-Modelle VM031 - VM032 - VM033 - VM036 - VM037 - VM066 - VM080.
E - Dispositivo electrónico que en los VW a partir del 2009 > y en los SEAT y SKODA a partir del 2011>
permite visualizar en la pantalla del autoradio los sensores de aparcamiento de origen y el climatronic,
además el dispositivo permite seguir usando los mandos de volante y ofrecer los siguientes servi-
cios: bajo llave, freno de mano, odómetro, iluminación y marcha atrás.
El dispositivo es compatible con las siguientes marcas de autoradio:
JVC - KENWOOD - PHONOCAR : VM031 - VM032 - VM033 - VM036 - VM037 - VM066 - VM080.
COLLEGAMENTI • CONNECTIONs • CONNEXIONs • ANsChLüssE • CONEXIóNEs
CON/WITH/AVEC/MIT/POR AUTORADIO VM080
COLLEGAMENTI • CONNECTIONs • CONNEXIONs • ANsChLüssE • CONEXIóNEs
CON/WITH/AVEC/MIT/POR AUTORADIO 2DIN
INTERFACCIA PER CLIMATRONIC,
SENSORI DI PARCHEGGIO
E COMANDI A VOLANTE.
INTERFACE FOR CLIMATRONIC,
PARKING SENSORS
AND STEERING-WHEEL COMMANDS.
MOD ELLI AUTORA DIO / CAR-RAD IO MODELS:
JVC - K EENWOOD - PHO NOCAR
VM330
E3 10R-03 1 16 6
MAD E IN ITALY
FWP 070 UNU N02
CONNETTORE ORIGINALE DELL’ AUTO
ORIGINAL CAR CONNECTOR
CAVO ORIGINALE VM080
ORIGINAL CABLE VM080
RETROCAMERA
REAR CAMERA
INTERFACCIA PER CLIMATRONIC,
SENSORI DI PARCHEGGIO
E COMANDI A VOLANTE.
INTERFACE FOR CLIMATRONIC,
PARKING SENSORS
AND STEERING-WHEEL COMMANDS.
MOD ELLI AUTORA DIO / CAR-RADIO MODELS:
JVC - K EENWOOD - PHO NOCAR
VM330
E3 10R- 03 1 16 6
MAD E IN ITALY
FWP 070 UNU N02
CAR RADIO
ROsA•PINK•ROSE•ROSA•ROSA
BIANCO•WHITE•BLANC•WEISS•BLANCO
ARANCIO•ORANGE•ORANGIER
ORANGE•ANARANJADO
GRIGIO•GREY•GRIS•GRAU•GRIS
ROssO•RED•ROUGE•ROT•ROJO
BLU•BLUE•BLUE•BLAU•AZUL
+12 V
OUTPUT +12 V
Positivo retromarcia
Positive reverse-gear
Odometro
Distancer-meter signal
Illuminazione +12
Car light
Comandi al Volante
S.W. Commands
NERO•BLACK•NOIR•SCHWARZ•NEGRO
VERDE•GREEN•VERT•GRUN•VERDE
INOUT
BIANCO/GIALLO•WHITE/YELLOW•BLANC/JAUNE
WEISS/GELB•BLANCO/AMARILLO
Negativo freno a mano
Negative brake
CAN-LOW
CAN-HIGH
RETROCAMERA
REAR CAMERA
PROGRAMMAZIONE MARChIO AUTORADIO • PROGRAMMING PER RADIO-BRAND
PROGRAMMATION PAR MARQUE D’AUTORADIO • EINSTELLUNG NACH RADIO-MARKE
PROGRAMACION PAR MARCA AUTORADIO
IAlimentando il dispositivo il led lampeggerà con colore rosso, un programma ad auto apprendimento
eseguirà in automatico la sincronizzazione e la selezione del corretto protocollo. A sincronizzazione av-
venuta, il led lampeggerà con colore verde e continuerà a lampeggiare fino a quando non si selezionerà il
marchio dell’ autoradio da programmare.
SELEZIONE MARCHIO AUTORADIO
Per effettuare la selezionare agire sui comandi al volante: premendo VOLUME+ si seleziona il marchio
autoradio. Premendo SEEK si memorizza. Es.: per memorizzare Alpine, premere 3 volte il tasto Volume+,
il Led verde eseguirà cicli di 4 lampeggi rapidi e una pausa, premere SEEK per memorizzare.
Phonocar VM031•VM032•VM036•VM080 non premere Led verde 1 lampeggio premere SEEK+
Phonocar VM066 premere 1 volta Vol+ Led verde 2 lampeggi premere SEEK+
Phonocar VM037•VM033 premere 2 volte Vol+ Led verde 3 lampeggi premere SEEK+
Kenwood premere 3 volte Vol+ Led verde 4 lampeggi premere SEEK+
Jvc premere 4 volte Vol+ Led verde 5 lampeggi premere SEEK+
RESET DISPOSITIVO: Senza togliere il circuito dall’alimentazione, premere il tasto PRG fino a quando
led verde non si spegne. Il led lampeggerà di color Rosso per pochi secondi, poi diventerà colore verde in
attesa della selezione del nuovo modello di radio.
GB When the current-supply-cable is connected, the Led will flash red. A self-learning programme will au-
tomatically effect the synchronization and selection of the related protocol. As soon as the synchronization
has been completed, the Led will flash green and continue flashing until the car-radio make is selected for
programming.
CAR-RADIO SELECTION
To select the radio-model installed in the car, act on the steering-wheel commands:
press VOLUME+ to select the radio-model; press SEEK to memorize.
Phonocar VM031•VM032•VM036•VM080 do not press Green Led blinks 1 time press SEEK+
Phonocar VM066 press Vol+ 1 time Green Led blinks 2 times press SEEK+
Phonocar VM037•VM033 press Vol+ 2 times Green Led blinks 3 times press SEEK+
Kenwood press Vol+ 3 times Green Led blinks 4 times press SEEK+
Jvc press Vol+ 4 times Green Led blinks 5 times press SEEK+
RE-SETTING OF DEVICE: Without interrupting the power-supply to the circuit, press the PRG-key until
the green Led goes off. The Led will flash red, for some seconds, and then turn green, until a different
radio-model is selected.
FR Alimentater le dispositif, le Led commence à clignoter rouge. La synchronisation et la sélection du protocole
se font automatiquement à travers une procédure d’auto apprentissage. Dès que la synchronisation est terminée,
le Led commence à clignoter Vert et continuera jusqu’à la sélection de la marque d’autoradio à programmer.
SELECTION AUTORADIO
Pour sélectionner le modèle d’autoradio installée dans la voiture, utiliser les commandes au volant: Appuyer sur
la touche VOLUME+ pour sélectionner la marque d’autoradio.Appuyer sur la touche SEEK pour mémoriser.
Exemple: pour mémoriser Alpine, appuyer 3 fois sur la touche Volume+. Le Led commence à clignoter en cycles
de 4 clignotements rapids et une pause. Appuyer sur SEEK pour mémoriser.
Phonocar VM031•VM032•VM036•VM080 ne pas appuyer Led vert 1 clignotement appuyer SEEK+
Phonocar VM066 appuyer une fois VOLUME+ Led vert clignote 2 fois appuyer SEEK+
Phonocar VM037•VM033 appuyer 2 fois VOLUME+ Led vert clignote 3 fois appuyer SEEK+
Kenwood appuyer 3 fois VOLUME+ Led vert clignote 4 fois appuyer SEEK+
Jvc appuyer 4 fois VOLUME+ Led vert clignote 5 fois appuyer SEEK+
RE-PROGRAMMATION (RESET): Sans interrompre l’alimentation du circuit, appuyer sur la touche PRG jusqu’à
ce que le Led Vert s’éteint. Le Led clignotera Rouge pour quelques secondes, puis il retournera Vert jusqu’au
moment où on sélectionnera un autre modèle d’autoradio.
S.p.A. - Via F.lli Cervi, 167/C - 42124 Reggio Emilia (Italy) - Tel. ++39 0522 941621 - Fax ++39 0522 942452
www.phonocar.com - e-mail:info@phonocar.it
DNachdem das Stromkabel der Vorrichtung angeschlossen worden ist, leuchtet das Led rot auf.
Durch ein Selbst-Lern-Programm wird die Synchronisierung und Wahl des notwendigen Protokolls automatisch
vorgenommen. Sobald die Synchronisierung stattgefunden hat, beginnt das Led grün zu blinken und hält so
lange an, bis die Marke des zu programmierenden Autoradios eingegeben wird.
AUTORADIO-WAHL
Um das Modell des installierten Autoradios zu wählen, Lenkradfernbedienung wie folgt verwenden: VOLUME+
so oft drücken, wie für das in Frage kommende Autoradio vorgesehen. Dann SEEK drücken, um die Eingabe zu
bestätigen.
Phonocar VM031•VM032•VM036•VM080 nicht dücken Led grün 1 Aufblinken SEEK+ drücken
Phonocar VM066 1 Mal Vol+ drücken. Grünes Led blinkt 2 mal SEEK+ drücken
Phonocar VM037•VM033 2 Mal Vol+ drücken. Grunes Led blinkt 3 mal SEEK+ drücken
Kenwood 3 Mal Vol+ drücken. Grunes Led blinkt 4 mal SEEK+ drücken
Jvc 4 Mal Vol+ drücken. Grunes Led blinkt 5 mal SEEK+ drücken
RE-SET DER VORRICHTUNG: Vorrichtung weiterhin am Strom angeschlossen halten. Taste PRG drücken, bis
das grüne Led erlischt. Das Led wird einige Sekunden lang rot blinken, dann auf Grün umschalten, bis ein ande-
res Radiomodell gewählt wird.
EConectando el cable de alimentación del dispositivo ,el Led parpadeará en color rojo. Un programa de auto
aprendizaje, ejecutará automáticamente la sincronización y la selección de la correcta señal. A sincronización
acaecida, el Led parpadeara en color verde y continuará a parpadear hasta cuando no se seleccione la marca
del autoradio para programar.
sELECCIóN AUTORADIO
Para seleccionar el modelo de autoradio instalado accionar los mandos del volante: VOLUMEN+ para seleccionar
el autoradio, en base al número de veces que viene pulsado y SEEK para la memorización.
Phonocar VM031•VM032•VM036•VM080 no presionar Led verde 1 parpadeo pulsar SEEK+
Phonocar VM066 pulsar 1 vez. Vol+ Led verde 2 impulsos pulsar SEEK+
Phonocar VM037•VM033 pulsar 2 vez. Vol+ Led verde 3 impulsos pulsar SEEK+
Kenwood pulsar 3 vez. Vol+ Led verde 4 impulsos pulsar SEEK+
Jvc pulsar 4 vez. Vol+ Led verde 5 impulsos pulsar SEEK+
RESET DISPOSITIVO: Sin quitar la alimentación del circuito, pulsar la tecla PRG hasta que el Led verde no se
apague. El Led parpadeará en color rojo durante unos segundos, después cambiará a verde en espera de la
selección del nuevo modelo de radio.

Other Phonocar Recording Equipment manuals

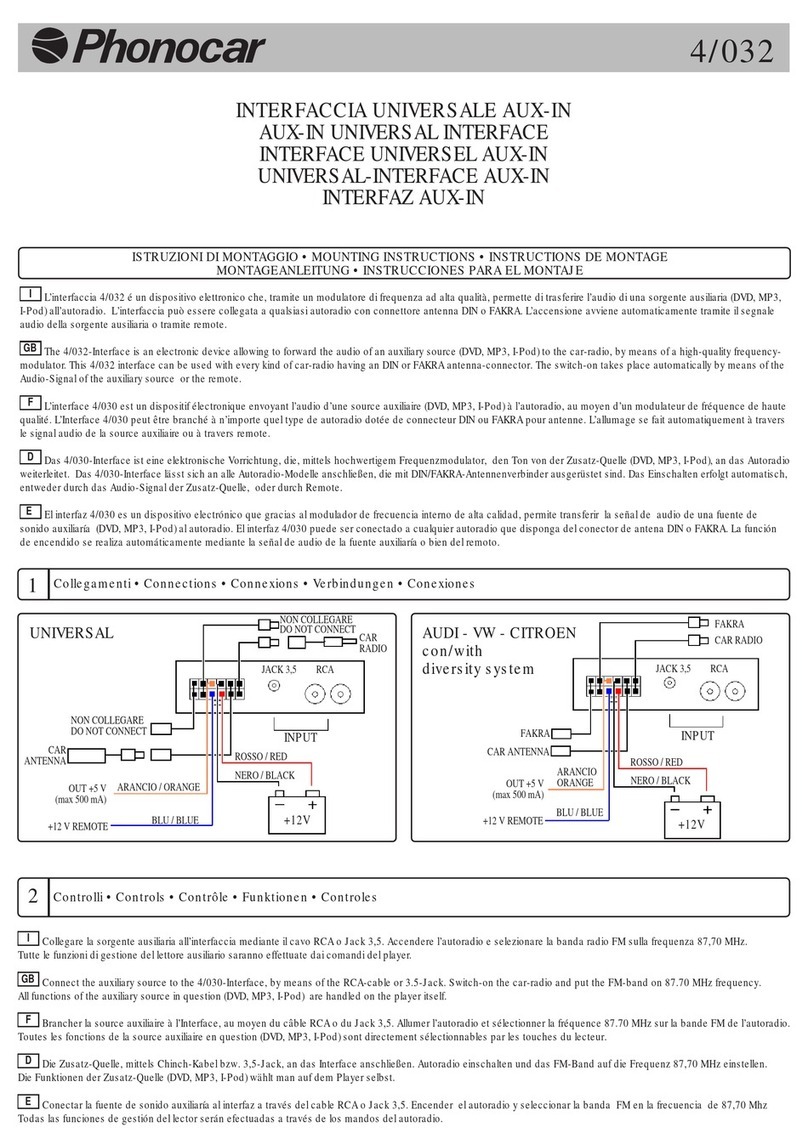
Phonocar 5/871 Simple manual

Phonocar

Phonocar 5/871 Simple manual

Phonocar 04059 User manual

Phonocar

Phonocar 04059 User manual

Phonocar 5/143 Simple manual

Phonocar

Phonocar 5/143 Simple manual

Phonocar 05961 User manual

Phonocar

Phonocar 05961 User manual

Phonocar 05937 User manual

Phonocar

Phonocar 05937 User manual

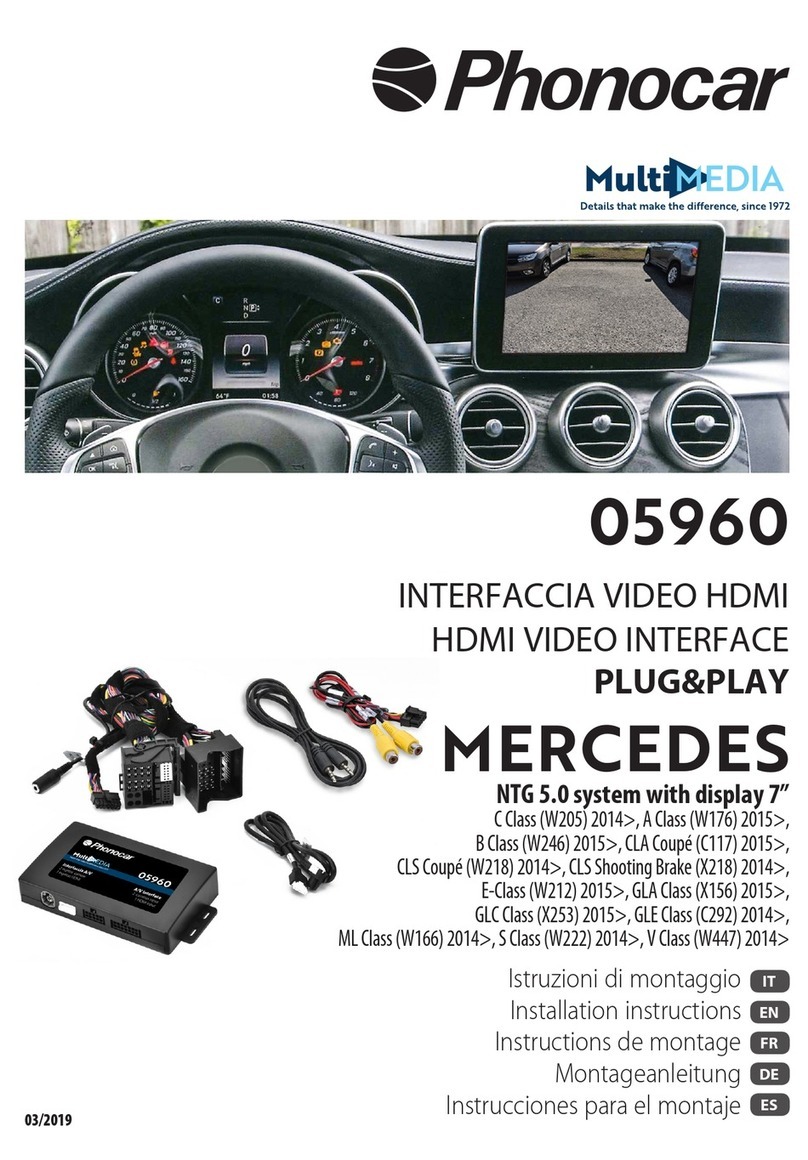
Phonocar 05960 User manual

Phonocar

Phonocar 05960 User manual

Phonocar 4/063 User manual

Phonocar

Phonocar 4/063 User manual

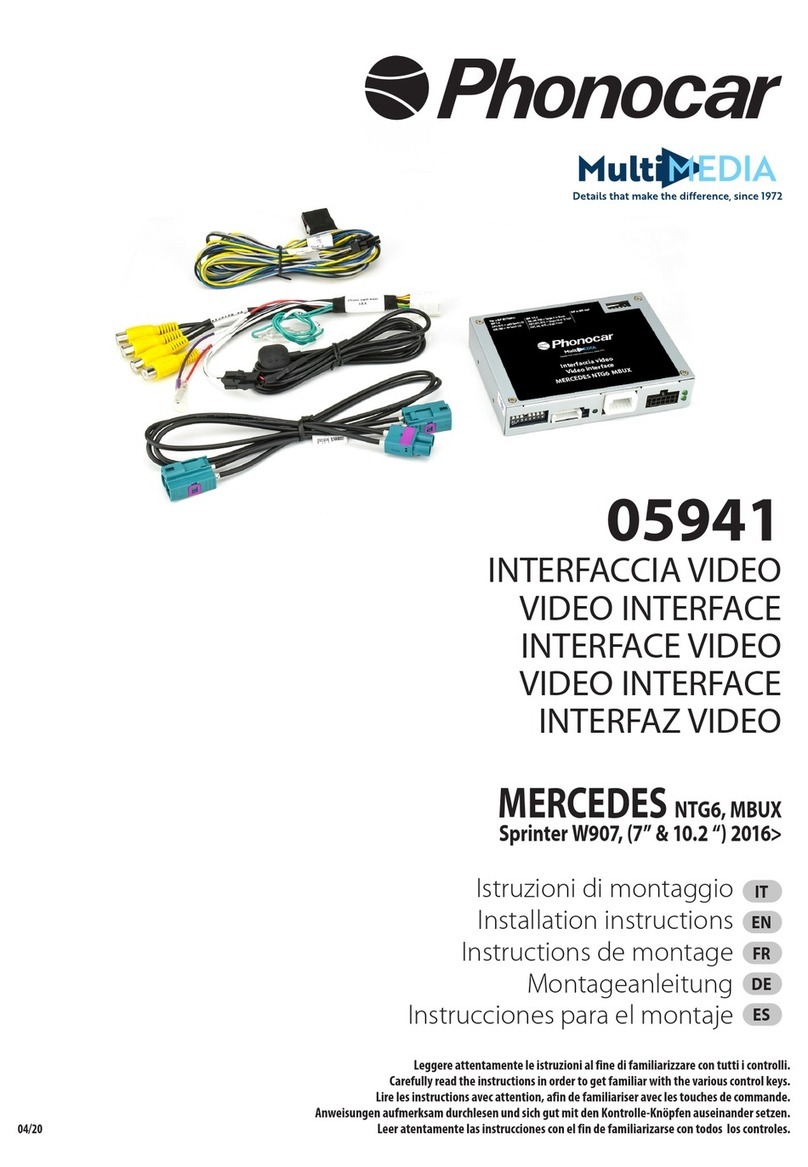
Phonocar 05941 User manual

Phonocar

Phonocar 05941 User manual

Phonocar 0407 Series User manual

Phonocar

Phonocar 0407 Series User manual

Phonocar 4/072 User manual

Phonocar

Phonocar 4/072 User manual

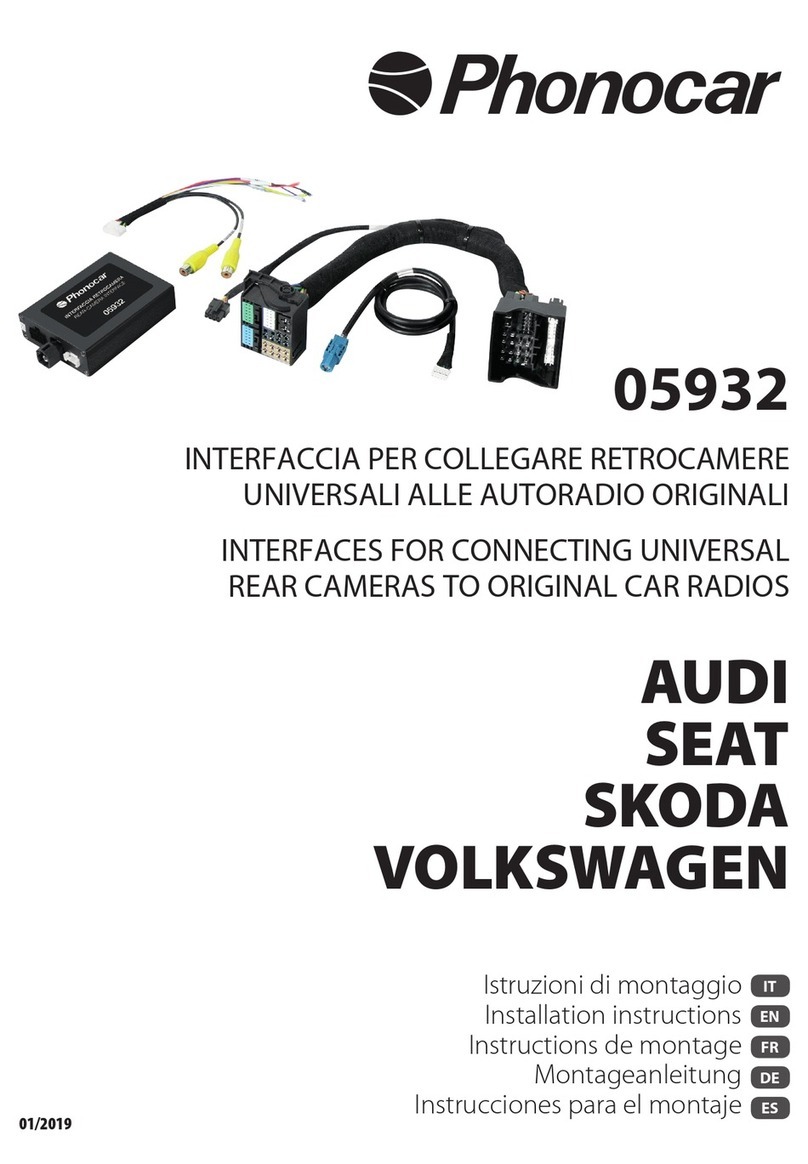
Phonocar 05932 User manual

Phonocar

Phonocar 05932 User manual

Phonocar 4/032 User manual

Phonocar

Phonocar 4/032 User manual

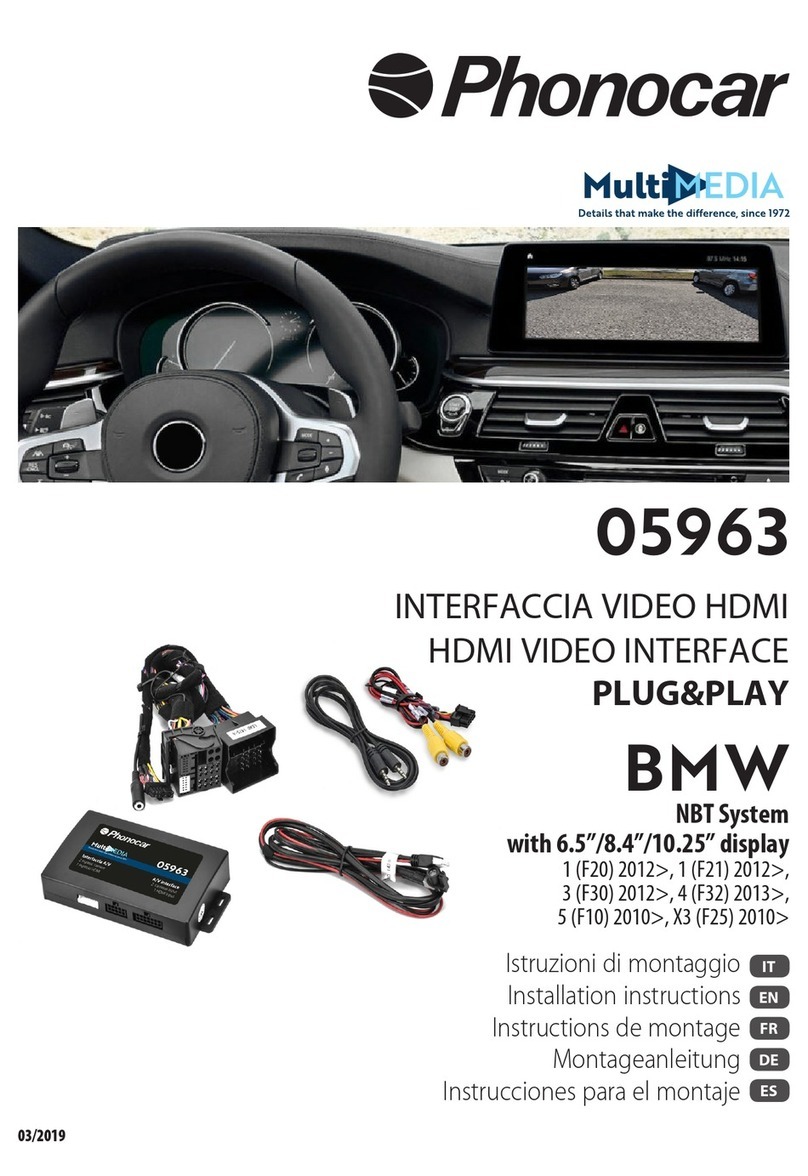
Phonocar 05963 User manual

Phonocar

Phonocar 05963 User manual

Phonocar 5/841 Simple manual

Phonocar

Phonocar 5/841 Simple manual

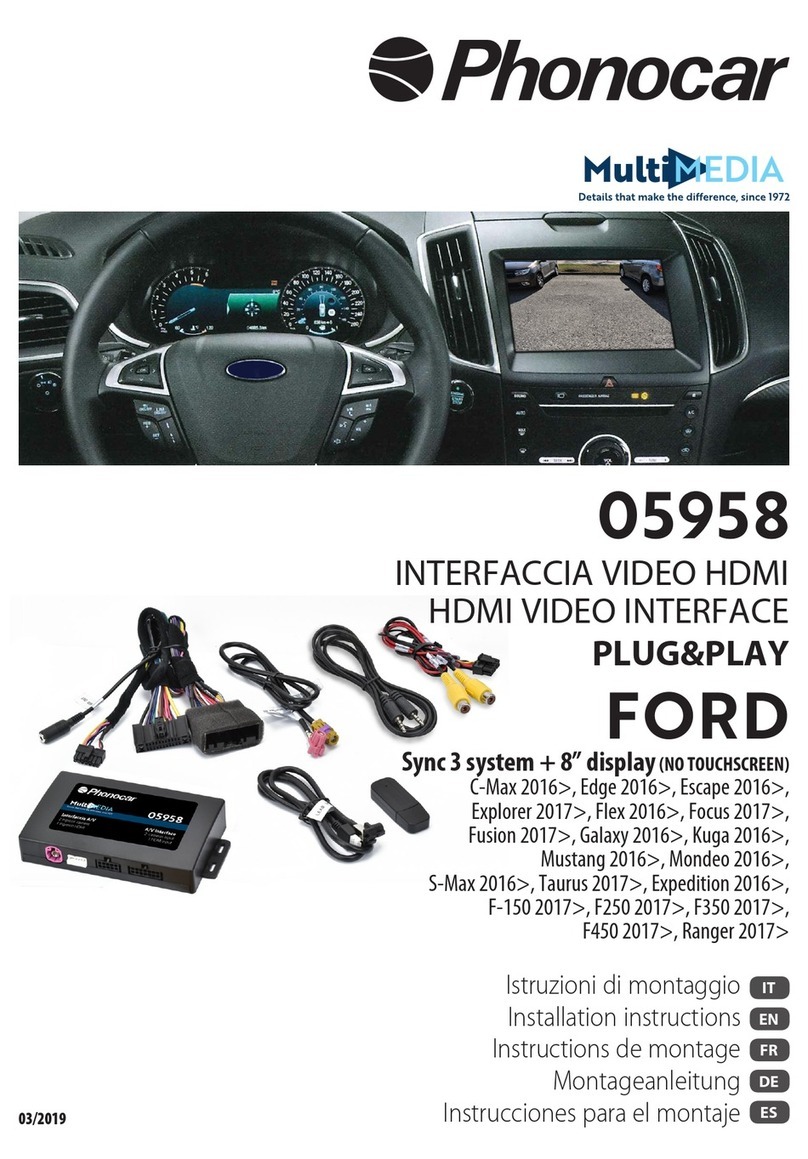
Phonocar 05958 User manual

Phonocar

Phonocar 05958 User manual

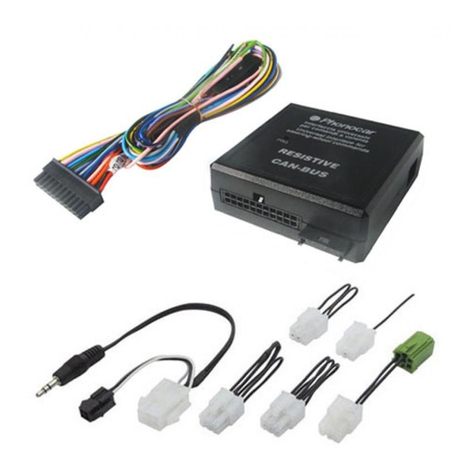
Phonocar RESISTIVE 04065 User manual

Phonocar

Phonocar RESISTIVE 04065 User manual

Phonocar 5/842 Simple manual

Phonocar

Phonocar 5/842 Simple manual

Phonocar 5/845 Simple manual

Phonocar

Phonocar 5/845 Simple manual

Popular Recording Equipment manuals by other brands

HPE JH155A user guide

HPE

HPE JH155A user guide

Ramsey Electronics TATTLE-TALE TT1 instruction manual

Ramsey Electronics

Ramsey Electronics TATTLE-TALE TT1 instruction manual

Worldcast Systems Silver Series user manual

Worldcast Systems

Worldcast Systems Silver Series user manual

Linear LTC2937 manual

Linear

Linear LTC2937 manual

Rupert Neve Designs 5254 Operation manual

Rupert Neve Designs

Rupert Neve Designs 5254 Operation manual

Roland Fa 06 Service notes

Roland

Roland Fa 06 Service notes

DAPAudio Core Kontol D1 manual

DAPAudio

DAPAudio Core Kontol D1 manual

auto maskin RIO 425 installation manual

auto maskin

auto maskin RIO 425 installation manual

Patching Panda EPHEMERE user manual

Patching Panda

Patching Panda EPHEMERE user manual

Universal Audio Apollo Twin Hardware manual

Universal Audio

Universal Audio Apollo Twin Hardware manual

MOTU UltraLite- mk3 Hybrid user guide

MOTU

MOTU UltraLite- mk3 Hybrid user guide

microcell granular processor user manual

microcell

microcell granular processor user manual

LDT LS-DEC-NMBS-F Operating	 instruction

LDT

LDT LS-DEC-NMBS-F Operating instruction

Behringer B-Control Fader BCF2000-WH user manual

Behringer

Behringer B-Control Fader BCF2000-WH user manual

SoundForce SFC-60 V3 user manual

SoundForce

SoundForce SFC-60 V3 user manual

Toa CI-600 installation manual

Toa

Toa CI-600 installation manual

thomann Limit 2/2 user manual

thomann

thomann Limit 2/2 user manual

Connects2 CAM-VW6-AD installation guide

Connects2

Connects2 CAM-VW6-AD installation guide

manuals.online logo
manuals.online logoBrands
  • About & Mission
  • Contact us
  • Privacy Policy
  • Terms and Conditions

Copyright 2025 Manuals.Online. All Rights Reserved.