manuals.online logo
Brands
  1. Home
  2. •
  3. Brands
  4. •
  5. Polycom
  6. •
  7. IP Phone
  8. •
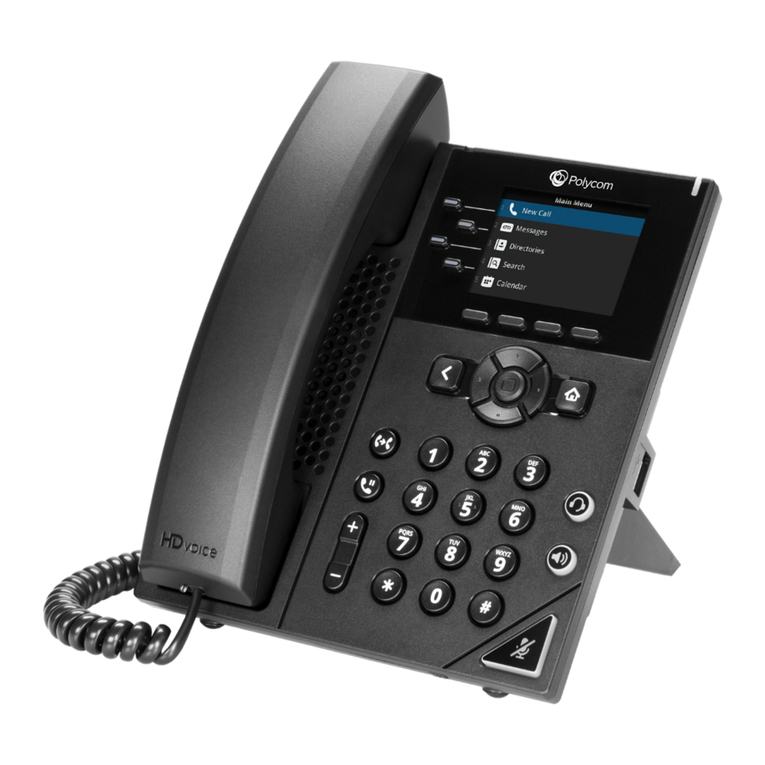
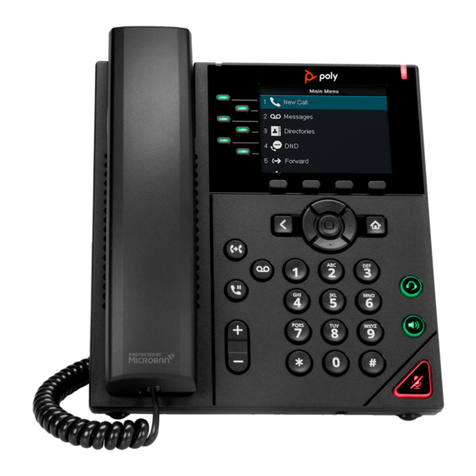
  9. Polycom VVX-450 Series Instruction manual

Polycom VVX-450 Series Instruction manual

Other manuals for VVX-450 Series

6

Other Polycom IP Phone manuals

Polycom SoundPoint IP 560 User manual

Polycom

Polycom SoundPoint IP 560 User manual

Polycom SoundPoint IP 650 User manual

Polycom

Polycom SoundPoint IP 650 User manual

Polycom VVX 4 Series User manual

Polycom

Polycom VVX 4 Series User manual

Polycom SoundPoint IP 500 User manual

Polycom

Polycom SoundPoint IP 500 User manual

Polycom VVX-150 Series User manual

Polycom

Polycom VVX-150 Series User manual

Polycom VVX-150 Series User manual

Polycom

Polycom VVX-150 Series User manual

Polycom Soundpoint IP 301 User manual

Polycom

Polycom Soundpoint IP 301 User manual

Polycom BUSINESS VOICEEDGE 335 series User manual

Polycom

Polycom BUSINESS VOICEEDGE 335 series User manual

Polycom 2200-12550-001 User manual

Polycom

Polycom 2200-12550-001 User manual

Polycom SoundPoint IP 450 User manual

Polycom

Polycom SoundPoint IP 450 User manual

Polycom VVX-150 Series Service manual

Polycom

Polycom VVX-150 Series Service manual

Polycom VVX 411 Instruction manual

Polycom

Polycom VVX 411 Instruction manual

Polycom 500 Series User manual

Polycom

Polycom 500 Series User manual

Polycom SoundPoint IP 550 User manual

Polycom

Polycom SoundPoint IP 550 User manual

Polycom SoundPoint IP 32 Series User manual

Polycom

Polycom SoundPoint IP 32 Series User manual

Polycom SoundPoint IP 501 User manual

Polycom

Polycom SoundPoint IP 501 User manual

Polycom VVX 350 User manual

Polycom

Polycom VVX 350 User manual

Polycom SoundPoint IP 450 User manual

Polycom

Polycom SoundPoint IP 450 User manual

Polycom SoundPoint IP 650 User manual

Polycom

Polycom SoundPoint IP 650 User manual

Polycom SoundPoint IP 331 User manual

Polycom

Polycom SoundPoint IP 331 User manual

Polycom VVX 250 Assembly instructions

Polycom

Polycom VVX 250 Assembly instructions

Polycom Soundpoint IP 301 User manual

Polycom

Polycom Soundpoint IP 301 User manual

Polycom SoundPoint IP 32x User manual

Polycom

Polycom SoundPoint IP 32x User manual

Polycom SoundPoint IP 320 Instruction manual

Polycom

Polycom SoundPoint IP 320 Instruction manual

Popular IP Phone manuals by other brands

Cortelco C62 VoIP Phone user guide

Cortelco

Cortelco C62 VoIP Phone user guide

VanillaIP Polycom IP300 user manual

VanillaIP

VanillaIP Polycom IP300 user manual

Yealink Yealink SIP-T22P Quick installation guide

Yealink

Yealink Yealink SIP-T22P Quick installation guide

Viking SR-IP product manual

Viking

Viking SR-IP product manual

Yealink VP59 Teams user guide

Yealink

Yealink VP59 Teams user guide

Panasonic KX-UT133-B Administrator's guide

Panasonic

Panasonic KX-UT133-B Administrator's guide

Avaya one-X 9600 Series overview

Avaya

Avaya one-X 9600 Series overview

AVA Enterprises B179 Installation and administration guide

AVA Enterprises

AVA Enterprises B179 Installation and administration guide

Cisco Unified 7900 Series System guide

Cisco

Cisco Unified 7900 Series System guide

Cisco SPA-500 Series user guide

Cisco

Cisco SPA-500 Series user guide

IPitomy IP290 user manual

IPitomy

IPitomy IP290 user manual

Proximus Maestro 3016 IP quick start guide

Proximus

Proximus Maestro 3016 IP quick start guide

Fanvil X4 user manual

Fanvil

Fanvil X4 user manual

Snom 320 quick start guide

Snom

Snom 320 quick start guide

Avaya Integral 5 R3.0 user guide

Avaya

Avaya Integral 5 R3.0 user guide

Yealink Yealink SIP-T46G Guide

Yealink

Yealink Yealink SIP-T46G Guide

Yealink SIP-T52S quick start guide

Yealink

Yealink SIP-T52S quick start guide

Nortel 1140E Getting started

Nortel

Nortel 1140E Getting started

manuals.online logo
manuals.online logoBrands
  • About & Mission
  • Contact us
  • Privacy Policy
  • Terms and Conditions

Copyright 2025 Manuals.Online. All Rights Reserved.

Additional guides are available at
www.swcomms.co.uk/resource-centre/
user-guides-and-manuals
Q U I C K U SE R G U I DE
Polycom VVX450 Call Centre
Phone Illustration
Issue 3
To log into your handset, follow these steps:
Press MORE three times
Press GUESTIN
Enter User ID –your extension number
Enter Password –your voice mail passcode
Press OK
You are now logged into the handset. When you have
finished for the day, follow these steps:
Press MORE three time
Press GUESTOUT
As a Call Centre agent you must first log into the groups
you have been assigned to. Press MORE key 3 times then
press ASIGNIN or AVAILABLE, depending on the options.
If you need to stop taking calls you can make yourself
unavailable or you can sign out. Please note that this will
only stop call centre calls from coming to your handset.
Calls internally or via a DDI will still come to your hand-
set unless you forward your calls or press DND.
To make yourself unavailable, press the MORE key 3
times then press UNAVAILABLE in the screen. You will be
asked for an unavailable reason code (please speak to
your system administrator for code details). If there are
no codes simply press SELECT in the screen. To sign out,
select ASIGNOUT instead of UNAVAILABLE.
To make yourself available, press the MORE key 3 times
and press AVAILABLE to start taking call centre calls. To
sign in again, press ASIGNIN instead of AVAILABLE.
Wrap Up - You will automatically be put into a wrap up
period after you have finished a call centre call. This is
allocated by your system administrator and will give you
a short period of time before another call comes to your
handset. You will have an orange circle next to your
extension number when you are in wrap up time.
Use this time to ASIGNOUT if you need to step away
from the phone. You cannot make yourself unavailable
during wrap up time because you are unavailable al-
ready. You can override the wrap up time by clicking
AVAILABLE.
Hot Desking
Support Desk: 01392330033
supportdes[email protected]
Customer Service: 01392315315
customer.service@swcomms.co.uk
Call Centre
1Line keys
2Reversible tab
3Speaker
4Back key
5Transfer key
6Messages key
7Hold key
8Volume keys
9Dial pad
10 Mute key
11 Speakerphone key
12 Headset key
13 USB Port
14 Home key
15 Navigation keys / Select key
16 Soft keys
17 Security slot (on back)
18 Screen
19 Message Waiting Indicator
If you know the extension number of the phone that is
ringing, press MORE twice, press PICKUP, enter the ex-
tension number and press #. Alternatively, if you have
people programmed onto your screen, press the green
flashing light next to the person’s name when someone is
calling them, and you will pick up this call.
If you are in a pickup group with the phone that is ringing,
press MORE twice, then GRPICKUP to get the longest
ringing caller in your group.
Dial 1st party, press MORE then CONFRNC in screen. This
will put the caller on hold and allow you to invite the 3rd
party. Dial 3rd party and invite them into your conversa-
tion. If they are happy to join, press MORE and then
press CONFRNC again to connect the call.
Press FORWARD in screen. Highlight when you want to
forward your calls e.g. Always, No Answer or Busy, and
press SELECT in screen. Enter the number you want to
forward your calls to (e.g. 500 if forwarding to voicemail)
and press ENABLE.
To cancel a forward, repeat process above, and select
DISABLE.
To manually record a conversation during the call, press
MORE then RECORD then START and the recording will
begin from the start of the call. Press PAUSE and RESUME
to stop and start the recording as required .
Please ensure you inform your administrator if you record
a call, as you will only have a finite amount of storage.
If your number is automatically withheld (determined by
your administrator), dial *65 to show your number for the
next outgoing call.
To withhold your number if the administrator has not set
this automatically, dial *67 to withhold your number for
the next outgoing call.
Basic Call Handling
Make an internal call: Dial extension number or press the
button next to the name of the person you want to call,
or search the directory by clicking MORE then DIRECTORY
(see Directory section for further help).
Make an external call: Dial the number you require. YOU
DO NOT NEED ‘9’ FOR AN EXTERNAL LINE.
Receive a call: Lift receiver or press ANSWER in the
screen.
Hold a call: Press to hold a caller. Press the same key
again to retrieve the caller.
Announced –press TRANSFER key , dial number, an-
nounce caller, and press TRANSFER key again.
Alternatively, if you have names on your screen, press
TRANSFER key then press LINES, then press the button
next to the name of the person you want to transfer to,
announce caller and, and press TRANSFER key again.
Blind –press TRANSFER key, dial number and press
TRANSFER key again when you hear a ringing tone.
Alternatively, if you have names on your screen, press
TRANSFER key then press LINES, then press the button
next to the name of the person you want to transfer to,
and replace receiver when you hear a ringing tone.
If the extension is busy or no one picks up the call, press
CANCEL in the screen to return to caller.
If the extension answers but can’t take the transfer,
press RESUME in the screen to return to caller.
If the extension rejects the call, press CANCEL in the
screen to return to the caller.
You will see the number of missed calls that have been
presented to your handset in the top right-hand side of
the screen. Clicking either the down navigation key or the
REDIAL key, then the left button, will remove this.
To view a list of your missed calls press the down naviga-
tion key. To view a list of your outbound calls, press the
right navigation key. To view a list of your inbound calls,
press the left navigation key. You can view a combined
list by pressing the REDIAL key.
Transfer A Call
Retrieve A Call (if transfer is not successful)
Call History
Pickup Calls
3-Way Conference Call
Call Forward
Call Recording (this is a licenced feature)
Call Parking
Whilst on a call, press PARK and dial the extension num-
ber that you want to park the call on, followed by #. To
retrieve a parked call, with the receiver down, press
MORE twice in the display, then GETPARK, and enter the
extension number the call was parked on, followed by #.
If the call was parked on your extension, press MORE
twice, then GETPARK, then #.
To set up your voicemail for the first time, press the
personal voicemail button and enter your 6-digit
default password (this will be on the New Account email
you have received).
You will be asked to enter a new 6-digit password and
then to enter it again to confirm. You will then be asked
to record your name greeting.
If you have new messages, an envelope will appear next
to your line key in the screen, the status bar will show
that you have a new message, and there will be a flashing
red light at the top of your handset. Press the personal
voicemail button to access your mailbox and follow these
instructions:
Enter your password followed by #
Press 1 to listen to your messages
Press # to save
Press 2 to repeat
Press 3 to delete
Pressing DND will stop your phone from receiving calls.
To turn this off, press the button again. You’ll know if
you are in DND as you will see in front of your exten-
sion number.
Click MORE, then DIRECTORY. Select Corporate Directory
for the shared numbers, and Contact Directory for your
personal numbers. Search the last name using your num-
ber buttons, or select ADVFIND to search first name. You
can also use the Directory when transferring. Click the
TRANSFER key when on a call, then DIRECTORY and
search for the entry.
Voicemail
Retrieving Messages
Withholding Number
Do Not Disturb (DND)
Directory