manuals.online logo
Brands
  1. Home
  2. •
  3. Brands
  4. •
  5. ProFlo
  6. •
  7. Bathroom Fixture
  8. •
  9. ProFlo PF28FS2000GCP User manual

ProFlo PF28FS2000GCP User manual

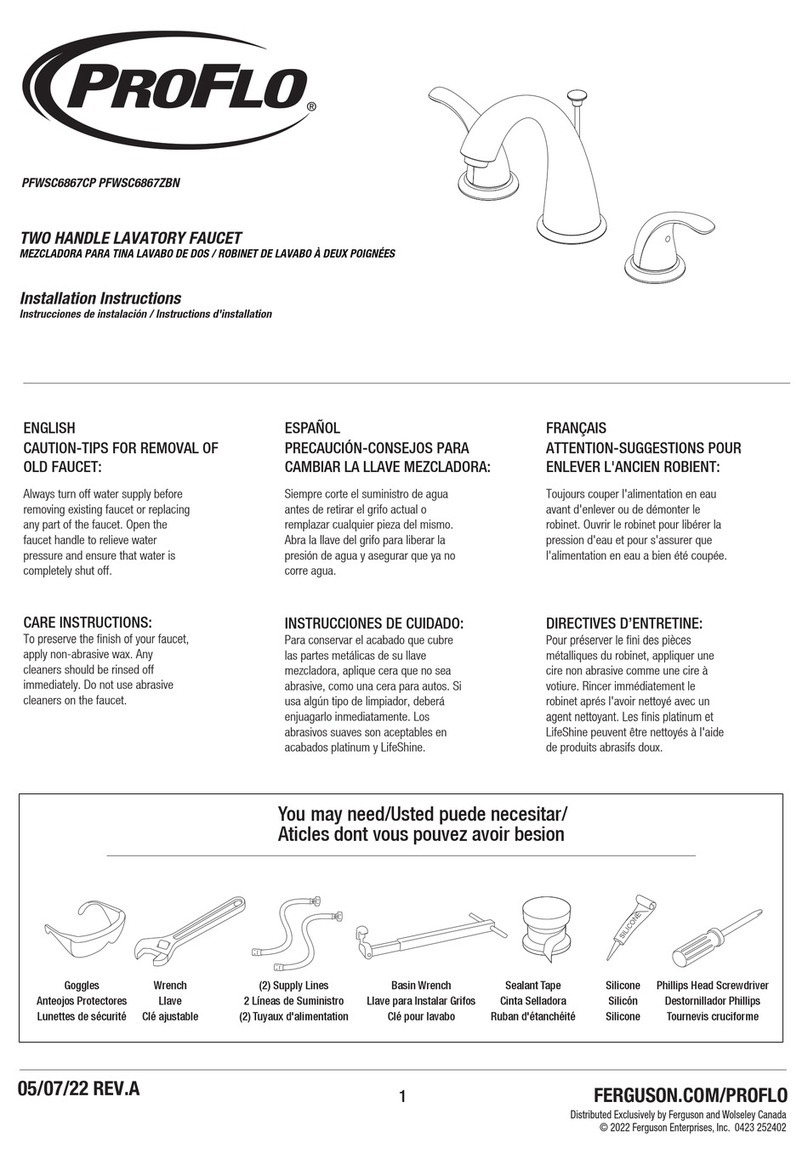
TUB FILLER FAUCET
GRIFO PARA BAÑERA / ROBINET DÉVERSEUR DE BAIGNOIRE
PF28FS2000GCP PF28FS2000GZBN
Installation Instructions
Instrucciones de instalación / Instructions d'installation
ENGLISH
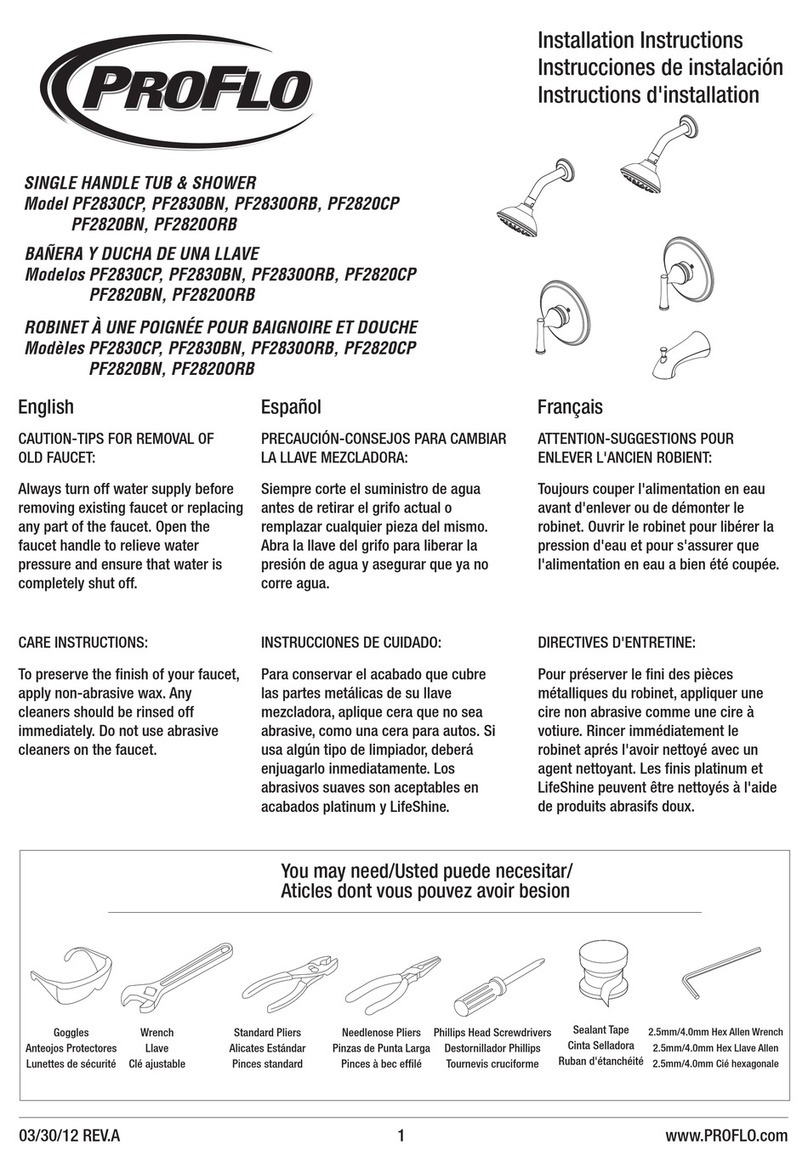
CAUTION-TIPS FOR REMOVAL OF
OLD FAUCET:
Always turn off water supply before
removing existing faucet or replacing
any part of the faucet. Open the
faucet handle to relieve water
pressure and ensure that water is
completely shut off.
CARE INSTRUCTIONS:
apply non-abrasive wax. Any
cleaners should be rinsed off
immediately. Do not use abrasive
cleaners on the faucet.
ESPAÑOL
PRECAUCIÓN-CONSEJOS PARA
CAMBIAR LA LLAVE MEZCLADORA:
Siempre corte el suministro de agua
antes de retirar el grifo actual o
remplazar cualquier pieza del mismo.
Abra la llave del grifo para liberar la
presión de agua y asegurar que ya no
corre agua.
INSTRUCCIONES DE CUIDADO:
Para conservar el acabado que cubre
las partes metálicas de su llave
mezcladora, aplique cera que no sea
abrasive, como una cera para autos. Si
usa algún tipo de limpiador, deberá
enjuagarlo inmediatamente. Los
abrasivos suaves son aceptables en
acabados platinum y LifeShine.
FRANÇAIS
ATTENTION-SUGGESTIONS POUR
ENLEVER L'ANCIEN ROBIENT:
Toujours couper l'alimentation en eau
avant d'enlever ou de démonter le
robinet. Ouvrir le robinet pour libérer la
pression d'eau et pour s'assurer que
l'alimentation en eau a bien été coupée.
DIRECTIVES D’ENTRETINE:
métalliques du robinet, appliquer une
cire non abrasive comme une cire à
votiure. Rincer immédiatement le
robinet aprés l'avoir nettoyé avec un
LifeShine peuvent être nettoyés à l'aide
de produits abrasifs doux.
www.PROFLO.com06/04/21 REV.C
Distributed Exclusively by Ferguson and Wolseley Canada
© 2018 Ferguson Enterprises, Inc. 1010 252402
1
You may need/Usted puede necesitar/
Aticles dont vous pouvez avoir besion
Goggles
Anteojos Protectores
Lunettes de sécurité
Wrench
Llave
Clé ajustable
Pencil
Lápiz
Crayon
Electric drill
Taladro eléctrico
Perceuse électrique
Phillips head screwdriver
Destornillador Phillips
Tournevis cruciforme
www.PROFLO.com
Distributed Exclusively by Ferguson and Wolseley Canada
© 2018 Ferguson Enterprises, Inc. 1010 252402
2
12
4
3
Locate the faucet assembly (1) onto the rough body (3), then push the connections
(2) of inlet supply line into the rough body (3).
Note: Do not to reverse the cold and hot supply.
Coloca el ensamblaje del grifo (1) sobre la tubería de conexión (3) y empuja las
conexiones (2) de la línea de entrada de suministro dentro de la tubería de
conexión (3).
Nota: No inviertas el suministro de agua fría y caliente.
Repérez le robinet (1) sur le corps brut (3), puis poussez les raccords (2) de la
conduite d’arrivée dans le corps brut (3).
Remarque : N’inversez pas l’alimentation d’eau froide et chaude.
Secure the faucet assembly (1) to the rough body (2) using screws (3). Place the
flange (4) over the standpipe and then push it to the base.
Asegura el ensamblaje del grifo (1) en la tubería de conexión (2) usando tornillos
(3). Coloca la brida (4) sobre el caño vertical y empújala hasta la base.
Fixez le robinet (1) solidement sur le corps brut (2) à l’aide des vis (3). Placez la
bride (4) par-dessus le tuyau autoportant, puis poussez-la dans la base.
1
1
After laying the floor, use a saw to remove the excess plasterguard (1) from the
exposed floor.
Luego de tender la capa del piso, usar una sierra para eliminar del piso expuesto el
exceso de protector de yeso (1).
Suivant la pose du sol, utilisez une scie pour retirer l’excès de renfort de plâtre (1) du
sol exposé.
1
2
Loosen the plug (1) with the hex wrench (HEX:6mm) from the rough body (2).
Con la llave hexagonal (HEX:6 mm), aflojar el tapón (1) del cuerpo rugoso (2).
Desserrez le bouchon (1) avec la clé hexagonale (HEX. : 6 mm) du corps brut (2).
1
4
1
2
3
2
3
06/04/21 REV.C
www.PROFLO.com
Distributed Exclusively by Ferguson and Wolseley Canada
© 2018 Ferguson Enterprises, Inc. 1010 252402
3
8
5
7
6
Insert the spout (1) into the faucet assembly (2) . Rotate the spout (1) to align
correctly with the faucet assembly (2) then tighten the screw using hex wrench (3)
(HEX:3.2mm).
Inserta el caño (1) en el ensamblaje del grifo (2). Gira el caño (1) para alinearlo
correctamente con el ensamblaje del grifo (2). Enseguida aprieta el tornillo con la
llave hexagonal (3) (HEX: 3.2 mm).
Insérez le bec (1) dans le robinet (2). Tournez le bec (1) pour l’aligner correctement
avec le robinet (2), puis serrez la vis à l'aide de la clé hexagonale (3) (HEX. : 3,2
mm).
Make sure washer (1) is in hose end (2). Thread hose onto outlet (3) and tighten
securely. Do not overtighten.
Asegurar que la arandela (1) está en el extremo de la manguera (2). Enroscar la
manguera en la salida (3) y apretar firme. No apretar demasiado.
Assurez-vous que la rondelle (1) se trouve à l’extrémité du tuyau flexible (2). Enfilez
le tuyau flexible sur la sortie (3) et serrez bien. Ne serrez pas trop.
Turn the supply lines on, and turn handle (1) to the full on mix position. Hold hose (2)
inside tub and press the pin (3) to the bottom position. Flush faucet for 1 minute. If
hose has gasket installed, use caution not to lose during flushing process. After
flushing turn off water at the bath valve handle.
Abrir las líneas de suministro de agua y girar el maneral (1) a la posición de mezcla
total. Sostener la manguera (2) dentro del tubo y presionar la clavija (3) hasta la
posición inferior. Descargar el agua por la mezcladora durante 1 minuto. Si la
manguera tiene junta instalada, proceder con precaución para que no se afloje
durante el proceso de descarga. Luego de descargar, cortar el suministro de agua en
el maneral de la válvula de baño.
Ouvrez les conduites d’alimentation et tournez la manette (1) en position de
mélange complète. Tenez le tuyau flexible (2) à l’intérieur de la baignoire et poussez
la goupille (3) en position basse. Purgez le robinet pendant 1 minute. Si le tuyau
flexible est doté d’un joint d’étanchéité, veillez à ne pas le perdre pendant le
processus de purge. Après le rinçage, coupez l’eau au niveau de la manette du
robinet de la baignoire.
Make sure washer (1) is installed in hose end (2). Hand tighten hose onto hand
shower (3). Place hand shower into holder (4). Inspect for leaks at arrows.
Asegurar que la arandela (1) esté instalada en el extremo de la manguera (2). Apretar
con la mano la manguera en la regadera de mano (3). Colocar la regadera de mano
en su soporte (4). Inspeccionar para ver si hay filtraciones en las flechas.
Assurez-vous que la rondelle (1) se trouve à l’extrémité du tuyau flexible (2). Serrez
le tuyau flexible à la main sur la douche à main (3). Placez la douche à main sur le
support (4). Recherchez les fuites à l’emplacement des flèches.
31
2
2
3
1
4
2
3
1
2
1
3
06/04/21 REV.C
* Specify Finish
Especifíque el Acabado
Précisez le Fini
www.PROFLO.com
Distributed Exclusively by Ferguson and Wolseley Canada
© 2018 Ferguson Enterprises, Inc. 1010 252402
4
Maintenance:
If faucet leaks underneath handle or water does not completely shut off: replace cartridge.
Mantenimiento:
Si hay una filtración debajo de la llave o el Agua no se corta por completo: reemplace el cartucho.
Entretien:
S'il y a une fuite sous la poignée ou si le robinet ne se ferme pas complètement: remplacez la cartouche.
OBPF1RP70221
2.5mm Hex Allen Wrench
2.5mm Hex Llave Allen
2.5mm Cié hexagonale
OBPF220074
Cartridge
Cartucho
Cartouche
OBPF713065*
Handle
Llave
Poignée
OBPF638288*
Shower hose
Manguera de la ducha
Tuyau flexible de douche
OBPF80701*
Cap
Tapa
Capuchon
OBPF70580*
Diverter
Desviador
Dérivation
06/04/21 REV.C
OBPF50054
Set Screw
Tornillo de Fijación
Vis de calage
OBPF638382*
Handshower
Ducha de mano
Douche téléphone

This manual suits for next models

1

Other ProFlo Bathroom Fixture manuals

ProFlo PF5200CP User manual

ProFlo

ProFlo PF5200CP User manual

ProFlo PF5310CP Assembly instructions

ProFlo

ProFlo PF5310CP Assembly instructions

ProFlo PFSH310CP User manual

ProFlo

ProFlo PFSH310CP User manual

ProFlo PFXC5150CP User manual

ProFlo

ProFlo PFXC5150CP User manual

ProFlo PFHS65 User manual

ProFlo

ProFlo PFHS65 User manual

ProFlo PF1030GCP User manual

ProFlo

ProFlo PF1030GCP User manual

ProFlo PFWSC5240CP User manual

ProFlo

ProFlo PFWSC5240CP User manual

ProFlo Alvord PFWSC6867CP User manual

ProFlo

ProFlo Alvord PFWSC6867CP User manual

ProFlo PF3880CP User manual

ProFlo

ProFlo PF3880CP User manual

ProFlo PFXM324 User manual

ProFlo

ProFlo PFXM324 User manual

ProFlo PF9890CP User manual

ProFlo

ProFlo PF9890CP User manual

ProFlo PFSH314CP User manual

ProFlo

ProFlo PFSH314CP User manual

ProFlo PF9820GCP User manual

ProFlo

ProFlo PF9820GCP User manual

ProFlo PFTS35CP User manual

ProFlo

ProFlo PFTS35CP User manual

ProFlo PF6870CP User manual

ProFlo

ProFlo PF6870CP User manual

ProFlo PFWSC1140LCP User manual

ProFlo

ProFlo PFWSC1140LCP User manual

ProFlo Greenwood PFTSWEC1000WH User manual

ProFlo

ProFlo Greenwood PFTSWEC1000WH User manual

ProFlo PFWSC9840CP User manual

ProFlo

ProFlo PFWSC9840CP User manual

ProFlo PFHS201GCP User manual

ProFlo

ProFlo PFHS201GCP User manual

ProFlo PF1705 User manual

ProFlo

ProFlo PF1705 User manual

ProFlo Kelper PF9820G2CP User manual

ProFlo

ProFlo Kelper PF9820G2CP User manual

ProFlo Willett PF2830CP User manual

ProFlo

ProFlo Willett PF2830CP User manual

ProFlo PFWSC1240CP User manual

ProFlo

ProFlo PFWSC1240CP User manual

ProFlo PF4820CP User manual

ProFlo

ProFlo PF4820CP User manual

Popular Bathroom Fixture manuals by other brands

Bobrick B-38030 Instruction for installation and maintenance

Bobrick

Bobrick B-38030 Instruction for installation and maintenance

GME Vetrum Series installation manual

GME

GME Vetrum Series installation manual

Arblu VEGA NICCHIA 2SL Assembly instructions

Arblu

Arblu VEGA NICCHIA 2SL Assembly instructions

Silverdale Luxury Traditional Basin Stand Fitting instructions

Silverdale

Silverdale Luxury Traditional Basin Stand Fitting instructions

Gessi 30653 manual

Gessi

Gessi 30653 manual

Franke AQUATIMER A3000 Installation and operating instructions

Franke

Franke AQUATIMER A3000 Installation and operating instructions

Triton ZANTE 4 manual

Triton

Triton ZANTE 4 manual

BATH DELUXE DALLAS installation guide

BATH DELUXE

BATH DELUXE DALLAS installation guide

Kohler ARCHER 6220X-4 installation instructions

Kohler

Kohler ARCHER 6220X-4 installation instructions

KEUCO Stageline 32842 01V0 Series Instructions for use

KEUCO

KEUCO Stageline 32842 01V0 Series Instructions for use

rba RBA1211-600 Installation, operation and maintenance instructions

rba

rba RBA1211-600 Installation, operation and maintenance instructions

Cello Sea instruction manual

Cello

Cello Sea instruction manual

Hans Grohe Raindance Select S 150/Unica'S Puro Set... Instructions for use

Hans Grohe

Hans Grohe Raindance Select S 150/Unica'S Puro Set... Instructions for use

Thomasville Ellamar THMSVL60CVDG Use and care guide

Thomasville

Thomasville Ellamar THMSVL60CVDG Use and care guide

Gessi INCISO 58011 manual

Gessi

Gessi INCISO 58011 manual

Toto TX454SESMR installation manual

Toto

Toto TX454SESMR installation manual

Kohler K-13688 Installation and care guide

Kohler

Kohler K-13688 Installation and care guide

METHVEN AIO AURAJET TWIN SHOWER AOSSCPAU manual

METHVEN

METHVEN AIO AURAJET TWIN SHOWER AOSSCPAU manual

manuals.online logo
manuals.online logoBrands
  • About & Mission
  • Contact us
  • Privacy Policy
  • Terms and Conditions

Copyright 2025 Manuals.Online. All Rights Reserved.