manuals.online logo
Brands
  1. Home
  2. •
  3. Brands
  4. •
  5. ProFlo
  6. •
  7. Bathroom Fixture
  8. •
  9. ProFlo PF5200CP User manual

ProFlo PF5200CP User manual

www.PROFLO.com
Distributed Exclusively by Ferguson and Wolseley Canada
© 2018 Ferguson Enterprises, Inc.
1
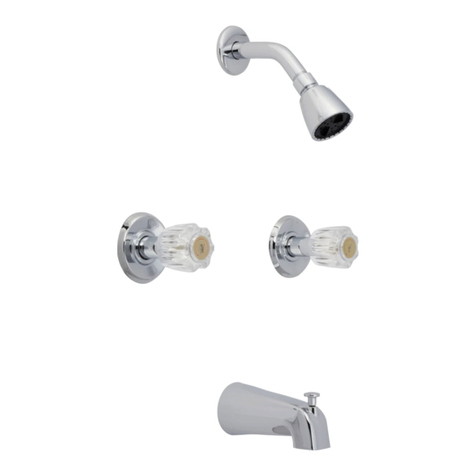
Single Handle Tub & Shower Trim
Adorno de ducha y banera con un solo mango
Ensemble de douche et baignoire à une poignée
Installation Instructions
Instructions pour l’installation / Instrucciones de instalación
ENGLISH
Caution-Tips:
Shut off main water supply before installation.
CARE INSTRUCTIONS:
Inlet ports are designed to allow for ½” copper
tubing soldering connection or ½” MIP threaded
connection. For threaded connections,wrap pipe
tape around threaded ends before connecting.
For copper soldering connections, the cartridge
must be removed before turning on the flame.
If left intact, damage to these parts will occur
and result in the warranty being void on these
parts.
ESPAÑOL
Precaución-consejos:
Cierre el suministro de agua antes de instalar.
INSTRUCCIONES DE CUIDADO:
Los puertos de entrada están diseñados para
conectar soldaduras de tubos de cobre de 12 mm
(½ pulg.) o conectores macho de hierro (MIP)
a rosca. Para las conexiones a rosca, enrolle la cinta
para tuberías alrededor de los extremos roscados
antes de realizar la conexión. Para las conexiones de
soldadura de cobre, se debe extraer el cartucho antes
de encender la llama. Si se deja intacto, las piezas se
pueden dañar y la garantía de dichas piezas quedará
inválida.
FRANÇAIS
Attention-suggestionst:
Couper l’alimentation d’eau principale avant l’installation.
DIRECTIVES D’ENTRETINE:
Les ports d'entrée sont conçus pour permettre un
raccordement à souder de tube de cuivre de ½" ou un
raccord fileté MIP de ½". Pour les raccords filetés, enrobez
un ruban pour tuyau autour des extrémités filetées avant de
faire la connexion. Pour les connexions en cuivre à souder,
la cartouche doit être retirée avant d'allumer la flamme. Si
elle reste intacte, des dommages à ces parties se produiront
et annuleront la garantie de ces pièces.
You may need/Usted puede necesitar/
Aticles dont vous pouvez avoir besion
Goggles
Anteojos Protectores
Lunettes de sécurité
Wrench
Llave
Clé ajustable
Groove joint plier
Pince multiprise adjustable
Pinzas
Phillips screwdriver
Destornillador cruiforme
Tournevis Phillips
Hex wrench
Llave hexagonal
Clé hexagonale
CAP 01/18 REV.A
Model PF5200CP/BN/ORB, PF5220CP/BN/ORB,PF5230CP/BN/ORB
PF6820CP/BN, PF6830CP/BN, PF7600SCP/BN, PF7610SCP/BN
PF7611SCP/BN, PF8820CP/BN, PF8830CP/BN , PF8800CP/BN
www.PROFLO.com
Distributed Exclusively by Ferguson and Wolseley Canada
© 2018 Ferguson Enterprises, Inc.
2CAP 01/18 REV.B
1. Install shower arm. 1 . Instale el brazo de ducha.
1. Installer le bras de douche.
2. Install shower flange. 2 . Instale la brida del brazo de ducha. 2. Installer la bride de douche.
3. Install showerhead and tighten with wrench. 3 . Instale la cabeza de ducha y apriete con una
llave. Abra el suministro de agua.
3. Installer la pomme de douche et serrer à l’aide
de la clé à molette. Ouvrir l’alimentation d’eau.
4. Install nipple for spout. Stub-out pipe must be
½” copper or CPVC.
IMPORTANT: The distance from the valve to the
tub spout stub out should be between
8” and 18”.
4. Instale la boquilla del grifo. El tubo de montaje debe
ser de cobre o CPVC(cloruro de polivinilo tratado con
cloro) de 12 mm (½ pulg.).
IMPORTANTE: La distancia desde la válvula hasta el
tubo de montaje del surtidor de la tina debe ser entre
8” y 18”.
4. Installez le mamelon du bec. L’embout de tuyau
doit être de ½" en cuivre ou en PVC-C.
IMPORTANT : la distance entre le robinet et la sortie du bec
verseur de la baignoire devrait se situer entre
20,32 et 45,72 cm ( 8 et 18 po).
5. Before installing escutcheon, remove the plastic cap
from plaster guard by twisting cap clockwise.
5. Antes de instalar la placa, remueva la tapa plástica
del base para pared, girando la tapa en el sentido de
las agujas del reloj.
5. Avant d’installer l’applique, enlever le capuchon en
plastique du arrêt d'enduit en le tournant dans le sens
des aiguilles d’une montre
6. Slip on spout over ½” copper or CPVC pipe. Slide
the spout over the pipe with the spout tight to the
wall;tighten the set screw to the pipe.
6. Coloque el grifo sobre el tubo de 12 mm (½ pulg.) de
cobre o CPVC.Deslice el grifo sobre el tubo presionándolo
contra la pared ;ajuste el tornillo de sujeción al tubo.
6. Glissez sur le bec sur l’embout de ½" en cuivre ou en
PVC-C.Insérez le bec sur le tuyau avec le bec serré contre
le mur ;serrez la vis sur le tuyau.
7. Install escutcheon onto valve. 7. Instale el escudo sobre la válvula. 7. Installer l’applique sur le robinet.
8. Screw in handle. 8. Atornille la manija. 8. Visser la manette.

This manual suits for next models

24

Other ProFlo Bathroom Fixture manuals

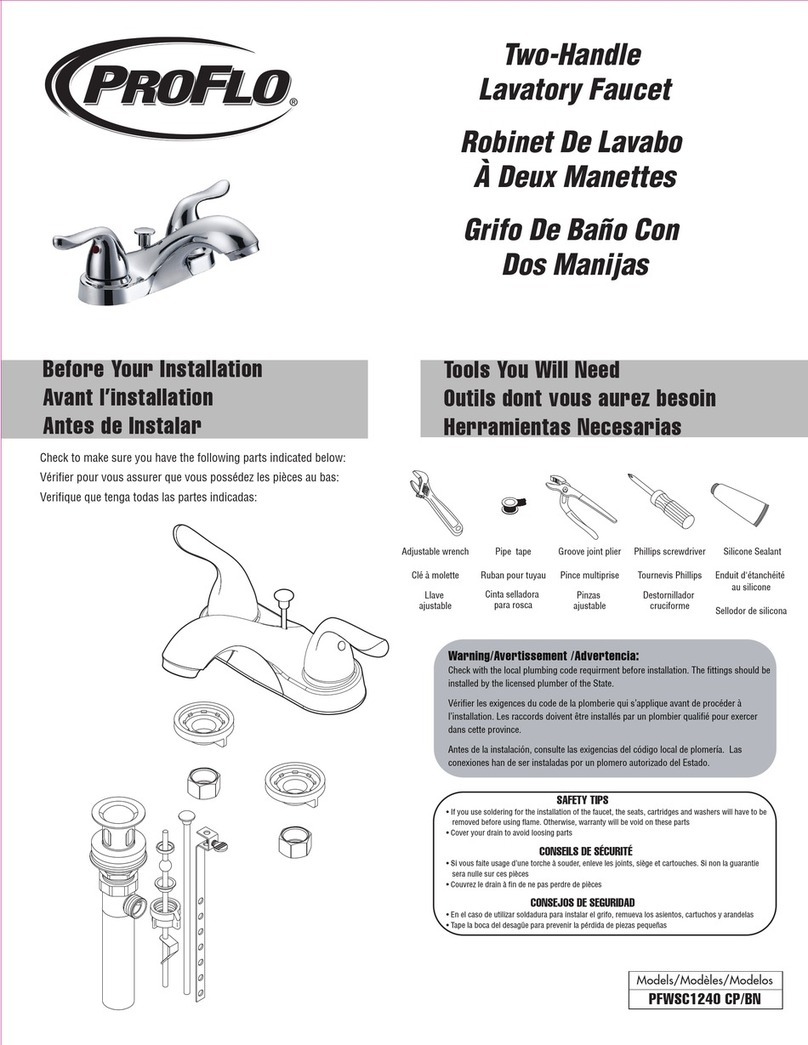
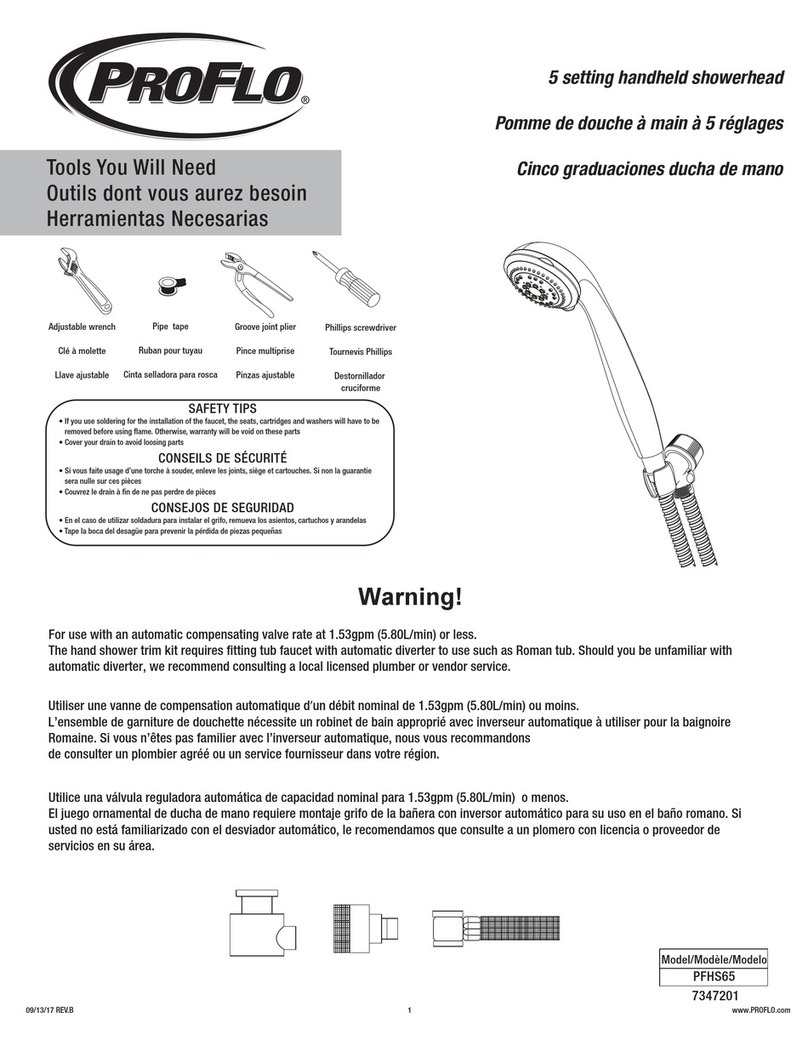
ProFlo PFHS65 User manual

ProFlo

ProFlo PFHS65 User manual

ProFlo PF6870CP User manual

ProFlo

ProFlo PF6870CP User manual

ProFlo PFWSC9840CP User manual

ProFlo

ProFlo PFWSC9840CP User manual

ProFlo PFXM324 User manual

ProFlo

ProFlo PFXM324 User manual

ProFlo PF1705 User manual

ProFlo

ProFlo PF1705 User manual

ProFlo PFXC5150CP User manual

ProFlo

ProFlo PFXC5150CP User manual

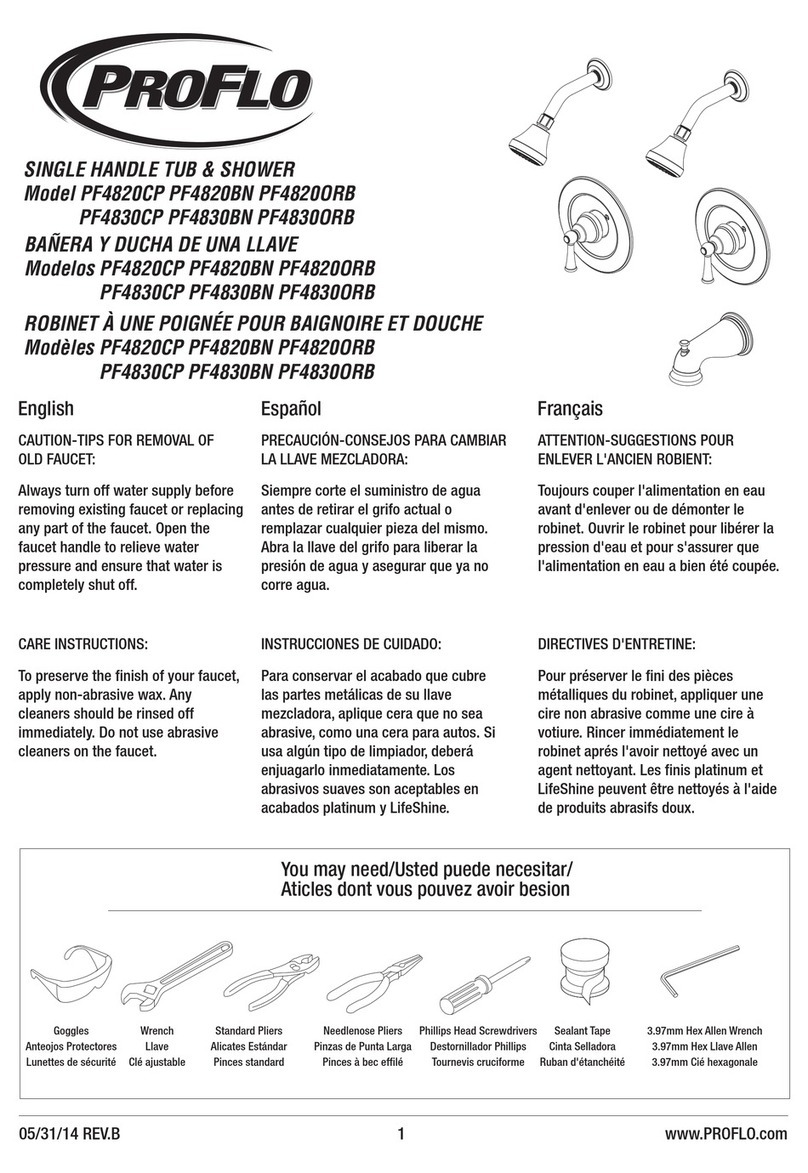
ProFlo PF4820CP User manual

ProFlo

ProFlo PF4820CP User manual

ProFlo PFWSC5240CP User manual

ProFlo

ProFlo PFWSC5240CP User manual

ProFlo Willett PF2830CP User manual

ProFlo

ProFlo Willett PF2830CP User manual

ProFlo Kelper PF9820G2CP User manual

ProFlo

ProFlo Kelper PF9820G2CP User manual

ProFlo PFWSC1240CP User manual

ProFlo

ProFlo PFWSC1240CP User manual

ProFlo PF28FS2000GCP User manual

ProFlo

ProFlo PF28FS2000GCP User manual

ProFlo PFTS35CP User manual

ProFlo

ProFlo PFTS35CP User manual

ProFlo PF5310CP Assembly instructions

ProFlo

ProFlo PF5310CP Assembly instructions

ProFlo PF3880CP User manual

ProFlo

ProFlo PF3880CP User manual

ProFlo PFSH310CP User manual

ProFlo

ProFlo PFSH310CP User manual

ProFlo Alvord PFWSC6867CP User manual

ProFlo

ProFlo Alvord PFWSC6867CP User manual

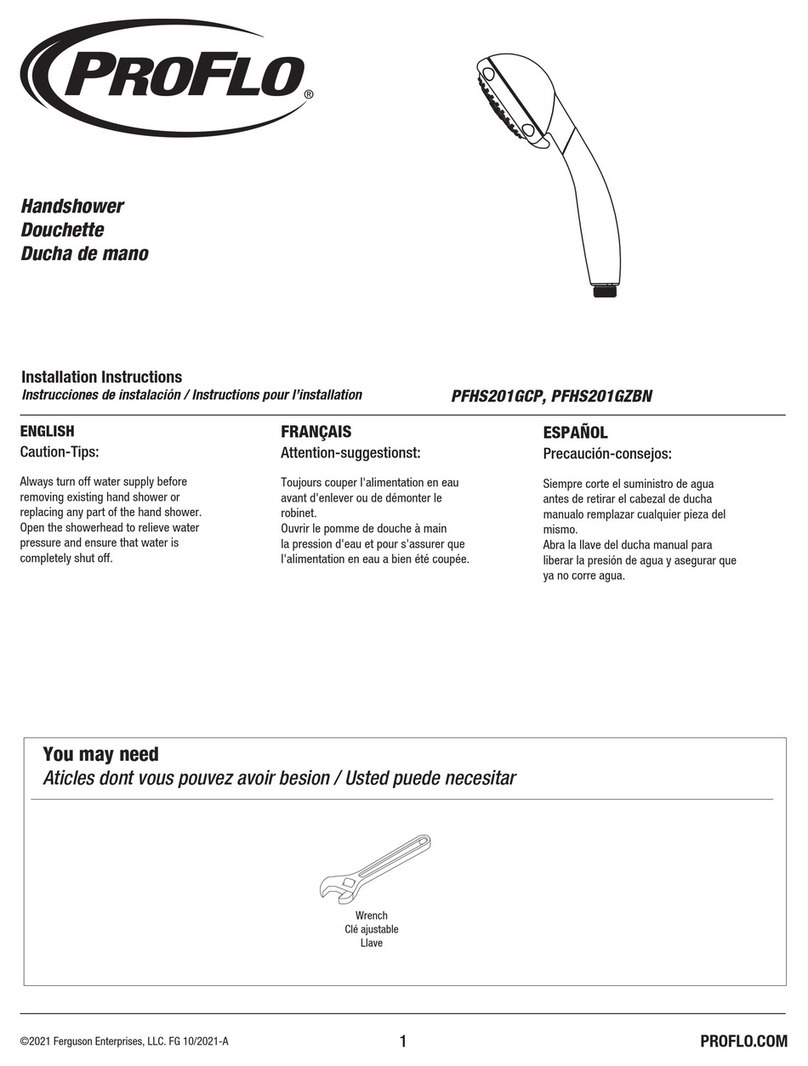
ProFlo PFHS201GCP User manual

ProFlo

ProFlo PFHS201GCP User manual

ProFlo PF9820GCP User manual

ProFlo

ProFlo PF9820GCP User manual

ProFlo PF9890CP User manual

ProFlo

ProFlo PF9890CP User manual

ProFlo PF1030GCP User manual

ProFlo

ProFlo PF1030GCP User manual

ProFlo PFSH314CP User manual

ProFlo

ProFlo PFSH314CP User manual

ProFlo Greenwood PFTSWEC1000WH User manual

ProFlo

ProFlo Greenwood PFTSWEC1000WH User manual

ProFlo PFWSC1140LCP User manual

ProFlo

ProFlo PFWSC1140LCP User manual

Popular Bathroom Fixture manuals by other brands

KWC MIRANIT F5ST2028 Installation and operating instructions

KWC

KWC MIRANIT F5ST2028 Installation and operating instructions

Franke RODX605E manual

Franke

Franke RODX605E manual

VIGO NOMA V601009 manual

VIGO

VIGO NOMA V601009 manual

Helvex RM-13 installation guide

Helvex

Helvex RM-13 installation guide

KWC VITA PRO 2.0 A125 12.528.041.000FL Installation and service manual

KWC

KWC VITA PRO 2.0 A125 12.528.041.000FL Installation and service manual

NYMAS PFGB 18 Series Installation and operating instructions

NYMAS

NYMAS PFGB 18 Series Installation and operating instructions

Hewi 801 Classic Series Installation and operating instructions

Hewi

Hewi 801 Classic Series Installation and operating instructions

BETTE BetteSolid installation instructions

BETTE

BETTE BetteSolid installation instructions

Bradley S19274HWR Installation

Bradley

Bradley S19274HWR Installation

Decor Star PL-035-SS manual

Decor Star

Decor Star PL-035-SS manual

odass OD-3040 instruction manual

odass

odass OD-3040 instruction manual

Signature Hardware RIGI 948674 quick start guide

Signature Hardware

Signature Hardware RIGI 948674 quick start guide

American Standard EDGEWATER 4932.300 installation instructions

American Standard

American Standard EDGEWATER 4932.300 installation instructions

Thermasol SEAT-S-GR manual

Thermasol

Thermasol SEAT-S-GR manual

imex CC100F instruction manual

imex

imex CC100F instruction manual

Tenzo QU11-CR Installation manual and user's guide

Tenzo

Tenzo QU11-CR Installation manual and user's guide

Hans Grohe Crometta 1jet 26331400 Assembly instructions

Hans Grohe

Hans Grohe Crometta 1jet 26331400 Assembly instructions

Jacob Delafon SERENITY E14P70-GA user manual

Jacob Delafon

Jacob Delafon SERENITY E14P70-GA user manual

manuals.online logo
manuals.online logoBrands
  • About & Mission
  • Contact us
  • Privacy Policy
  • Terms and Conditions

Copyright 2025 Manuals.Online. All Rights Reserved.