manuals.online logo
Brands
  1. Home
  2. •
  3. Brands
  4. •
  5. ProFlo
  6. •
  7. Bathroom Fixture
  8. •
  9. ProFlo PFXM324 User manual

ProFlo PFXM324 User manual

SINGLE HANDLE METERING FAUCET
GRIFO DOSIFICADOR DE UNA MANIJA
ROBINET MESUREUR À POIGNÉE UNIQUE
Model PFXM324
Modelos PFXM324
Modèles PFXM324
www.PROFLO.com
You may need/Usted puede necesitar/
Aticles dont vous pouvez avoir besion
English Español Français
CAUTION-TIPS FOR REMOVAL OF
OLD FAUCET:
PRECAUCIÓN-CONSEJOS PARA CAMBIAR
LA LLAVE MEZCLADORA:
ATTENTION-SUGGESTIONS POUR
ENLEVER L'ANCIEN ROBIENT:
Always turn off water supply before
removing existing faucet or replacing
any part of the faucet. Open the
faucet handle to relieve water
pressure and ensure that water is
completely shut off.
Siempre corte el suministro de agua
antes de retirar el grifo actual o
remplazar cualquier pieza del mismo.
Abra la llave del grifo para liberar la
presión de agua y asegurar que ya no
corre agua.
Toujours couper l'alimentation en eau
avant d'enlever ou de démonter le
robinet. Ouvrir le robinet pour libérer la
pression d'eau et pour s'assurer que
l'alimentation en eau a bien été coupée.
CARE INSTRUCTIONS: INSTRUCCIONES DE CUIDADO: DIRECTIVES D'ENTRETINE:
To preserve the finish of your faucet,
apply non-abrasive wax. Any
cleaners should be rinsed off
immediately. Do not use abrasive
cleaners on the faucet.
Para conservar el acabado que cubre
las partes metálicas de su llave
mezcladora, aplique cera que no sea
abrasive, como una cera para autos. Si
usa algún tipo de limpiador, deberá
enjuagarlo inmediatamente. Los
abrasivos suaves son aceptables en
acabados platinum y LifeShine.
Pour préserver le fini des pièces
métalliques du robinet, appliquer une
cire non abrasive comme une cire à
votiure. Rincer immédiatement le
robinet aprés l'avoir nettoyé avec un
agent nettoyant. Les finis platinum et
LifeShine peuvent être nettoyés à l'aide
de produits abrasifs doux.
Goggles
Anteojos Protectores
Lunettes de sécurité
Wrench
Llave
Clé ajustable
Sealant Tape
Cinta Selladora
Ruban d'étanchéité
Silicone
Silicón
Silicone
SILICONE
Installation Instructions
Instrucciones de instalación
Instructions d'installation
06/19/20 REV. B 1
Flathead Screwdriver
Destornillador
de cabeza plana
Tournevis à tête plate
2
Apply plumbers putty under the faucet. Place the faucet in position on the sink.
Slide steel washer through shanks and tighten with locknut from underneath the
sink.
www.PROFLO.com
12
34
06/19/20 REV. B
Shut off water supplies. Remove old faucet. Clean mounting surface in preparation
for new faucet.
When using stainless steel braided faucet supply hose, this faucet requires one end
of the supply hose to have a ½” female IPS connection. The other end of this supply
hose must match the thread on the water supply valve under your sink. Once you’ve
identified the required size, carefully follow the manufacturer’s installation
instructions for each hose.
Important: After installation is complete, remove aerator. Turn water supplies on and
allow water to run for at least one minute. While water is running, check for leaks.
Turn off water and replace aerator.
Cierre los suministros de agua. Retire el grifo anterior. Limpie la superficie de
montaje en preparación para el nuevo grifo.
Fermez l'alimentation en eau. Enlevez le vieux robinet. Nettoyez la surface de
montage en préparation pour le nouveau robinet.
Aplique masilla para plomería debajo del grifo. Coloque el grifo en posición sobre el
fregadero. Deslice la arandela de acero a través de los vástagos y ajuste con una
tuerca de seguridad por la parte inferior del fregadero.
Appliquez du mastic de plomberie sous le robinet. Mettre le robinet en place sur
l'évier. Glisser une rondelle en acier sur les tiges, puis serrer avec l'écrou de
blocage sous l'évier.
Importante: Después de concluir la instalación, retire el aireador. Abra los suministros
de agua y permita que corra el agua por lo menos un minuto. Busque fugas mientras
que el agua está corriendo. Cierre el agua y reemplace el aireador.
Important : Une fois l’installation terminée, retirez l’aérateur. Ouvrir l'alimentation en
eau et laisser couler l'eau pendant au moins une minute. Pendant que l'eau coule,
vérifier s'il y a des fuites. Fermez l'eau, puis remettre l'aérateur en place.
Cuando utilice una manguera de suministro trenzada de acero inoxidable para grifo,
este grifo requiere que un extremo de la manguera de suministro tenga una
conexión IPS hembra de 1/2". El otro extremo de esta manguera de suministro debe
ajustarse a la rosca de la válvula de suministro de agua debajo del fregadero. Una
vez que identifique el tamaño necesario, siga cuidadosamente las instrucciones de
instalación del fabricante para cada manguera.
Lorsqu'un tuyau d'alimentation tressé en acier inoxydable est utilisé, l'une des
extrémités du tuyau d'alimentation doit avoir un raccord IPS femelle de 1,3 cm
(1/2 po). L'autre extrémité de ce tuyau d'alimentation doit correspondre au filetage
sur la vanne d'alimentation en eau sous l'évier. Après avoir déterminé la taille requise,
suivre attentivement les instructions d'installation du fabricant pour chaque tuyau.
www.PROFLO.com
6
3
5
Once the satisfactory timing has been adjusted, install the handle by tightening
Allen screw.
7
06/19/20 REV. B
The slow close cartridge is factory preset timed to 12 seconds @60 PSI. The inlet
water pressure and water temperature might vary this timing. If timing needs to be
changed, remove the handle by loosening Allen screw.
With the help of flat head screwdriver, loosen the screw to decrease the timing and
tighten the screw to increase the timing, the timing can be adjusted from 0 to 60
seconds depending on the inlet pressure and water temperature.
El cartucho de cierre lento está configurado de fábrica con una programación de 12
segundos @60 PSI. La presión del agua de entrada y la temperatura del agua
pudieran variar este tiempo. Si necesita cambiar el tiempo, retire la manija aflojando
el tornillo Allen.
Le minutage de la cartouche à fermeture lente est configuré en usine à 12 secondes
@60 PSI. La pression d'entrée d'eau et la température de l'eau peuvent faire varier
ce minutage. Si le minutage doit être modifié, retirez la poignée en desserrant la vis
creuse.
Con la ayuda de un destornillador de cabeza plana, afloje el tornillo para disminuir
el tiempo y ajuste el tornillo para aumentar el tiempo, el tiempo puede ajustarse de
0 a 60 segundos dependiendo de la presión del agua de entrada y la temperatura
del agua.
À l'aide d'un tournevis à tête plate, desserrez la vis pour réduire la durée et serrez la
vis pour augmenter la durée; la durée peut être réglée de 0 à 60 secondes selon la
pression d'entrée et la température de l'eau.
Una vez que se ajuste satisfactoriamente el tiempo, instale la manija ajustando el
tornillo Allen.
Lorsque la durée satisfaisante est obtenue, installez la poignée en serrant la vis
creuse.
TROUBLESHOOTING
RESOLUCIÓN DE PROBLEMAS
If the faucet runs constantly, you may have internal mineral buildup. To correct this
and return the faucet to normal function, please follow these steps:
Remove the handle.
Quite la manija.
Use the flathead screwdriver to return the stem to its original position and
reinstall the handle.
Press the stem for one minute to keep water flowing to remove mineral buildup.
Loosen the stem with a flathead screwdriver (only loosen, do not remove).
Si el grifo gotea constantemente, puede que haya una acumulación interna de
minerales. Para corregir esto y hacer que el grifo vuelva al funcionamiento normal,
siga estos pasos:
Use el destornillador plano para volver a poner el vástago en la posición inicial y
reinstale la manija.
Presione el vástago durante un minuto para mantener el flujo de agua y eliminar
la acumulación de minerales.
Afloje el vástago con un destornillador plano (solo aflójelo, no lo quite).
DÉPANNAGE
Démontez la poignée.
La cause d’un robinet qui fuit constamment pourrait être une accumulation interne
de minéraux. Pour corriger ce problème et rétablir le fonctionnement normal du
robinet, veuillez suivre ces étapes :
Utilisez un tournevis à lame plate pour remettre la tige dans sa position originale,
puis réinstallez la poignée.
Appuyez sur la tige pendant une minute pour laisser couler l’eau afin d’éliminer
l’accumulation de minéraux.
Desserrez la tige avec un tournevis à lame plate (ne pas enlever, seulement
desserrer).
4 www.PROFLO.com
06/19/20 REV. B
Handle
Stem
Body
Allen wrench
PFRPCS4900905
0.5 gpm
PFRPCS4900912
1.2 gpm
6985-F
881181
PFRPCS13003P
PFRPCS39004
Aireador
Aérateur
Aerator
Cuerpo
Corps
Mounting kits
PFRPG95A
Kits de montaje
Kits de montage
Manija
Poignée
vástago
tige
llave Allen
clé Allen
PFRPK30VKEY
Aerator tool
Herramienta
de aireador
Outil d'aérateur

Other ProFlo Bathroom Fixture manuals

ProFlo Willett PF2830CP User manual

ProFlo

ProFlo Willett PF2830CP User manual

ProFlo Greenwood PFTSWEC1000WH User manual

ProFlo

ProFlo Greenwood PFTSWEC1000WH User manual

ProFlo PF9820GCP User manual

ProFlo

ProFlo PF9820GCP User manual

ProFlo PFSH314CP User manual

ProFlo

ProFlo PFSH314CP User manual

ProFlo Alvord PFWSC6867CP User manual

ProFlo

ProFlo Alvord PFWSC6867CP User manual

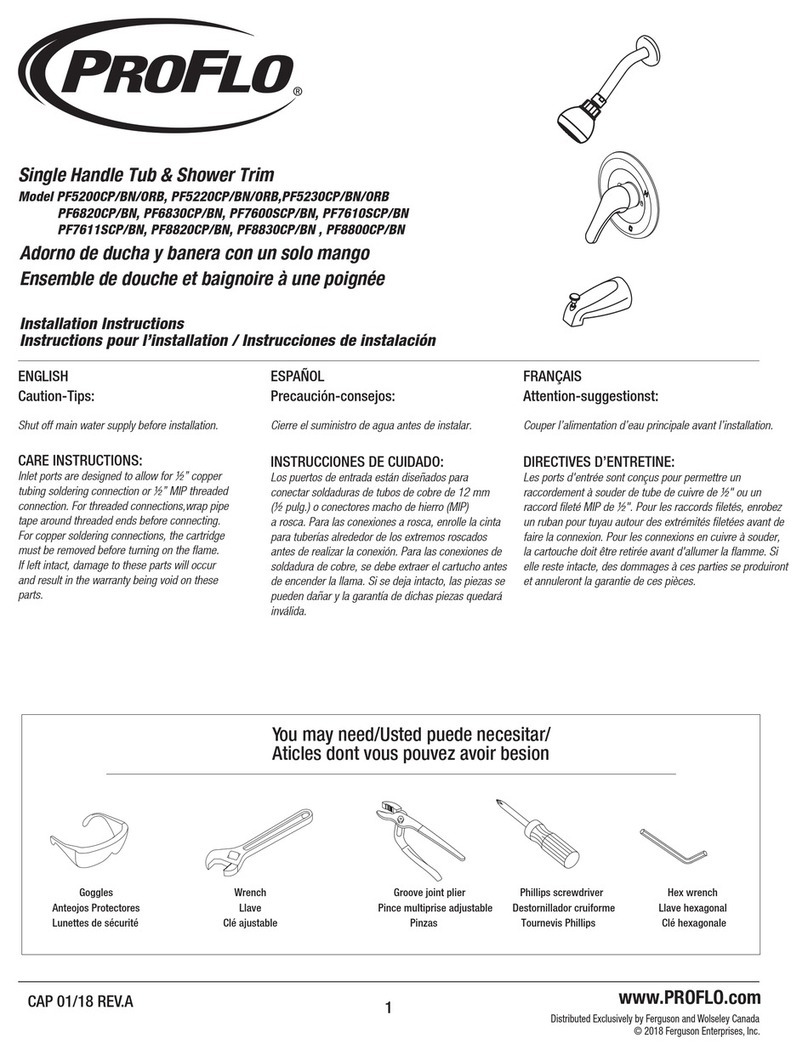
ProFlo PF5200CP User manual

ProFlo

ProFlo PF5200CP User manual

ProFlo PF6870CP User manual

ProFlo

ProFlo PF6870CP User manual

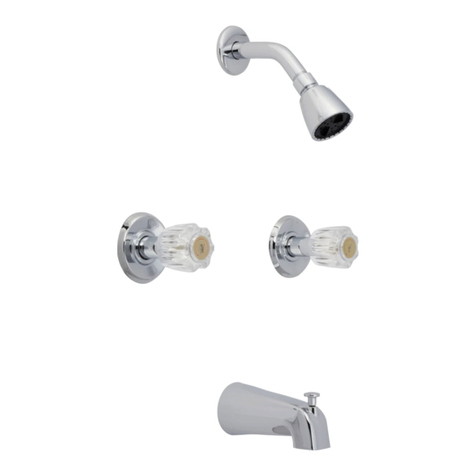
ProFlo PF4820CP User manual

ProFlo

ProFlo PF4820CP User manual

ProFlo PF5310CP Assembly instructions

ProFlo

ProFlo PF5310CP Assembly instructions

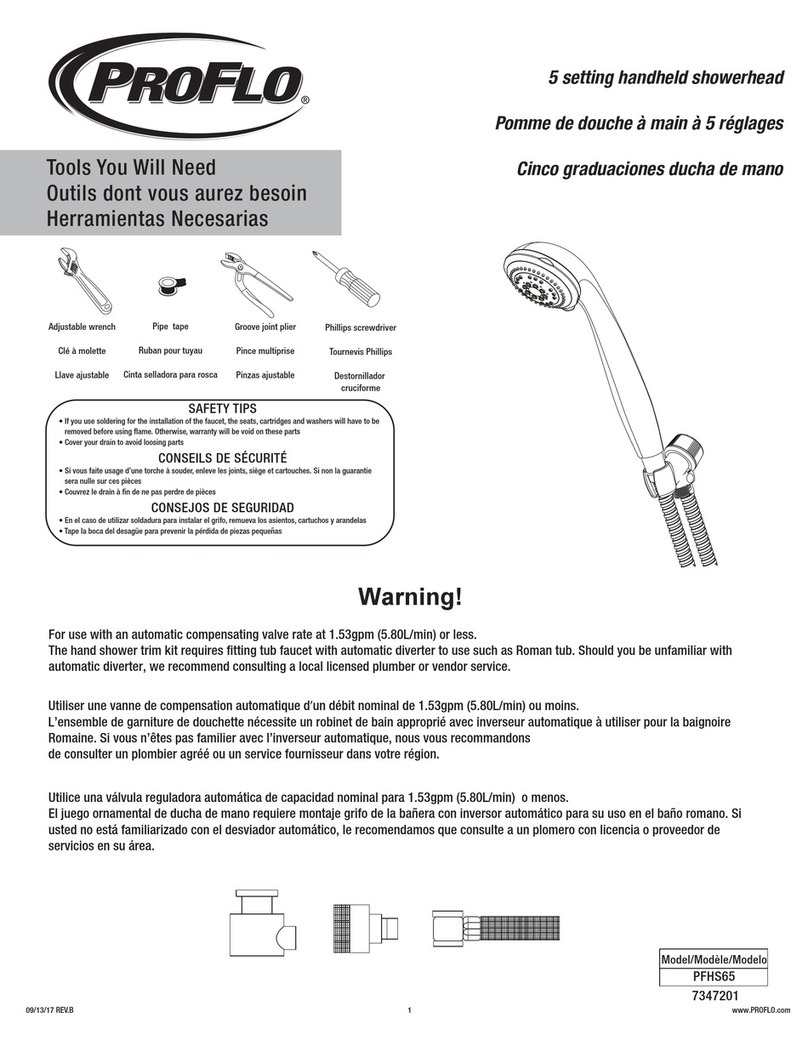
ProFlo PFHS65 User manual

ProFlo

ProFlo PFHS65 User manual

ProFlo PFXC5150CP User manual

ProFlo

ProFlo PFXC5150CP User manual

ProFlo PF1705 User manual

ProFlo

ProFlo PF1705 User manual

ProFlo PF9890CP User manual

ProFlo

ProFlo PF9890CP User manual

ProFlo PF28FS2000GCP User manual

ProFlo

ProFlo PF28FS2000GCP User manual

ProFlo PFHS201GCP User manual

ProFlo

ProFlo PFHS201GCP User manual

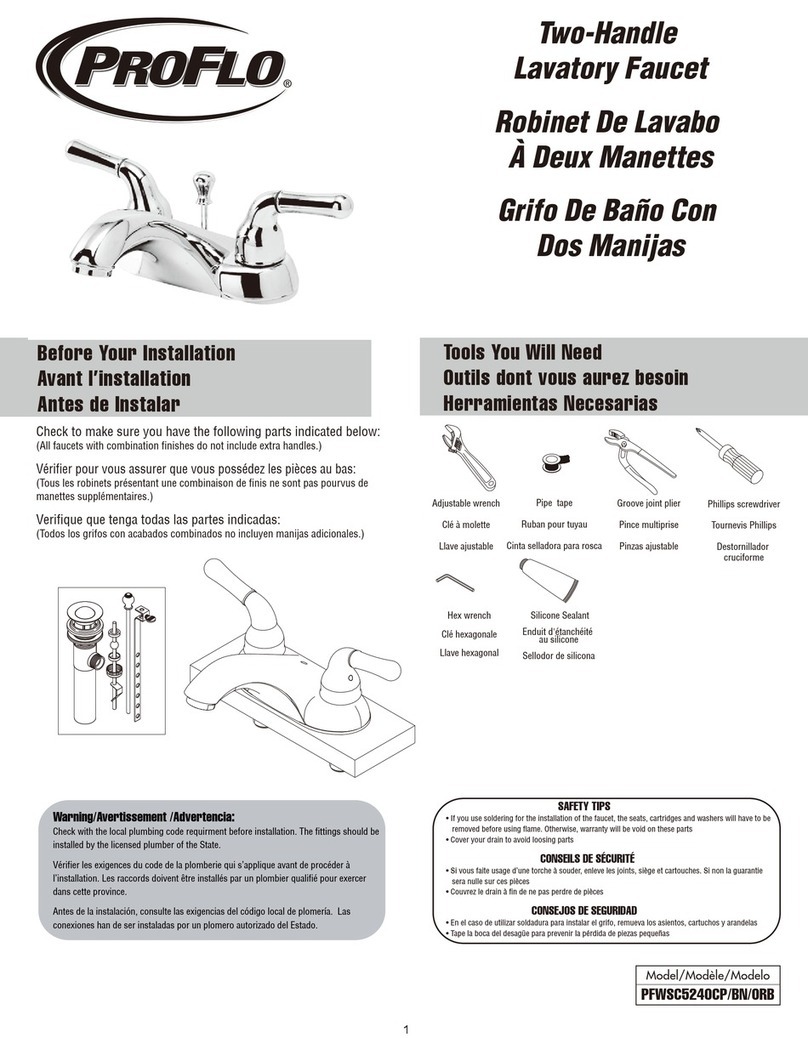
ProFlo PFWSC5240CP User manual

ProFlo

ProFlo PFWSC5240CP User manual

ProFlo PFWSC1140LCP User manual

ProFlo

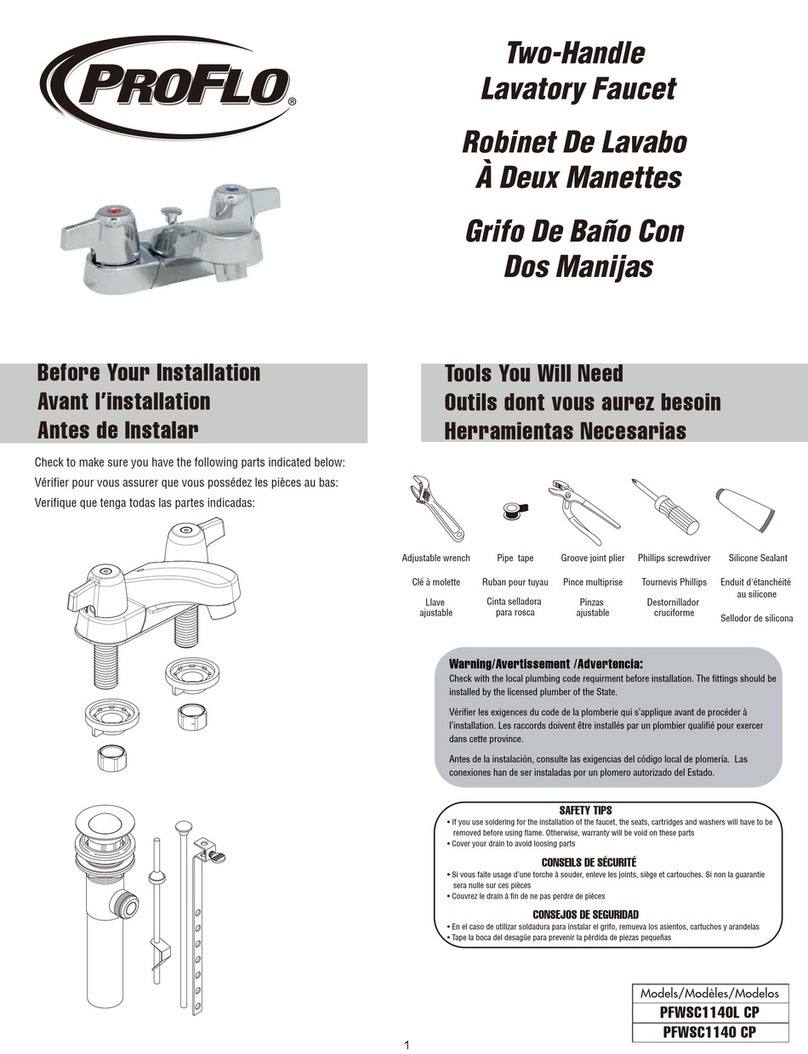
ProFlo PFWSC1140LCP User manual

ProFlo PF1030GCP User manual

ProFlo

ProFlo PF1030GCP User manual

ProFlo Kelper PF9820G2CP User manual

ProFlo

ProFlo Kelper PF9820G2CP User manual

ProFlo PFTS35CP User manual

ProFlo

ProFlo PFTS35CP User manual

ProFlo PF3880CP User manual

ProFlo

ProFlo PF3880CP User manual

ProFlo PFWSC9840CP User manual

ProFlo

ProFlo PFWSC9840CP User manual

ProFlo PFWSC1240CP User manual

ProFlo

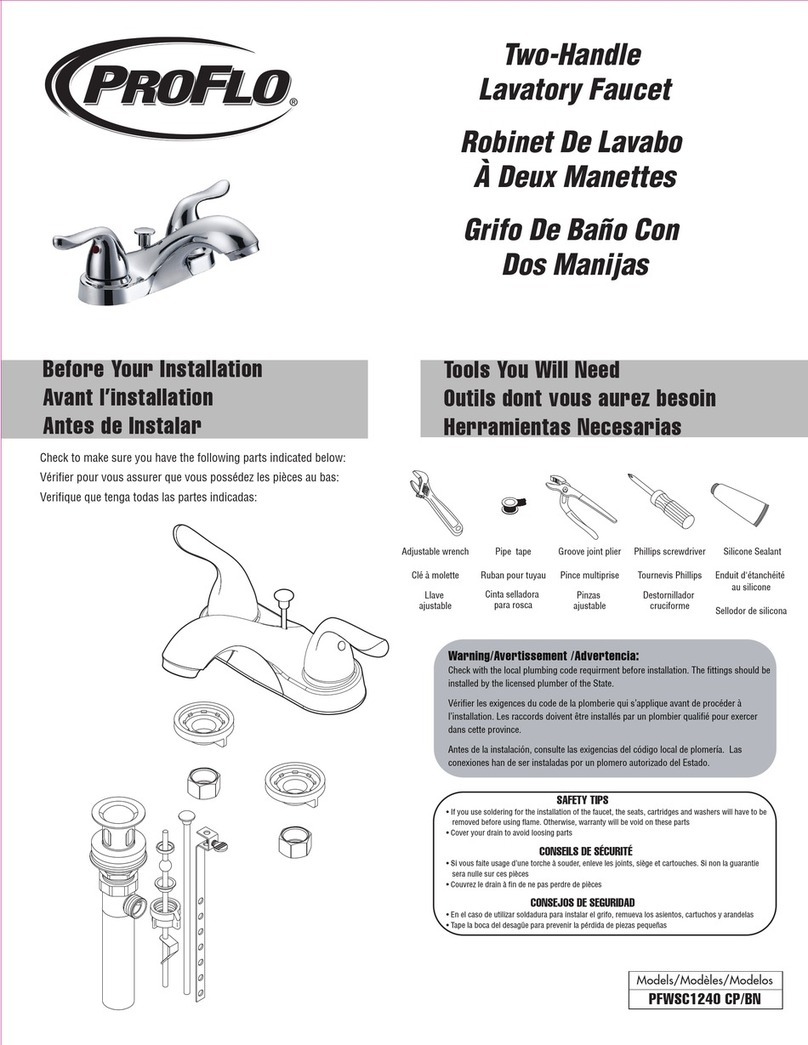
ProFlo PFWSC1240CP User manual

ProFlo PFSH310CP User manual

ProFlo

ProFlo PFSH310CP User manual

Popular Bathroom Fixture manuals by other brands

Decor Star PL-002-GS installation instructions

Decor Star

Decor Star PL-002-GS installation instructions

Hans Grohe Talis E2 Assembly instructions

Hans Grohe

Hans Grohe Talis E2 Assembly instructions

Fleurco ADQ3060 installation manual

Fleurco

Fleurco ADQ3060 installation manual

Croydex DG400341 quick start guide

Croydex

Croydex DG400341 quick start guide

Kohler C3-430 Homeowner's guide

Kohler

Kohler C3-430 Homeowner's guide

Sanwa Tubo instruction manual

Sanwa

Sanwa Tubo instruction manual

Signature Hardware 949059 quick start guide

Signature Hardware

Signature Hardware 949059 quick start guide

Toto Vivian TS220E Installation and owner's manual

Toto

Toto Vivian TS220E Installation and owner's manual

April Identiti AP6003L/R installation instructions

April

April Identiti AP6003L/R installation instructions

Better Bathrooms Morella 80 user manual

Better Bathrooms

Better Bathrooms Morella 80 user manual

Helvex UTR-038 installation guide

Helvex

Helvex UTR-038 installation guide

PUK Vils 1GTG+1GTG Assembly instruction

PUK

PUK Vils 1GTG+1GTG Assembly instruction

Brizo RP27149 manual

Brizo

Brizo RP27149 manual

Hans Grohe AXOR 460/300 3jet 35281 7 Series Instructions for use and assembly instructions

Hans Grohe

Hans Grohe AXOR 460/300 3jet 35281 7 Series Instructions for use and assembly instructions

K&D 17419002 Assembly instructions

K&D

K&D 17419002 Assembly instructions

Spectrum Brands Pfister Renato 8P8-RN Quick installation guide

Spectrum Brands

Spectrum Brands Pfister Renato 8P8-RN Quick installation guide

Goodiy Pearl instruction manual

Goodiy

Goodiy Pearl instruction manual

Helvex PIURA PIU-05 installation guide

Helvex

Helvex PIURA PIU-05 installation guide

manuals.online logo
manuals.online logoBrands
  • About & Mission
  • Contact us
  • Privacy Policy
  • Terms and Conditions

Copyright 2025 Manuals.Online. All Rights Reserved.