manuals.online logo
Brands
  1. Home
  2. •
  3. Brands
  4. •
  5. ProFlo
  6. •
  7. Bathroom Fixture
  8. •
  9. ProFlo PF9820GCP User manual

ProFlo PF9820GCP User manual

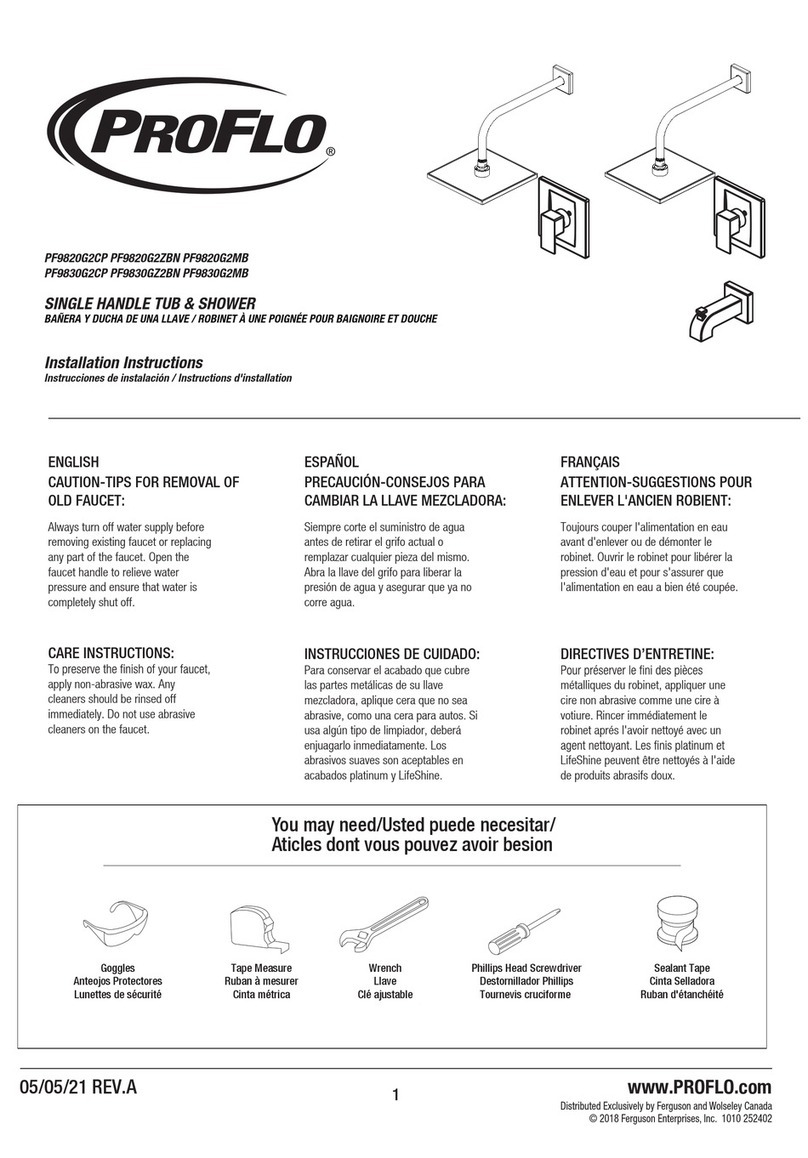
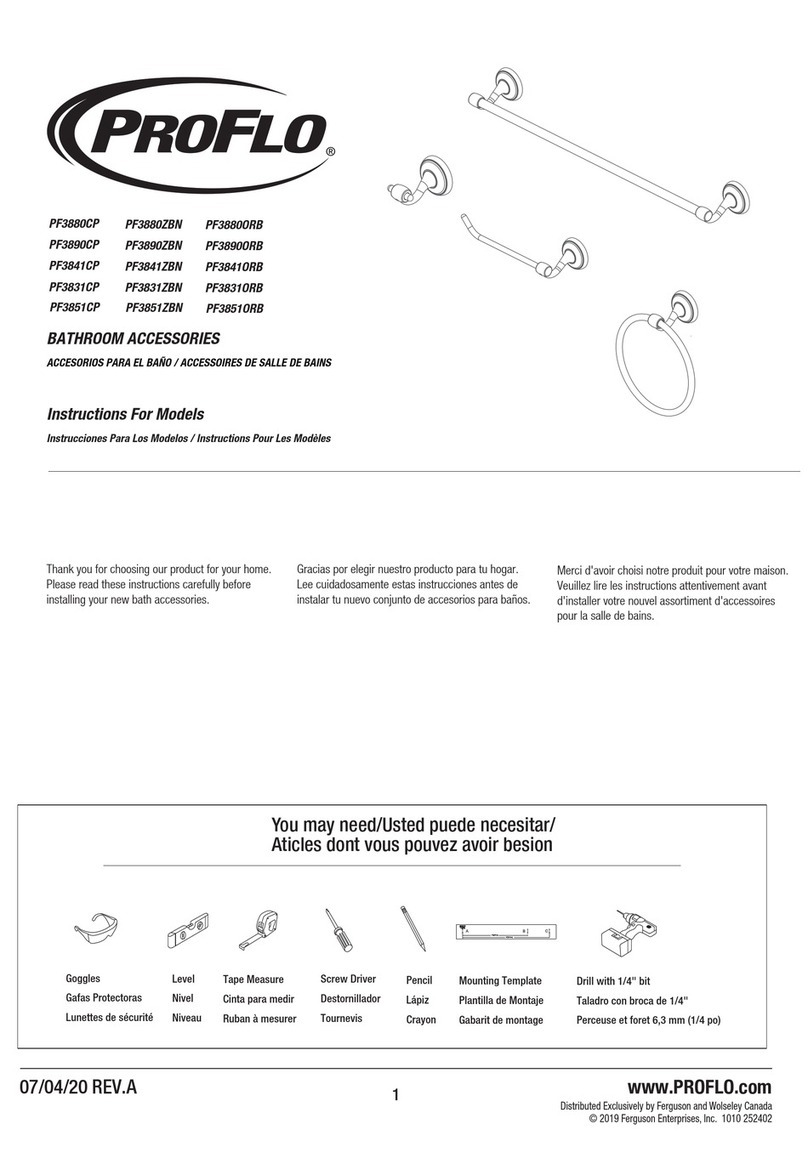
SINGLE HANDLE TUB & SHOWER
BAÑERA Y DUCHA DE UNA LLAVE / ROBINET À UNE POIGNÉE POUR BAIGNOIRE ET DOUCHE
PF9820GCP PF9820GZBN PF9820GMB
PF9830GCP PF9830GZBN PF9830GMB
Installation Instructions
Instrucciones de instalación / Instructions d'installation
ENGLISH
CAUTION-TIPS FOR REMOVAL OF
OLD FAUCET:
Always turn off water supply before
removing existing faucet or replacing
any part of the faucet. Open the
faucet handle to relieve water
pressure and ensure that water is
completely shut off.
CARE INSTRUCTIONS:
apply non-abrasive wax. Any
cleaners should be rinsed off
immediately. Do not use abrasive
cleaners on the faucet.
ESPAÑOL
PRECAUCIÓN-CONSEJOS PARA
CAMBIAR LA LLAVE MEZCLADORA:
Siempre corte el suministro de agua
antes de retirar el grifo actual o
remplazar cualquier pieza del mismo.
Abra la llave del grifo para liberar la
presión de agua y asegurar que ya no
corre agua.
INSTRUCCIONES DE CUIDADO:
Para conservar el acabado que cubre
las partes metálicas de su llave
mezcladora, aplique cera que no sea
abrasive, como una cera para autos. Si
usa algún tipo de limpiador, deberá
enjuagarlo inmediatamente. Los
abrasivos suaves son aceptables en
acabados platinum y LifeShine.
FRANÇAIS
ATTENTION-SUGGESTIONS POUR
ENLEVER L'ANCIEN ROBIENT:
Toujours couper l'alimentation en eau
avant d'enlever ou de démonter le
robinet. Ouvrir le robinet pour libérer la
pression d'eau et pour s'assurer que
l'alimentation en eau a bien été coupée.
DIRECTIVES D’ENTRETINE:
métalliques du robinet, appliquer une
cire non abrasive comme une cire à
votiure. Rincer immédiatement le
robinet aprés l'avoir nettoyé avec un
LifeShine peuvent être nettoyés à l'aide
de produits abrasifs doux.
www.PROFLO.com
Distributed Exclusively by Ferguson and Wolseley Canada
© 2018 Ferguson Enterprises, Inc. 1010 252402
1
You may need/Usted puede necesitar/
Aticles dont vous pouvez avoir besion
Goggles
Anteojos Protectores
Lunettes de sécurité
Wrench
Llave
Clé ajustable
Tape Measure
Ruban à mesurer
Cinta métrica
Phillips Head Screwdriver
Destornillador Phillips
Tournevis cruciforme
Sealant Tape
Cinta Selladora
Ruban d'étanchéité
12/09/20 REV.C
Slide the sleeve (1) over the valve body and thread the bonnet nut (2) onto the valve
body. Hand tighten securely.
Position escutcheon (1) on valve body with drain hole (2) at the bottom. Tighten
screw (3). Place the handle (4) onto the valve body and tighten the set screw (5) with
the Hex wrench (Hex: 2.5 mm, 6) provided.
Coloca la placa decorativa (1) en el cuerpo de la válvula con el orificio de drenaje (2)
en la base. Aprieta el tornillo (3). Coloca la llave (4) en el cuerpo de la válvula y
aprieta el tornillo de fijación (5) con la llave hexagonal (hexagonal 2.5 mm, 6) que
incluye.
Placez la rosace (1) sur le corps du robinet avec le trou d’évacuation (2) en bas.
Serrez la vis (3). Placez la manette (4) sur le corps du robinet, puis serrez la vis de
pression (5) à l’aide de la clé hexagonale (hex. : 2,5 mm, 6) fournie.
Desliza la funda (1) sobre el cuerpo de la válvula y enrosca la tuerca ciega (2) en el
cuerpo de la válvula. Apretar bien con la mano.
Faites glisser le manchon (1) par-dessus le corps du robinet et enfilez l’écrou à
portée sphérique (2) sur le corps du robinet. Serrez bien à la main.
1 2
www.PROFLO.com
Distributed Exclusively by Ferguson and Wolseley Canada
© 2018 Ferguson Enterprises, Inc. 1010 252402
2
FOR SHOWER ARM INSTALLATION.
Insert the long end of the shower arm (2) through the flange (1) then wrap plumber's
tape to both sides of shower arm. Screw long end of the shower arm into pipe elbow
inside the wall. Wrap thread sealant tape around the pipe threads of the tub spout
outlet (3, not included) in a clockwise direction, as shown. Connect the tub spout
outlet pipe (the tub spout outlet pipe should project 1-7/16 in. to 2-3/16 in. from the
finished wall) to the lower pipe elbow (4, not included). Tighten the elbow and tub
spout outlet pipe connections with a wrench. FOR TUB SPOUT INSTALLATION
Install tub spout. Press tub spout onto pipe until spout is properly positoned and
flush to the finished wall. Tighten screw (1) located at the bottom of spout with Allen
wrench (Hex: 2.5 mm).
IMPORTANT: The distance from the valve to the tub spout stub out should be
between 8” and 18”.
INSTALACIÓN DEL CAÑO DE LA TINA
Instala el caño de la tina. Presiona el caño de la tina en la tubería hasta que el caño
esté correctamente ubicado y a ras con la pared terminada. Aprieta el tornillo (1)
ubicado en la parte inferior del caño con la llave Allen (Hexagonal: 2,5 mm).
IMPORTANTE: La distancia desde la válvula hasta el caño sobresaliente de la bañera
debe ser de 8” a 18” (20.3 cm a 45.7 cm).
INSTALLATION DU BEC DE LA BAIGNOIRE
Installez le bec de la baignoire. Appuyez le bec de baignoire sur la conduite jusqu'à
ce qu'il soit correctement positionné et de niveau avec le mur fini. Serrez la vis (1)
située en bas du bec avec une clé hexagonale (2,5 mm).
IMPORTANT: La distance entre l’obturateur et le mamelon de raccordement du bec
de baignoire devrait être comprise entre 20,32 cm et 45,72 cm (8 po et 18 po).
INSTALACIÓN DEL BRAZO DE LA DUCHA.
Inserta el extremo largo del brazo de la ducha (2) a través de la brida (1) y coloca
cinta de plomero alrededor de ambos lados del brazo de la ducha. Atornilla el
extremo largo del brazo de la ducha al codo de la tubería que está dentro de la
pared. Aplique cinta selladora para roscas alrededor de las roscas de la tubería de la
salida de la boquilla de la bañera (3, no se incluye) en dirección de las manecillas del
reloj, como se muestra. Conecte la salida de la boquilla de la bañera (la tubería de la
boquilla de la bañera debe sobresalir 36.5 mm a 55.6 mm desde la pared acabada)
al codo de la tubería inferior (4, no se incluye). Apriete el codo y las conexiones de la
tubería de salida de la boquilla de la bañera con una llave.
INSTALLATION DU BRAS DE DOUCHE.
Insérez la partie longue du bras de douche (2) dans la bride (1) et enveloppez les
deux côtés du bras de douche avec du ruban d'étanchéité. Fixez l'extrémité allongée
du bras de douche au coude de tuyau dans le mur. Enveloppez le filetage de la sortie
du bec de baignoire (3) (non inclus) de ruban pour joints filetés, en tournant dans le
sens des aiguilles d’une montre, tel qu’il est illustré. Raccordez le tuyau de sortie de
bec de baignoire (il devrait saillir de 36.5 mm à 55.6 mm du revêtement du mur) au
coude de tuyau inférieur (4) (non inclus). Serrez le coude et le tuyau de sortie de bec
de baignoire au raccord à l’aide d’une clé.
3
4
1
2
1
1
2
2
3
4
5
6
1
8" [203.2mm] MIN
18" [457.2mm] MAX
Wall
1-7/16 in. to
2-3/16 in.
4
3
3
12/09/20 REV.C
FLUSHING
For Tub and Shower Combinations:
Turn on Hot and Cold water supply lines allowing water to flow from tub spout outlet
(2) until all foreign matter has cleared the line.
For Shower Only Combinations:
Turn on Hot and Cold water supply lines allowing water to flow from shower outlet
(1) until all foreign matter has cleared the line. Pressure must be approximately
equal on both Hot and Cold sides for valve to function properly.
Attach shower head to shower arm.
Fija el cabezal de ducha al brazo de la ducha.
Fixez la pomme de la douche au bras de douche.
PURGADO
Para combinaciones de tina y ducha:
Abre las líneas de suministro de agua fría caliente y deja que el agua salga por el
caño de la tina (2) hasta que todos los desechos sean expulsados.
Para combinaciones de ducha solamente:
Abre las líneas de suministro de agua fría caliente y deja que el agua salga por el
caño de la ducha (1) hasta que expulse todos los desechos.Para que la válvula
funcione correctamente la presión del agua debe ser la misma en la salida del agua
caliente y en la salida del agua fría.
ÉVACUATION
Pour l'installation du bec de baignoire et du bras de douche :
Ouvrez l'alimentation en eau chaude et en eau froide pour faire circuler de l'eau
dans la sortie du bec de la baignoire (2) jusqu'à ce que tout corps étranger soit
éliminé de la canalisation.
Pour l'installation du bras de douche seulement :
Ouvrez l'alimentation en eau chaude et en eau froide pour faire circuler de l'eau
dans la sortie du bec de la douche (1) jusqu'à ce que tout corps étranger soit éliminé
de la canalisation. Pour que le robinet fonctionne correctement, la pression doit
être environ la même des deux côtés.
5 6
www.PROFLO.com
Distributed Exclusively by Ferguson and Wolseley Canada
© 2018 Ferguson Enterprises, Inc. 1010 252402
3
2
1
12/09/20 REV.C
* Specify Finish
Especifíque el Acabado
Précisez le Fini
www.PROFLO.com
Distributed Exclusively by Ferguson and Wolseley Canada
© 2018 Ferguson Enterprises, Inc. 1010 252402
4
OBPF7F13033*
Handle
Llave
Poignée
PFSH319G*
Shower Head
Cabezal de ducha
Pomme de douche
12/09/20 REV.C
OBPF1KF38012*
Shower Arm & Shower Flange Kit
Kit de Brazo de la ducha y Brida del brazo de la ducha
Trousse de Bras de douche et Bride pour bras de douche

This manual suits for next models

5

Other ProFlo Bathroom Fixture manuals

ProFlo Greenwood PFTSWEC1000WH User manual

ProFlo

ProFlo Greenwood PFTSWEC1000WH User manual

ProFlo PFWSC1240CP User manual

ProFlo

ProFlo PFWSC1240CP User manual

ProFlo PFXC5150CP User manual

ProFlo

ProFlo PFXC5150CP User manual

ProFlo PFWSC1140LCP User manual

ProFlo

ProFlo PFWSC1140LCP User manual

ProFlo PFHS201GCP User manual

ProFlo

ProFlo PFHS201GCP User manual

ProFlo PF5310CP Assembly instructions

ProFlo

ProFlo PF5310CP Assembly instructions

ProFlo PFXM324 User manual

ProFlo

ProFlo PFXM324 User manual

ProFlo PF9890CP User manual

ProFlo

ProFlo PF9890CP User manual

ProFlo PF1030GCP User manual

ProFlo

ProFlo PF1030GCP User manual

ProFlo Willett PF2830CP User manual

ProFlo

ProFlo Willett PF2830CP User manual

ProFlo PF1705 User manual

ProFlo

ProFlo PF1705 User manual

ProFlo PFWSC5240CP User manual

ProFlo

ProFlo PFWSC5240CP User manual

ProFlo PF4820CP User manual

ProFlo

ProFlo PF4820CP User manual

ProFlo PF5200CP User manual

ProFlo

ProFlo PF5200CP User manual

ProFlo Alvord PFWSC6867CP User manual

ProFlo

ProFlo Alvord PFWSC6867CP User manual

ProFlo PF28FS2000GCP User manual

ProFlo

ProFlo PF28FS2000GCP User manual

ProFlo PF3880CP User manual

ProFlo

ProFlo PF3880CP User manual

ProFlo PFHS65 User manual

ProFlo

ProFlo PFHS65 User manual

ProFlo PFWSC9840CP User manual

ProFlo

ProFlo PFWSC9840CP User manual

ProFlo PFSH314CP User manual

ProFlo

ProFlo PFSH314CP User manual

ProFlo PFSH310CP User manual

ProFlo

ProFlo PFSH310CP User manual

ProFlo PFTS35CP User manual

ProFlo

ProFlo PFTS35CP User manual

ProFlo PF6870CP User manual

ProFlo

ProFlo PF6870CP User manual

ProFlo Kelper PF9820G2CP User manual

ProFlo

ProFlo Kelper PF9820G2CP User manual

Popular Bathroom Fixture manuals by other brands

Delta H79 Series Installation

Delta

Delta H79 Series Installation

Clean Cut Tub Door installation guide

Clean Cut

Clean Cut Tub Door installation guide

Delta WINDEMERE 35996LF-OB-ECO manual

Delta

Delta WINDEMERE 35996LF-OB-ECO manual

Etac Fresh manual

Etac

Etac Fresh manual

Delta Kami 33926 quick start guide

Delta

Delta Kami 33926 quick start guide

Delta Trillian T5743-WL Series quick start guide

Delta

Delta Trillian T5743-WL Series quick start guide

Twin Star Home 30BV34004 Assembly instructions

Twin Star Home

Twin Star Home 30BV34004 Assembly instructions

KIKKA BOO KAI Instructions for use

KIKKA BOO

KIKKA BOO KAI Instructions for use

bluBathworks TF250 installation guide

bluBathworks

bluBathworks TF250 installation guide

Delta ASHLYN Series Installation

Delta

Delta ASHLYN Series Installation

Delta 40054 quick start guide

Delta

Delta 40054 quick start guide

Delta 79246 Series manual

Delta

Delta 79246 Series manual

Fleurco ALR32 installation manual

Fleurco

Fleurco ALR32 installation manual

Fleurco K001 owner's manual

Fleurco

Fleurco K001 owner's manual

Schell POLAR II Installation and service manual

Schell

Schell POLAR II Installation and service manual

Roca ETERNAL A5A978B 0 Series manual

Roca

Roca ETERNAL A5A978B 0 Series manual

Akuaplus IRENE RB 802R001 user manual

Akuaplus

Akuaplus IRENE RB 802R001 user manual

Glacier bay HD58302-0301 Use and care guide

Glacier bay

Glacier bay HD58302-0301 Use and care guide

manuals.online logo
manuals.online logoBrands
  • About & Mission
  • Contact us
  • Privacy Policy
  • Terms and Conditions

Copyright 2025 Manuals.Online. All Rights Reserved.