PROTEOR FREEDOM QUATTRO User manual

©2021 PROTEOR. All rights reserved. CG-03-11: Prosthetist Setup Guide
PROTEOR Headquarters
6 rue de la Redoute
21850 St Apollinaire, France
Phone: +33 (0)3 80 78 42 08
Email: cs@proteor.com
Website: Proteor.com
PROTEOR USA
3 Morgan
Irvine, CA 92618 USA
Phone: +1 855.450.7300
Website: ProteorUSA.com
For more information,
consult the Instructions
for Use Manual or
call 855.450.7300
Sitting Mode
With Sitting Mode turned on (default), when the knee is
unweighted and the thigh reaches a 90 degree angle or
greater, the knee exes without resistance. With Sitting
Mode o, the knee will continue to have hydraulic resistance
to exion independent of thigh exion angle. To turn on/o
select “Tools” tab in the GaitLab and Freedom Innovations app.
Note: if Sitting mode is turned o, it will also disable Cycle
Mode and Obstacle Assist.
Obstacle Assist
Obstacle Assist can be turned o or on during full program-
ming, and in the GaitLab App under “Setup” and “Adjust” after
full programming is completed. With Obstacle Assist turned on
(default), the knee will ex with no resistance when the thigh
reaches 35 degrees of exion or greater and is unweighted.
This is helpful for stepping over tall objects or entering a high
vehicle. When Obstacle Assist is turned o, the knee will ex
slowly with hydraulic resistance when unweighted indepen-
dent of thigh exion angle. Note: if Sitting Mode is turned o,
it will also disable Obstacle Assist.
Prosthetist Setup Guide
Alignment and Setup
Connect with us
#quattroknee
#freedomknee
#freedominnovations
™
by
For use with
GaitLab App
Download the GaitLab App
from the Apple App Store or
Google Play Store.
1
Stance Lock
The Quattro features a Stance Lock for stability on a exed knee.
When the user stops the thigh at a exion angle and weights
the knee, it will automatically lock further exion. The lock will
automatically disengage when the thigh moves in an extension
moment or the knee is unweighted.
Note:
Stance Lock is available from 0-70° of exion.
Transferring Settings and Resetting to Factory Default
1. Connect to the knee you’d like to transfer the settings
from.
Once
connected, go to the “Tools” tab along the bottom of the App, then
tap “Manage Settings”. Tap “Copy settings” to save the settings to
your device. You can now disconnect from the programmed knee.
2. Connect to the knee you’d like to transfer the settings
to
. Go
to the “Tools” tab along the bottom of the App, tap “Manage
Settings”, and tap “Paste settings”. You will get a conrmation
message “Are you sure you want to replace all settings?” Tap
“OK” to transfer all settings, and “Cancel” to cancel the paste
and keep the settings as is.
• Reset to factory defaults: This will reset all settings in the knee
to factory settings
• Recommendation: Have the patient sitting while transferring the
program or resetting the knee for safety.
Take the QUATTRO out of Storage Mode by plugging in the charger (must be plugged into power source). Once the
QUATTRO is powered on, open the GaitLab App and tap on the QUATTRO Knee image. Next, tap the serial number of the
Knee to connect (Figure 1).
When connecting with the GaitLab App, you will be asked to pair your smartphone with Quattro. After pairing, a
pop-up window will appear requesting an authorization code. The authorization code can be found on the reverse side
of the introduction card located in the Quattro packaging.
To start your rst tting, tap “Full Setup” and walk through the steps to program the Knee. Follow the instructions to
complete the Full Setup process (Figure 2).
2
3
Prosthetist Setup Guide
Follow the instructions in the App for bench and static alignment. Recommendation: A
weight line that falls up to 10 mm anterior to the axis of rotation promotes stability. A weight
line that falls up to 10 mm posterior to the axis of rotation may introduce stance exion
while walking.
Follow the instructions in the App to make adjustments to the knee. For each resistance
change, sliding the setting to the left will decrease resistance and sliding the setting to right
will increase resistance. Adjust until optimal setting achieved.
Follow next screens to demonstrate Sitting Mode, Dead Battery Mode, and Flexion Lock.
The tool bar across the bottom of the screen provides short cuts to the dierent functions
of the knee.
Once Bench annd Static Alignment are completed, go back to the Setup
screen using the arrow at the upper left.
4
5
6
7
™
by
Figure 1
Setup: Allows prosthetist to go through Full Setup Process, or individually Calibrate, Adjust
resistance settings, or demonstrate to the patient the dierent modes available.
Disconnect: Allows prosthetist to disconnect from knee or unpair the knee and disconnect
Tools: Allows prosthetist to generate cadence report, update rmware or reset to factory defaults
Status: Shows knee connected, battery status, total steps, serial number, part number and
rmware version
Help: Provides contact information for technical support
Figure 3
Figure 2

©2021 PROTEOR. All rights reserved. CG-03-11: Prosthetist Setup Guide
PROTEOR Headquarters
6 rue de la Redoute
21850 St Apollinaire, France
Phone: +33 (0)3 80 78 42 08
Email: cs@proteor.com
Website: Proteor.com
PROTEOR USA
3 Morgan
Irvine, CA 92618 USA
Phone: +1 855.450.7300
Email: [email protected]
Website: ProteorUSA.com
For more information,
consult the Instructions
for Use Manual or
call 855.450.7300
Sitting Mode
With Sitting Mode turned on (default), when the knee is
unweighted and the thigh reaches a 90 degree angle or
greater, the knee exes without resistance. With Sitting
Mode o, the knee will continue to have hydraulic resistance
to exion independent of thigh exion angle. To turn on/o
select “Tools” tab in the GaitLab and Freedom Innovations app.
Note: if Sitting mode is turned o, it will also disable Cycle
Mode and Obstacle Assist.
Obstacle Assist
Obstacle Assist can be turned o or on during full program-
ming, and in the GaitLab App under “Setup” and “Adjust” after
full programming is completed. With Obstacle Assist turned on
(default), the knee will ex with no resistance when the thigh
reaches 35 degrees of exion or greater and is unweighted.
This is helpful for stepping over tall objects or entering a high
vehicle. When Obstacle Assist is turned o, the knee will ex
slowly with hydraulic resistance when unweighted indepen-
dent of thigh exion angle. Note: if Sitting Mode is turned o,
it will also disable Obstacle Assist.
Prosthetist Setup Guide
Alignment and Setup
Connect with us
#quattroknee
#freedomknee
#freedominnovations
™
by
For use with
GaitLab App
Download the GaitLab App
from the Apple App Store or
Google Play Store.
1
Stance Lock
The Quattro features a Stance Lock for stability on a exed knee.
When the user stops the thigh at a exion angle and weights
the knee, it will automatically lock further exion. The lock will
automatically disengage when the thigh moves in an extension
moment or the knee is unweighted.
Note:
Stance Lock is available from 0-70° of exion.
Transferring Settings and Resetting to Factory Default
1. Connect to the knee you’d like to transfer the settings
from.
Once
connected, go to the “Tools” tab along the bottom of the App, then
tap “Manage Settings”. Tap “Copy settings” to save the settings to
your device. You can now disconnect from the programmed knee.
2. Connect to the knee you’d like to transfer the settings
to
. Go
to the “Tools” tab along the bottom of the App, tap “Manage
Settings”, and tap “Paste settings”. You will get a conrmation
message “Are you sure you want to replace all settings?” Tap
“OK” to transfer all settings, and “Cancel” to cancel the paste
and keep the settings as is.
• Reset to factory defaults: This will reset all settings in the knee
to factory settings
• Recommendation: Have the patient sitting while transferring the
program or resetting the knee for safety.
Other manuals for FREEDOM QUATTRO
3
Table of contents
Other PROTEOR Medical Equipment manuals

PROTEOR
PROTEOR AGILIX F15 User manual

PROTEOR
PROTEOR 1P650 KNEE Guide

PROTEOR
PROTEOR 1M01 User manual

PROTEOR
PROTEOR 1M102 User manual

PROTEOR
PROTEOR FREEDOM QUATTRO User manual

PROTEOR
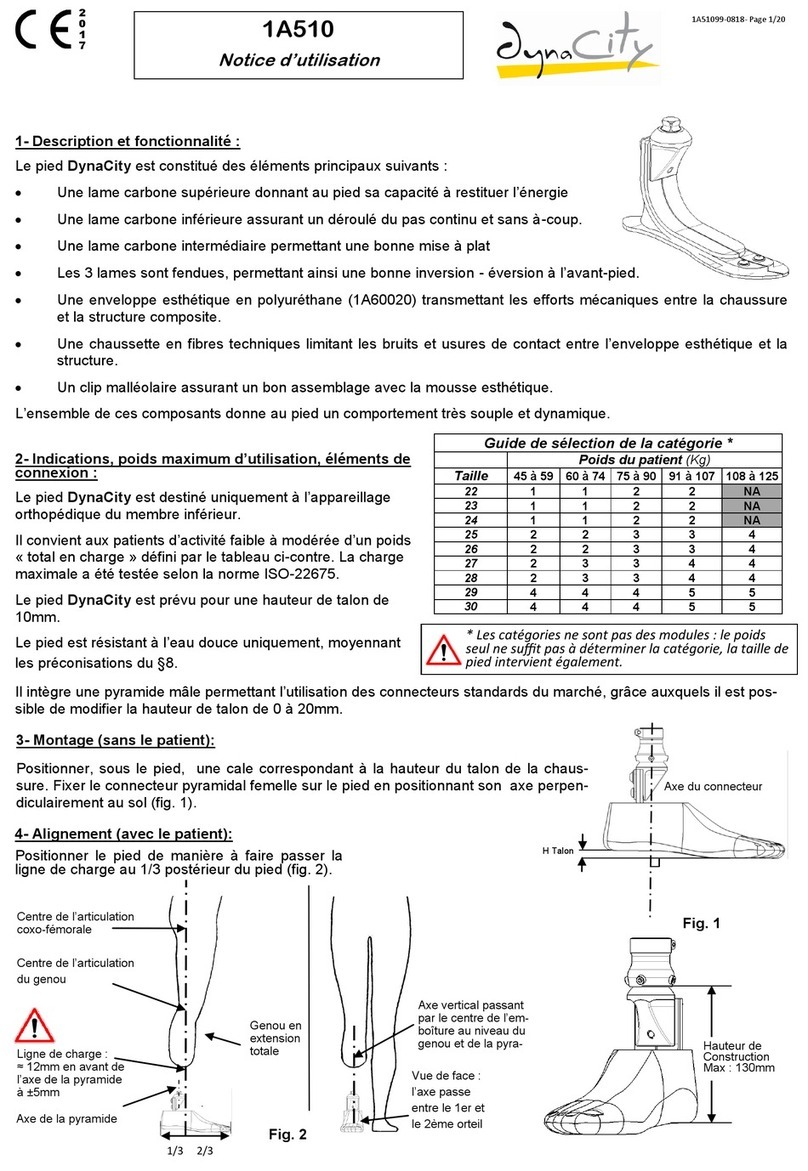
PROTEOR DynaCity 1A510 User manual

PROTEOR
PROTEOR 1M115 User manual

PROTEOR
PROTEOR DYNADAPT F10 User manual

PROTEOR
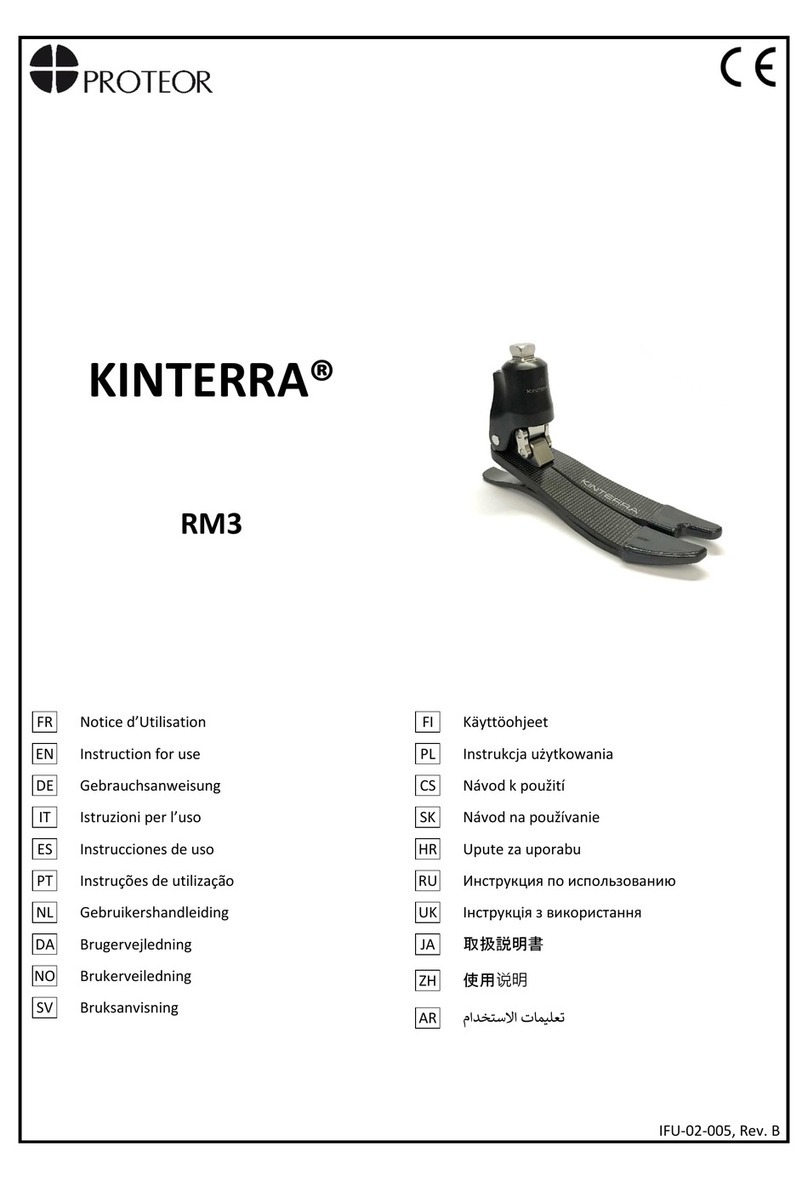
PROTEOR KINTERRA RM3 User manual

PROTEOR
PROTEOR Plie 3 MPC Knee User manual