Page 9of 21 LP0277
R&G
Unit 1, Shelley’s Lane, East Worldham, Alton, Hampshire, GU34 3AQ
Tel: +44 (0)1420 89007 Fax: +44 (0)1420 87301 www.rg-racing.com Email: info@rg-racing.com
FITTING INSTRUCTIONS
•Remove the passenger seat using the key as arrowed in picture 1.
•Remove the two bolts arrowed in picture 2 and remove the rider’s seat.
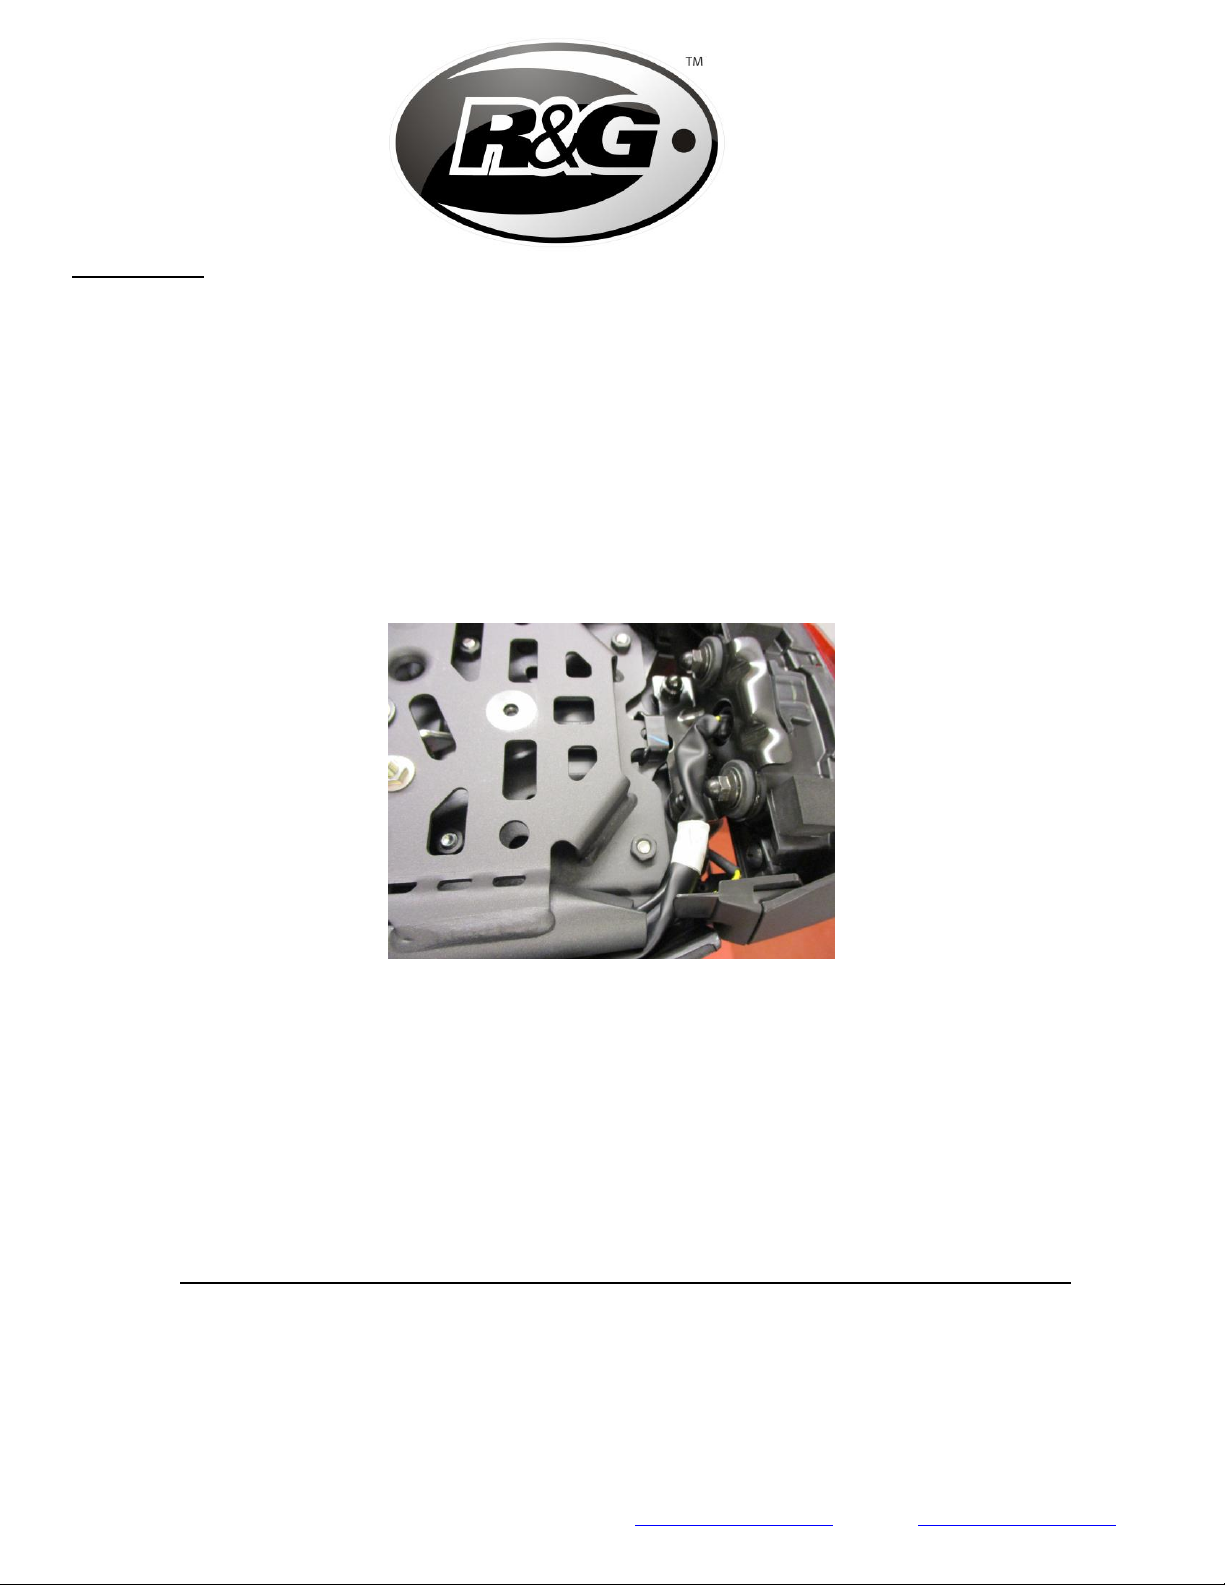
•Remove the five bolts arrowed in picture 3.
•Remove the four luggage spacers as shown in pictures 4 and 5.
•Remove the six bolts arrowed in pictures 6 and 7.
•Remove the three bolts arrowed in picture 8 and remove the infill panel.
•Remove the three bolts arrowed in picture 9 and remove the infill panel.
•Remove the two push rivets arrowed in pictures 10 and 11.
•Gently and carefully spread the seat cowling and push in the direction of arrows as shown in
picture 12 to remove the seat cowl.
•Remove the four plug sockets arrowed in picture 13.
•Remove the two nuts arrowed in picture 14.
•Remove the four bolts arrowed in picture 15 and remove the original rear light/ licence plate
bracket.
•Remove the three bolts arrowed in pictures 16 and 17, then remove the original metal
bracket from the assembly.
•Remove the four bolts arrowed in pictures 18 and 19, then remove the wiring cover from the
assembly.
•Remove the four bolts arrowed in picture 20, then remove the cover panel.
•Remove the rear light and bracket (you will need to remove several cable ties to free the
wiring).
If reusing the original indicators
•Remove the spreader plate as shown in picture 21 and carefully squeeze the indicator stalk
and remove the indicator from the bracket, then repeat for the remaining indicator (please note
which side they were removed from.
•Place the thin indicator adaptor (item 6) onto both indicator stalks as shown in pictures 22
and 23.
•Gently squeeze the indicator stalk and fit to the new licence plate bracket (item 1) and secure
as original with the spreader plate as shown in picture 24.
•Fit the remaining indicator as above.
If using R&G mini indicators
•If using mini indicators, fit the indicators of choice to the new licence plate bracket (item 1)
(R&G mini indicator product code RG371 for LED type or RG372 for Aero Style led type) as
shown in pictures 25 and 26 using the four mini indicator adaptors (items 7).
•Secure the mini indictors in position using the M8 nut provided as shown in picture 26.
•Feed the indicator wiring through one of the nut/wire covers (item 8) as shown in pictures 27
and 28 (it helps if a small amount of liquid detergent is used) and position the nut cover over
the nut (repeat the above for the opposite indicator).
•Fit one length of heat-shrink (item 12) over the wires of each indicator so the heat-shrink fits
over the stem of the nut/wire cover and gently heat until the heat-shrink contracts to the wiring
and nut/wire cover as shown in pictures 28.