ENGLISH
•At low CPAPpressures, the flow
through the exhaust vent may be
inadequate to clear all exhaled gas from
thetubing.Some rebreathingmayoccur.
Explanation of the Warning: The
exhaust vent flow islower at lower mask
pressures(see Pressure–Flow Curve in
section A on the illustrationssheet). To
avoid rebreathing it is recommended
that a mask pressure of 4 cm H2O or
more be used.
•If oxygen is used with the CPAPor
bilevel device, the oxygen flow must be
turned off when the flow generator is
not operating.
Explanation of the Warning:When the
CPAP or bilevel device is not in
operation, and the oxygen flow isleft
on, oxygen delivered into the ventilator
tubingmay accumulate within the flow
generator enclosure. Oxygen
accumulated in the CPAPor bilevel
device enclosure will create a riskof fire.
This warning applies to most types of
CPAPor bilevel flow generators.
•Please refrain from smoking while
oxygen isin use.
•Using a mask may cause tooth, gum or
jaw soreness or aggravate an existing
dental condition. If symptoms occur,
consult your physician or dentist.
Note: At a fixed rate of supplemental
oxygen flow, the inhaled oxygen
concentration will vary, depending on the
pressure settings, patient breathing pattern,
mask selection, and leak rate.
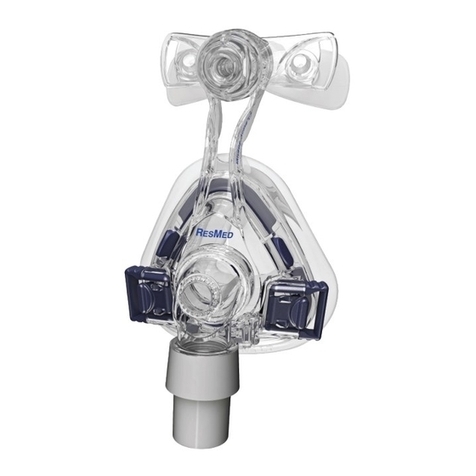
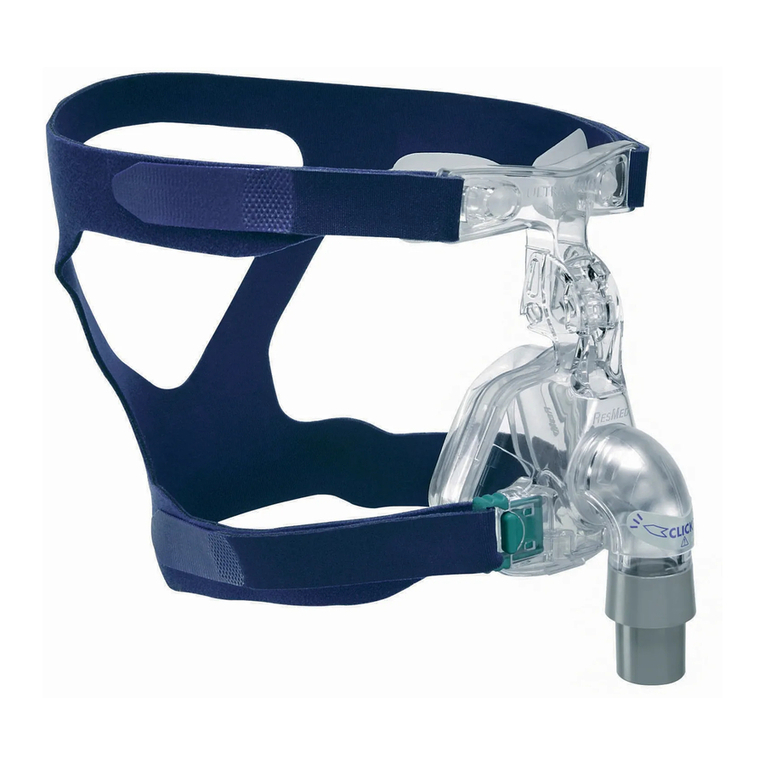
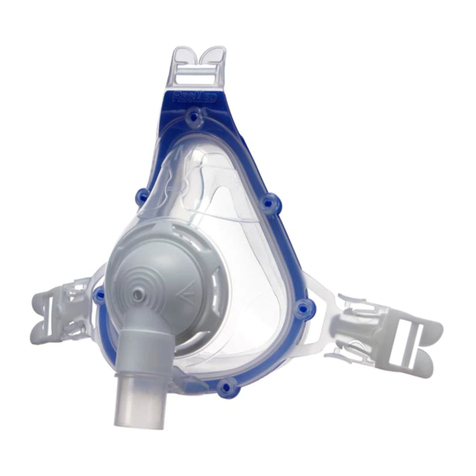
PARTS OF THE MASK
See section B on the illustrationssheet.
FITTING THE MASK
See section C on the illustrationssheet.
Note: Before fitting the mask, refer to the
section “Cleaning the Mask in the Home”.
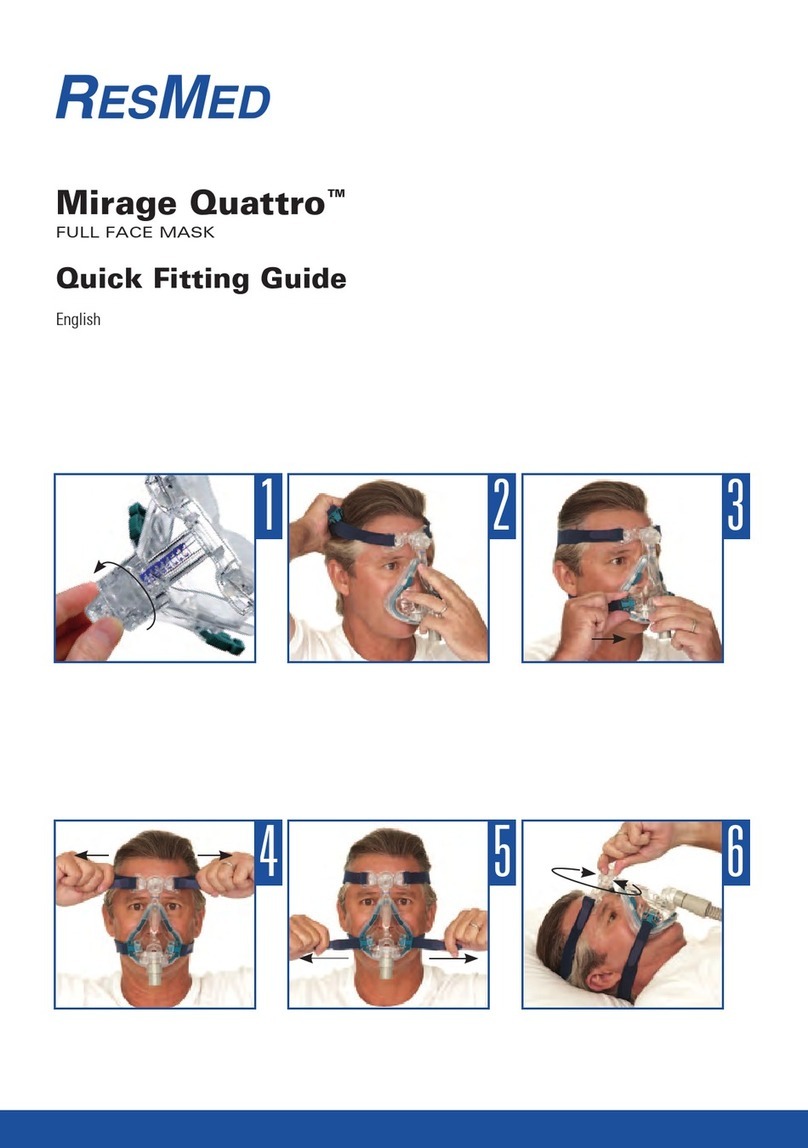
1 Push the air tubingall the way onto the
swivel.The end of theair tubingand the
ridge of the swivel must completely
meet (Fig. C-1). Connect theother end
of the air tubingto your flow generator.
2 Place the cushion over your nose, pull
theheadgear over your head and make
the straps pass below your ears.
Connect the other headgear clip to the
mask frame.
Use the Velcro®straps to adjust the fit
of theheadgear.Do not overtighten the
straps (Fig. C-2).
3 The padsof the forehead support
should lightly touch your forehead when
the mask isin place.
Adjust the forehead support if required,
by moving it to one of the other tab
positions(Fig. C-2a).There are four tab
positions (1– 4). To change a tab
position, first, loosen the headgear
straps.Then,presstheforehead support
tab and move it upwardsto the next
position (eg,from position 1 move it to
position 2). Once again, gently tighten
the headgear straps.
4 Grasp the edges of the vent cover on
both sidesof the “Click” sticker at the
same time. Firmly push the vent cover
onto the mask elbow to make sure it is
clicked securely in place.
5 Turn the flow generator on. Lie down
and check that the mask iscomfortable
and there are no air leaks. If there are air
leaks, you may need to readjust the
Velcro straps (see Step 2) or forehead
support (see Step 3).
ENGLISH
Notes:
•If you are unable to resolve any leaks you
may need to try another cushion size.
•Select “Ultra” asthe mask option when
using theULTRA MIRAGE II with ResMed
flow generatorsthat have mask setting
options.
CAUTION
This mask is not compatible with those
AutoSet T™flow generators that have an
internal pressure sensor line. It is
compatible with all other ResMed
AutoSet™flow generators.
REMOVING THE MASK
To remove the mask, depressthe tabs of
the headgear clips. Thisreleases the
headgear clips from the mask frame. Pull
the mask and headgear away from your
head.
Notes:
•Do not pull the headgear off your head
without releasingthe headgear clipsfirst.
•Check that you can remove the headgear
clips or the headgear unaided.
DISASSEMBLING FOR CLEANING
See section D on the illustrationssheet.
1 Detach and separate themain air tubing,
headgear, headgear clips, swivel,
foreheadpads,cushionclip,cushion,and
ports cap.
2 Use your thumb on the side of the vent
cover to remove it from the mask
elbow.
3 Depress the forehead support tab and
move it past the top tab position. This
allowsyou to remove the forehead
support from the mask frame (Fig. D-1).
4 From the inside of the mask frame, hold
one side of the elbow clip in place and
release the other side of the clip
(Fig. D-2). Remove the clip and mask
elbow from the mask frame.
CLEANING THE MASK IN THE
HOME
Notes:
•Wash the headgear before first time use,
as the dye mayrun. It isimportant to
always handwash the headgear.
•The headgear may be washed without
being disassembled.
DAILY/AFTER EACH USE
Handwash the mask components in
lukewarm, soapy water. Use pure soap
(an example of pure soap isDove®soap,
unscented; made by Unilever). Rinse the
componentswell and allow them to air dry
out of direct sunlight.
WEEKLY
Handwash the headgear in warm, soapy
water. Use pure soap. Rinse well and allow
it to air dry out of direct sunlight.
. CAUTION S
•Do not use solutions containing
bleach, chlorine, alcohol, aromatics,
moisturizers, antibacterial agents, or
scented oils to clean any part of the
mask system or air tubing. These
solutions may cause damage and
reduce the life of the product.
•Do not expose any part of the mask
system or tubing to direct sunlight as
it may deteriorate.

