manuals.online logo
Brands
  1. Home
  2. •
  3. Brands
  4. •
  5. Resolution
  6. •
  7. Accessories
  8. •
  9. Resolution Helix Demo Instruction Manual

Resolution Helix Demo Instruction Manual

This manual suits for next models

1

Other Resolution Accessories manuals

Resolution CryptiX Trident RE618 Series User manual

Resolution

Resolution CryptiX Trident RE618 Series User manual

Resolution 2GIG Compatible Trident RE218T User manual
Resolution

Resolution 2GIG Compatible Trident RE218T User manual

Resolution RE105 User manual

Resolution

Resolution RE105 User manual

Resolution RE104 User manual

Resolution

Resolution RE104 User manual
Resolution CryptiX RE601 Series User manual
Resolution

Resolution CryptiX RE601 Series User manual

Resolution RE161 User manual

Resolution

Resolution RE161 User manual
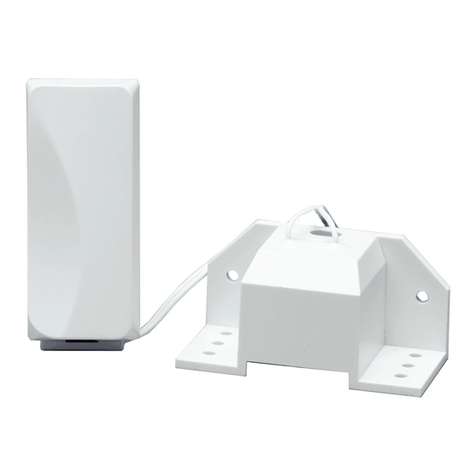
Resolution CONNECT O2 User manual

Resolution

Resolution CONNECT O2 User manual
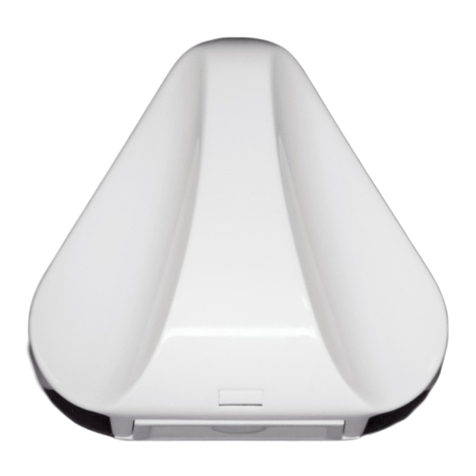
Resolution Trident RE118 User manual

Resolution

Resolution Trident RE118 User manual
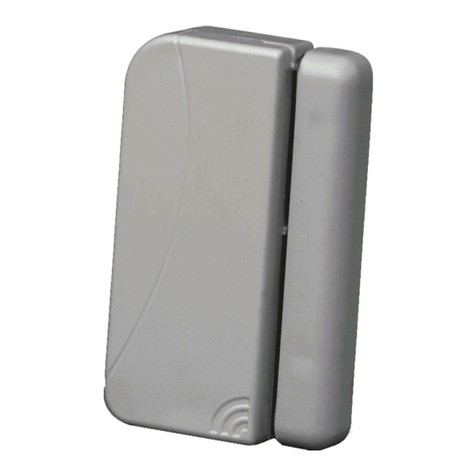
Resolution RE122 User manual

Resolution

Resolution RE122 User manual
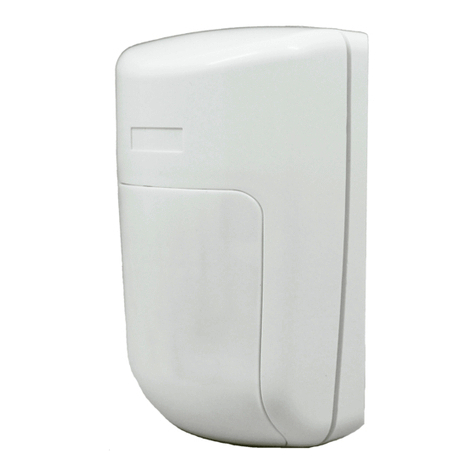
Resolution CryptiX RE610P Series User manual
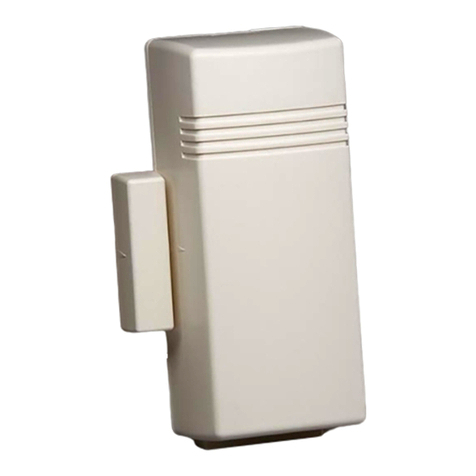
Resolution

Resolution CryptiX RE610P Series User manual

Resolution CryptiX RE601 User manual

Resolution

Resolution CryptiX RE601 User manual
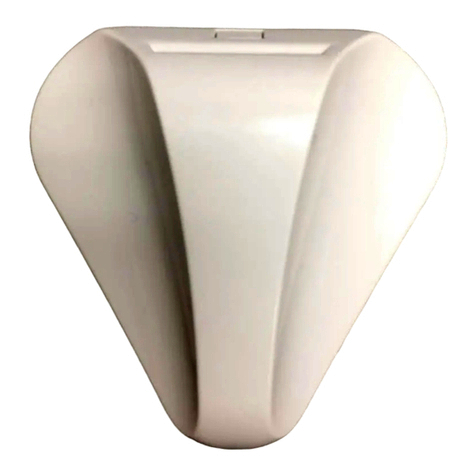
Resolution RE318 User manual

Resolution

Resolution RE318 User manual
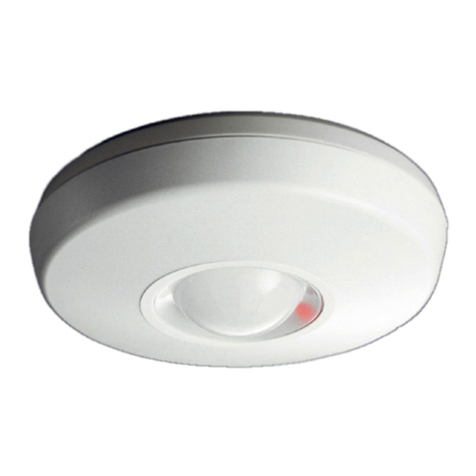
Resolution RE159 User manual

Resolution

Resolution RE159 User manual
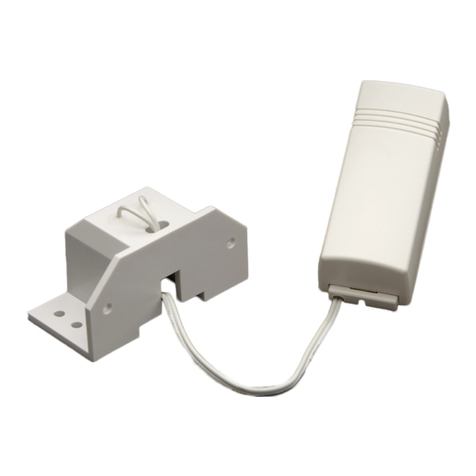
Resolution RE219 User manual

Resolution

Resolution RE219 User manual
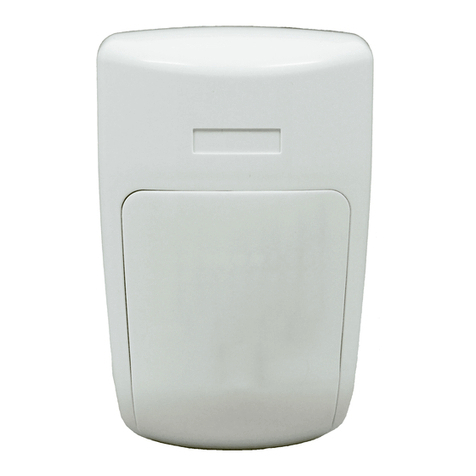
Resolution Honeywell RE210P User manual
Resolution

Resolution Honeywell RE210P User manual

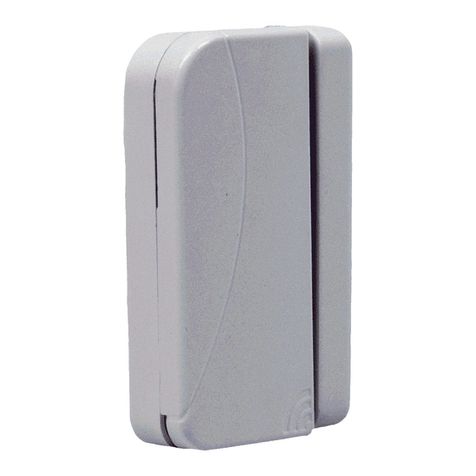
Resolution CryptiX NanoMax RE622 Series User manual
Resolution

Resolution CryptiX NanoMax RE622 Series User manual

Resolution RE119 User manual

Resolution

Resolution RE119 User manual
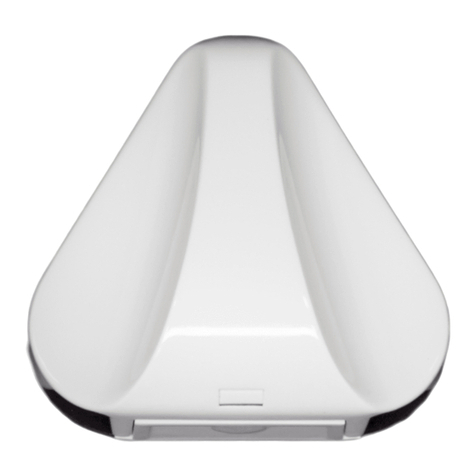
Resolution RE218 User manual

Resolution

Resolution RE218 User manual
Resolution RE204 User manual

Resolution

Resolution RE204 User manual
Resolution RE319 User manual

Resolution

Resolution RE319 User manual

Popular Accessories manuals by other brands

Quincy lab 140AE-1 operating manual

Quincy lab

Quincy lab 140AE-1 operating manual

HomePro ZIR000 user manual

HomePro

HomePro ZIR000 user manual

DOL 20SCR Technical user guide

DOL

DOL 20SCR Technical user guide

RAB Smart Task installation manual

RAB

RAB Smart Task installation manual

Kemppi KMS 300 quick guide

Kemppi

Kemppi KMS 300 quick guide

Stearns 57,500 Series Installation and service instructions

Stearns

Stearns 57,500 Series Installation and service instructions

iGuzzini TWILIGHT COPENAGHEN manual

iGuzzini

iGuzzini TWILIGHT COPENAGHEN manual

Adelaide Annexe & Canvas Avan Deluxe installation guide

Adelaide Annexe & Canvas

Adelaide Annexe & Canvas Avan Deluxe installation guide

OHAUS 5000 instruction manual

OHAUS

OHAUS 5000 instruction manual

HOME8 WLS1300 quick start guide

HOME8

HOME8 WLS1300 quick start guide

MAXBOTIX MaxSonar quick start guide

MAXBOTIX

MAXBOTIX MaxSonar quick start guide

ioSmart iSmart56 Installation and user guide

ioSmart

ioSmart iSmart56 Installation and user guide

Focusrite Scarlett 18i8 user guide

Focusrite

Focusrite Scarlett 18i8 user guide

Velleman ED38105 user manual

Velleman

Velleman ED38105 user manual

JumpSport SkyBounce user manual

JumpSport

JumpSport SkyBounce user manual

Prima-Temp PRIYA Instructions for use

Prima-Temp

Prima-Temp PRIYA Instructions for use

Tefcold BC85I-BC85I W user manual

Tefcold

Tefcold BC85I-BC85I W user manual

Vaisala WMS302 user guide

Vaisala

Vaisala WMS302 user guide

manuals.online logo
manuals.online logoBrands
  • About & Mission
  • Contact us
  • Privacy Policy
  • Terms and Conditions

Copyright 2025 Manuals.Online. All Rights Reserved.

Installing Helix™ Demo and the Core CryptiX™ Sensors
Congratulations on purchasing the Helix platform!
This installation quick start guide will help the installer
manually set up the Helix system and enroll Resolution
CryptiX sensors to the panel.
But rst, if you have not setup an account or registered
Helix please visit:
www.resolutionproducts.com/helixsetup
2) Insert ethernet port into Helix and into the router.
If Wi-Fi: Press the WPS button on the
router and the Helix enrollment button
simultaneously. Helix will beep when successful.
Installing Helix:
1) Plug power supply into Helix and the selected
outlet (no power strips). Preferably near the router.
3) Check Helix LEDs and ensure they are
lit and the Network connectivity is green.
Installing Helix (cont.):
4) Download and use Applications for installation
and control.
5) Either using the iTunes store or Google Play store on
the smart device, search “SecureNet” in the search
bar. Once search is complete, scroll down on page
until you see the “SmartLink Security” application.
6) Download the application to the device and
open. To sign in, use the user name and password
that was designated to the user on the web portal.
4) Under the “Add Device by Serial Number”
tab create a zone name for that specic
device location. Example: if installed on
front door, name that zone “Front Door”
Enrolling & Installing NanoMax:
1) Log into the demo portal at cloud.securenettech.
com. Ensure the panel communication
status is green and reads as “online”.
2) Select “Helix Panel Settings” underneath
“Alarm System” on the right side of the page.
3) Select the Zones/Add Device form tab at the top.
5) Locate the device’s serial number. For
NanoMax, the serial number is located on the
battery tab or on the backside of the housing.
6) Enter the eight digit serial number into the “Serial
Number” slot to the right of the zone name. No spaces
are needed. Select “Add Device by Serial Number”
below to enroll. ENSURE the serial number is correct!
7) The zone is now named, & enrolled.
Once device is enrolled, you can now
install to the designated location.
8) Remove the NanoMax’s battery tab to
activate the sensor. Simply pull the tab away
from the housing to enable contact with battery.
9) To test the NanoMax, arm the Helix system and
break contact from the magnet by opening the
door or window where NanoMax is installed. If
installed correctly, Helix will sound the alarm. Disarm
the system by entering your code on your smart
device or keypad. If Helix doesn’t sound, refer back
to the Demo Portal to trouble shoot the problem.
Enrolling and Installing PIR-Pet Immune
1) Return to the “Add Device by Serial Number”
heading. Name the zone in which the PIR
will be installed. For example: Downstairs PIR.
2) Remove the cover on the PIR to expose
the serial number. It is located on the battery
bucket. Enter the serial number into the form.
3) Select “Add Device by Serial Number” to enroll.
Once enrolled, remove the battery tab to activate
the sensor. Ensure battery maintains connection.
4) Mount in designated location using
included screws or mounting tape.
5) To test the PIR, arm Helix to “Arm Away” mode
on keypad or smart device. Wait 2.5 mins before
entering the room the PIR is installed in. Walk in
front of PIR. If Helix sounds, disarm. If Helix does not
sound, return to the Dealer Portal to trouble shoot.
Enrolling and Installing Smokes/COs
1) Return to the “Add Device by Serial Number”
heading. Name the zone in which the Smoke
will be installed. For example: Hallway Smoke.
2) Locate the serial number on either the
smoke or CO. Smokes: # is located on bottom
CO: # is located on outside battery cover.
3) Enter serial number into the form and select
“Add Device by Serial Number” when complete.
4) Activate the sensor by removing the battery
tab. Lift battery door cover, remove tab,
replace cover. Ensure battery connection.
5) Install the Smoke or CO in the designated
zone location. Refer to manuals for
proper placement and regulations.
Enrolling and Installing the HeliPAD
1) Remove HeliPAD from box, remove the battery
tab, and locate the small, brown, Bluetooth
enrollment button on the side of the Helix panel.
2) Press the Bluetooth enrollment button
for 3 seconds, or until Helix beeps. You now
have 30 seconds to enroll the HeliPAD.
3) Select the HeliPAD’s menu button and
options to enroll should appear. Helix LEDs
will appear as such before enrollment.
4) Select the checkmark on HeliPAD (√) to enroll with
the Helix panel. Once enrolled, the “Unenroll?” option
should appear on HeliPAD’s screen. Mount HeliPAD.
6) To learn more about HeliPAD’s settings or how
to change its disarm code refer to the product
manual and Helix Installation guide or you can visit :
www.resolutionproducts.com/helixsetup