Replacement of Parts
Use the reorder list on the next page to order replacement parts. Follow the instructions
below to replace the items.
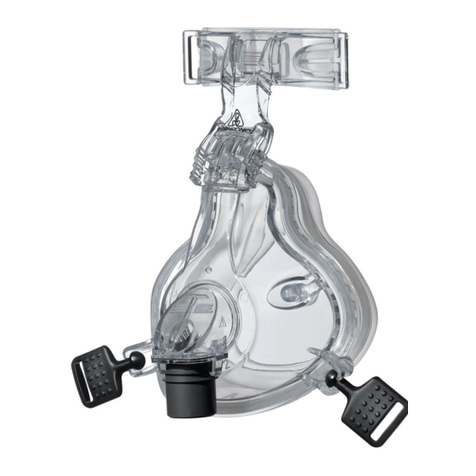
Cushion Removal and Reattachment
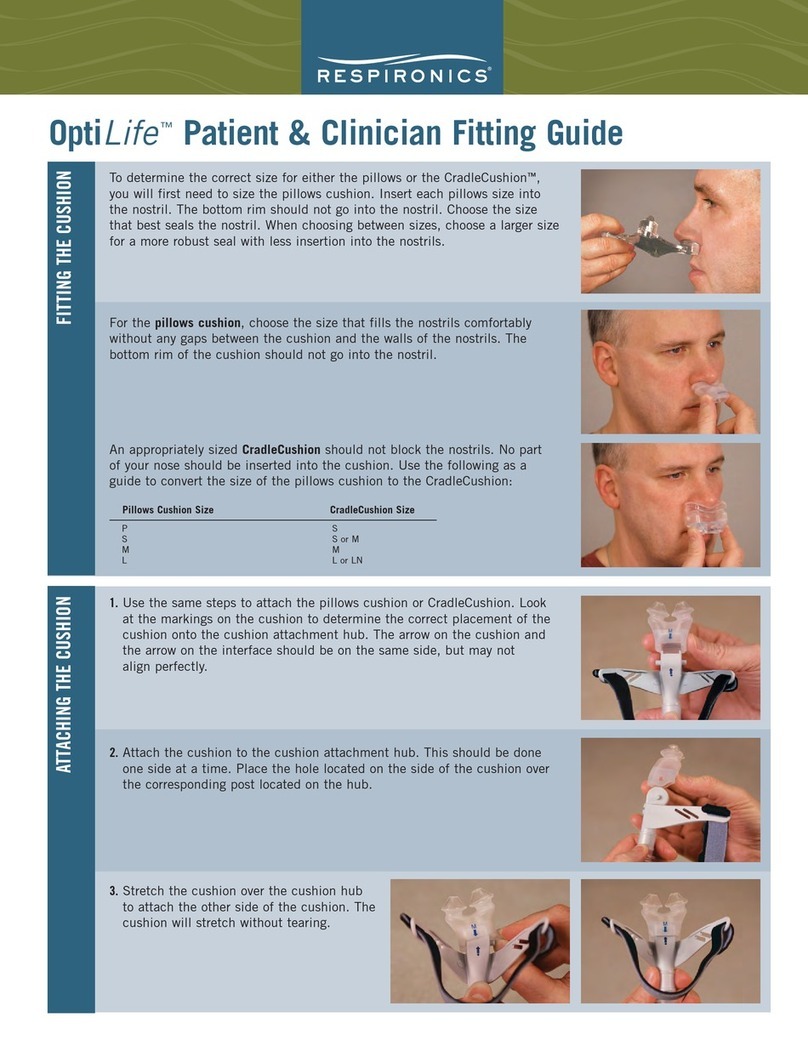
Remove the cushion by detaching its retaining ring from the faceplate. Do this by
unhooking the side and bottom clips of the ring from their connection points on the
faceplate. Take the ring off of the cushion. Clean or discard the cushion if necessary.
Place the cleaned or new cushion on the faceplate, making sure that the two slits at the
bottom of the cushion catch on and fit securely into the two tabs at the bottom of the
faceplate. Place the retaining ring around the cushion. Connect the ring clips to the
faceplate, starting with the top clip. Push the retaining ring into the faceplate until you
hear a clicking sound.
Removing the Headgear and Mask
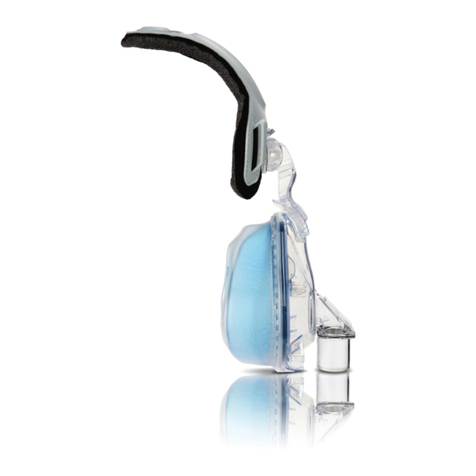
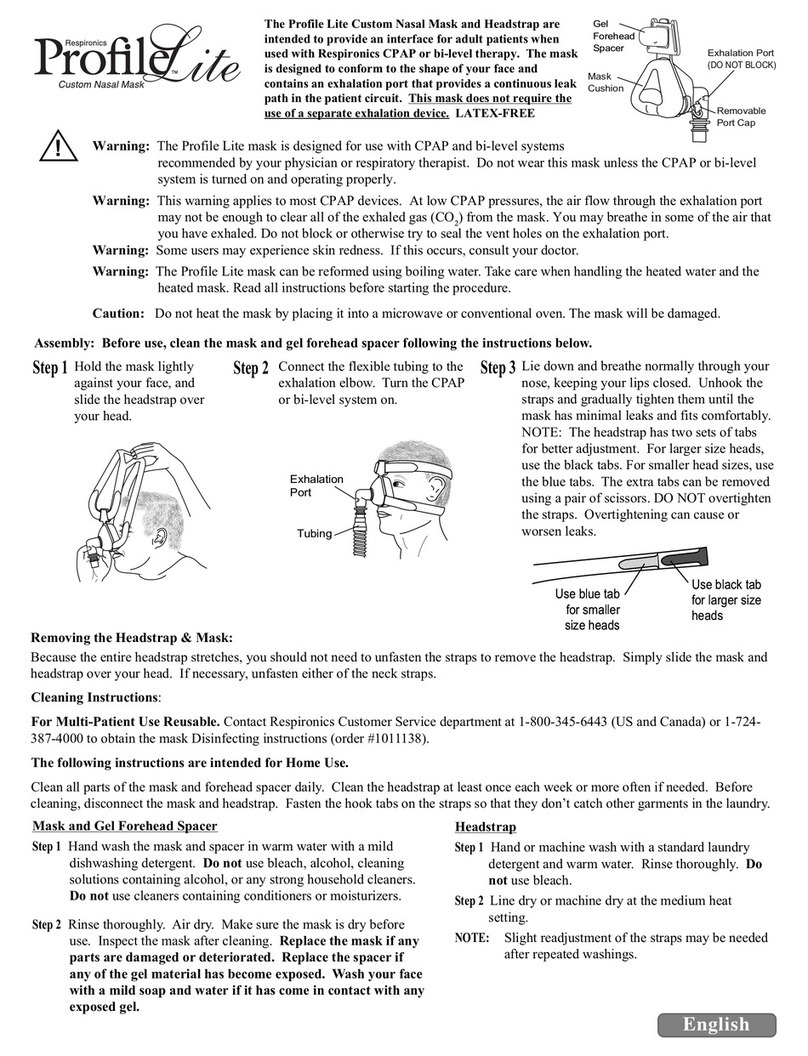
You can disconnect the headgear from the mask in
the following ways:
•Disconnect the forehead support by pressing
on the center of the forehead spacer and then
gently pressing the sides of the forehead
support arm together.
•Disconnect the neck straps by removing the
swivel clips from their sockets.
•Slide the headgear over your head. The entire
headgear stretches.
NOTE The headgear has two sets of tabs for better
adjustment. The black tabs are for larger sized
heads. For a smaller head size, use the blue
tabs. The extra tabs can be removed with
scissors.
DO NOT overtighten the straps. Overtighten-
ing can cause or worsen leaks.
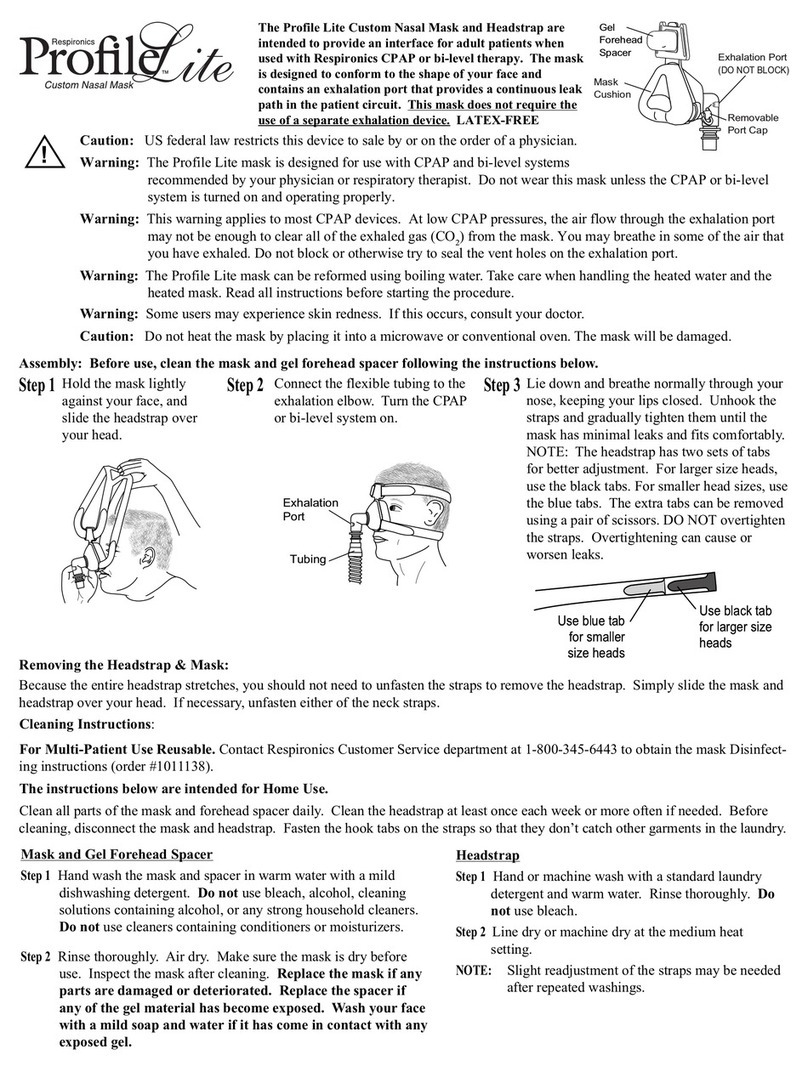
Step 1 Hold the mask cushion gently over your
nose. If the forehead support does not
rest comfortably against your forehead,
press the ridged sides at the bottom of
the support arm, and slide the arm up or
down the bar until the arm is in a
position that is comfortable for you.
Slide the headgear over your head. You
may want to disconnect one of the swivel
clips before putting on the headgear.
Reconnect the swivel clip after you have
the headgear in position.
Step 2 Connect the flexible tubing (included
with your CPAP or bi-level device) to
the swivel on the mask.
Step 3 Turn on the airflow.
Assembly
Before use, clean the mask following the instructions listed below.
Cleaning Instructions
For Multi-Patient Use Reusable. Contact Respironics Customer Service at 1-800-
345-6443 to obtain mask Disinfecting instructions (order #1011138).
For Home Use: Begin by removing or disconnecting the headgear from the mask.
Clean the headgear at least once each week or more often if needed. Fasten the hook
tabs on the straps so that they don’t catch other garments in the laundry. Some
Respironics masks allow the cushion to be disassembled from the faceplate. The user
has the option of disassembling the cushion from the faceplate before cleaning.
Faceplate and Cushion
Thoroughly clean the mask each day, immediately after use, using the hand wash
instructions.
Hand Wash Instructions
Step 1 Hand wash the mask in warm water with a mild dishwashing detergent. Do
not use bleach, alcohol, cleaning solutions containing alcohol, or any strong
household cleaners. Do not use cleaners containing conditioners or
moisturizers.
Step 2 Rinse thoroughly. Air dry. Make sure the mask is dry before use. Inspect the
mask after cleaning. Replace the mask if any parts are damaged or
deteriorated.
Headgear with Swivel Clip Mask Accessories
Step 1 Hand or machine wash the headgear and attached swivel clips with a
standard laundry detergent and warm water. Rinse thoroughly. Do not use
bleach.
Step 2 Line dry or machine dry at the medium heat setting.
NOTE Slight readjustment of the straps may be needed after repeated washings.
Putting on the Headgear and Mask
NOTE Make sure the
lines on the bottom
of the faceplate,
cushion, and
retaining ring are all
aligned when
assembled.
Step 4 Lie down and breathe normally through your
nose, keeping your lips closed. You may
need to adjust the forehead support arm to
reduce leaks.
Step 5 Unhook the straps and gradually tighten
them until the mask has minimal leaks and
fits comfortably.
1
2
Press the ridged sides at
the bottom of the support
arm to slide the arm up and
down.
1. Press on the center of the forehead support.
2. Press the sides of the
support arm together.
3. Gently pull the forehead support away from the arm.
