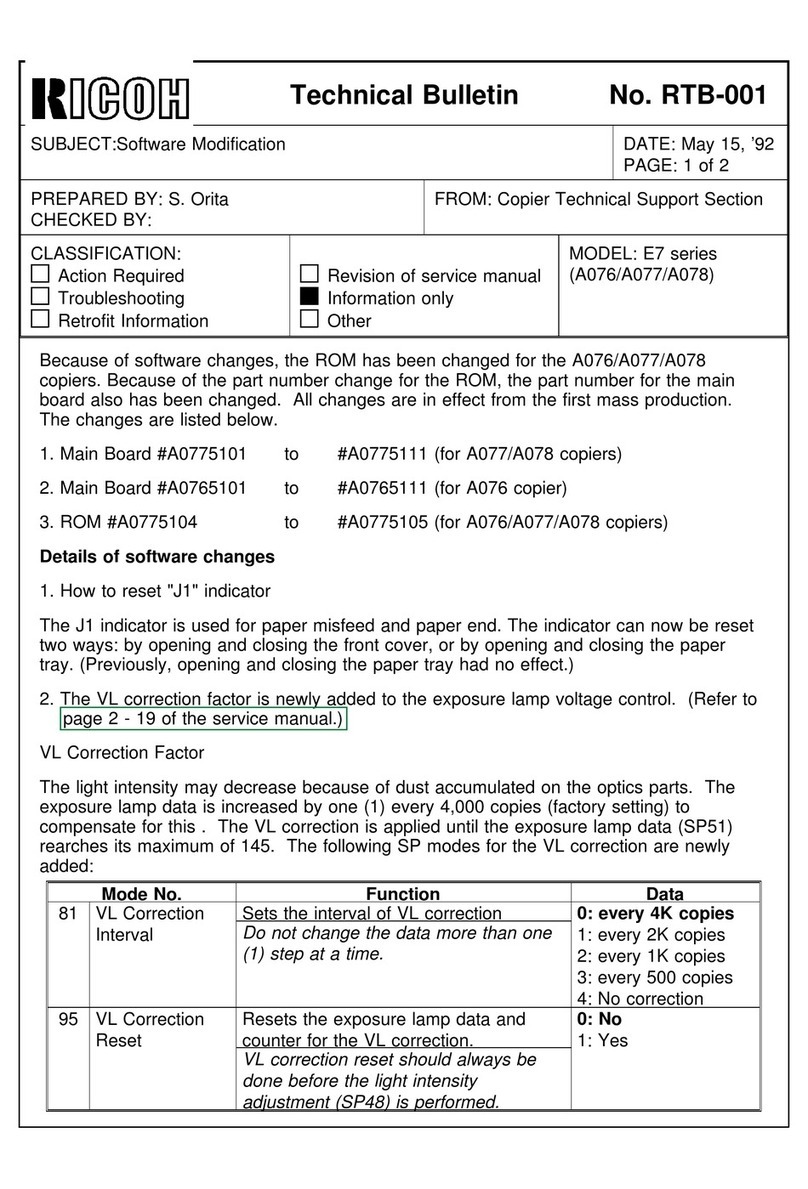
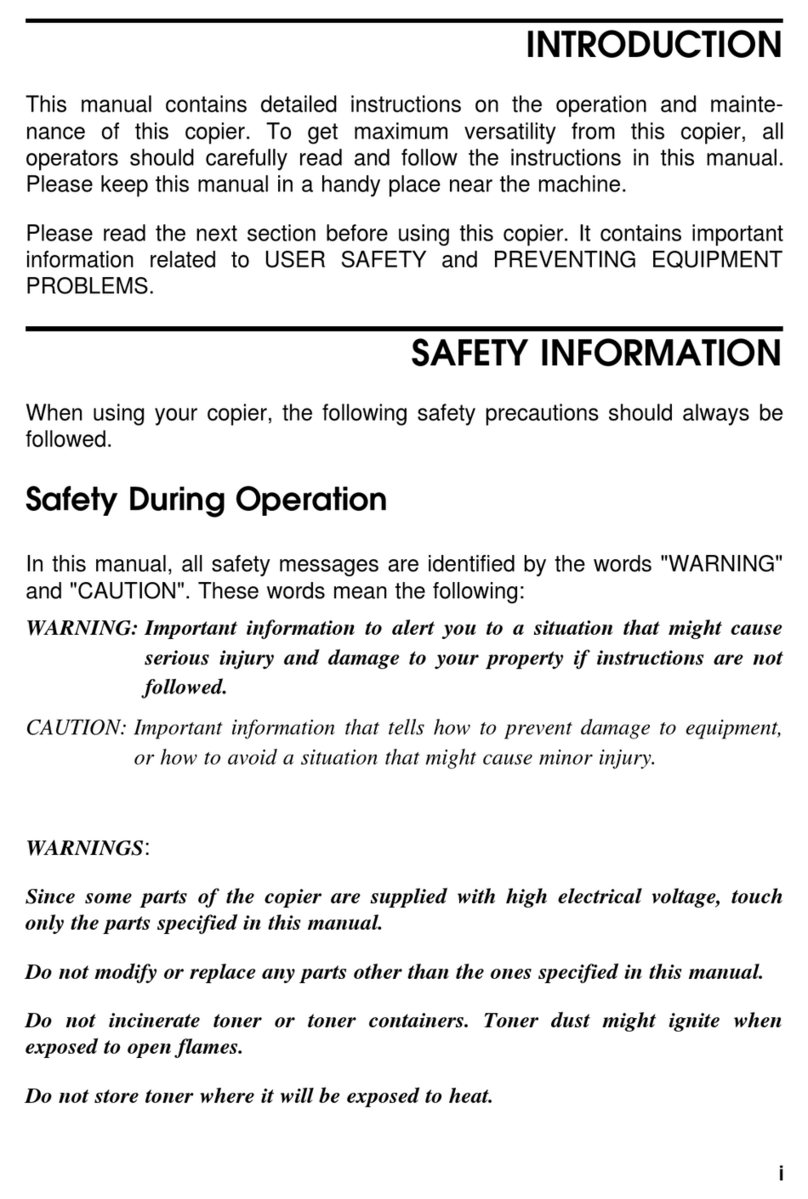
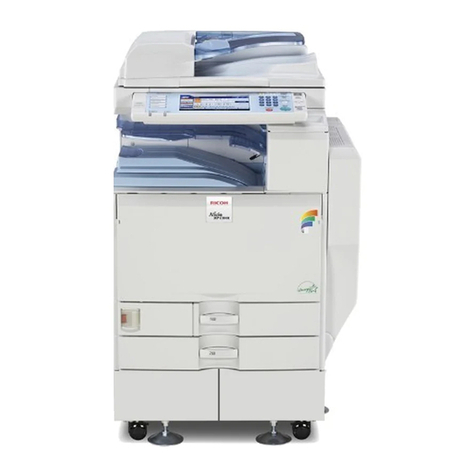
Ricoh Ml0 User manual

OPERATING
INSTRUCTIONS


INTRODUCTION
The Ricoh Ml0 is a desktop plain paper copier
whioh
is
carefully manufactured to exacting standards of high per-
formance. It consistently yields high contrast copies
with
a superior matte finish.
This manual contains detailed instructions on the opera-
tion and care of the
MlO.
To get the maximum versatility
from
this
copter, all operators should carefully read and
follow the
rnstructions
in this manual. Please keep this
manual in the holder provided on the machine.
MAJOR
FEATURES
1. Copies everything from business cards to 84 (10” x
14”) sized documents
2.
3.
5
Sample
and
relrable
operation.
Easy-to-maintain
cartrrdge
desrgn
Compact,
lrghtwerght
design
for easy transport
“Clam-shell” destgn allows easy mlsfeed clearance.

CONTENTS
1 INSTALLATION
1
l-1 Unpacking procedure
1
1-2
lnstallatlon
procedure
3
1-3 Installation requirements
6
2 GUIDE TO COMPONENTS
2-l Overall machine layout
2-2 Operation panel
2-3 Operator controls
3 COPYING
3-l.
Starttng
the copter
3-2 Normal
copying
3-3. Two-sided
copying
3-4
Appltcattons
4 REPLENISHING SUPPLIES
4-1
Loading
paper
4-2 Adding toner
5 REPLENISHING THE MASTER UNIT
6. TROUBLESHOOTING
6-l Clearing mlsfeeds
6-2 Troubleshooting gurde
6-3 Service codes
7 MAINTENANCE
8 TRANSPORTING THE COPIER
9 DO’S AND DON’TS
10
10
11
12
14
14
14
16
17
18
18
20
22
24
24
26
30
31
32
32
10. SPECIFICATIONS 33
ADDING TONER
@
APPLICATIONS
@
COPYING
@
CONTROLS/INDICATORS
@
DOS AND DONTS
@
INSTALLATION
0
LOADING PAPER
(D
MAINTENANCE
@

I-
l.
INSTALLATION
~~~
1
1-I.
UNPACKING
PROCEDURE
I
Accessdry
Box I
1Cushion Blocks
3
I
I
I
I
I
I
I
i
Slider
\
Release
Lever
5.
Take out the accessary box
and the machine
Check the accessarles (See
page 2
1
Remove the two cushion
blocks
Open the
vinyl
bag and take
out the
machlne
Move the
slider
to the left untrl
the
right
edge of the
slider
IS
aligned
with
the heavy orange
line
Push down and slide the
release lever to the right to
open the top
unit
Turn
to the
next
page
MAIN
CUMPONENTS
(D
MASTER UNIT
f@
MISFEEDS
@
SPECIFICATIONS
@
TRANSP!IRIING THE COPIER
@
TROUBLESHOOTING
@
TWO
SIDEC
COPIES
(B
0

ACCESSORY
CHECK
Make sure you have all the following accessories. Check the quantity of the accesso-
ries
In
the box according to the
followincl
list.
1 Paper Tray
1
PC
2. Copy Tray
1
PC
3 Paper Holder
1
PC
4. Master Unit
1
PC
Note: Keep it
In
the box
until
installing It to the
copier.
5. Fusing Pad
1
PC
6. Power
Supply
Cord
1
PC
7.
Operating
1
PC
Instructions
8.
Operating
1
PC
Instructions
Holder
9.
Toner
1
cartridge
0
ADDING TONER
@
APPLICATIONS
(B
COPYING
@
CONTROLS/INDICATORS
@
DOS AND
DON’TS
@
INSTALLATION
@
LOADING PAPER
0
MAINTENANCE
@
-2-

l-2.
INSTALLATION
PROCEDURE
1.
Insert the fusing pad in the
mounting slot of the fusing
unit.
2. Open the master unit cover.
3. Remove the three wedges
from the master unit.
Note: Do not touch the master
(purple material) and
avoid exposing it to
light.
4.
Insert the master unit into the
copier until it stops.
5.
Peel the polyester cover off of
the master.
Turn to the next page
MAIN COMPONENTS
@
MASTER UNIT
@
MISFEEDS
@
SPECIFICATIONS
@
TRANSPORTING THE COPIER
t@
TROUBLESHOOTING
@
TWO-SIDED COPIES
@
-3-

1
6 Shut the master
unit
cover
7
Shake a cartridge of toner well,
and then Insert
it
Into the
cartrldge holder (Insert the
front end
first)
8 Strip off the cartrldge seal,
then lower the top
unit
Note At Installation,
it
IS re-
commended to load two
cartridges of toner
Caution
1)
Hold the cartrldge
while
pe-
eling off the seal
2)
To
avoid
possibly
tippIng
over the development
unit,
be careful not to pull the
seal to the
right
3
Install the operating Instruc-
tions holder on the back side of
the machine
AL)OINC
TONtR
@
-
APPL’CATIONS
@
LOP\
ING
@
CONTROLS’INDICATORS
@
DO
i
ANC:
iK)Y
TS
@
IRSTAI
!
ATION
0
LVtlDlNG
PAPtR
@
MAINTFN4NCt
@

10
Set the paper tray
In
place on
the
right
stde
of the
machlne.
and load paper (See page
18.)
11
Assemble the copy tray as
shown to the left
12
Set the copy tray
In
place on
the left side of the machine
13. Connect the power supply
cord
This completes machine Installa-
tion
Turn
to
the
next
page
MAIN
L”MPONtNTS
@
MASTER UNIT
@
MISFEEDS
@
SPEZIFICATIONS
@
lhAQSP(:RTIN(.
:Ht
LC’tIbR
@j
THOUB.ESH~~~~N(I
@
TWO
VDFD
COPIES
(B
-5-

1-3.
INSTALLATION
REQUIREMENTS
.
COPIER
ENVIRONMENT
The
rnstallation
locatron
should be carefully chosen because envrronmental condi-
tions greatly affect the performance of a copier
Optrmum
envrronmental
condrtrons:
l Temperature
l
Humrdrty
lo-30°C
l Well-ventilated and
wade
room
(50-86”
F)
Mm
ventrlatton:
Arr
turnover 3
15-90%RH
trmes/Hour
J
l On a strong and level base
(a
sturdy desk, etc.)
l The
coprer
must be level
within
5mm (13/64”) both front to rear
and left to right
ADDING TONER
@
APPLICATIONS
@
COPYING
@
CONTROLS/INDICATORS
@
DO’S AND DON’TS
@
INSTALLATION
0
LOADING PAPER
@
MAINTENANCE
@
-6-

Environments
to
avoid:
l
Locatlons
exposed
to
direct
sun-
light
or strong
light
(more
than
1.5001ux)
l Gas-filled
areas
l
Dusty
areas
II
0
Areas
higher
than
2.0OOm
(6.500ft)
above
sea
level
l Areas
where
the
copier
may
be
subjected
to
frequent
strong
‘vibration
l
Locatlons
directly
exposed to the cool air from
an
air
condo-
tioner
or to
reflected
heat from
a
space heater
(Sudden
temperature
changes from
low
to high or
vice
ver-
sa
may cause
condensation
wlthln
the
copier.1 Turn
to
the
next
page
MAIN COMPONENTS
0
MASTER UNIT
t@
MISFEEDS
@
SPECIFICATIONS
@
TRANSPORTING THE COPIER
@
TROUBLESHOOTING
@
TWO SIDED COPIES
8

l
POWER
CONNECTION
l Connect the power cord to a
power source as shown below
a)
115V/60Hz
More than 12A
b)
220V/50Hz
More than 6A
c)
240V/50Hz
More than 6A
l Voltage must not fluctuate more
than 10%
l Do not set
anythlng
on the
power cord
l Ground the
copier
properly to
prevent
accidents
Do not ground to a gas line
l Make sure the plug
15
firmly
Inserted
tn
the outlet
l
Abold
nlultlwlrlng
l If an extension cord must be used,
It
must have a capacity of more than 300V/30A
(300V/ZOA
for
220/24OV
machine) and be less than 5m
(5
5 vds) long
ADDING
iONtN
@
APPLICATIONS
@
COPYING
@
CONTROLS/INDICATORS
@
DO5 AND DON
7S
@
INbTALLATII)N
0
LOAUING PAPER
(D
MAINTENANCE
@
-8-

0
ACCESS
TO
COPIER
More
than
f
10
cm
(3
9”)
I
70
cm
(27
6”)
l Place the
copier
near a power source
provldlng
clearance as shown
MAIN COMPONENTS
@
MASTER UNIT
@
MISFEEDS
@
SPECIFICATIONS
@
TRANSPORTING THE COPIER
@
TROUBLESHOOTING
@
TWO SIDED COPIES
@
-9-

2.
GUIDE
TO
COMPONENTS
2-1.
OVERALL
MACHINE
LAYOUT
Exposure
Glass
Operation
Panel Release
Lever
Exposure
Control
S
Image
Density
Control
Lever
/
\
Matn
Switch
Master
Unit
Cover,
/
Top
Unit
Fu
Paper
#witch
Small-Paper
Holder
End
Holder
Reverse
Lever
Fusing
Umi
development
Umt
Y
Paper
Guides
ADDING TONER
8
APPLICATIONS
e
COPYING
@
CONTROLS/INDICATORS
0
DO’S AND
DON’TS
INSTALLATION
0
LOADING PAPER
@
MAINTENANCE
@
-lO-

2-2.
OPERATION
PANEL
0Letter/Legal Version
l
A-4/B-4
Version
r-1
l-l
1:1
12
LI
I
/
I I
I
1.
Check Paper Path Indicator
6.
2.
Replace Master Unit
7.
Indicator
8.
3.
Check Paper Tray Indicator
9.
4.
Wait Indicator
10
5
Ready Indicator
Copy Counter
Decrease
Quantity
Key
jncrease Quantity Key
Clear/Stop Key
Print Key
MAIN COMPONENTS
@
MASTER UNIT
f@
MISFEEDS
@
SPECIFICATIONS
TRANSPORTING THE COPIER
@
TROUBLESHOOTING
@
TWO SIDED COPIES
@

2-3.
OPERATOR
CONTROLS
(
I
@I
I
II
I
I
IQ
J
0
%
i
Q,
0
/
J
0
Image
Density
Control
Lever
Use
this
lever to make copies
darker or lighter
0
Check
Paper
Path
Indicator
Lights
If
there IS a paper mlsfeed
within
the
copier
l
Replace
Master
Unit
Indicator
Lights
when
It
IS
time
to change
the master unit.
l
Check
Paper
Tray
Indicator
Lights when there IS no paper
on the paper tray.
l
Ready
Indicator
Lights
when the machine IS
ready to make coptes
l
Wait
Indicator
Lights when the copier IS
warming
up Copies cannot be
made when this
Indicator
IS on
ADDING TONER
@
APPLICATIONS
@
COPYING
(D
CONTROLS/INDICATORS
(D
DOS AND DON TS
@
INSTALLATION
0
LOADING
PAPFR
@
MAINTENANCE
@
-
12-

ug
ugl
_Dn
_Dn
/_
L
li
El
N-
l
Copy Counter
Shows the number of copies
entered. While copying, this
counter shows the number of
copies made. (Count up type.)
l
Decrease
Quantity
Key
Press to reduce the copy entry
number.
l
Increase
Quantity
Key
Press to Increase the copy entry
number. (The maximum num-
ber of copies that can be
entered IS
20.)
l
Clear/Stop
Key
Press to cancel the copy num-
ber entered. While copying,
press to stop copy operatron.
l
Print
Key
Press to start copy operatron.
0
Exposure
Control
Switch
Normally leave this switch set
to the “N” position (operator
side). When
copyrng
low con-
trast
origtnals,
set
It
to the “L”
positron.
MAIN COMPONENTS
@
MASTER UNIT
@
MISFFEDS
@
SPECIFICATIONS
TRANSPORTING THE COPIER
@
TROUBLESHOOTING
@
TWO-SIDED COPIES
0
-
13-

3.
COPYING
3-l.
STARTING
THE
COPIER
Turn on the main switch.
The
(I>
(Wait) indicator will turn
on.
This means the copier is warming
“P
Copies can be made when
0
(Ready) turns on.
3-2.
NORMAL
COPYING
Raise
the platen cover and
place the
orlglnal
face down
on the exposure glass.
Make sure
the
orlglnal
IS
flush
with the right scale and
aligned with the proper paper
stze
marks.
Adjust the image density con-
trol lever to
match
the type
and quality of original.
ADDING TONER
@
APPLICATIONS
43
COPYING
@
CONTROLS/INDICATORS
@
DO’S AND DON TS
@
INSTALLATION
0
LOADING PAPER
@
MAINTENANCE
0
-14-

MAIN COMPONENTS
@
MASTER UNIT
@
MISFEEDS
@
SPECIFICATIONS
TRANSPORTING THE COPIER
@
TROUBLESHOOTING
@
TWO-SIDED COPIES
0
Enter the number of copies
required by pressing the
Increase Quantity Key.
(Use the Decrease Quantity
Key if you enter too many
copies.)
l Up to 20 copies can be
entered at one time.
l Press the
m
Key to cancel
the entry
Press the Print Key
The number of copies made
will be
contrnuously
shown by
the copy counter.
(To stop the machine
during
a
multrcopy
run, press the q
Key.)
-
15-

3-3.
TWO-SIDED
COPYING
1
Copy the first side
In
the nor-
mal manner. Then, insert the
copy into the paper entrance
on
top
of
the
paper
stack.
Important.
The copy must be Inserted
facedown
2 Set the second
orIgInal.
press the Print Key and
ADDING TONER
@
APPLICATIONS
@
COPYING
@
CONTROLS/INDICATORS
@
DOS AND DON TS
@
INSTALLATION
@
LOADlNti PAPER
(D
MAINTENANCE
@
-16-
Table of contents
Other Ricoh Copier manuals

Ricoh
Ricoh FT5034 User manual

Ricoh
Ricoh FW770 User manual

Ricoh
Ricoh M022 Installation instructions

Ricoh
Ricoh 7700W User manual

Ricoh
Ricoh 8700W User manual

Ricoh
Ricoh FT6645 User manual

Ricoh
Ricoh A250 User manual

Ricoh
Ricoh Aficio MP 1350 User manual

Ricoh
Ricoh AD1 User manual

Ricoh
Ricoh Aficio C3002 User manual

Ricoh
Ricoh LDD745 User manual

Ricoh
Ricoh 5490 User manual

Ricoh
Ricoh MP 1813L User manual

Ricoh
Ricoh Gim-MF1a Quick start guide

Ricoh
Ricoh Priport JP5800 User manual

Ricoh
Ricoh MD-P2 Quick start guide

Ricoh
Ricoh Aficio FX10 User manual

Ricoh
Ricoh TH-C1b User manual

Ricoh
Ricoh Aficio FT4027 User manual
Ricoh
Ricoh FT4430 User manual