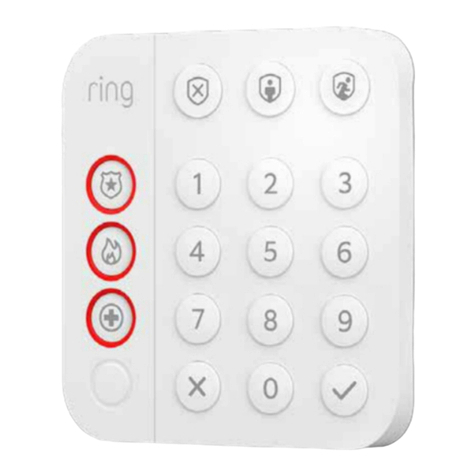
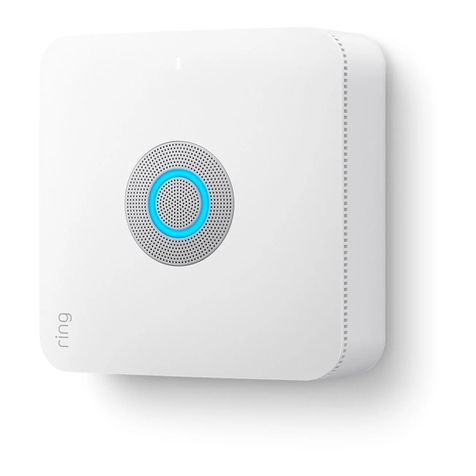
ring Outdoor Siren User manual
Other ring Security System manuals
ring
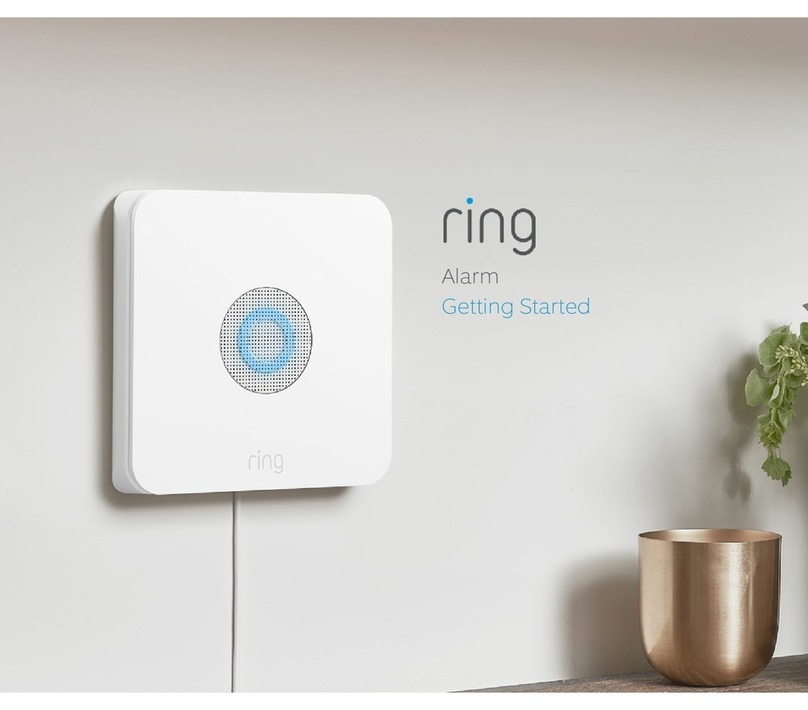
ring Alarm User manual
ring
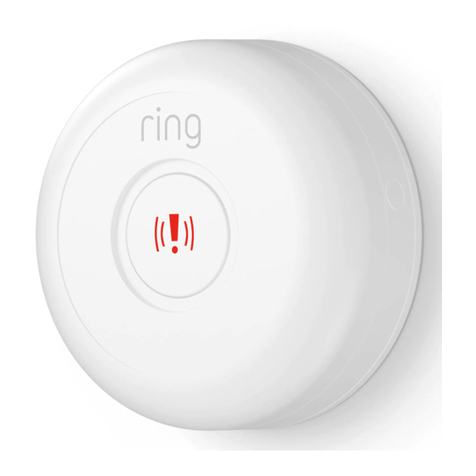
ring Panic Button Z-Wave User manual

ring
ring Outdoor Siren User manual

ring
ring Smoke/CO Listener User manual

ring
ring Pro Power User manual
ring
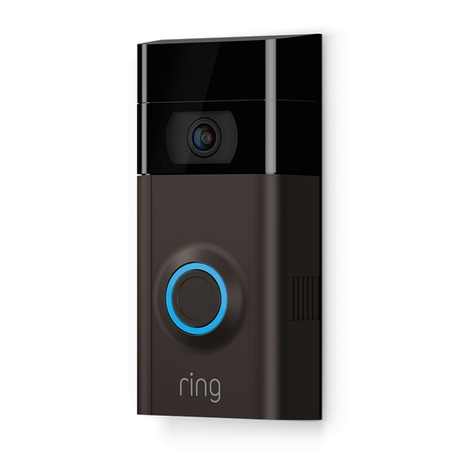
ring Video Doorbell 2 Operating and safety instructions

ring
ring Alarm User manual

ring
ring Base Station User manual

ring
ring BASE STATION Manual
ring
ring Pro Power User manual
Popular Security System manuals by other brands

Inner Range
Inner Range Concept 2000 user manual

Climax
Climax Mobile Lite R32 Installer's guide

FBII
FBII XL-31 Series installation instructions

Johnson Controls
Johnson Controls PENN Connected PC10 Install and Commissioning Guide

Aeotec
Aeotec Siren Gen5 quick start guide

IDEAL
IDEAL Accenta Engineering information

Swann
Swann SW-P-MC2 Specifications

Ecolink
Ecolink Siren+Chime user manual

Digital Monitoring Products
Digital Monitoring Products XR150 user guide

EDM
EDM Solution 6+6 Wireless-AE installation manual

Siren
Siren LED GSM operating manual

Detection Systems
Detection Systems 7090i Installation and programming manual

