manuals.online logo
Brands
  1. Home
  2. •
  3. Brands
  4. •
  5. Ryobi
  6. •
  7. Paint Sprayer
  8. •
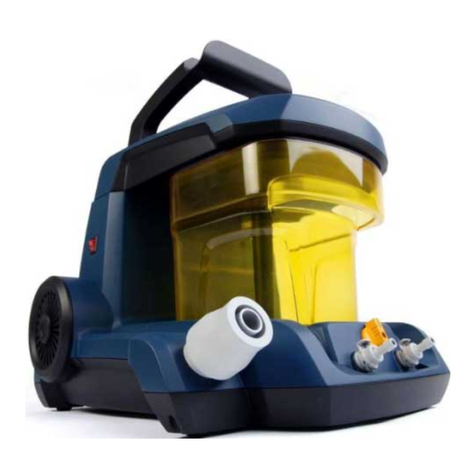
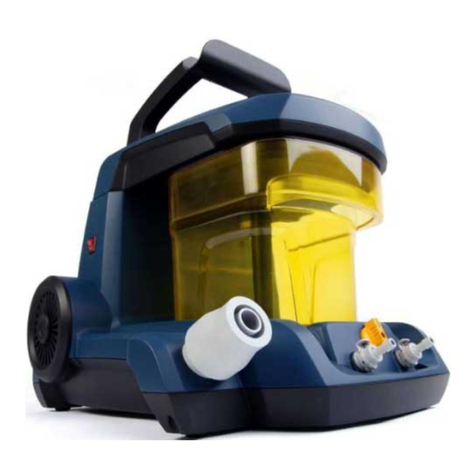
  9. Ryobi DUET FPR200 Specification sheet

Ryobi DUET FPR200 Specification sheet

Other Ryobi Paint Sprayer manuals

Ryobi PSP02 User manual

Ryobi

Ryobi PSP02 User manual

Ryobi ONE+ P2807 Quick setup guide

Ryobi

Ryobi ONE+ P2807 Quick setup guide

Ryobi OWS1880 User manual

Ryobi

Ryobi OWS1880 User manual

Ryobi R18FG35E User manual

Ryobi

Ryobi R18FG35E User manual

Ryobi RY40301 User manual

Ryobi

Ryobi RY40301 User manual

Ryobi AC12GAL User manual

Ryobi

Ryobi AC12GAL User manual

Ryobi RY18BPSA User manual

Ryobi

Ryobi RY18BPSA User manual

Ryobi P630 User manual

Ryobi

Ryobi P630 User manual

Ryobi RWS1880S13 User manual

Ryobi

Ryobi RWS1880S13 User manual

Ryobi RAP200G Specification sheet

Ryobi

Ryobi RAP200G Specification sheet

Ryobi SSP100 User manual

Ryobi

Ryobi SSP100 User manual

Ryobi RAP200 User manual

Ryobi

Ryobi RAP200 User manual

Ryobi RAP200G User manual

Ryobi

Ryobi RAP200G User manual

Ryobi SSP050 User manual

Ryobi

Ryobi SSP050 User manual

Ryobi P620 User manual

Ryobi

Ryobi P620 User manual

Ryobi OBS1815 User manual

Ryobi

Ryobi OBS1815 User manual

Ryobi P2890 User manual

Ryobi

Ryobi P2890 User manual

Ryobi GS-400 Operation manual

Ryobi

Ryobi GS-400 Operation manual

Ryobi P2806 User manual

Ryobi

Ryobi P2806 User manual

Ryobi PS-900 Operation manual

Ryobi

Ryobi PS-900 Operation manual

Ryobi P620 User manual

Ryobi

Ryobi P620 User manual

Ryobi P620 User manual

Ryobi

Ryobi P620 User manual

Ryobi RAP200 User manual

Ryobi

Ryobi RAP200 User manual

Ryobi P28014 User manual

Ryobi

Ryobi P28014 User manual

Popular Paint Sprayer manuals by other brands

Idex Akron Brass FS100 quick start guide

Idex

Idex Akron Brass FS100 quick start guide

mbp TEL 15BS instructions

mbp

mbp TEL 15BS instructions

Solo 425 Classic Original instructions

Solo

Solo 425 Classic Original instructions

WAGNER AirCoat GM 4100 AC operating manual

WAGNER

WAGNER AirCoat GM 4100 AC operating manual

Graco 1095 HI Operation manual

Graco

Graco 1095 HI Operation manual

Titan MultiFinish 440 owner's manual

Titan

Titan MultiFinish 440 owner's manual

Graco GUSMER D Series instructions

Graco

Graco GUSMER D Series instructions

SNOWJOE Sunjoe 24V-GS-LTW-RM Operator's manual

SNOWJOE

SNOWJOE Sunjoe 24V-GS-LTW-RM Operator's manual

Walther FSP-01 Assembly instructions

Walther

Walther FSP-01 Assembly instructions

Fimco LG-4-3-1 owner's manual

Fimco

Fimco LG-4-3-1 owner's manual

Nordson MicroMax 2 manual

Nordson

Nordson MicroMax 2 manual

Bonide 051 Operation and service instructions

Bonide

Bonide 051 Operation and service instructions

zogics Z-DAS instruction manual

zogics

zogics Z-DAS instruction manual

KISANKRAFT KK-KBS-165 Operation manual

KISANKRAFT

KISANKRAFT KK-KBS-165 Operation manual

Matrix SG 650 Translation of the original instructions

Matrix

Matrix SG 650 Translation of the original instructions

paasche VV Instructions and parts list

paasche

paasche VV Instructions and parts list

Carlisle DeVilbiss JGA-510 Service manual

Carlisle

Carlisle DeVilbiss JGA-510 Service manual

Gardena 11120 Operator's manual

Gardena

Gardena 11120 Operator's manual

manuals.online logo
manuals.online logoBrands
  • About & Mission
  • Contact us
  • Privacy Policy
  • Terms and Conditions

Copyright 2025 Manuals.Online. All Rights Reserved.

how to get started
WARNING: This How To Get Started sheet is
not a substitute for reading the operator’s manual.
To reduce the risk of injury or property damage, user
must read and understand operator’s manual before
using this product.
Place plastic paint container lid onto the paint can.
Insert paint can into unit and lock handle closed.
Push dual control lever to the left to choose one person
operation.
Attach the paint tube to the quick-connect main outlet on unit.
Attach the other end of the paint tube to the quick connect outlet on
the handle.
Attach roller to handle.
Plug in the unit, place the forward/reverse switch in the forward
position.
Open the variable flow control valve, then squeeze and hold the
trigger on the roller handle to get paint flowing through the paint
tube.
Test the roller on a scrap surface before beginning.
Adjust the variable paint flow valve for desired paint coverage.
When finished, clean all parts before storing.
1
2
3
4
5
6
For detailed instructions on how to
perform any of the steps at right,
please see the operator’s manual.
7
8
3
5
6
9
For set-up when using two-person operation,
please see the operator’s manual.
10
7
10
8
2
4
9
1
REVERSE
FORWARD
988000-048
3-29-10 (REV:02)
PoUr dÉBUter
L’UtILIsatIoN
dU ProdUIt
AVERTISSEMENT : Le présent feuillet
intitulé « Pour débuter l’utilisation du produit » ne
remplace en aucune façon le manuel d’utilisation.
Pour réduire les risques de blessures et de
dommages matériels, l’utilisateur doit lire et
veiller à bien comprendre le manuel d’utilisation
avant d’employer ce produit.
CÓMo
CoMeNZar
ADVERTENCIA: Comprender esta
hoja sobre Cómo comenzar no equivale a
leer el manual del operador. Para reducir el
riesgo de lesiones o daños a la propiedad, el
usuario debe leer y comprender el manual del
operador antes de usar este producto.
Pour obtenir des directives détaillées sur l’exécution des
étapes présentées à la droite, veuillez consulter le manuel
d’utilisation.
1Placer le couvercle du contenant de peinture sur le récipient.
2Insérer le boîte de peinture de l’outil et fixer la poignée en place.
3Appuyer le levier de commande double vers la gauche pour choisir mode
mono-utilisateur.
4Fixer le tube à peinture dans la prise à connexion rapide principale située
sur l’unité.
5Raccorder l’autre extrémité du tube à peinture dans la prise à connexion
rapide située sur la poignée.
6Fixer le rouleau à peindre dans la poignée.
7Brancher l’unité, régler le commutateur « Marche avant/arrêt/marche arrière
» en position de marche avant.
8Ouvrir la cadran de control du débit de peinture, puis appuyer sur la
gâchette de la poignée du rouleau et la tenir enfoncée de façon à ce que la
peinture circule dans le tube de peinture.
9Tester le rouleau sur une surface de rebut avant de commencer
l’opération.
10 Régler la valve de contrôle du débit de peinture de manière à obtenir le
revêtement désiré.
Une fois l’opération terminée, nettoyer toutes les pièces avant
l’entreposage.
Pour l’installation au moment d’utiliser l’outil par deux personnes
simultanément, veuillez consulter le manuel d’utilisation.
Para obtener instrucciones detalladas sobre cómo realizar
cualquiera de los pasos a la derecha, consulte el manual del
operador.
1Inserte la tapa del contenedor de pintura en la lata de pintura.
2Coloque el lata de pintura en la herramienta y asegure el mango en su lugar.
3Apriete la palanca de control dual a la izquierda para seleccionar modo de
un solo uso.
4Conecte una el tubo de pintura con la toma principal del conector rápido
de la unidad.
5Conecte el otro extremo del tubo de pintura dentro de la salida de conexión
rápida del mango.
6Conecte rodillo para pintar con la mango.
7Enchufe la máquina, coloque el selector adelante/apagado/atrás en la
posición adelante.
8Abra la disco de flujo de pintura variable y oprima el gatillo del mango para
rodillo y manténgalo pulsado para que la pintura fluya a través del tubo de
pintura.
9Pruebe el rodillo en una superficie de sobra antes de comenzar.
10 Ajuste la válvula de flujo variable de pintura a la cubierta deseada de
pintura.
Cuando termine, limpie todas las piezas antes de almacenarlas.
Instalación cuando utilizarlo de a dos personas, consulte el manual del
usuario.