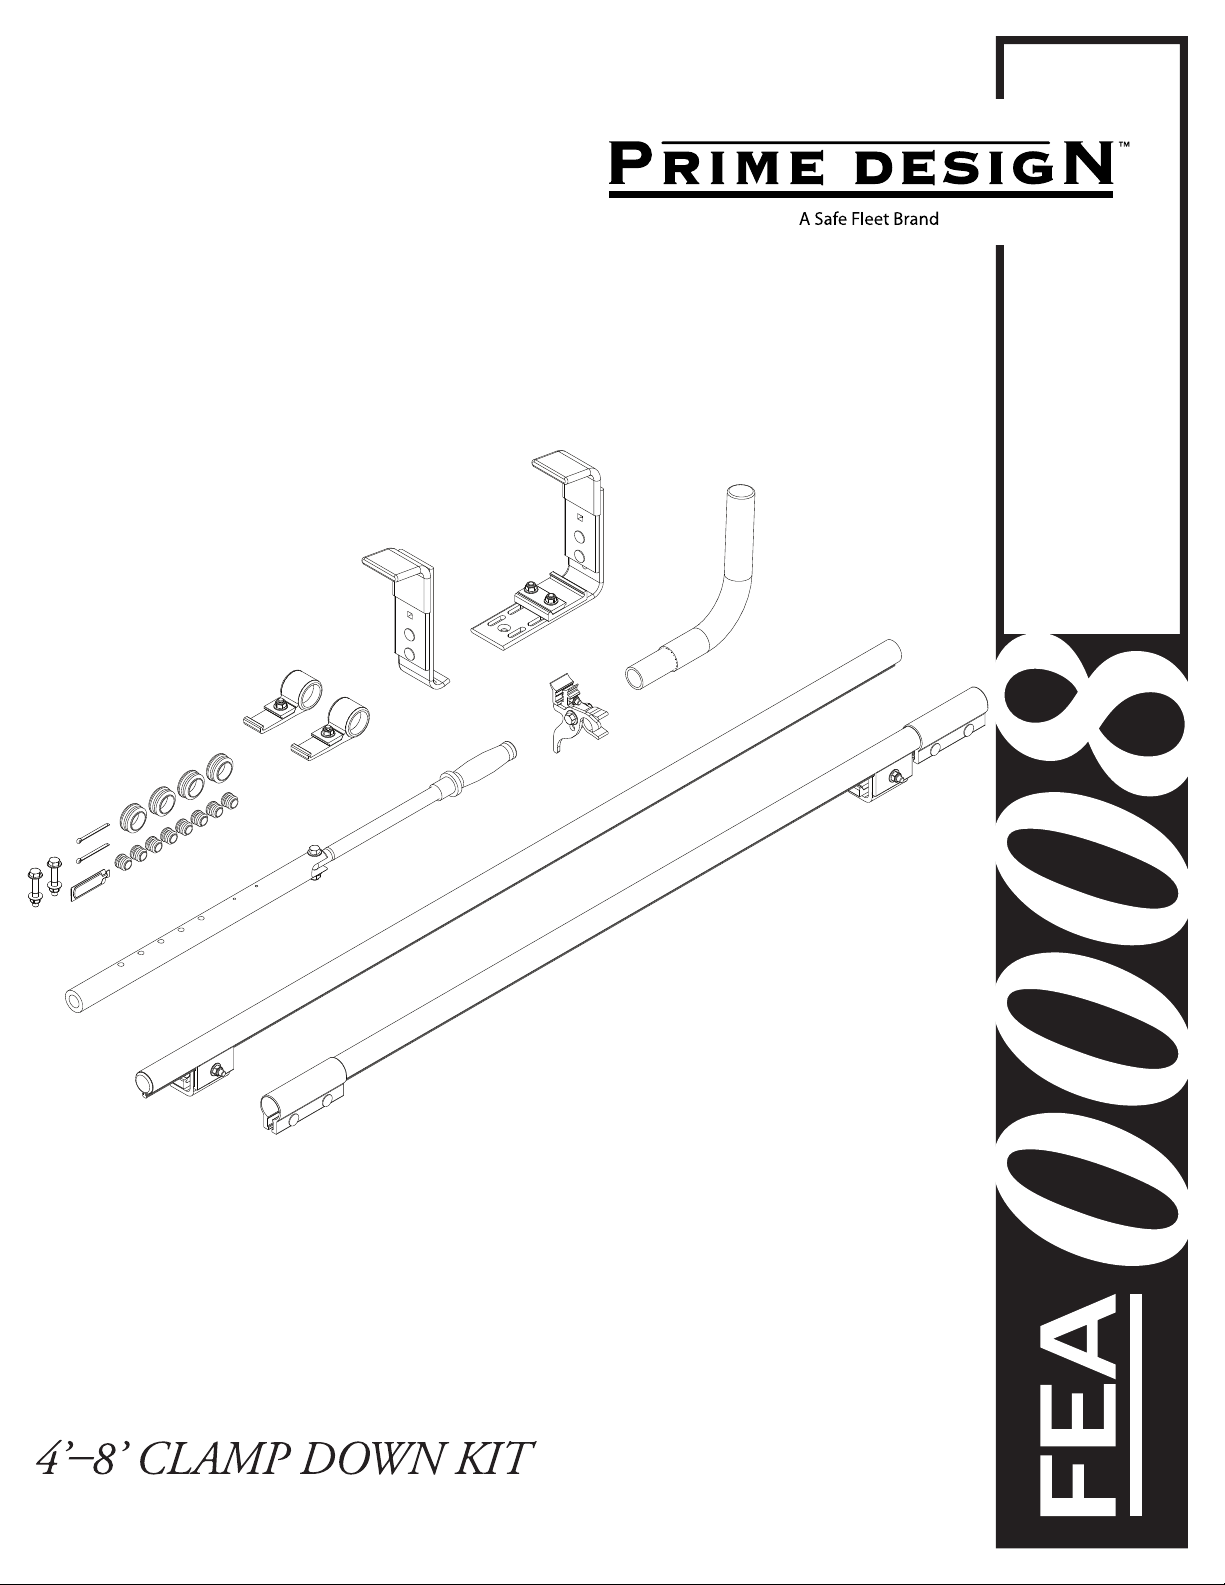
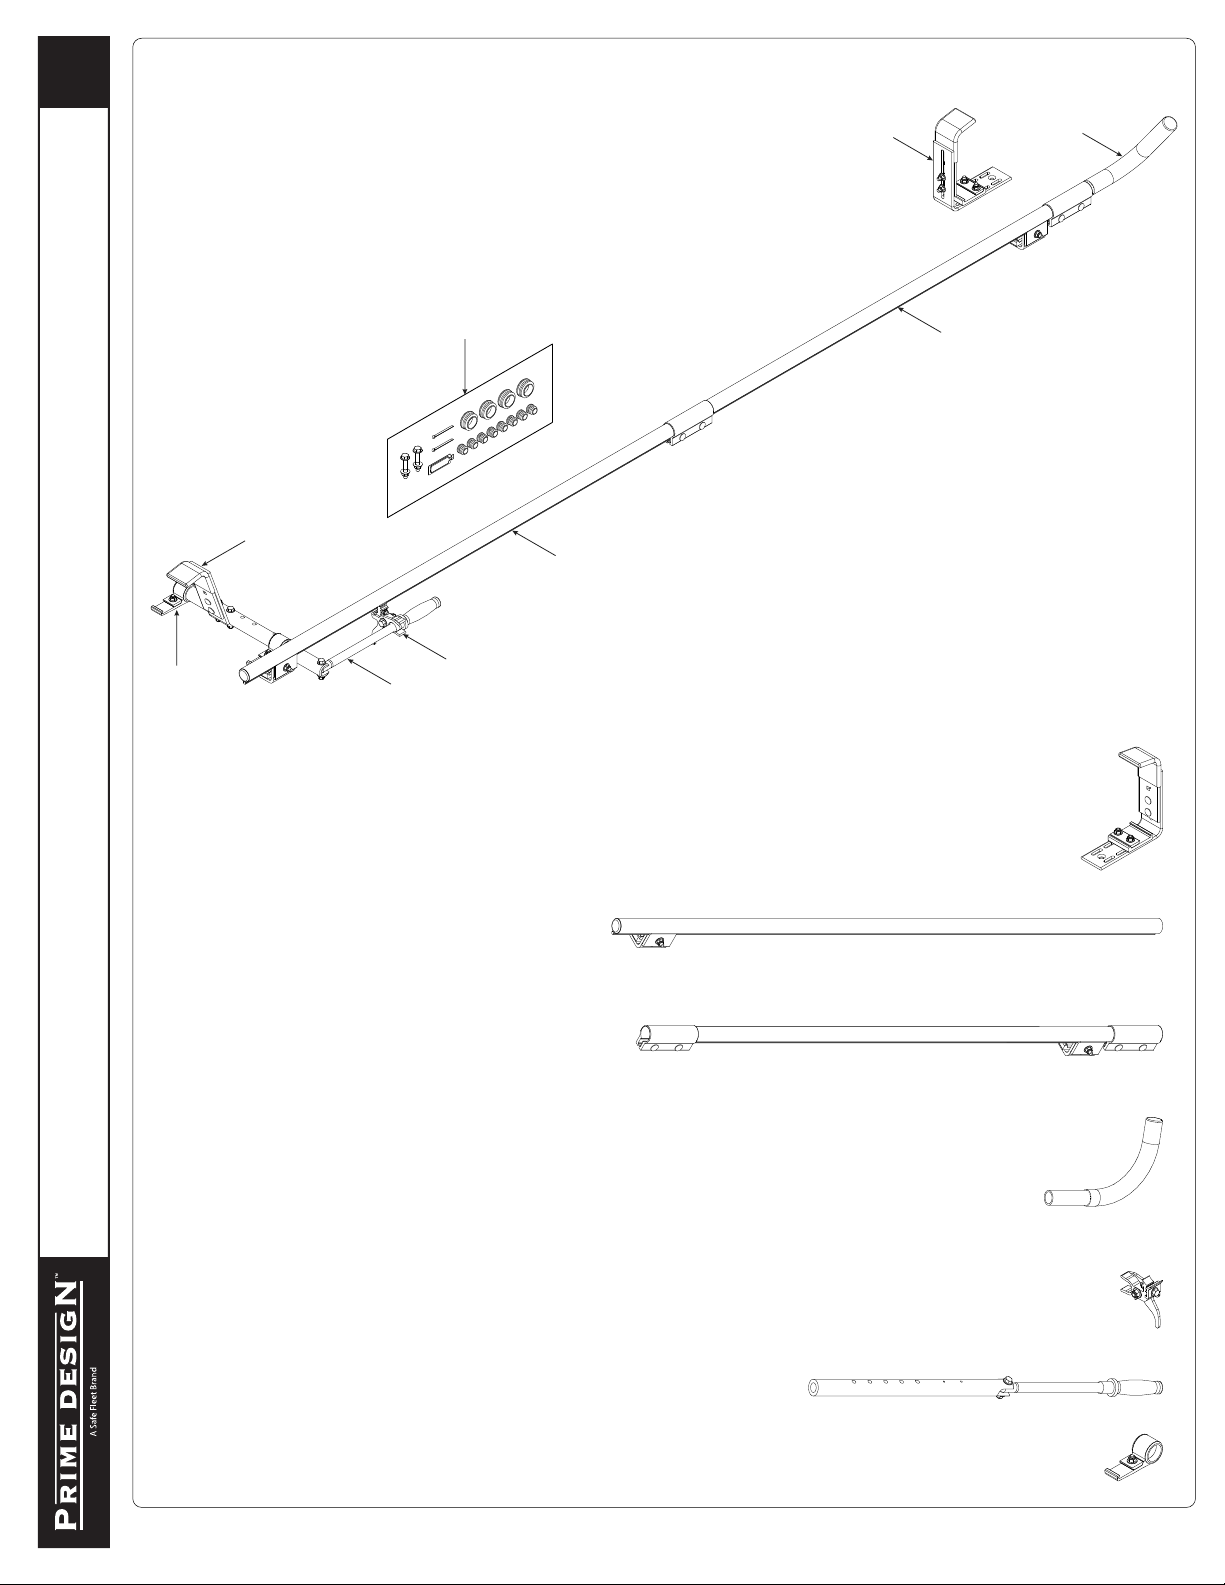
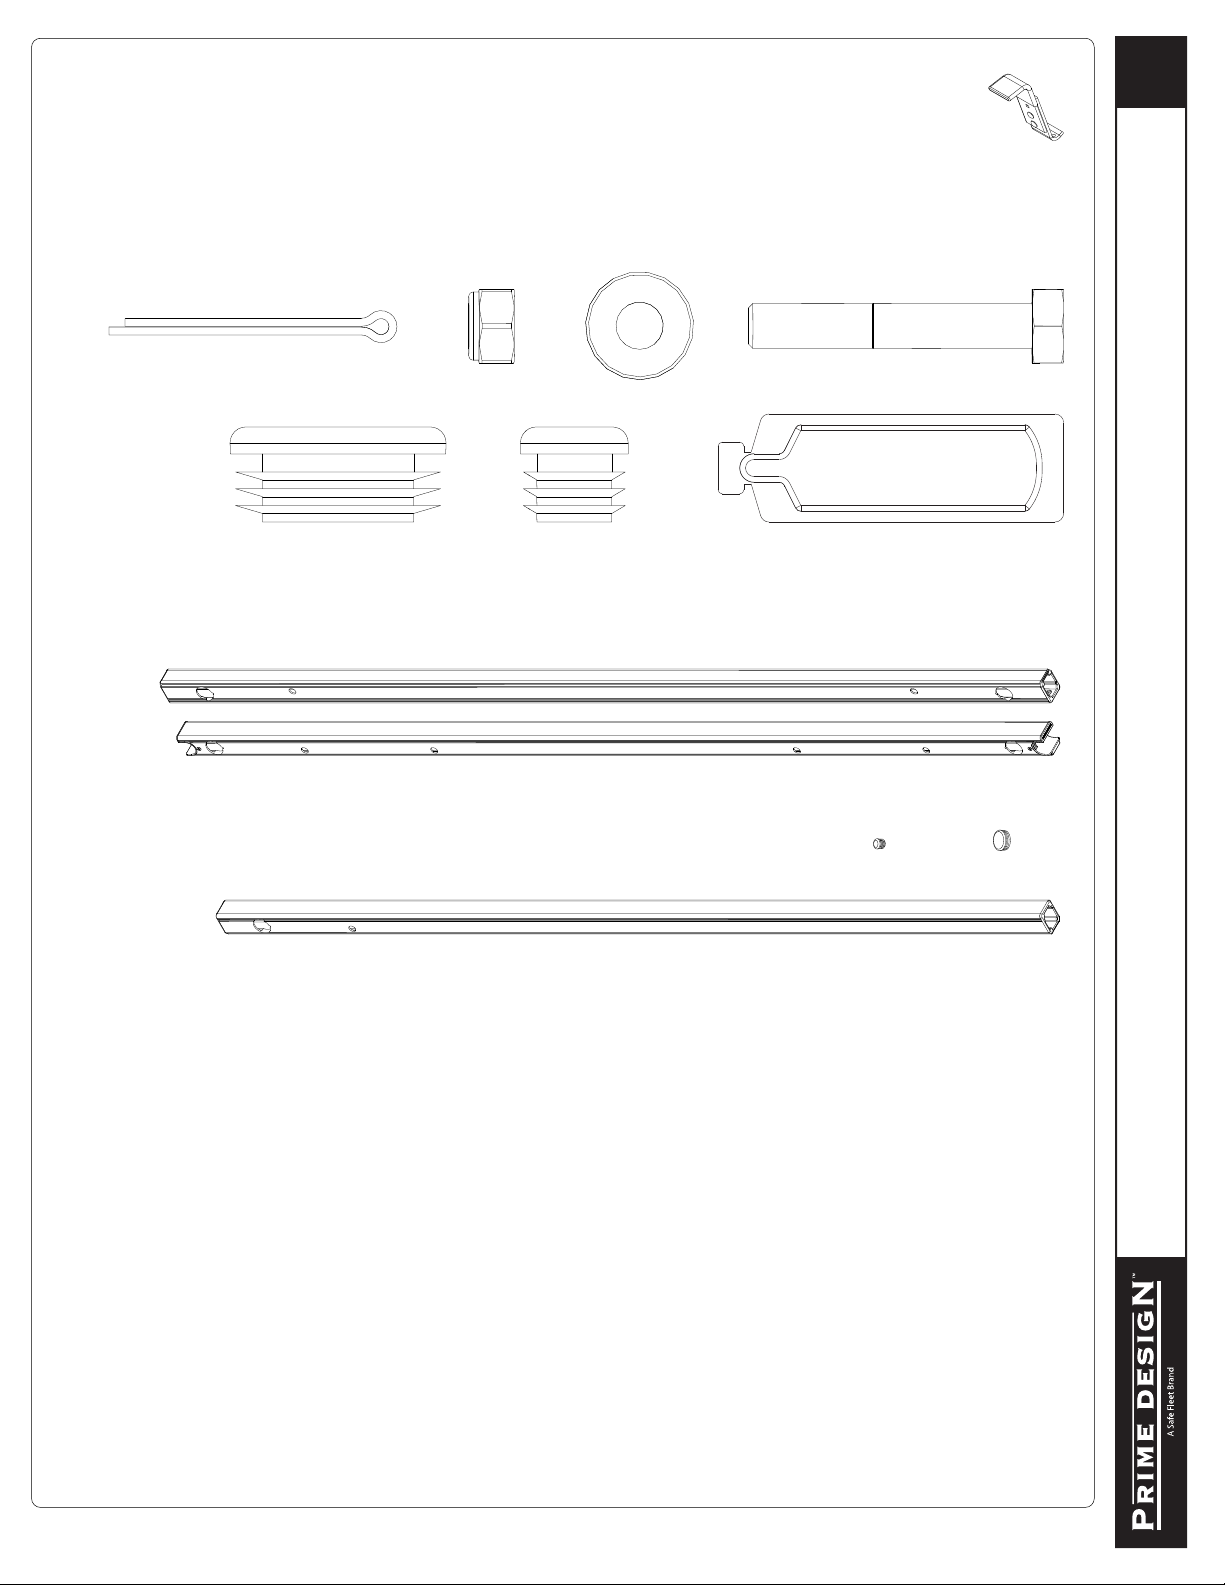
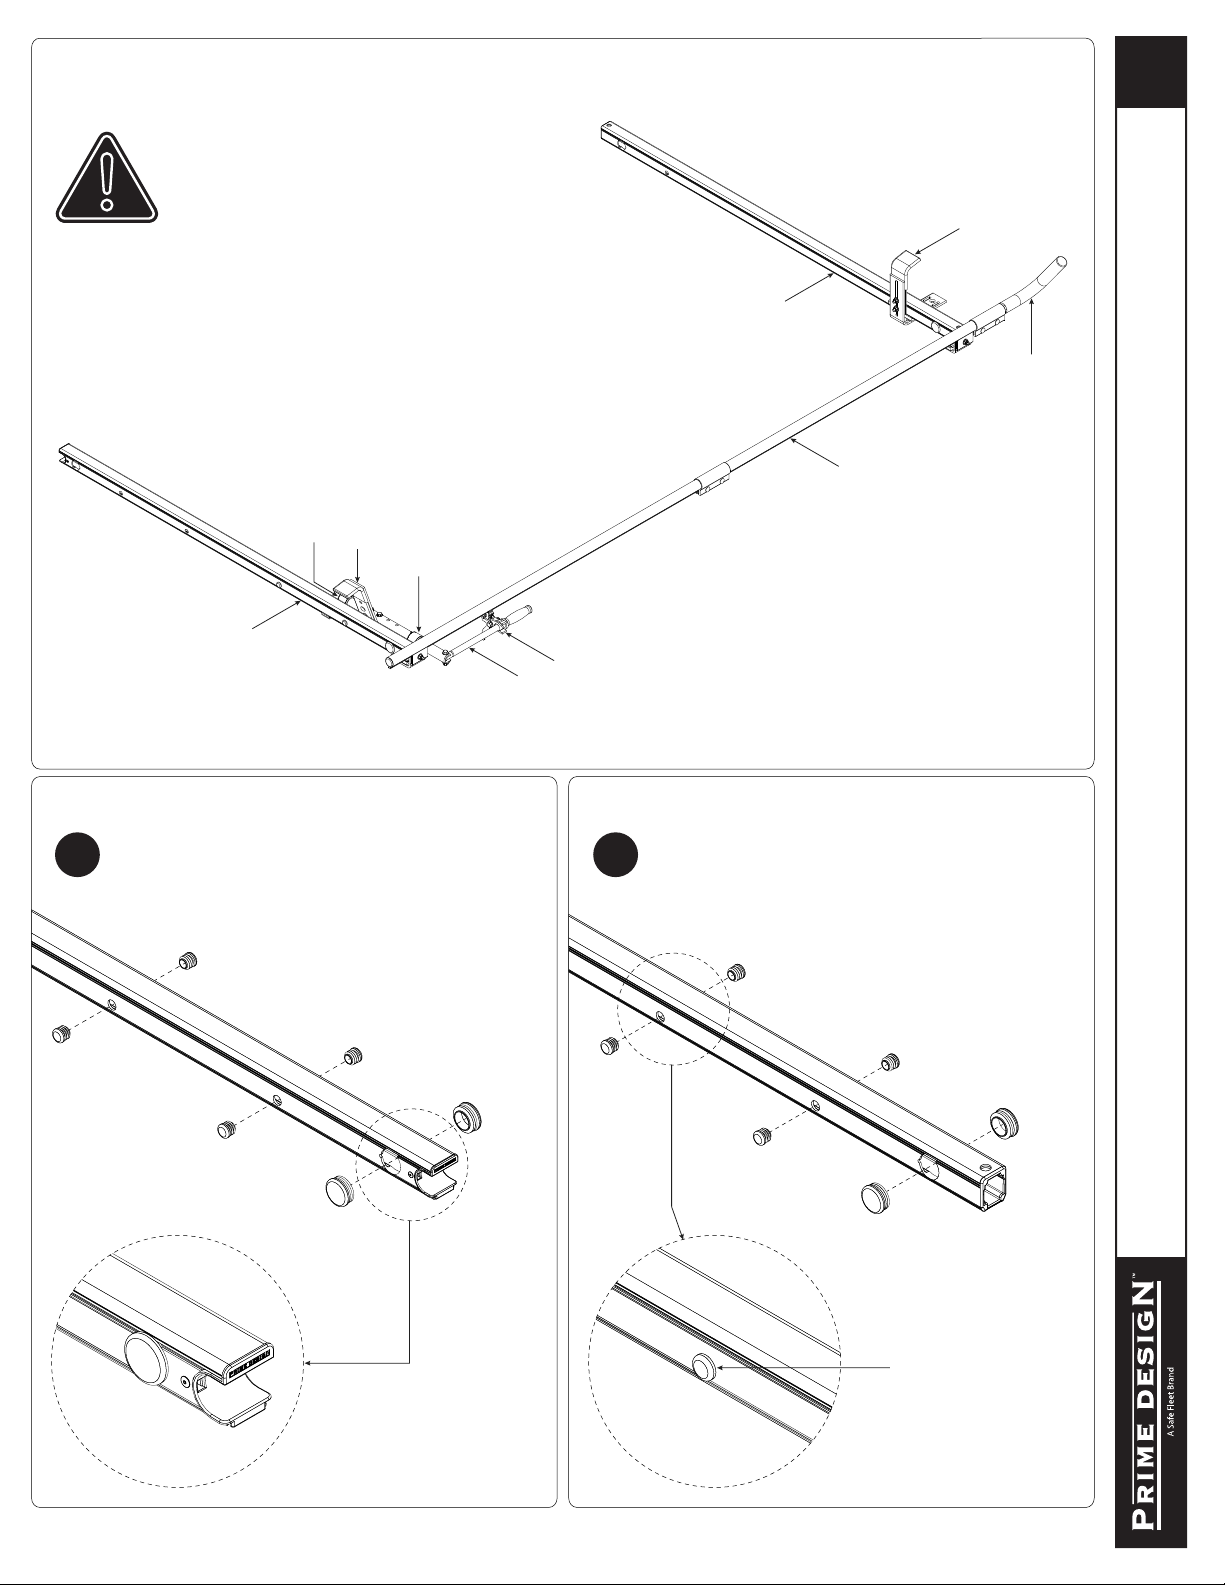
Safe Fleet PRIME DESIGN FEA-0008 User manual
Other Safe Fleet Automobile Accessories manuals

Safe Fleet
Safe Fleet PRIME DESIGN AR1900 User manual

Safe Fleet
Safe Fleet Prime Design OCM-3032 User manual

Safe Fleet
Safe Fleet Prime Design AR1418 User manual

Safe Fleet
Safe Fleet Prime Design VRR-FT21G-ST User manual

Safe Fleet
Safe Fleet Prime Design AR1928 User manual

Safe Fleet
Safe Fleet PRIME DESIGN ACX User manual

Safe Fleet
Safe Fleet PRIME DESIGN AR1425 User manual

Safe Fleet
Safe Fleet PRIME DESIGN PRR-6001 User manual

Safe Fleet
Safe Fleet Prime Design AR1221 User manual

Safe Fleet
Safe Fleet PRIME DESIGN FBM-1014-BLK User manual

Safe Fleet
Safe Fleet PRIME DESIGN AR-2100-BLK Series User manual

Safe Fleet
Safe Fleet Prime Design PBR 6000 User manual

Safe Fleet
Safe Fleet Prime Design VBB3 FT31B User manual

Safe Fleet
Safe Fleet PRIME DESIGN HRX-009-E-RETRO User manual

Safe Fleet
Safe Fleet Prime Design VBC-FT31B User manual

Safe Fleet
Safe Fleet PRIME DESIGN HRI-NV11B User manual

Safe Fleet
Safe Fleet REAR VIEW SAFETY RVS-924718-CE User manual

Safe Fleet
Safe Fleet PRIME DESIGN VBI-FT21B User manual

Safe Fleet
Safe Fleet Prime Design AR1930 User manual

Safe Fleet
Safe Fleet PRIME DESIGN VBC-TC11B User manual