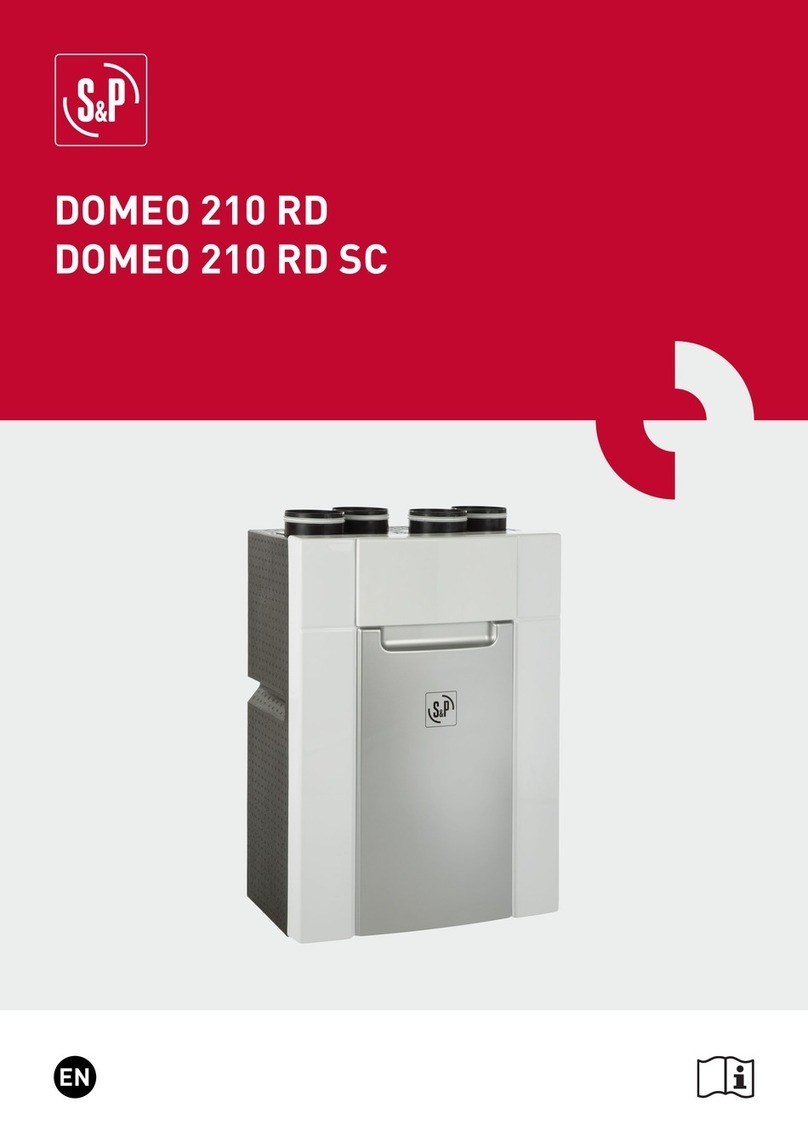
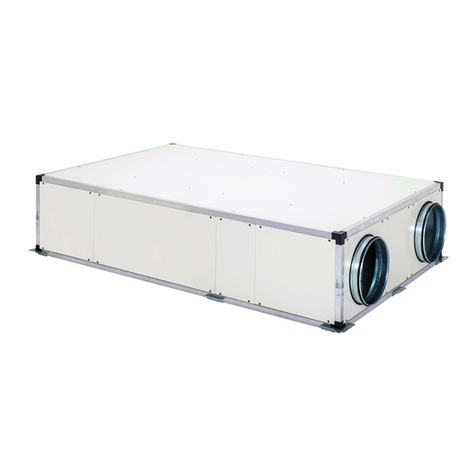
S&P CAD-EPP User manual

1
UK INSTALLATION AND WIRING GUIDE
TO BE USED IN CONJUNCTION WITH THE MAIN INSTRUCTION MANUAL

2

3
ENGLISH I
INDEX
1. RECOMMENDATIONS ........................................................................................................................................4
2. GENERAL................................................................................................................................................................4
2.1. SPEED CONTROL INPUTS ........................................................................................................................4
2.2. PRE-DEFINED FIXED SPEED CONTROL ..............................................................................................4
2.3. REMOTE SWITCHING................................................................................................................................4
2.4. FAN-FAIL DETECTION BY FAULT SENSING.......................................................................................4
2.5. ANALOG SWITCH OUTPUTS....................................................................................................................4
3. TRANSPORT AND HANDLING.........................................................................................................................4
4. SAFETY RULES .....................................................................................................................................................5
4.1. ON INSTALLATION.....................................................................................................................................5
4.2. AT START UP ................................................................................................................................................5
5. MECHANICAL INSTALLATION........................................................................................................................6
5.1. CEILING MOUNTING.................................................................................................................................6
5.2. WALL MOUNTING.......................................................................................................................................6
5.3. MAINTENANCE ACCESS............................................................................................................................7
5.4. CONDENSATION DRAIN PIPE................................................................................................................7
5.5. COMPONENT LOCATIONS........................................................................................................................8
6. CONNECTIONS.....................................................................................................................................................9
7.1. REMOTE ENABLE (VOLT-FREE CONTACT) .......................................................................................10
7.2. 0-10V INPUT ..............................................................................................................................................11
7.3. S&P REB-EPP (0-10V).............................................................................................................................12
7.4. S&P AIRSENS (0-10V) ............................................................................................................................13
7.5. BOOST (VOLT-FREE CONTACT) ...........................................................................................................14
7.6. S&P AIRSENS (BOOST) ..........................................................................................................................15
7.7. PURGE (VOLT-FREE CONTACT) ...........................................................................................................16
7.9. S&P AIRSENS (PURGE) ..........................................................................................................................17
7.10. FAULT RELAY..........................................................................................................................................18
8. ROUTINE MAINTENANCE ..............................................................................................................................19
9. DEFROST PROTECTION ..................................................................................................................................19
10. FREE-COOLING..............................................................................................................................................19
11. MAINTENANCE ..............................................................................................................................................19

4
1. RECOMMENDATIONS
You have purchased a CAD-EPP fan designed specifically by Soler & Palau to perform the functions described in the
table of contents.
Before you install and start up this product, please read this instruction book carefully because it contains important
information for your safety and the safety of users during installation, use and maintenance. Once installation is
complete, please pass the instruction book on to the end user. Please check that the equipment is in perfect condition
when you unpack it since any factory defect is covered under the S&P guarantee. Please also check that the
equipment is the one that you have ordered and that the information on the instruction plate meets your
requirements.
2. GENERAL
2.1. SPEED CONTROL INPUTS
•Variable Speed Control
•Manual variable speed control via an optional secondary REB-EPP controller, or
•Automated variable speed control via a 0-10V signal from an external source.
2.2. PRE-DEFINED FIXED SPEED CONTROL
•An upon-installation defined duty either continuous or on-demand (triggered by an external switch), or
•One, two or three speeds to provide a minimum/boost/purge speed ventilation system, the boost and purge speeds
being selected by an external switch/sensor (Volt-free).
2.3. REMOTE SWITCHING
•The switching between the (up to) three speeds can be activated by up to three Volt-free contacts, or
•On/Off –Volt-Free Contact
2.4. FAN-FAIL DETECTION BY FAULT SENSING
•Automatic monitoring of the impeller rotation via the Tacho pulse (frequency generator) signal.
•Sixty seconds time-delay of fault detection on start-up to allow input levels to normalise.
2.5. ANALOG SWITCH OUTPUTS
•Output to BMS of fan fault indicated by an individual set of contacts capable of controlling a maximum load of up
to 230 Volts at 1 Amp.
3. TRANSPORT AND HANDLING
•The equipment packaging has been designed to withstand normal transport conditions. The equipment must not
be transported without its original packaging as it could become damaged.
•The product must be stored in its original packaging and in a dry and clean place until it is installed. Do not
accept any equipment that is not supplied in its original packaging or that shows signs of having been tampered
with.
•Prevent the packaging from falling or being knocked
•Do not place heavy loads on top of it.
•When handling heavy products, adequate lifting equipment techniques and equipment should be used to avoid
injury.
•Do not lift a product by pulling the wires, terminal/control enclosure, shutter or impeller to avoid damaging the
product.

5
4. SAFETY RULES
4.1. ON INSTALLATION
•Installation and commissioning must be done by a qualified professional specialist.
•Ensure that installation complies with mechanical and electrical regulations in each country.
•The equipment complies with the following Directives:
-EMC directive: 2014/30/UE
-Low voltage directive: 2014/35/UE
-RTTE directive: 2014/53/UE
-RoHS directive: 2011/65/UE
-WEEE directive: 2012/19/UE
•Do not use this equipment in explosive or corrosive atmospheres.
4.2. AT START UP
•Make sure there are no loose elements near the ventilator, as they could run the risk of being sucked up by it. If
it is going to be installed in a duct, check that it is clean of any element that could be sucked up by the ventilator.
•When installing an apparatus, make sure that all the fittings are in place and that the structure which supports it
is resistant enough to bear its weight at full functioning power.
•Before you handle this equipment, ensure it is disconnected from the mains power supply.
•Check that the mains voltage and frequency are the same as specified on the name plate.
•Follow the wiring diagram to make the electrical connections.
•Check that the earthing, if any, is correct and that the thermal and surge protection has been connected and are
within the relevant limits.
•If a ventilator is installed in a duct, the duct must be exclusively for the ventilation system.
•Ensure that the condensation drain pipe is connected correctly.
•Do not open the inspection doors with moving parts or introduce hands with the machine running.

6
5. MECHANICAL INSTALLATION
The product can be mounted in two orientations, ceiling or wall.
5.1. CEILING MOUNTING
5.2. WALL MOUNTING

7
5.3. MAINTENANCE ACCESS
The products one point of access is from the main roof. This must be followed all times to allow suitable access to the
motors and filters:
5.4. CONDENSATION DRAIN PIPE
The drain must be connected by means of a suitable siphon, ensuring that it is free and the rubber has not
impediments and obstructions. The condensate drain system must be sized for proper operation; in all the sections of
piping that constitute the drain connections to the sewer system, the water flow must be entrusted mainly to the
weight of the liquid, without creating significant pressures or depressions and capable of altering the regular
functioning of the flow.
Note:
if a direct connection is created with the external environment, air is sucked in, which can obstruct the flow of
condensate. Avoid the use of a double siphon or that the siphon is laid forming many curves, as this obstructs the
flow of condensate.

8
5.5. COMPONENT LOCATIONS

9
6. CONNECTIONS
The basic wiring for the CAD-EPP has already been completed, from manufacture there is a moulded 3-pin plug with
replaceable fuse pre-installed to allow the installer to connect directly into a domestic socket.
L –Live
N –Neutral
E –Earth

10
7. CONTROL WIRING
7.1. REMOTE ENABLE (VOLT-FREE CONTACT)

11
7.2. 0-10V INPUT
Fan speed
The speed is defined by a 0-10V input, when the control signal is received it will proportionally increase or decrease
the speed of the fans depending on the input control voltage.

12
7.3. S&P REB-EPP (0-10V)
Fan speed
The speed is defined by the CAD-EPP, when the control signal is received it will proportionally increase the speed of
the fans depending on the input voltage.
NOTE!!! The REB-EPP is a S&P accessory which can be purchased using the product code L0111000000083. Please
read this instruction booklet in conjunction with the REB-EPP booklet.

13
7.4. S&P AIRSENS (0-10V)
Fan speed
The speed is defined by the AIRSENS sensor, which will proportionally increase its control voltage depending on the
pollutants or humidity in the air.
NOTE!!! The AIRSENS is a S&P accessory which can be purchased, there are three variations relative humidity (RH),
carbon dioxide (CO2) and volatile organic compounds (VOC); Below lists the product descriptions and codes to be
ordered. Please read this instruction booklet in conjunction with the AIRSENS booklet.
5416845300 AIRSENS CO2
5416845500 AIRSENS RH
5416845400 AIRSENS VOC

14
7.5. BOOST (VOLT-FREE CONTACT)

15
7.6. S&P AIRSENS (BOOST)
NOTE!!! The AIRSENS is a S&P accessory which can be purchased, there are three variations relative humidity (RH),
carbon dioxide (CO2) and volatile organic compounds (VOC); Below lists the product descriptions and codes to be
ordered. Please read this instruction booklet in conjunction with the AIRSENS booklet.
5416845300 AIRSENS CO2
5416845500 AIRSENS RH
5416845400 AIRSENS VOC

16
7.7. PURGE (VOLT-FREE CONTACT)

17
7.9. S&P AIRSENS (PURGE)
NOTE!!! The AIRSENS is a S&P accessory which can be purchased, there are three variations relative humidity (RH),
carbon dioxide (CO2) and volatile organic compounds (VOC); Below lists the product descriptions and codes to be
ordered. Please read this instruction booklet in conjunction with the AIRSENS booklet.
5416845300 AIRSENS CO2
5416845500 AIRSENS RH
5416845400 AIRSENS VOC

18
7.10. FAULT RELAY
Fault (Maximum current load 1A)
Fault relay will activate when either fan is in fault condition, below is the operation:
Fan Running/Stopped –Open circuit
Fault with Fan –Closed circuit

19
8. ROUTINE MAINTENANCE
Routine maintenance must be completed on the product to prevent premature failure:
•FILTERS: The control system automatically signals the need for filter replacement.
•HEAT EXCHANGER: Periodic inspection and cleaning of the heat exchanger always with an air jet to remove
any impurities or deposited with the help of bactericidal products approved by health authorities.
•FANS: Check every 500 hours (approximately) of the cleaning operation of the fans and the presence of
foreign bodies.
9. DEFROST PROTECTION
The unit is provided by an automatic defrost system. Below the activation procedure:
•When the fresh air temperature is < 3 °C the by-pass damper opens and the supply fan turns off.
•When the fresh air temperature is > 5 °C the by-pass damper closes and the supply fan turns on.
10. FREE-COOLING
The unit is provided by an automatic free-cooling system with motorized by-pass damper of the heat exchanger.
Below is the activation procedure:
When the room temperature is > 23 °C and the fresh air temperature is 3 °C less (20°C) the by-pass damper opens.
The by-pass damper will close when the fresh air temperature is < 15 °C or when the room temperature is < 20 °C.
11. MAINTENANCE
Before manipulate the device, make sure that it is disconnected from the mains and that no one can turn it on during
the intervention.
The apparatus must be regularly inspected. These inspections should be carried out bearing in mind the ventilator’s
working conditions, in order to avoid dirt or dust accumulating on the impeller, motor or back-draught shutter. This
could be dangerous and perceptibly shorten the working life of the ventilator unit.
While cleaning, great care should be taken not to unbalance the impeller or motor.
In all maintenance and repair work, the safety regulations in force in each country must be observed.

20
S&P UK VENTILATION SYSTEMS LTD
S&P HOUSE
WENTWORTH ROAD
RANSOMES EUROPARK
IPSWICH
SUFFOLK
TEL. 01473 276890
WWW.SOLERPALAU.CO.UK
REF. REV-1
This manual suits for next models
1
Table of contents
Other S&P Fan manuals

S&P
S&P DUOVENT MODULAR DV User manual

S&P
S&P PCD110XM User manual

S&P
S&P MDX-ES24VK User manual

S&P
S&P TD-1000/250 3V User manual

S&P
S&P Compact Sp Series Operation manual

S&P
S&P CAB Series User manual

S&P
S&P TURBO-351 N User manual

S&P
S&P SILENT-100 DESIGN User manual

S&P
S&P EDM-200 Series User manual

S&P
S&P SILENT DUAL Series User manual