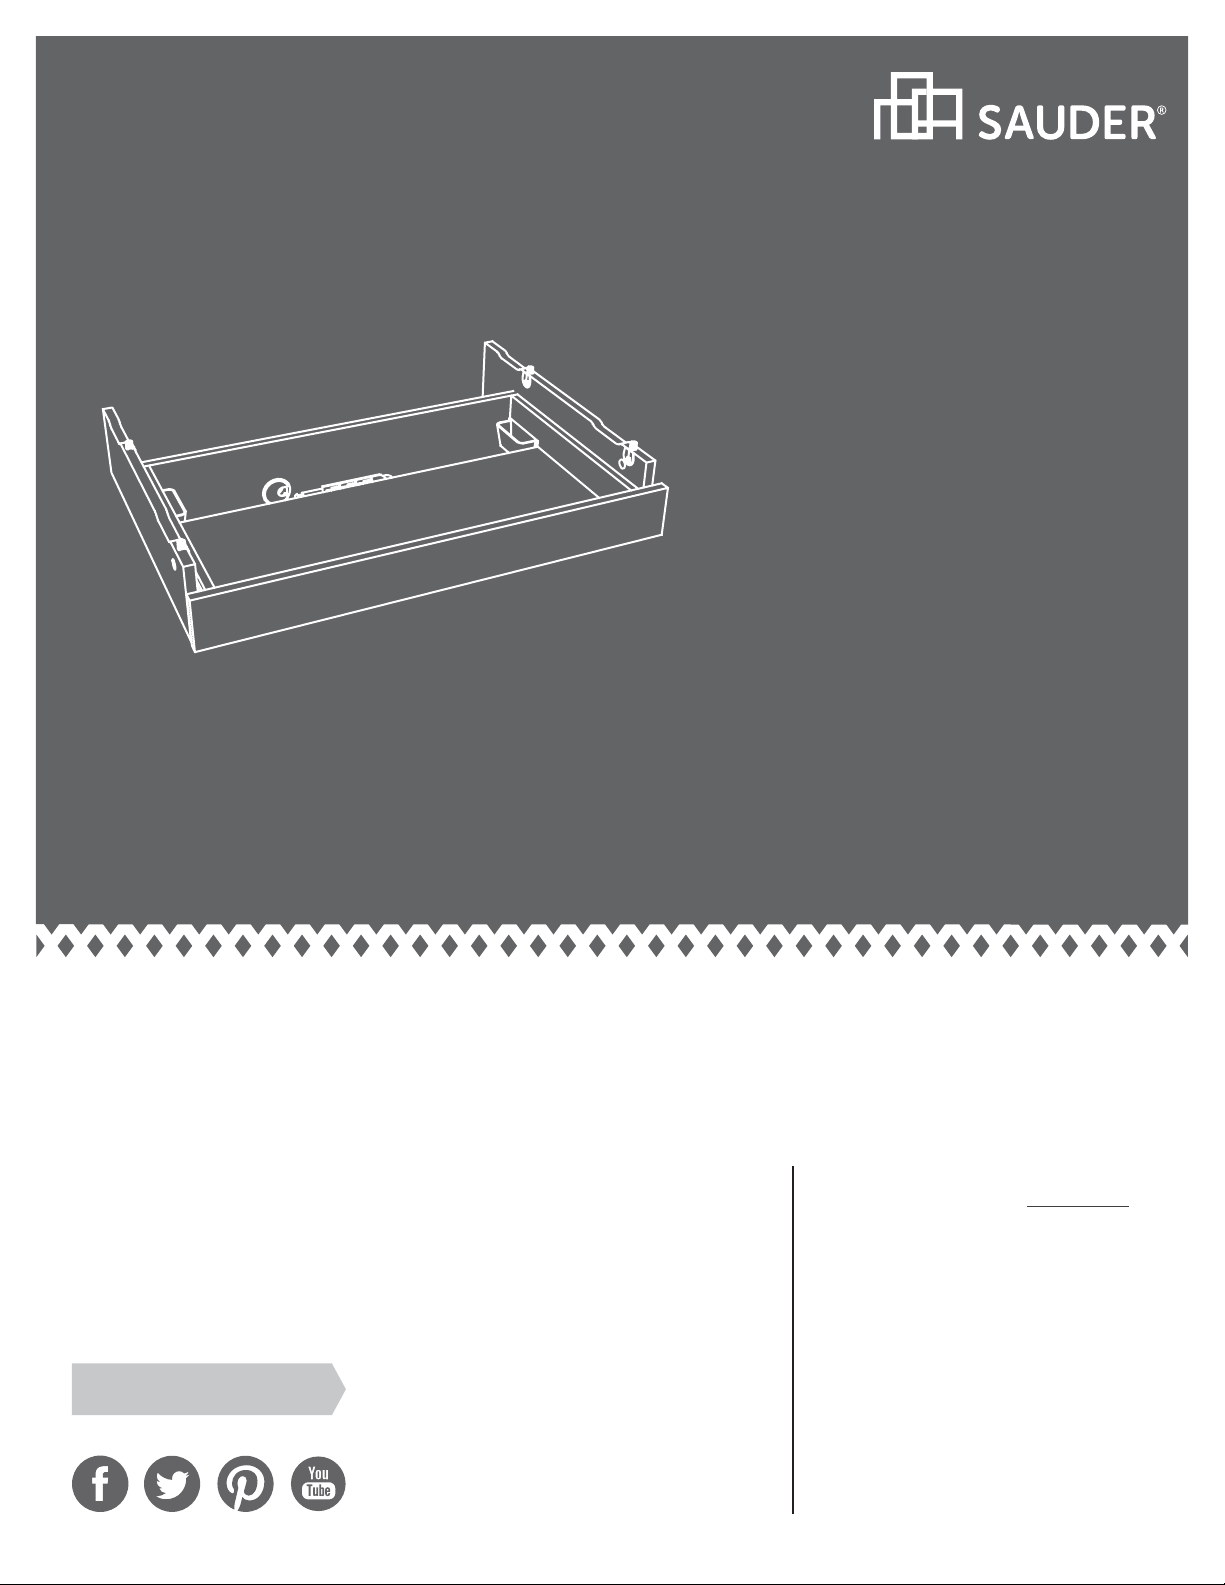
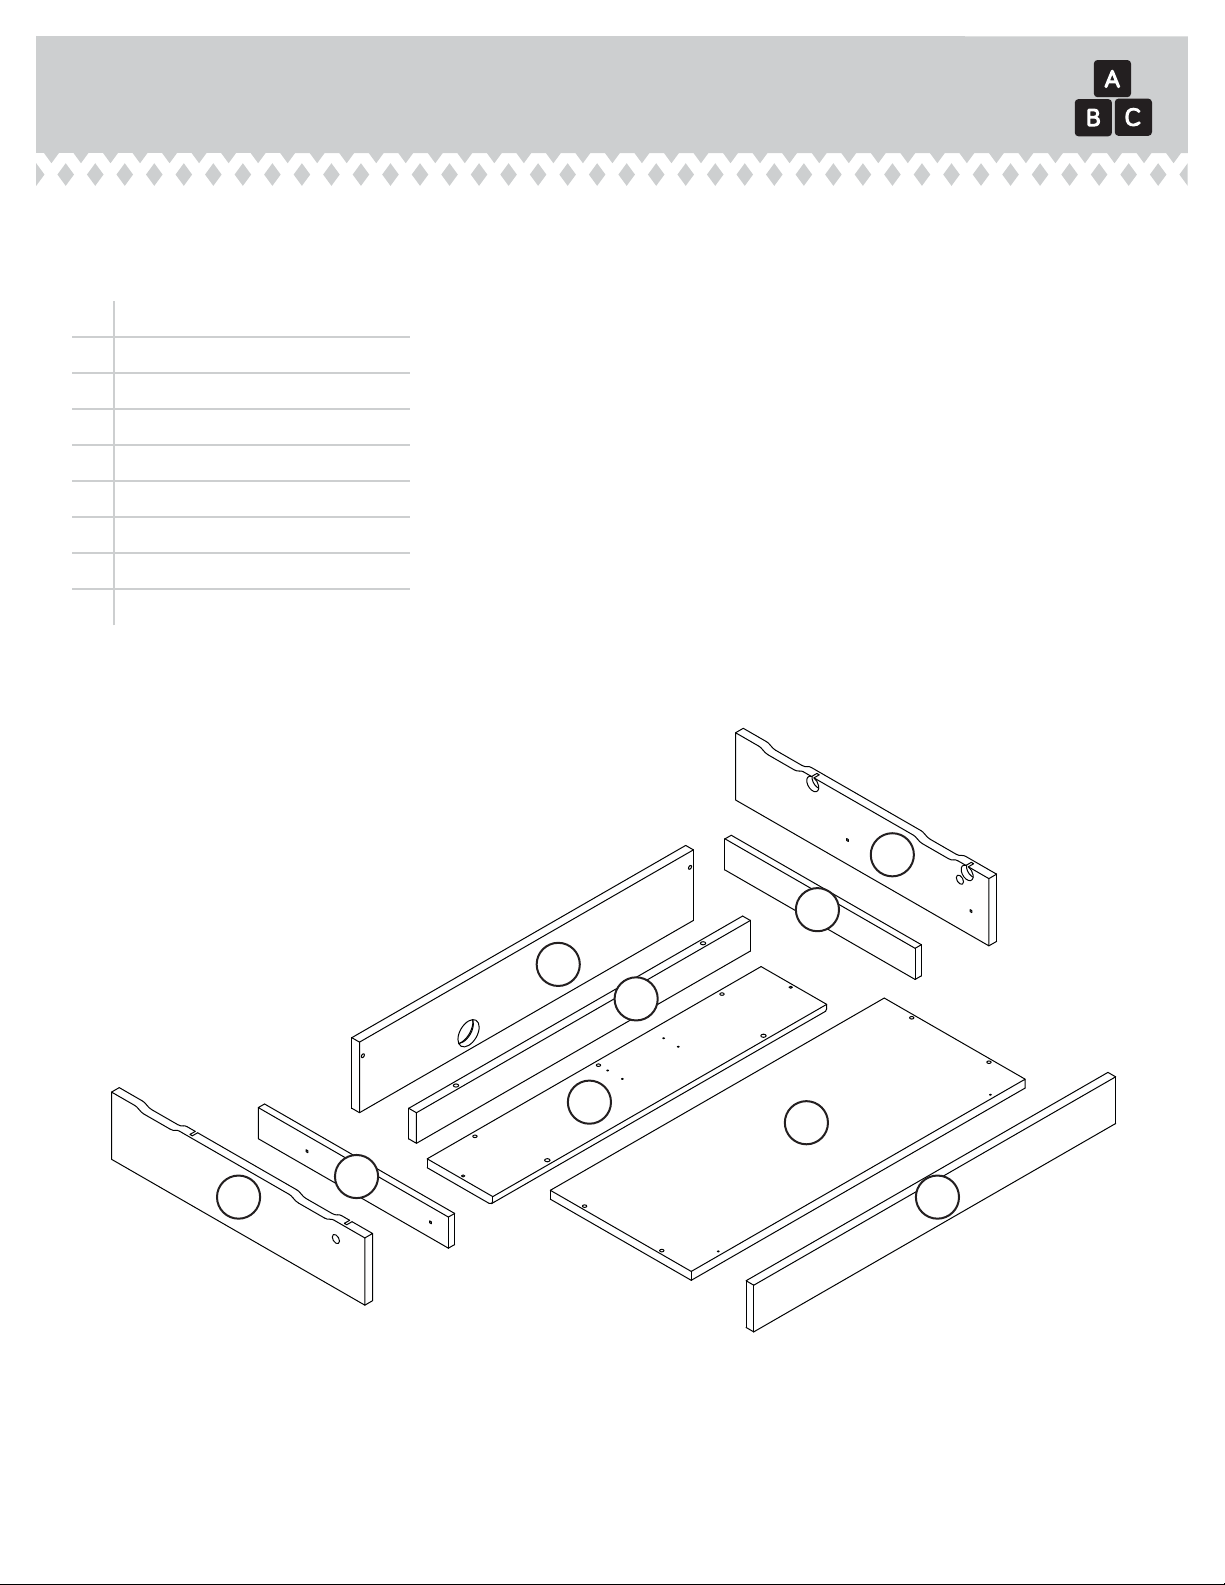
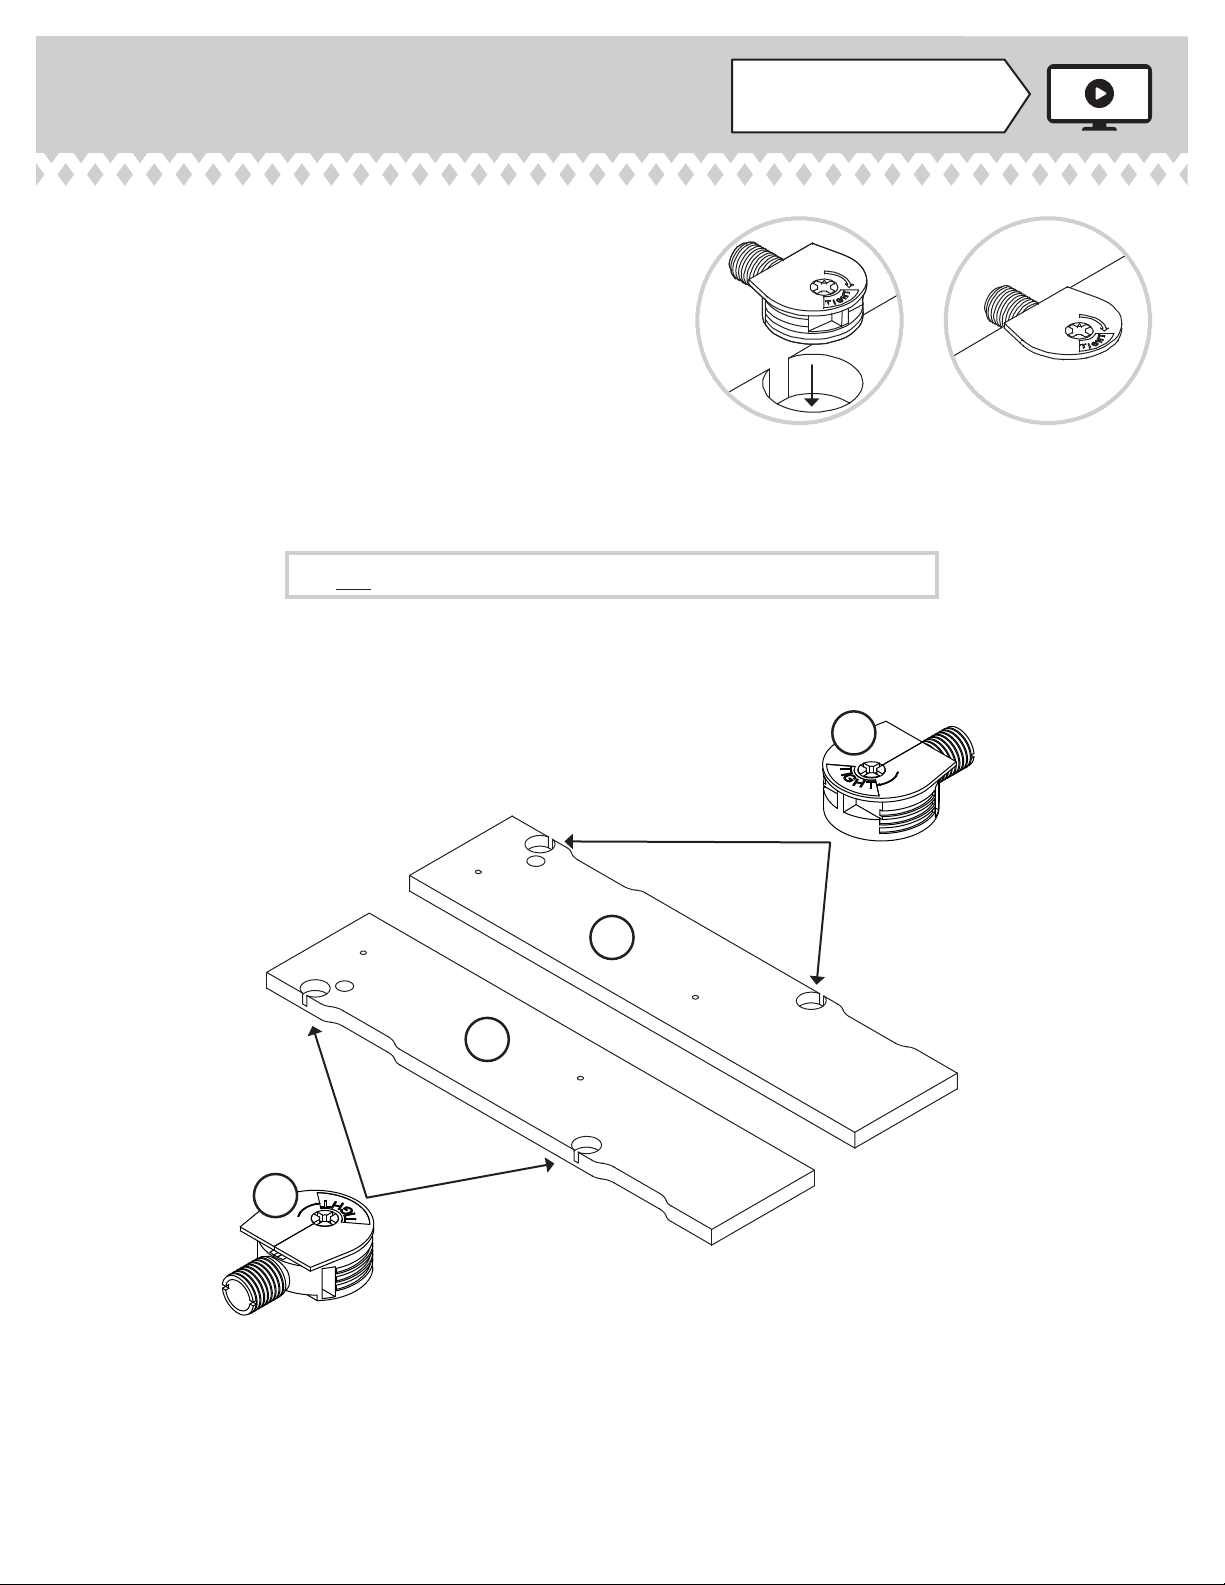
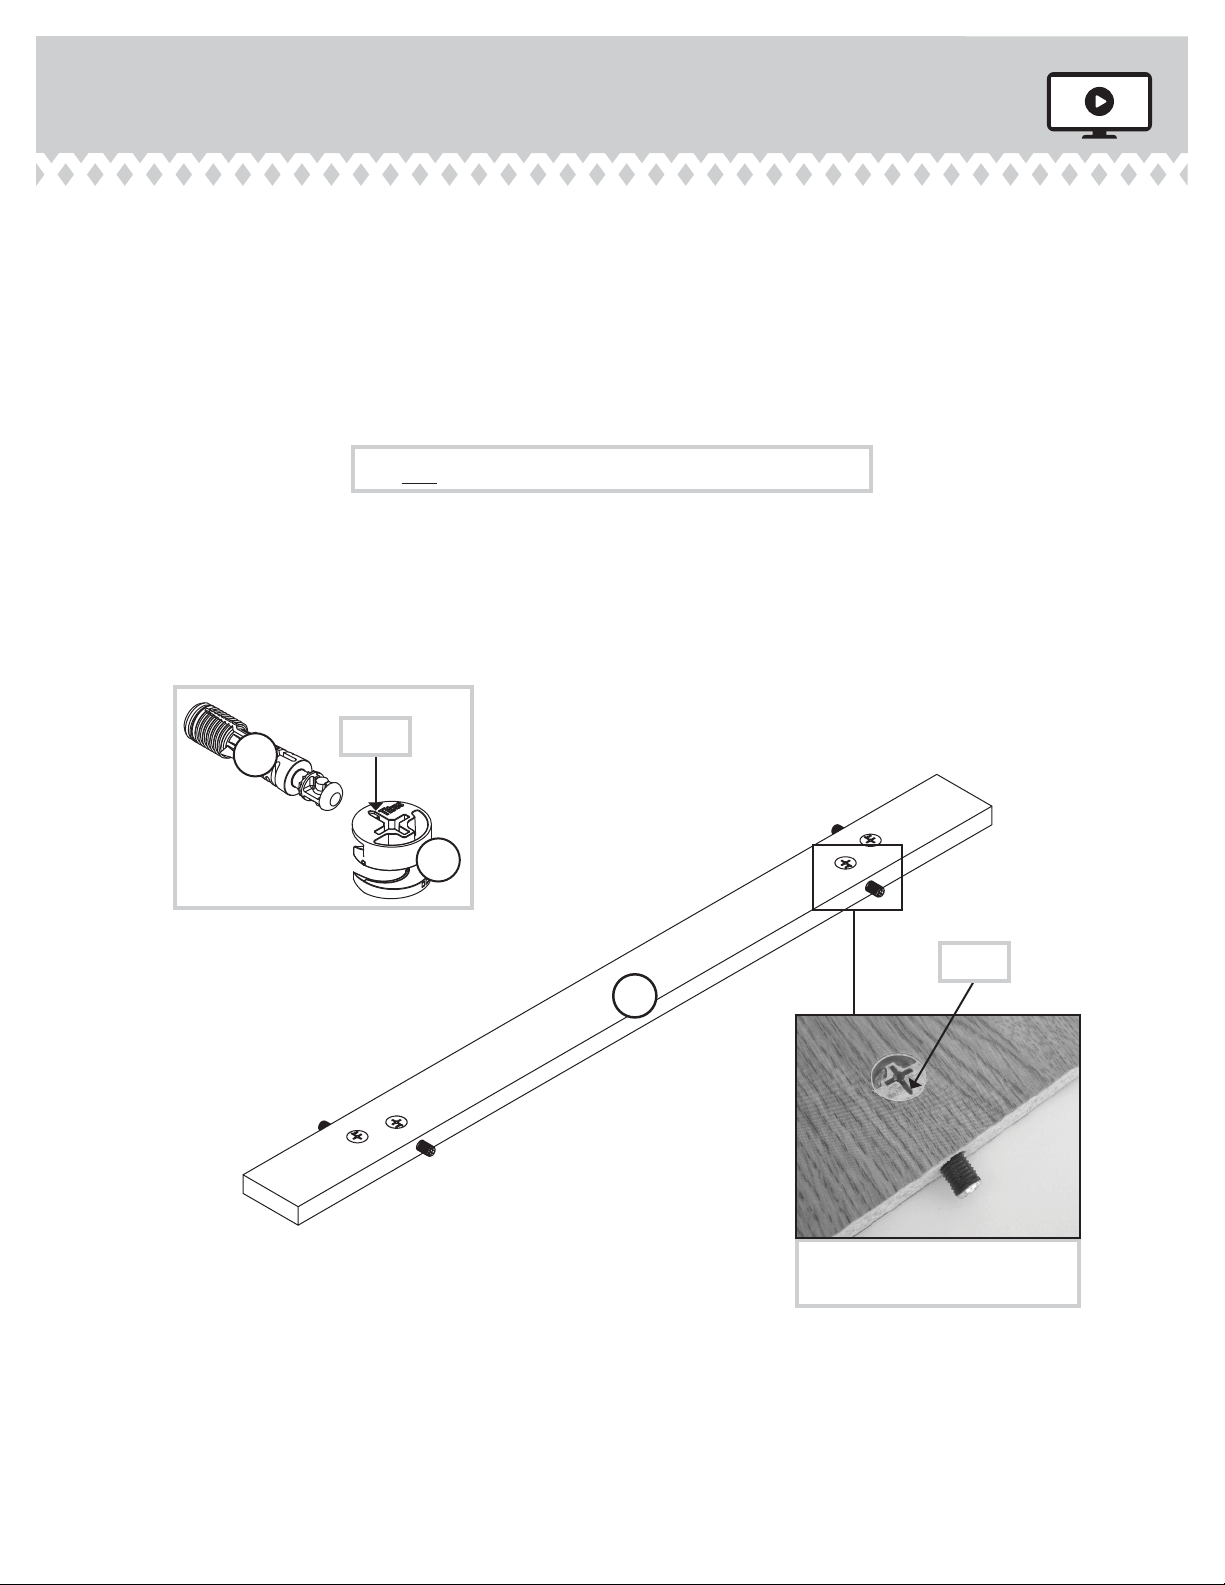
Sauder 404943 User manual
Other Sauder Indoor Furnishing manuals

Sauder
Sauder Entertainment Credenza 403891 User manual

Sauder
Sauder Worksense BERGEN CIRCLE 426288 User manual

Sauder
Sauder 415546 User manual

Sauder
Sauder 158085 User manual

Sauder
Sauder Credenza 420723 User manual

Sauder
Sauder Primary Street 417912 User manual

Sauder
Sauder Executive Desk 408289 User manual

Sauder
Sauder 418213 User manual

Sauder
Sauder Manhattan Gate 429256 User manual

Sauder
Sauder Orchard Hills 418650 User manual

Sauder
Sauder Harvey Park 420288 User manual

Sauder
Sauder Pinwheel 421888 User manual

Sauder
Sauder Beginnings 415544 User manual

Sauder
Sauder Harbor View 414942 User manual

Sauder
Sauder Beginnings 410421 User manual

Sauder
Sauder Costa 420654 User manual

Sauder
Sauder Beginnings 424257 User manual

Sauder
Sauder Steel River 427851 User manual

Sauder
Sauder Clifford Place 433364 User manual

Sauder
Sauder Boulevard Cafe 420650 User manual


Popular Indoor Furnishing manuals by other brands

Regency
Regency LWMS3015 Assembly instructions

Furniture of America
Furniture of America CM7751C Assembly instructions

Safavieh Furniture
Safavieh Furniture Estella CNS5731 manual

PLACES OF STYLE
PLACES OF STYLE Ovalfuss Assembly instruction

Trasman
Trasman 1138 Bo1 Assembly manual

Costway
Costway JV10856 manual