manuals.online logo
Brands
  1. Home
  2. •
  3. Brands
  4. •
  5. Sauder
  6. •
  7. Indoor Furnishing
  8. •
  9. Sauder Harvey Park 420284 User manual

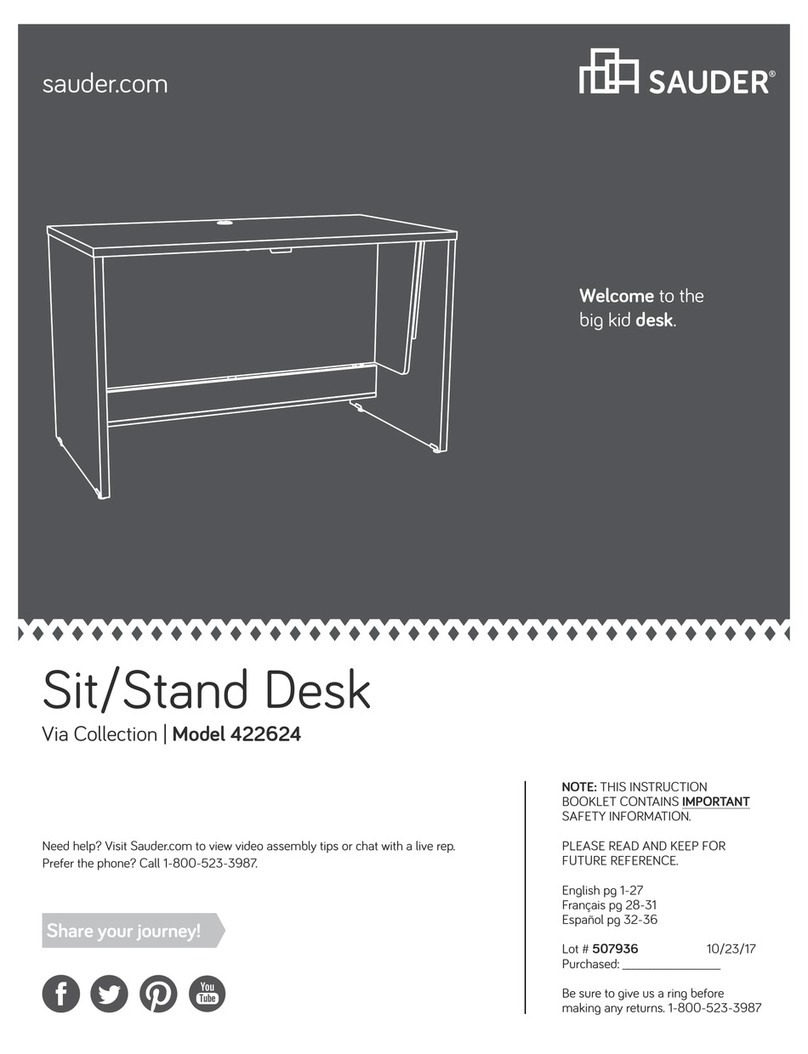
Sauder Harvey Park 420284 User manual

Need help? Visit Sauder.com to view video assembly tips or chat with a live rep.
Prefer the phone? Call 1-800-445-1527.
Share your journey!
sauder.com
The oriinal desktop.
Desk
Harvey Park Collection | Model 420284
NOTE: THIS INSTRUCTION
BOOKLET CONTAINS IMPORTANT
SAFETY INFORMATION.
PLEASE READ AND KEEP FOR
FUTURE REFERENCE.
Enlish p 1-27
Français p 28-31
Español p 32-36
Lot #: 507749
Date Purchased: __________________
08/07/17
Be sure to ive us a rin before
makin any returns. 1-800-445-1527
Table of Contents Assembly Tools Required
Part Identification
Hardware Identification
Assembly Steps
Français
Español
Safety
Warranty
Hammer
Not actual size
3
4
5-27
28-31
32-36
37-38
39
No. 2 Phillips Screwdriver
Tip Shown Actual Size
Skip the power trip.
This time.
Pae 2 www.sauder.com 420284
Part Identification
åWhile not all parts are labeled, some of the parts will have a label or an inked letter on the ede
to help distinuish similar parts from each other. Use this part identification to help identify similar parts.
Now you know
our ABCs.
A RIGHT END (1)
B LEFT END (1)
C UPRIGHT (1)
D TOP (1)
E BACK (1)
F LARGE BOTTOM (1)
G SMALL BOTTOM (1)
H TOP BRACE (1)
I LEFT LEG (1)
J STRETCHER (1)
K RIGHT LEG (1)
L LEFT PENCIL DRAWER SIDE (1)
M PENCIL DRAWER BACK (1)
N RIGHT PENCIL DRAWER SIDE (1)
O PENCIL DRAWER BOTTOM (1)
P PENCIL DRAWER BRACE (1)
Q PENCIL DRAWER FRONT (1)
R LEFT FILE DRAWER SIDE (1)
S FILE DRAWER BACK (1)
T RIGHT FILE DRAWER SIDE (1)
U FILE DRAWER BOTTOM (1)
V FILE DRAWER FRONT (1)
A
B
C
D
E
F
G
H
I
J
K
L
MN
O
P
Q
R
ST
U
V
Pae 3www.sauder.com420284
Hardware Identification
åScrews are shown actual size. You may receive extra hardware with your unit.
LARGE HIDDEN
CAM - 27
1ANGLED HEAD
CAM SCREW - 27
3
Anled head
WOOD
DOWEL - 24
5
SMALL HIDDEN
CAM - 10
2STRAIGHT HEAD
CAM SCREW - 10
4
Straiht head
KNOB - 3
6
AA EXTENSION RAIL - 2 BB EXTENSION SLIDE - 2
(EXTENSION SET
SHOWN SEPARATED)
LEFT CABINET
RAIL - 1
DD
RIGHT CABINET RAIL - 1
CC
LEFT DRAWER
SLIDE - 1
FF
RIGHT DRAWER
SLIDE - 1
EE
BLACK 9/16" WAFER HEAD SCREW - 16
14 15 BLACK 12" MACHINE SCREW  4
10 BLACK 2" MACHINE SCREW  2 BLACK 1-1/16" WAFER HEAD SCREW - 4
19
13 BLACK 78" MACHINE SCREW  3
8FILE
GLIDE - 2 9FILE
HANGER  2
BLACK 1-1/2" FLAT HEAD SCREW - 10
12
BLACK 1/2" FLAT HEAD SCREW - 12
17
BLACK 1/2" PAN HEAD SCREW - 12
16
CAM COVER
CARD - 1
7
Pae 4 www.sauder.com 420284
18 ASSEMBLY
TOOL  1
Step 1 Look for this icon. It means a
video assembly tip is available at
www.sauder.com/services/tips
å Assemble your unit on a carpeted floor or on the empty
carton to avoid scratchin your unit or the floor.
å Push twenty-seven LARGE HIDDEN CAMS (1) into the
ENDS (A and B), UPRIGHT (C), TOP (D), and
BOTTOMS (F and G).
G
C
A
B
F
D
Arrow
Arrow
1
Arrow (27 used)
1
Arrow
1
Arrow
1
The arrow in the HIDDEN
CAM must point toward the
hole in the ede of the board.
Hole
Pae 5www.sauder.com420284
Step 2
F
L
I
P
O
V
E
R
C
C
A
B
E
D
Anled head
3
å Turn twenty-seven ANGLED HEAD CAM SCREWS (3) into
the ENDS (A and B), UPRIGHT (C), TOP (D), and BACK (E).
å NOTE: Be sure to flip over the UPRIGHT (C) to turn two
ANGLE HEAD CAM SCREWS (3) into the opposite surface
as shown in the lower left of this pae.
(27 used)
Pae 6 www.sauder.com 420284
Remember:
Rihty tihty.
Lefty loosey.
Step 3
C
C
A
B
E
D
å Insert twenty-four WOOD DOWELS (5) into the
ENDS (A and B), UPRIGHT (C), TOP (D), and BACK (E).
å NOTE: Be sure to flip over the UPRIGHT (C) to insert two
more WOOD DOWELS into the opposite surface as shown
in the lower left of this pae.
5
(24 used)
F
L
I
P
O
V
E
R
Pae 7www.sauder.com420284
Step 4
C
A
å Separate the EXTENSION SLIDES (BB) from the EXTENSION RAILS (AA) as shown in the enlared diaram below. Be
prepared, the parts are reasy.
å Fasten the EXTENSION RAILS (AA) to the RIGHT END (A) and UPRIGHT (C). Use six BLACK 1/2" PAN HEAD
SCREWS (16).
å NOTE: For each EXTENSION RAIL, turn a SCREW into the hole shown in the enlared diaram. Then, slide the inner
cartride of the EXTENSION RAIL out to find the other two holes that line up with the holes in the END. Turn a SCREW
into those holes.
å NOTE: The EXTENSION SLIDES will be used later for the DRAWERS.
Pull up or down on the black lever and pull the SLIDE from the RAIL.
AA
BB
BLACK 1/2" PAN HEAD SCREW
(6 used in this step)
16
Open end
Open end
Rounded corner
Rounded corner
AA
AA
Pae 8 www.sauder.com 420284
Step 5
C
Roller end
Roller end
Rounded corner
Rounded corner
BLACK 1/2" FLAT HEAD SCREW
(6 used in this step)
17
B
å Flip the UPRIGHT (C) over.
å Fasten the CABINET RAILS (CC and DD) to the UPRIGHT (C) and
LEFT END (B). Use six BLACK 1/2" FLAT HEAD SCREWS (17).
CC
DD
Pae 9www.sauder.com420284
å Fasten the TOP BRACE (H) to the TOP (D). Use four
BLACK 1-1/16" WAFER HEAD SCREWS (19).
Step 6
BLACK 1-1/16" WAFER HEAD SCREW
(4 used in this step)
D
H
Surface with
HIDDEN CAMS
Pae 10 www.sauder.com 420284
19
å Fasten the LEFT END (B) to the TOP (D). Tihten two
LARGE HIDDEN CAMS.
å NOTE: Be sure the WOOD DOWELS in the END insert
into the holes in the ede of the TOP.
å Turn two BLACK 9/16" WAFER HEAD SCREWS (14)
throuh the TOP BRACE (H) and into the LEFT END (B).
Step 7
D
B
BLACK 9/16" WAFER HEAD SCREW
(2 used for the TOP BRACE)
14
H
1
2
Surface with
HIDDEN CAMS
Pae 11www.sauder.com420284
Step 8
1
2
å Fasten the LARGE BOTTOM (F) to the LEFT END (B).
Tihten two LARGE HIDDEN CAMS.
å NOTE: Be sure the WOOD DOWELS in the LEFT END
insert into the holes in the LARGE BOTTOM.
Surface with
HIDDEN CAMS
F
Pae 12 www.sauder.com 420284
B
å Fasten the UPRIGHT (C) to the TOP (D) and LARGE
BOTTOM (F). Tihten four LARGE HIDDEN CAMS.
å NOTE: Be sure the WOOD DOWELS in the UPRIGHT
insert into the holes in the LARGE BOTTOM.
å NOTE: Be sure the WOOD DOWELS in the TOP insert
into the holes in the UPRIGHT.
Step 9
1
2
Surface with
HIDDEN CAMS
C
D
F
Pae 13www.sauder.com420284
å Fasten the SMALL BOTTOM (G) to the UPRIGHT (C).
Tihten two LARGE HIDDEN CAMS.
å NOTE: Be sure the WOOD DOWELS in the UPRIGHT
insert into the holes in the SMALL BOTTOM.
Step 10
C
G
Surface with
HIDDEN CAMS
1
2
Pae 14 www.sauder.com 420284
å Fasten the RIGHT END (A) to the TOP (D) and SMALL
BOTTOM (G). Tihten four LARGE HIDDEN CAMS.
å NOTE: Be sure the WOOD DOWELS in the END insert into
the holes in the ede of the TOP and SMALL BOTTOM
å Turn two BLACK 9/16" WAFER HEAD SCREWS (14)
throuh the TOP BRACE (H) and into the RIGHT END (A).
Step 11
G
A
1
2
BLACK 9/16" WAFER HEAD SCREW
(2 used for the TOP BRACE)
14
Surface without holes
D
Pae 15www.sauder.com420284
H
å Turn your unit onto the TOP.
å Fasten the BACK (E) to the ENDS (A and B), UPRIGHT (C),
and BOTTOMS (F and G). Tihten thirteen LARGE HIDDEN
CAMS with the ASSEMBLY TOOL (18).
å NOTE: Be sure the WOOD DOWELS in the BACK insert
into the holes in the ENDS, UPRIGHTS, and BOTTOMS.
Step 12
A
B
C
F
G
D
Just breathe.
It's oin to be ok.
1
2
Pae 16 www.sauder.com 420284
E
18
Step 13
Pae 17www.sauder.com420284
BLACK 1/2" MACHINE SCREW
(4 used in the step)
15
å Fasten the STRETCHER (J) to the LEGS (I and K). Use four
BLACK 1/2" MACHINE SCREWS (15).
å NOTE: The STRETCHER will fit over the brackets on the
LEGS.
I
K
J
Step 14
Pae 18 www.sauder.com 420284
å Fasten the LEFT LEG (I) to the BACK (E). Use two BLACK 2"
MACHINE SCREWS (10).
å NOTE: Do not completely tihten the SCREWS at this time.
BLACK 2" MACHINE SCREW
(2 used in this step)
10
I
E
å Fasten the LEFT and RIGHT LEGS (I and K) to the
BOTTOMS (F and G). Use twelve BLACK 9/16" WAFER
HEAD SCREWS (14).
å Now, tihten the SCREWS into the BACK (E) completely
at this time.
Step 15
BLACK 9/16" WAFER HEAD SCREW
(12 used for the LEGS)
14
Pae 19www.sauder.com420284
I
K
F
G
E
Tihten these
SCREWS completely.
Step 16
å Turn ten STRAIGHT HEAD CAM SCREWS (4) into the
DRAWER FRONTS (Q and V).
å Push twelve SMALL HIDDEN CAMS (2) into the lare
holes in the DRAWER SIDES (L, N, R, and T) and PENCIL
DRAWER BRACE (P). Straiht head
4
2
Arrow
(10 used)
(10 used)
Arrow
The arrow in the HIDDEN
CAM must point toward the
hole in the ede of the board.
Hole
L
N
R
T
P
V
Q
Pae 20 www.sauder.com 420284

Other Sauder Indoor Furnishing manuals

Sauder Pallada Series 411843 User manual

Sauder

Sauder Pallada Series 411843 User manual

Sauder 430237 User manual

Sauder

Sauder 430237 User manual

Sauder Harbor View 158015 User manual

Sauder

Sauder Harbor View 158015 User manual

Sauder Craft Pro 421405 User manual

Sauder

Sauder Craft Pro 421405 User manual

Sauder 423399 User manual

Sauder

Sauder 423399 User manual

Sauder Briarbrook Credenza 430074 User manual

Sauder

Sauder Briarbrook Credenza 430074 User manual

Sauder 418269 User manual

Sauder

Sauder 418269 User manual

Sauder OfficeWorks AFFIRM 426285 User manual

Sauder

Sauder OfficeWorks AFFIRM 426285 User manual

Sauder HomePlus 411963 User manual

Sauder

Sauder HomePlus 411963 User manual

Sauder Stockbridge 409128 User manual

Sauder

Sauder Stockbridge 409128 User manual

Sauder Rollingwood 431433 User manual

Sauder

Sauder Rollingwood 431433 User manual

Sauder Studio RTA Deco 408687 User manual

Sauder

Sauder Studio RTA Deco 408687 User manual

Sauder Carson Forge 412920 User manual

Sauder

Sauder Carson Forge 412920 User manual

Sauder 413123 User manual

Sauder

Sauder 413123 User manual

Sauder Carson Forge 416967 User manual

Sauder

Sauder Carson Forge 416967 User manual

Sauder Costa 422983 User manual

Sauder

Sauder Costa 422983 User manual

Sauder Camarin Series User manual

Sauder

Sauder Camarin Series User manual

Sauder Cannery Bridge 415910 User manual

Sauder

Sauder Cannery Bridge 415910 User manual

Sauder 411985 User manual

Sauder

Sauder 411985 User manual

Sauder Barrister Lane 414108 User manual

Sauder

Sauder Barrister Lane 414108 User manual

Sauder OfficeWorks AFFIRM 427440 User manual

Sauder

Sauder OfficeWorks AFFIRM 427440 User manual

Sauder Credenza Soft Modern 414986 User manual

Sauder

Sauder Credenza Soft Modern 414986 User manual

Sauder Edge Water Credenza 415321 User manual

Sauder

Sauder Edge Water Credenza 415321 User manual

Sauder North Avenue 422313 User manual

Sauder

Sauder North Avenue 422313 User manual

Popular Indoor Furnishing manuals by other brands

Ergo Furniture STYLE Assembly instructions

Ergo Furniture

Ergo Furniture STYLE Assembly instructions

LDI SAFCO 1008 Assembly instructions

LDI

LDI SAFCO 1008 Assembly instructions

meubar ARUBA W7 Assembly instruction

meubar

meubar ARUBA W7 Assembly instruction

Mocka Kids House Bookcase Assembly instructions

Mocka

Mocka Kids House Bookcase Assembly instructions

OSP furniture TUX-75R Assembly instructions

OSP furniture

OSP furniture TUX-75R Assembly instructions

Coaster 609461PPI Assembly instructions

Coaster

Coaster 609461PPI Assembly instructions

Furinno 10024 Assembly instruction

Furinno

Furinno 10024 Assembly instruction

IKEA PERFEKT manual

IKEA

IKEA PERFEKT manual

Unfinished Furniture of Wilmington OF-52 Assembly instructions

Unfinished Furniture of Wilmington

Unfinished Furniture of Wilmington OF-52 Assembly instructions

Astonica 50103527 instruction manual

Astonica

Astonica 50103527 instruction manual

Pulaski Furniture B027-024-825 Assembly instructions

Pulaski Furniture

Pulaski Furniture B027-024-825 Assembly instructions

SitOnit Seating TENSOR Assembly instructions

SitOnit Seating

SitOnit Seating TENSOR Assembly instructions

NOVIGAMI OTOTO 1059133 Assembly & user instructions

NOVIGAMI

NOVIGAMI OTOTO 1059133 Assembly & user instructions

Furniture of America CM3372-PT Assembly instructions

Furniture of America

Furniture of America CM3372-PT Assembly instructions

leolux Trias Assembly instructions

leolux

leolux Trias Assembly instructions

iLive DTM301WL Assembly Instructions & User Guide

iLive

iLive DTM301WL Assembly Instructions & User Guide

Stompa Uno Highsleeper Nero Assembly instructions

Stompa

Stompa Uno Highsleeper Nero Assembly instructions

Manhattan Comfort 5GMC Assembly guide

Manhattan Comfort

Manhattan Comfort 5GMC Assembly guide

manuals.online logo
manuals.online logoBrands
  • About & Mission
  • Contact us
  • Privacy Policy
  • Terms and Conditions

Copyright 2025 Manuals.Online. All Rights Reserved.