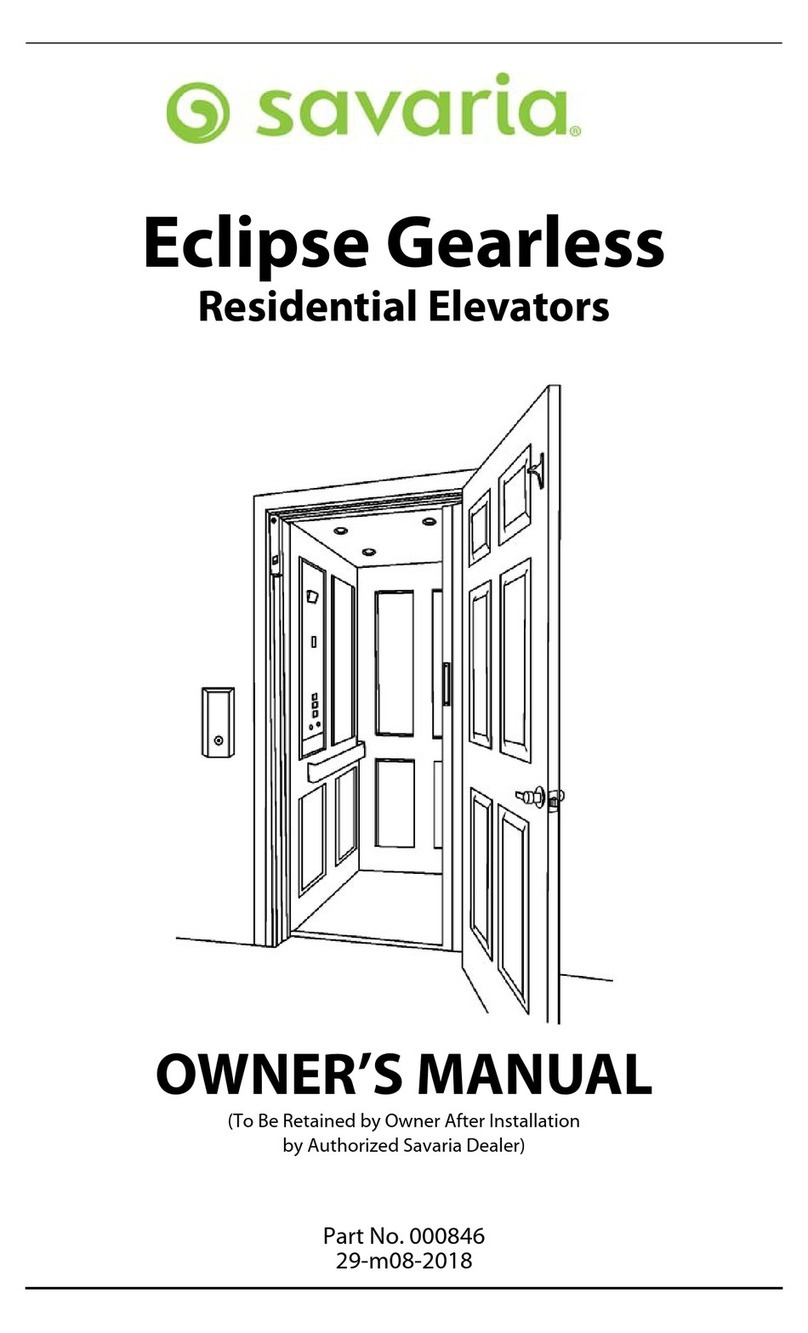
Savaria Orion MRL User manual

OWNER’S MANUAL
(To Be Retained by Owner After Installation
by Authorized Savaria Dealer)
Part No. 001132
18-m09-2019
Orion MRL
Commercial Elevator

2
Orion MRL Owner’s Manual Part No. 001132, 18-m09-2019
IMPORTANT
Ensure that only an authorized Savaria Dealer installs and services the Orion
MRL Commercial Elevator. Under no circumstances is anyone other than a
dealer with Savaria training and authorization to install, adjust, service or
modify any mechanical or electrical device on this equipment. Failure to follow
this warning can result in safety system compromises or defeat; this can result
in serious injury or death. Savaria accepts no liability for property damage,
warranty claims or personal injury, including death, in this circumstance.
Passenger safety is the result of countless details in the equipment’s design,
manufacture, and installation. After installation, reliable operation and
continual safe operation requires regular service and inspection at least twice
per year, or more frequently where usage, environment, or local jurisdiction
requires. As the Owner, you are responsible for ensuring that regular service
and inspections occur in a timely manner.
Refer to this manual for specifications, operating instructions and maintenance
of the Orion MRL Commercial Elevator.
Upon completion of installation, the dealer must provide you with the
following information and ensure it is recorded in this manual. In addition,
either the dealer or you must keep any service and/or maintenance records in
the Maintenance Record section of this manual.
WARRANTY
Ensure your Savaria Dealer provides you with a copy of the manufacturer’s
limited parts warranty and documentation relating to any Dealer labour
warranty.
-------------------------------------------------------------------------------------------------
FOR OWNER’S RECORDS
Customer Name: _________________________________________
Installing Dealer: _________________________________________
Dealer’s Telephone Number: _______________________________
Date Installed: ___________________________________________
Serial/Job Number: _______________________________________

3
Part No. 001132, 18-m09-2019 Orion MRL Owner’s Manual
Table of Contents
TO ENSURE SAFE OPERATION . . . . . . . . . . . . . . . . . . . . . . . . . . . . . . . . . . . . . . . . . . . . . .4
1. GENERAL SPECIFICATIONS . . . . . . . . . . . . . . . . . . . . . . . . . . . . . . . . . . . . . . . . . . . . . .5
2. DESCRIPTION . . . . . . . . . . . . . . . . . . . . . . . . . . . . . . . . . . . . . . . . . . . . . . . . . . . . . . . . . . .7
3. OPERATING FROM THE LANDING CONTROLS . . . . . . . . . . . . . . . . . . . . . . . . . . . .9
4. OPERATING FROM THE COP CONTROLS . . . . . . . . . . . . . . . . . . . . . . . . . . . . . . . . . .9
5. DOOR OPEN BUTTON . . . . . . . . . . . . . . . . . . . . . . . . . . . . . . . . . . . . . . . . . . . . . . . . . . .10
6. PHONE MONITORING (IF APPLICABLE) . . . . . . . . . . . . . . . . . . . . . . . . . . . . . . . . . . .11
7. EMERGENCY BATTERY LOWERING . . . . . . . . . . . . . . . . . . . . . . . . . . . . . . . . . . . . . . .12
8. EMERGENCY LIGHT. . . . . . . . . . . . . . . . . . . . . . . . . . . . . . . . . . . . . . . . . . . . . . . . . . . . . .12
9. EMERGENCY HANDS-FREE TELEPHONE (OPTIONAL) . . . . . . . . . . . . . . . . . . . . . .12
10. MANUAL LOWERING . . . . . . . . . . . . . . . . . . . . . . . . . . . . . . . . . . . . . . . . . . . . . . . . . . .13
11. OVERSPEED GOVERNOR RESET . . . . . . . . . . . . . . . . . . . . . . . . . . . . . . . . . . . . . . . . .13
12. MAINTENANCE . . . . . . . . . . . . . . . . . . . . . . . . . . . . . . . . . . . . . . . . . . . . . . . . . . . . . . .14
13. MAINTENANCE RECORD. . . . . . . . . . . . . . . . . . . . . . . . . . . . . . . . . . . . . . . . . . . . . . . .15
This product is designed and manufactured to exact
specifications. Modifications to this product in any way can
be dangerous and will void the warranty.
DANGER

4
Orion MRL Owner’s Manual Part No. 001132, 18-m09-2019
TO ENSURE SAFE OPERATION
To ensure safe operation of this equipment, pay careful attention to the
important notes below.
• Read this manual carefully before using the equipment.
• To prevent accidents, adhere strictly to the instructions and keep clear
of moving parts at all times.
• Follow instructions on all equipment labels at all times. Replace any
damaged labels immediately.
• Ensure that only qualified personnel perform maintenance and service
on the unit.
• When replacing parts, be sure that only genuine Savaria parts are used.
• This unit is intended for use by a mature person who understands its
proper operation as set out in this manual.
• Prior to operation, make sure that:
• All doors are locked and secure.
• All areas in and around the lift are clear of any obstructions.
• All lights are functioning properly.
• Test your keys and emergency stop button every month.

5
Part No. 001132, 18-m09-2019 Orion MRL Owner’s Manual
1. GENERAL SPECIFICATIONS
Load capacity 1400 lb (635 kg)
Rated speed 30 feet per minute (0.15 m/s) nominal
Power supply 208 volt, three phase, 30 amps, 60 Hz or 240 volt, single
phase, 40 amps, 60 Hz
Lighting supply 110 volts, 60 cycle, 15 amps
Drive system
Counterweight traction with slack cable safety device
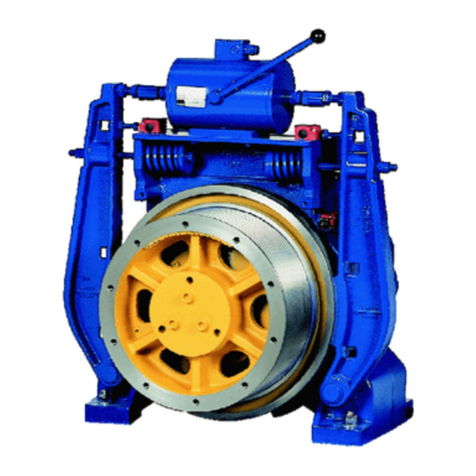
Geared motor, 1:1 sheave
Two 3/8” diameter steel cables
Rope wedge sockets
Operating temperature -10 degrees C to +40 degrees C (+14 degrees F to +104
degrees F)
Cab sizes
42” wide x 54” deep (1067 mm x 1372 mm)
48” wide x 54” deep (1219 mm x 1372 mm)
42” wide x 60” deep (1067 mm x 1524 mm)
51” wide x 51” deep (1295 mm x 1295 mm)
Cab panel finish Steel panel cab with optional laminates
Maximum travel 25 ft (7.6 m)
Control system Automatic user interface; Programmable Logic
Controller (PLC)
Distance between 2
landings 18” (457 mm) minimum
Noise level (typical
installation)
68.2 dBA (up direction); 65.1 dBA (down direction)
Measured at a height equal to motor, distance of 1m, in
front of motor, no hoistway
Daily cycle Normal: 200
Maximum starts in 1 hour on standard installation: 45
Levels serviced Up to 6 stops
Pit depth required 14” (356 mm) minimum, 96” (2438 mm) maximum
Overhead clearance
(minimum)
108” (2743 mm) – existing building
134” (3404 mm) – new building
Control system Single automatic push button
Floor selection Magnetic selector
Hall station and control
panel finish Rectangular stainless steel (standard) or brass (optional)

6
Orion MRL Owner’s Manual Part No. 001132, 18-m09-2019
Standard features
8 lb/ft T-rail system
Anti-creep device
Architectural white ceiling
Automatic cab ON/OFF lighting
Car top stop switch
Data plates, capacity tags and rope tags
Digital floor and directional indicator
Stop key switch and alarm buttons
Emergency battery back-up for lighting, alarm and
emergency lowering
Floor specific battery lowering
Illuminated cab operating buttons
Magnetic floor selection, stopping and re-leveling
Slack rope safety switch (manual reset)
Pit prop (for maintenance)
Car top prop (for maintenance)
Car top safety rail (for maintenance)
Pit switch (emergency stop)
LED lights in stainless steel
Recessed plywood floor
Upper and lower terminal limits
Overspeed governor
Two-speed sliding doors for drywall or masonry hoistway
finish
Options
Two- speed steel doors with infrared closing sensors in
black, architectural white or stainless steel
Steel panels with plastic laminate in a variety of colors
90 degree entry/exit cab
Automatic cab operator and automatic hoistway door
operator
Automatic home landing to pre-selected floor
Brass COP, hall call stations, handrail and recessed down
lights
Firefighter service - phase 1 and 2 (dependable on
applicable code year)
Hands-free telephone
Recessed stainless steel or brass telephone cabinet

7
Part No. 001132, 18-m09-2019 Orion MRL Owner’s Manual
2. DESCRIPTION
Cab Operating Panel (COP) Buttons
(Figure 1-A)
The Cab Operating Panel (COP) buttons facilitate
the UP/DOWN movement of the cab between
landings. Once the selected landing button is
pressed, the cab will automatically move to the
landing. The cab will stop when the selected
landing is reached.
Door Open/Close Buttons (Figure 1-B)
The elevator door will close automatically after a
preset adjustable time in seconds. These buttons
can be pressed to open/close the door when the
cab is at a landing.
Alarm Button (Figure 1-C)
This button can be pressed at any time to sound
the alarm in case of an emergency.
Run/Stop Keyswitch (Figure 1-D)
In the STOP position, the cab stops and the alarm
buzzer is activated. This key switch must be in the
RUN position for normal operation.
Phase 2 Fire Service Keyswitch - Optional
(Figure 1-E)
The keyswitch in the ON position enables cab
controls as per Code B44 2.27. The keyswitch in
the OFF position allows for normal lift operation.
The keyswitch in the HOLD position holds the
doors open when the cab is at a landing.
Call Cancel Button (Optional)
Used with Fire Service 2; when pressed, this
button cancels all registered calls. The cab will
stop at the next landing.
Figure 1
A
C
D
B
Keyed COP
E
F
G

8
Orion MRL Owner’s Manual Part No. 001132, 18-m09-2019
Help (Phone) Button - Optional (Figure 1-F)
This button can be pressed at any time to activate the optional hands-free
phone in case of an emergency. The red light above the speaker will come on
when two-way communication has been established. For units that have a
standard hand-held phone, it is located in a separate phone cabinet in the cab.
Emergency Light (Figure 1-G)
The COP emergency light remains ON in the event of a main power failure. The
emergency light uses a Battery Back-Up system with an automatic recharger.
Handrail
A single handrail is mounted below the COP.
Landing Hall Call Station Controls (Figure 2)
Hall Call Stations are installed at all landings to move the
cab to the landing from which you are calling. Press the
CALL button to call the cab to your landing. The position
indicator displays the landing the cab is at. An optional
keyswitch limits the elevator’s use to authorized persons
only.
Landing Door Lock
The Landing Door lock prevents movement of the cab
unless the door is in the closed and locked position. If the
door is not completely closed, the cab will not move.
Emergency Battery Operation
In the event of a building power failure, the door system is
provided with a temporary power back-up system to
continue the opening operation for a number of times. On
resuming normal building power, the back-up system will
turn OFF and begin automatically recharging.
Figure 2
Hall Call Station
CALL

9
Part No. 001132, 18-m09-2019 Orion MRL Owner’s Manual
3. OPERATING FROM THE LANDING CONTROLS
When using the landing controls, the cab can only be moved
(called) to the level from which you are calling. When using the
COP buttons in the cab, the cab can be moved to any level.
To call the elevator to the appropriate level:
1Press the CALL button. The cab will automatically stop at your landing.
2When the elevator reaches the landing, the sliding doors will open
automatically. Enter the cab. The doors will close behind you after a few
seconds. Once inside the cab, lock the wheelchair wheels.
Wheelchair wheels must be locked at all times when the
elevator is moving.
4. OPERATING FROM THE COP CONTROLS
1If sitting in the cab in a wheelchair, lock the wheelchair wheels. If standing
in the cab, hold on to the handrail.
2Press the appropriate landing button to “send” the cab to the desired
landing.
3When the elevator reaches the landing, the door will“chime”and the sliding
doors will open automatically. Exit the cab. The doors will close behind you
after a few seconds.
Wheelchair wheels must be locked at all times when the
elevator is moving.
NOTE
WARNING
WARNING

10
Orion MRL Owner’s Manual Part No. 001132, 18-m09-2019
5. DOOR OPEN BUTTON
The Door Open button is located on the Car Operating Panel (COP).
When the elevator is at a landing level, the doors can be opened by pressing the
Door Open button. Normally the doors will have opened and already closed
automatically. The Door Open button allows the door to be reopened.
Figure 3
Door Open Button

11
Part No. 001132, 18-m09-2019 Orion MRL Owner’s Manual
6. PHONE MONITORING (IF APPLICABLE)
Depending on what code your elevator was ordered and inspected under,
there may be a phone monitor.
If provided, the phone monitor will be located at the main landing. There is a
small red Elevator Communications Failure light and a beeper as shown below.
If the phone line is not functioning, the small red light will flash and the beeper
will sound to warn users that the emergency phone in the car is not
functioning.
Contact your Authorized Dealer as soon as possible.
NOTE: There is an alarm silence key provided to turn off the beeper.
Figure 3
Phone Monitor

12
Orion MRL Owner’s Manual Part No. 001132, 18-m09-2019
7. EMERGENCY BATTERY LOWERING
In the event of a power failure, the elevator is equipped with a Battery Back-Up
system that allows you to lower the elevator from the inside of the cab. This
device operates on batteries and is only activated if a main power supply failure
occurs. The operation is as follows:
1Press any Landing button below the floor where the elevator is located. The
elevator will descend and stop at the selected landing.
2Upon arrival at the desired floor, the landing doors will open automatically
and you can exit the cab.
8. EMERGENCY LIGHT
In the event of a main power failure, the emergency cab light will light
automatically.
9. EMERGENCY HANDS-FREE TELEPHONE (OPTIONAL)
1If your lift is equipped with an Emergency Hands-Free Telephone, press and
hold down the button in the telephone box to activate the phone line. A
short time delay (adjustable by the installing technician) will occur.
2Release the button once the call is picked up by the telephone line.
The system will automatically dial out to a preprogrammed telephone number
as set up by the installing technician.

13
Part No. 001132, 18-m09-2019 Orion MRL Owner’s Manual
10. MANUAL LOWERING
In the event of a power failure, the UPS lowers the cab to the next landing and
opens the doors. Should the UPS fail, you can use the telephone to call for help.
The manual lowering device can then be used to lower the elevator.
1Instruct the passenger (s) in the elevator to remain calm and stay well back
from the door of the elevator. Ease their concern by telling them your
intentions.
2Switch the main disconnect switch for the main power supply to the
elevator controller to the “OFF” position.
3Use the manual lowering device to lower the elevator to the lower landing
level.
4Obtain the special door release key and open the lower landing door. Assist
the passenger(s) from the cab.
5After the passenger(s) have exited the cab, make sure the hoistway door is
closed and lock the door behind you.
6Return the special door release key to its original storage area.
After use of any emergency function (access key or manual
lowering device), ensure that all doors/gates are secure and
locked. While the emergency function is in use, DO NOT leave the
area unattended.
11. OVERSPEED GOVERNOR RESET
In the event of a power failure, the Overspeed Governor (OSG) may trip and will
need to be reset. Contact your Authorized Dealer for assistance.
NOTE

14
Orion MRL Owner’s Manual Part No. 001132, 18-m09-2019
12. MAINTENANCE
Regular maintenance will keep your Orion MRL in proper operating condition.
As the owner of this elevator, you are responsible for making sure that
maintenance and upkeep are done on a regularly scheduled basis.
IMPORTANT: Please test the phone in your elevator during every maintenance.
If the phone is inactive, please shut down the elevator until the phone line is
active.
Elevator maintenance must be performed by an authorized
Savaria dealer every 3 months. Units installed in adverse
environments will require additional maintenance on a monthly
basis.
Be sure to use all elevator safety features as needed (such
as the pit prop, car top prop and car top safety rail) to
ensure your safety during maintenance.
To ensure proper operating condition of your unit, the items listed below must
be inspected and serviced every 3 months by an Authorized Savaria Dealer.
Additional inspections may be required depending on usage.
1Tighten all rail and cab fastening bolts.
2Lubricate the counterweight rails with a light grease, such as white lithium.
3Inspect the traveling cable for wear. Replace if any cuts or damage to the
jacket is evident.
4Inspect the elevator cables for wear or damage and replace if necessary.
Always replace the safety washers at the swaged end of the cable when
replacing cables. The washers are provided with replacement cables.
5Inspect the safety washers at the swaged end of the elevator cables. Put the
elevator on slack rope high enough so you can safely get under the elevator.
Activate the manual lowering device so there is enough slack in the rope to
pull the rope with the swag fitting down to view the washer. Replace the
washer if there is any visible damage.
6Inspect the OSG cables for wear or damage and replace if necessary.
7Replace the batteries in the control panel as indicated on the battery label.
8Activate and test the safety mechanism.
9Check that the phone is functioning properly.
NOTE
WARNING

15
Part No. 001132, 18-m09-2019 Orion MRL Owner’s Manual
13. MAINTENANCE RECORD
Date Time Reason for Call Comments Dealer

Orion MRL
OWNER’S MANUAL
Part No. 001132
Copyright 2019
Savaria Concord Lifts, Inc.
2 Walker Drive
Brampton, Ontario, L6T 5E1, Canada
www.savaria.com
For service or questions about this product, please contact your installing dealer.
DEALER NAME: _________________________________________________
DEALER PHONE: _________________________________________________
Authorized Savaria Dealer
Table of contents
Other Savaria Elevator manuals

Savaria
Savaria Telecab17 User manual

Savaria
Savaria Vuelift Mini User manual

Savaria
Savaria Infinity Technical manual

Savaria
Savaria Orion User manual

Savaria
Savaria Eclipse User manual

Savaria
Savaria Infinity User manual

Savaria
Savaria Eclipse User manual

Savaria
Savaria Orion Technical manual

Savaria
Savaria Orion LU User manual

Savaria
Savaria Vuelift Technical manual