Thank you for purchasing this light fitting. Please read the instructions carefully before use to ensure safe and
satisfactory operation of this product. Please retain these instructions for future reference.
Warning
This unit is Safety Extra Low Voltage and
must not be earthed.
Please read these instructions carefully
before commencing any work.
Thisunitmustbefittedbyacompetentandqualified
electrician.
Install in accordance with IEE Wiring regulations and
current Building Regulations.
This system operates at Safety Extra Low Voltage
(12V), via a transformer. Never connect the light
fittings directly to the mains without using a
transformer.
Ensure that a correctly rated transformer is used.
Do not exceed the transformer load. Transformers may
requireaminimumloadtooperate.
Always unplug the transformer from the mains when
installing or maintaining this system.
Only use the correct type and wattage bulb.
When changing a bulb, always switch off at the mains
and allow the old bulb to cool down before handling.
Dispose of used bulbs carefully and responsibly.
This product can be dimmed using a compatible
dimmer and transformer.
Waste electrical products should not be disposed of
with household waste. Please recycle where facilities
exist. Check with your local authority or retailer for
recycling advice.
Specification
Voltage: 240V50Hza.c.
Lamp: 100W AR111
IP rating: 20
Layout
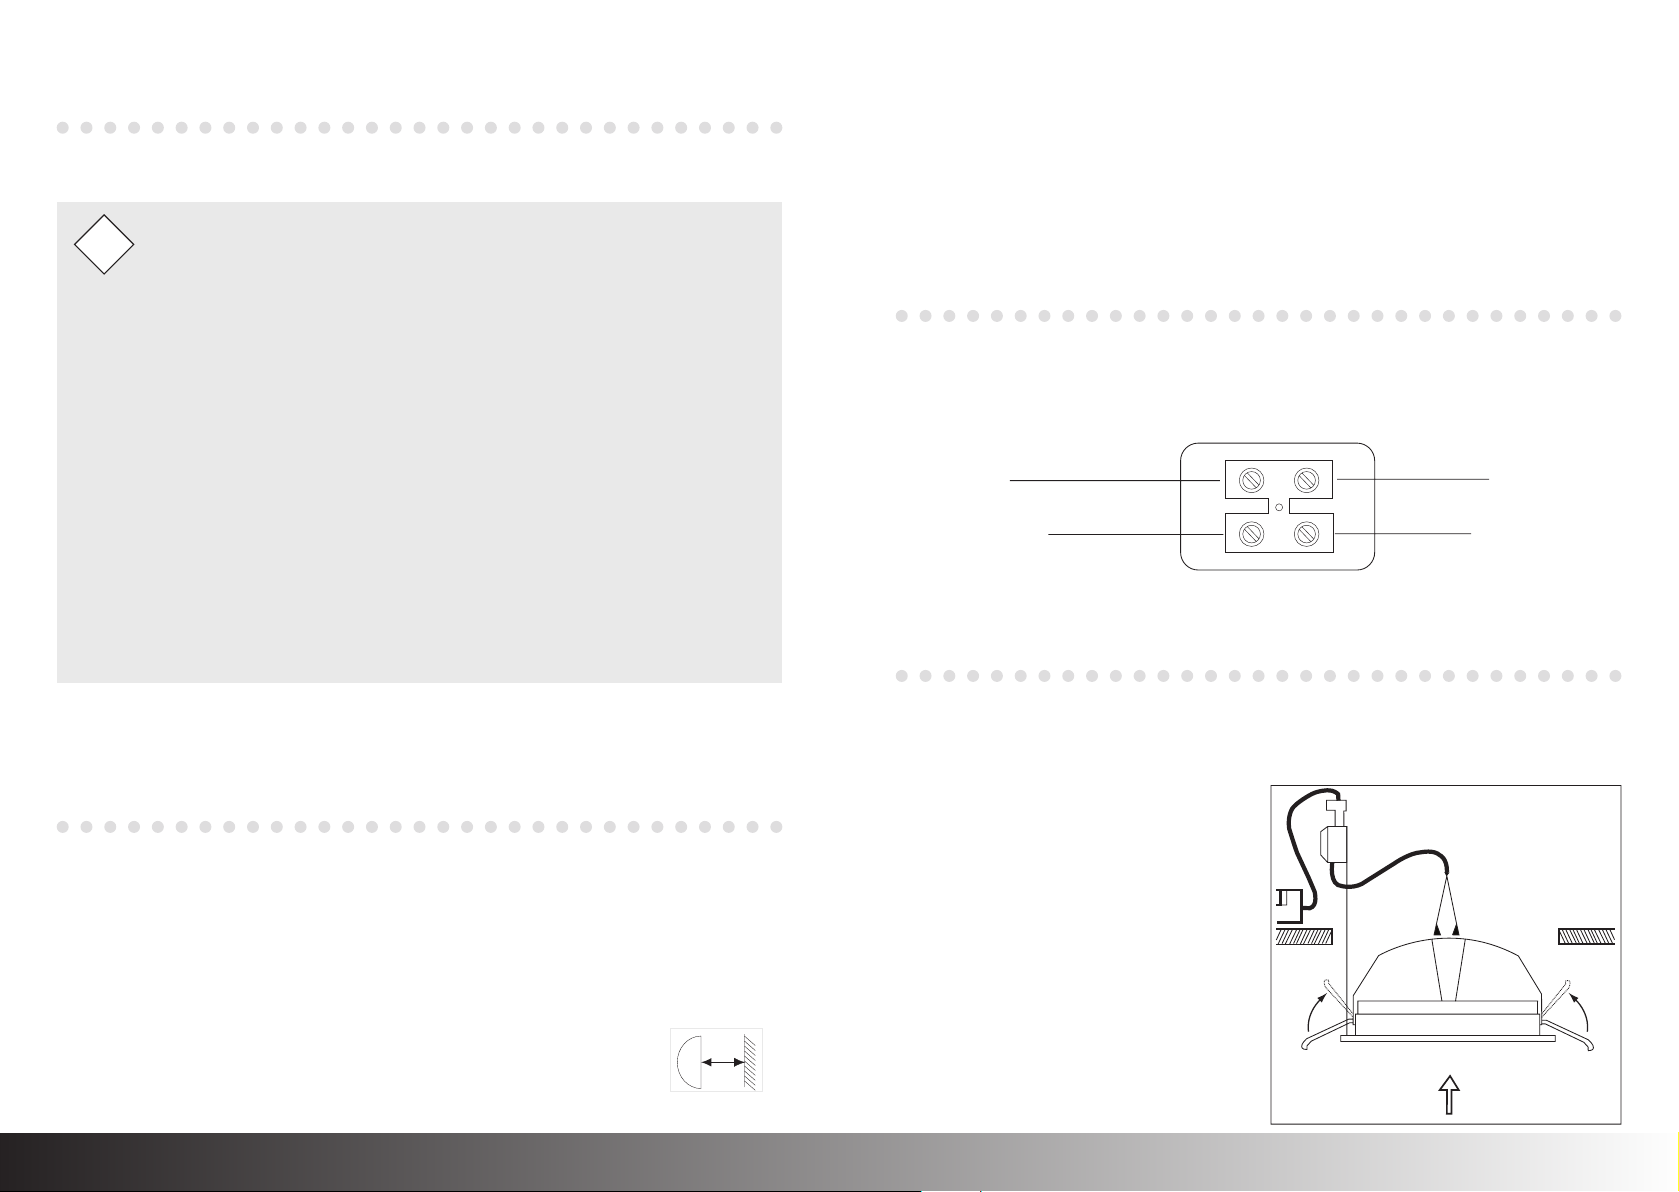
Installation
Remove the cover from the connector block. Connect
the output cable from the transformer to the terminals
indicated below.
Wiring
Check that...
• You have correctly identified the wires.
• The connections are tight.
• No loose strands have been left out of the connection
block.
• Planthedesiredlayoutofthesefittingscarefully,
ensuring the cables will reach the distances between
the transformer, connector block (if used) and each
light fitting.
• Ensurethatthereisadequateventilationforthe
transformer.
• Avoidlocatinganycablesinpositionsthatwould
causeahazard.Positioncablesandconnectorblock
away from areas where they may be at risk from
being cut, trapped or damaged.
• Cablesthataretobeinwallsmustbeprotected
using suitable conduit or plastic trunking.
• Floodlightsgiveaconcentratedbeamoflightand
must not be positioned any closer than 0.2m
(20cm) to the illuminated surface.
Existing fittings must be completely removed before
installation of a new product. Before removing the
existing fitting, carefully note the position of each set
of wires.
• Positionthemetalhalidegearnexttothemains
outlet that the system will connect to. Do not
connect at this stage.
• Afterdecidingthelayoutofthelightfittingsensure
that the cables are long enough to connect to the
desired positions.
• Cuttheholeintheceilingasdetailedbelow:-
144mm diameter cutout & 145mm ceiling void
(minimum)
• Connectthewiresfromtheluminaireintothe
transformer, ensuring correct polarity is observed.
Commissioning
• Ensure free movement of air around the fitting by
removing any roof void insulation from at least
150mm around the hole. Under no circumstances
must these fittings be covered with insulating matting
or similar material..
• Theceilingsurfacemustbeflatandsmoothtoensure
a good fit.
• Pushthespringclipsupwardsandfitthetwolonger
arms into the ceiling hole. (A).
• Pushtheunitupuntilfirmlyinposition,ensuringthat
the cable is not trapped. (B).
• Adjustthecablesoitdoesnotgetsnagged.
• Connectthetransformertothemainssupply.Referto
the transformer instructions when doing this.
• Replacefuse orcircuitbreaker andswitchon. Your
light is now ready for use.
A
B
0.2m
III
POSITIVE
NEGATIVE
POSITIVE
NEGATIVE
UPPLY


