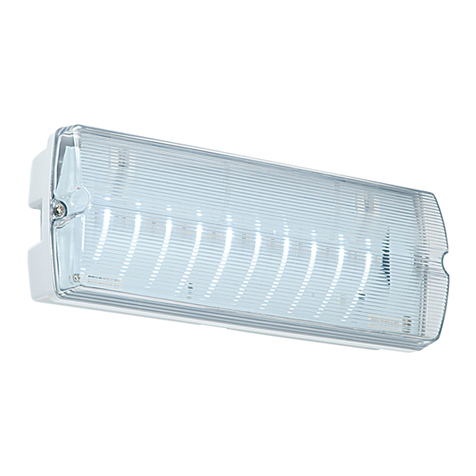
Thank you for purchasing this light fitting. Please read the instructions carefully before use to ensure safe and satisfactory
operation of this product. Please retain these instructions for future reference.
Warning
This is a Class 1 product and must be earthed.
Please read these instructions carefully before
commencing any work.
This unit must be fitted by a competent and qualified
electrician.
Install in accordance with IEE Wiring regulations and
current Building Regulations.
To prevent electrocution switch off at mains supply
before installing or maintaining this fitting. Ensure other
persons cannot restore the electrical supply without your
knowledge.
This light fitting should be connected to a fused circuit.
If replacing an existing fitting, make a careful note of the
connections.
This product is not suitable for dimming.
Waste electrical products should not be disposed of with
household waste. Please recycle where facilities exist.
Check with your local authority or retailer for recycling
advice.
These products should not be fitted to PIR circuits or short
duration timed switches.
Sight Plus recessed accessory 72638 and wedge
accessory 72639 are available to purchase separately for
this product.
Specification
Layout
• The mains supply cable must have a minimum cross
sectional area of 1.0mm²
• This product can be ceiling or wall mounted.
• This product has special protection against the ingress
of moisture and is IP65 rated.
Existing fittings must be completely removed before
installation of a new product. Before removing the existing
fitting, carefully note the position of each set of wires.
• Undo the two screws at the end of the unit. Remove the
screws and cover and set aside.
• This unit can be mounted on the wall or ceiling.
• Unclip the front panel by pushing the quick release tabs
to expose back casing.
• Drill out selected knock out and cable entry holes on
the back casing of the product.
• Using the unit as a template mark the position of
the fixing holes. Take care to avoid damaging any
concealed wiring and pipes. The correct fixings should
be used, depending upon the surface to be mounted.
• Pull the cable through the cable entry hole and seal to
maintain the IP rating, and wire as detailed below.
Installation
Wiring
Check that...
• You have correctly identified the wires
• The connections are tight
• No loose strands have been left out of the connection
block.
Voltage: 240V ~ 50Hz
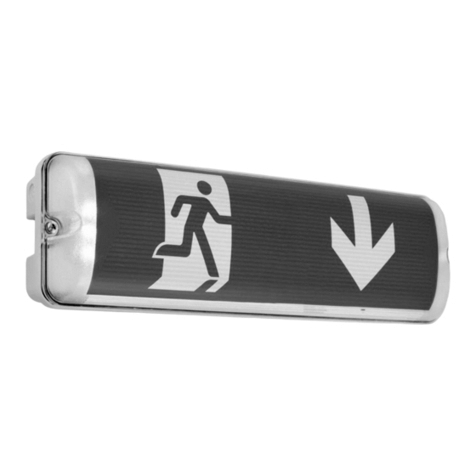
Lamp: 2W LED Module (SMD 2835) - 136lm
IP rating: 65
Duration: 3 hours (180 minutes)
Operating Temperature : -5˚C to 50˚C
Maximum Operating Humidity : 10-90%
Change over Time: Approximately 1s
Battery Specification: 3.6V 900mAh Ni-Cad
Battery Charge Time: 24 hours
Maintained Wiring
Having correctly identified the wiring from your existing light fitting, pull the wire through the hole and connect to the
connection block inside the product in the following way:
PERMANENT TO BATTERY
TO DRIVER
INSERT CABLE
PUSH DOWN
Cleaning Information
• We recommend cleaning with a soft dry cloth or wash
with warm water or just use a damp cloth.
• Do not use abrasive materials as these will damage the
finish.

