Warning
This is a Class 1 product and must be earthed.
Please read these instructions carefully before commencing any work.
This unit must be fitted by a competent and qualified electrician.
Install in accordance with the IEE Wiring regulations and current Building Regulations.
Check the pack and make sure you have all the parts listed.
To prevent electrocution switch off at the mains supply before installing or maintaining this fitting. Ensure other persons cannot
restore the electrical supply without your knowledge.
If you any doubt please consult a qualified electrician.
This light fitting should be connected to a circuit with a 30mA RCD fitted.
If replacing an existing fitting, make a careful note of the connections.
This product is not suitable for location in or near a marine or sea environment.
Waste electrical products should not be disposed of with household waste. Please recycle where facilities exist. Check with
your local authority or retailer for recycling advice.
Thank you for purchasing this light fitting. Please read the instructions carefully before use to ensure safe and satisfactory
operation of this product. Please retain these instructions for future reference.
Layout
This fitting must be mounted on either a concrete surface or a paving slab that has been concreted in position.
Plan the desired layout of these fittings carefully, ensuring the cables will reach the distances between each light fitting.
Avoid locating any cables in positions that would cause a hazard. Position cables and outdoor rated junction boxes
(not supplied) away from areas where they may be at risk from being cut, trapped or damaged.
We recommend that your use H05RN-F specification cable (not supplied) which is an outdoor grade, rubber sheathed cable.
The cable can be wired into an IP67 (or higher rated) external terminal block (recommended terminal block Ref. 90131/90132).
This must be carried out by a competent and qualified electrician.
The mains supply cable must have a minimum cross section area of 1.0mm2
Cables must be protected using suitable conduit or plastic trunking.
Installation
Existing fittings must be completely removed before installation of a new product. Before removing the existing fitting,
carefully note the position of each set of wires.
Note that the switch is turned off before installation.
Ensure that the screws and cable entry points are sealed to maintain the IP rating of the product.
As the diagram on the right. Determine the position of your light fitting. Ensure there is sufficient
power cable to connect to the fitting - we recommend at least 250mm. Take a note of the position
of the electrical connections. (This prouct must only be installed to a solid, fixed surface such
as concrete, decking or paving slabs. It must NOT be installed on soil.)
• If you purchased the root kit 81013, please refer to the Diagram B to installat the root kit.
• Prepare the hole for the root kit. The foundation should be a
minimum of 200mm diameter with a minimum depth of 160mm.
• Pour cement into the hole, ensuring the cement is finished level
and smooth.
• Ensure a suitable amount of supply cable is exposed so the
fitting can be correctly wired after the foundation has been
prepared.
• EInsert the anchor bolts into the wet cement. Ensure the top plate
is resting level on top of the cement with the threads exposed.
• After the cement has dried, Use the bolts to secure
the base of light fitting to the anchor bolts.
Installation with the root kit (81013)
250mm Min
• Place the base of the light fitting over the cable and use it as a
template to mark the mounting hole positions. Drill the holes
with electrodrill and plug the holes with the provided expanding
bolt fixings ready to mount the fitting later.
• Diagram A. Pull the terminal block from inside of tube. Take
the lid off the terminal block housing and connect the house
wiring to the terminal block as the details wiring.
Refit the lid and push the termnial block up into the tube.
• Fix the lamp body with the expansion screws kit supplied.
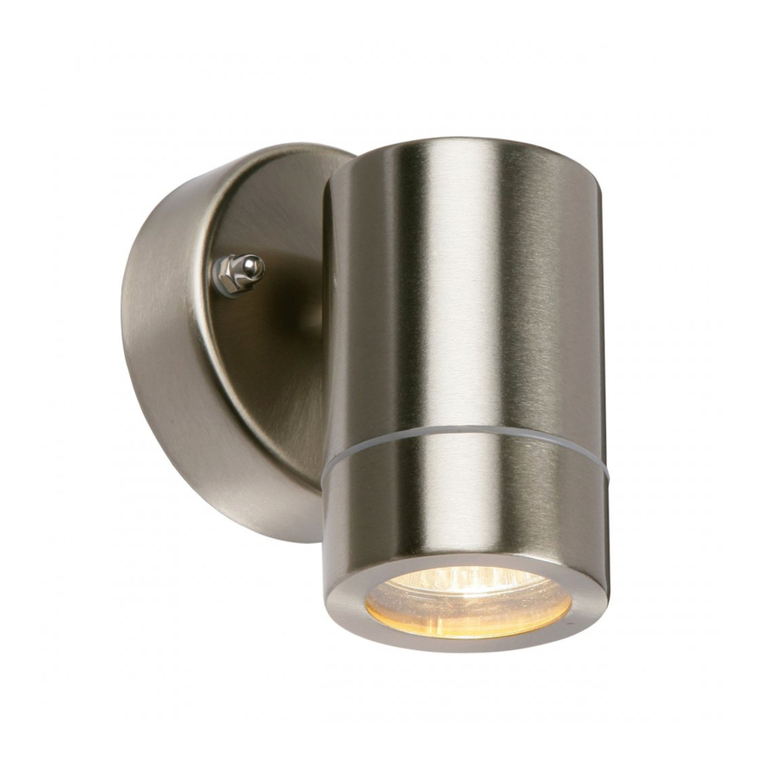
• Install the correct type and wattage bulb.
• Replace fuse or circuit breaker and
switch on. Your light is now ready
for use.
Diagram B
Min. Ø200mm
Min. 160mm
Light
B
C
A
B
Ø12mm
See wiring
diagram
Diagram A
A) B) C)
• Wire as per the Diagram A.
