manuals.online logo
Brands
  1. Home
  2. •
  3. Brands
  4. •
  5. Se-Kure Controls
  6. •
  7. Security System
  8. •
  9. Se-Kure Controls Mini T Series User manual

Se-Kure Controls Mini T Series User manual

Se-Kure
Controls,
®Inc.
3714 Runge Street  •  Franklin Pk., IL 60131-1112  •  1-800-322-2435  •  (847) 288-1111  •  Fax: (847) 288-9999
www.se-kure.com  •  email: [email protected]
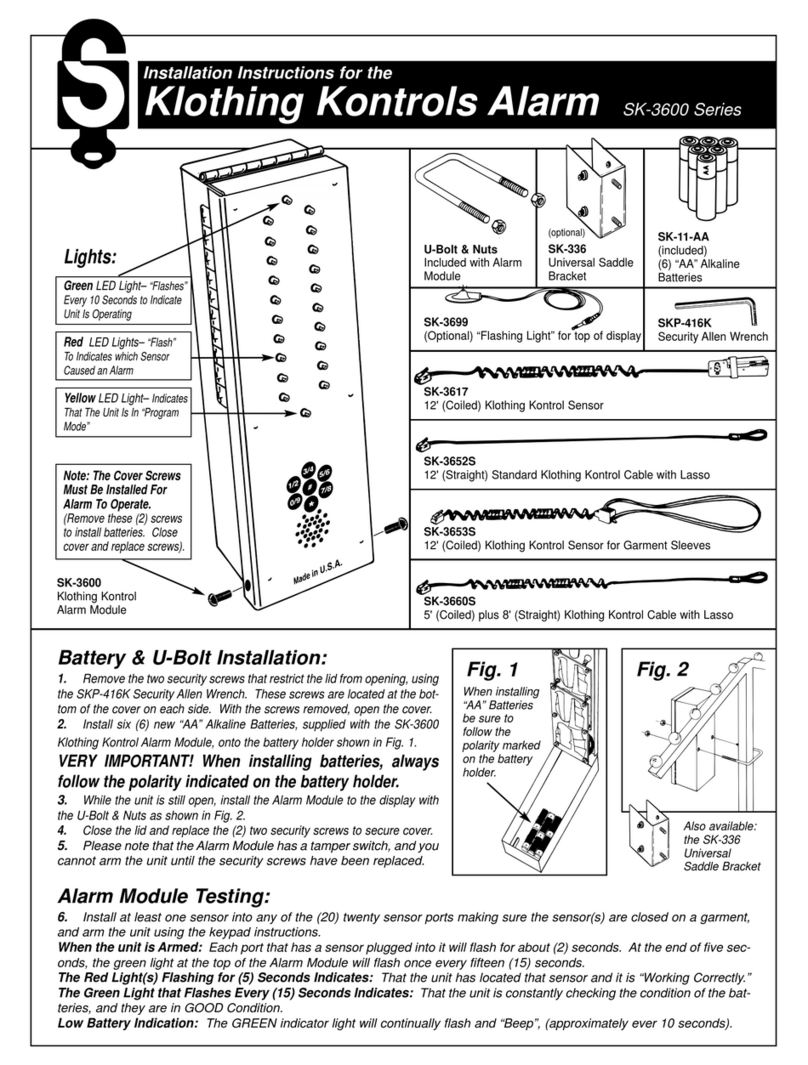
1. Remove the screw
at the top of the alarm
module with a Phillips
Head Screw Driver.
Insert the key and
turn it clockwise to
open the box.
3. Close the Lid and
turn the key “counter
clockwise” to lock the
box. Then, replace
the screw at the top
of the alarm module.
Note: The AC/DC Power Supply is the primary power source for the alarm.
When connected, it powers the alarm and the LED lights. If the AC power is
cut off, the sensor lights will go out, but the alarm still functions, using the
battery back-up power.
2. Install (6) new “AA”
Alkaline batteries
(Not Included) onto
the battery holder as
shown in the image at
right.
The Mini T-Series Alarms use the entire line of
Se-Kure Sensors. Ask your Customer Service
Representative for additional information.
4. Plug the AC/DC
Power Supply into a
standard 110-115v
AC outlet and the
other end into the
Power Supply Jack
on the Alarm module.
Battery Installation:
Mini T-6 & T-12 Alarm Instructions
(6) “AA” Alkaline Batteries
Unit
Requires
6
Batteries
(Not
Included)
SK-110
Extra Single Bit Key
SK-195
AC/DC Power Supply
SK-T6MA-W
SK-T12MA-W
Follow the (+) & (-)
Polarity Markings on
the battery holder.
Se-Kure
Controls,
®Inc.
3714 Runge Street  •  Franklin Pk., IL 60131-1112  •  1-800-322-2435  •  (847) 288-1111  •  Fax: (847) 288-9999
www.se-kure.com  •  email: [email protected]
5. Install an “LE” sensor into any of the (6) or (12) sensor
ports, making sure the sensor is “closed.” Turn the key to
the LEFT “ON” position.
Special Note: The Key Can Only Be Removed In
The “ON” Position.
WHEN THE UNIT IS TURNED ON: each port that has a
sensor plugged into it will flash for about (5) seconds. At
the end of (5) seconds, the green light at the top of the
Alarm Module will flash once and remain on if AC power is
available.
The Red Light(s) Flashing for (5) Seconds Indicates:
that the unit has located that sensor and it is “working cor-
rectly.” In the Battery Mode the Green Light that Flashes
every (5) Seconds Indicates: that the unit is constantly
checking the condition of the batteries, and they are in
GOOD condition.
Low Battery Indication: The GREEN indicator light will
continually flash along with a “BEEP” from the horn.
8. Remove the backing sheet from an adhesive and apply
it to the bottom of the sensor. PRESS it FIRMLY into
place to form a good bond.
9. Remove the second backing sheet,
and apply the sensor to the merchan-
dise on the area cleaned for the sen-
sor. PRESS it FIRMLY into place to
form a good bond.
10. Plug the sensor into one of the (6) or (12) sensor ports
of the Mini T-Series Alarm Module. Continue applying
sensors to merchandise, and plugging them into the Alarm
Module, you may use all of the ports to secure items.
11. Turn the key to the LEFT “ON” position. The Mini T
Alarm Module will now independently scan the (6) or (12)
sensor ports for tampering. The unit also continually
checks the AC and battery powered condition with a
GREEN light to show it is operating.
Tampering is the removal of Sensors from the Alarm
Module, from Merchandise, Inserting Metal Objects into
Open Sensor Ports, or the attempt to short out a Sensor.
12. To Add or Remove Sensors: Insert the key into the
lock and turn it to the RIGHT “Stand-By” position. While
the unit is in the “Stand-By” mode, it will “BEEP” once
every (30) seconds to warn employees to turn the unit
back on.
13. To Re-Set the unit after an Alarm: Insert the key into
the lock and turn it to the RIGHT “Stand-By” position.
NOTE: During the “Alarm Mode” and after the key has
been turned to the “Stand-By” position, the RED indicator
lights will continue to flash, indicating which sensor caused
the alarm. Correct the problem/sensor that caused the
alarm and turn the key back to the LEFT “ON” position.
The system will always search through its ports and check
battery condition when turned to the “ON” position.
6. Turn the Mini T Alarm
Module Key to the “Stand-
By” position. This is the
position that you cannot
remove the key.
7. Connect an LE sensor
to the merchandise that is
to be protected, follow the
important cleaning step closely.
VERY IMPORTANT! Clean the area on the product
and the bottom of the sensor with Alcohol Prep
Pads. While the alcohol is still wet, Wipe These
Surfaces DRY with a clean paper towel. If the
paper towel shows dirt, REPEAT THE CLEANING
STEP until the surfaces are Clean & Dry!
Alarm Module Testing:
Operating Instructions:
Rectangular
Adhesive Pads
Remove adhesive backing
P/N: 64683 SCI-9984

This manual suits for next models

4

Other Se-Kure Controls Security System manuals

Se-Kure Controls Vantage II User manual

Se-Kure Controls

Se-Kure Controls Vantage II User manual

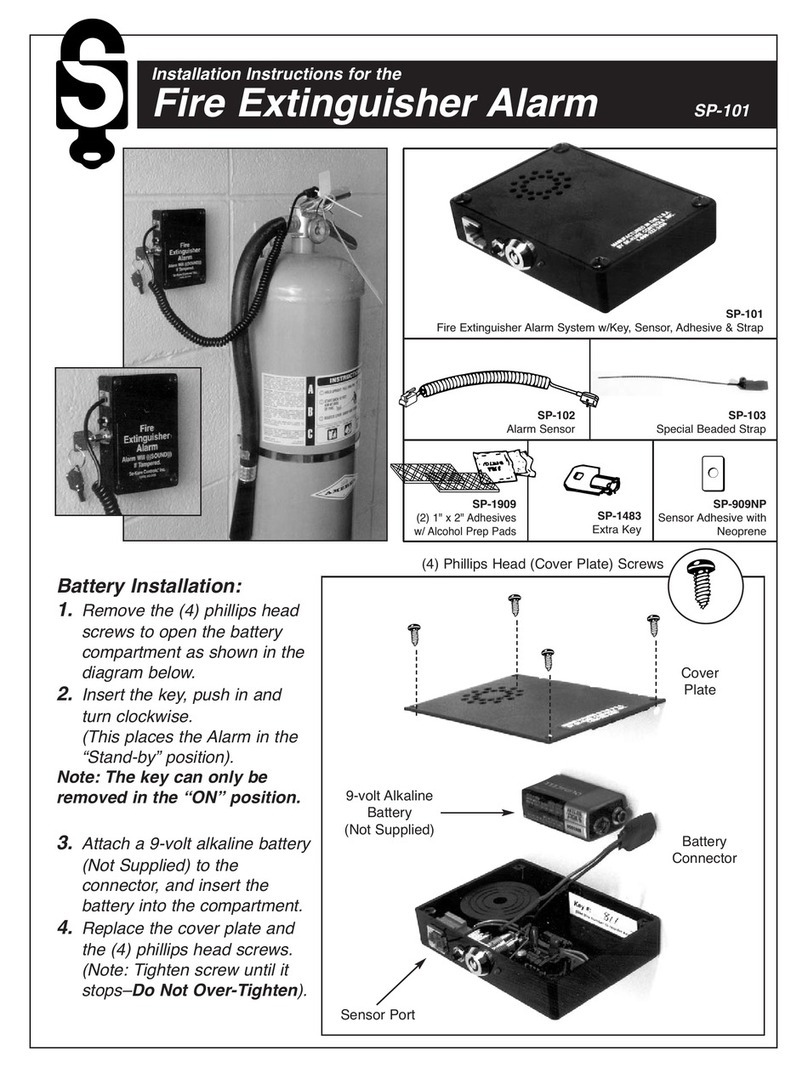
Se-Kure Controls SP-101 User manual

Se-Kure Controls

Se-Kure Controls SP-101 User manual

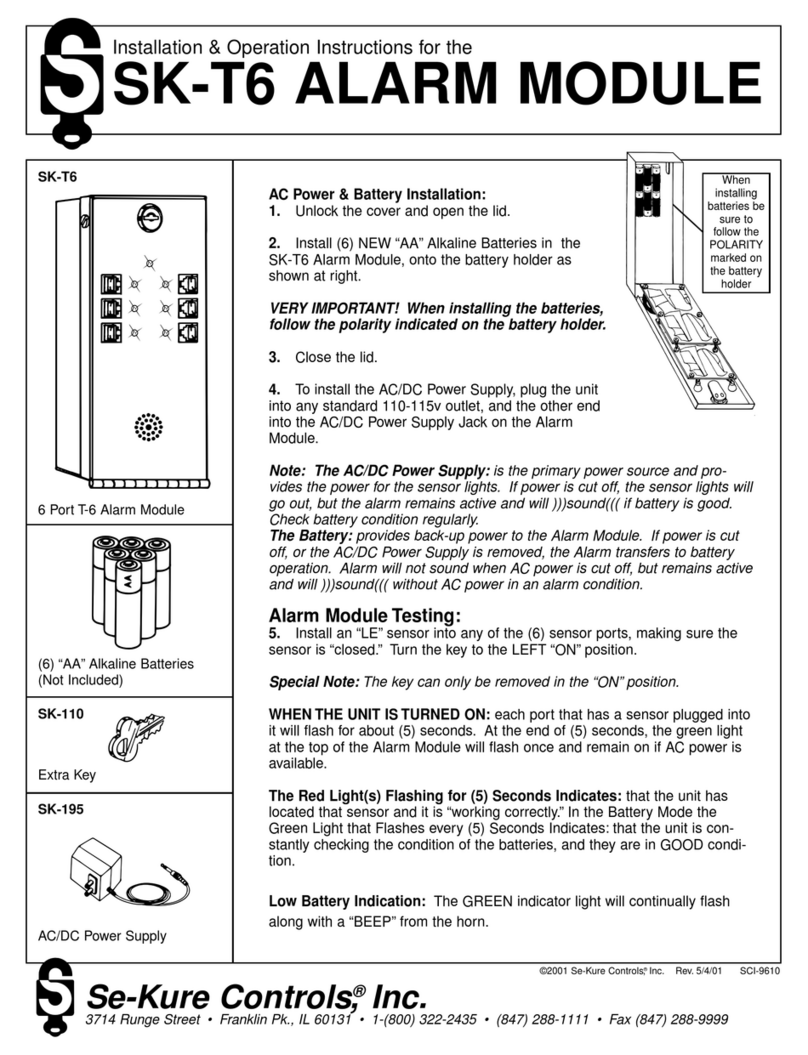
Se-Kure Controls SK-T6 Installation instructions

Se-Kure Controls

Se-Kure Controls SK-T6 Installation instructions

Se-Kure Controls LE PLUS User manual

Se-Kure Controls

Se-Kure Controls LE PLUS User manual

Se-Kure Controls K-9 WatchDog User manual

Se-Kure Controls

Se-Kure Controls K-9 WatchDog User manual

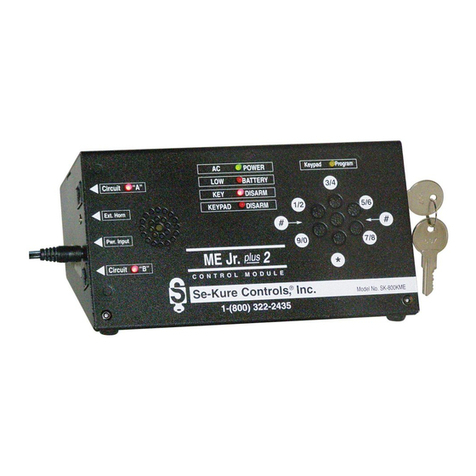
Se-Kure Controls ME Jr. plus 2 SK-800MEI Series User manual

Se-Kure Controls

Se-Kure Controls ME Jr. plus 2 SK-800MEI Series User manual

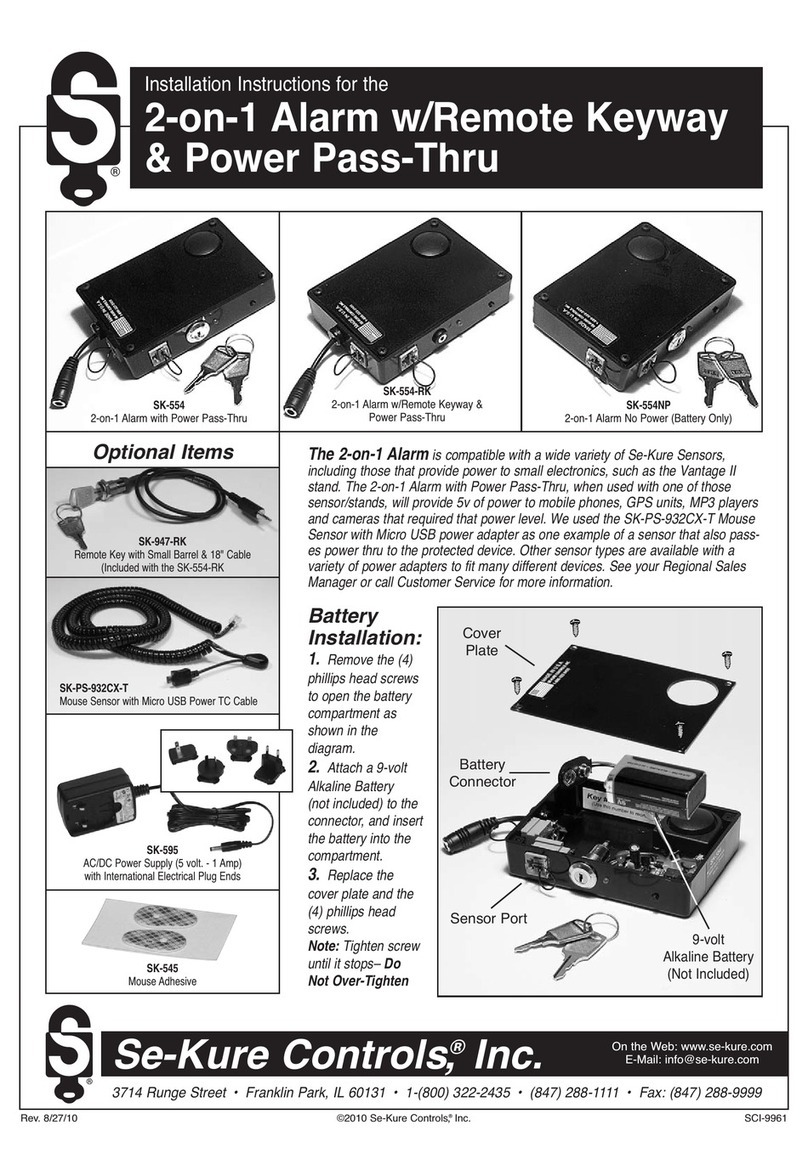
Se-Kure Controls SK-554NP-RKAC-4 User manual

Se-Kure Controls

Se-Kure Controls SK-554NP-RKAC-4 User manual

Se-Kure Controls SK-903KB User manual

Se-Kure Controls

Se-Kure Controls SK-903KB User manual

Se-Kure Controls MicroMini SK-4841 User manual

Se-Kure Controls

Se-Kure Controls MicroMini SK-4841 User manual

Se-Kure Controls SK-554 User manual

Se-Kure Controls

Se-Kure Controls SK-554 User manual

Se-Kure Controls SK-800KME Series User manual

Se-Kure Controls

Se-Kure Controls SK-800KME Series User manual

Se-Kure Controls Klothing Kontrols SK-3600 Series User manual

Se-Kure Controls

Se-Kure Controls Klothing Kontrols SK-3600 Series User manual

Popular Security System manuals by other brands

Digital Alert Systems DASDEC-III Hardware installation guide

Digital Alert Systems

Digital Alert Systems DASDEC-III Hardware installation guide

Honeywell Wireless Alarm Bar installation guide

Honeywell

Honeywell Wireless Alarm Bar installation guide

Informa ADE Gen4 manual

Informa

Informa ADE Gen4 manual

Chuango G5 installation guide

Chuango

Chuango G5 installation guide

Automatic Systems FirstLane 960 Technical manual

Automatic Systems

Automatic Systems FirstLane 960 Technical manual

Assa Abloy TRAKA21 Getting started guide

Assa Abloy

Assa Abloy TRAKA21 Getting started guide

Panasonic KX-HNS101 installation guide

Panasonic

Panasonic KX-HNS101 installation guide

SVAT GX5204 instruction manual

SVAT

SVAT GX5204 instruction manual

Texecom Premier Elite 8XP-W installation manual

Texecom

Texecom Premier Elite 8XP-W installation manual

HumanTechnik Signolux Operation instructions

HumanTechnik

HumanTechnik Signolux Operation instructions

X10 MS13A Set up and operating instructions

X10

X10 MS13A Set up and operating instructions

Alarm Lock PG21 SERIES Installation template

Alarm Lock

Alarm Lock PG21 SERIES Installation template

OpenEye MV Series quick start guide

OpenEye

OpenEye MV Series quick start guide

USP/Emergency Caller Products EC-1 Owner's Manual and Operating Instructions

USP/Emergency Caller Products

USP/Emergency Caller Products EC-1 Owner's Manual and Operating Instructions

ADEMCO LYNXR quick start guide

ADEMCO

ADEMCO LYNXR quick start guide

ADEMCO UVS user guide

ADEMCO

ADEMCO UVS user guide

Eclipse EC-P10 installation manual

Eclipse

Eclipse EC-P10 installation manual

Air Design DONUT 100 Manual and service book

Air Design

Air Design DONUT 100 Manual and service book

manuals.online logo
manuals.online logoBrands
  • About & Mission
  • Contact us
  • Privacy Policy
  • Terms and Conditions

Copyright 2025 Manuals.Online. All Rights Reserved.