manuals.online logo
Brands
  1. Home
  2. •
  3. Brands
  4. •
  5. Se-Kure Controls
  6. •
  7. Security System
  8. •
  9. Se-Kure Controls SP-101 User manual

Se-Kure Controls SP-101 User manual

Installation Instructions for the
Fire Extinguisher Alarm SP-101
SP-101
Fire Extinguisher Alarm System w/Key, Sensor, Adhesive & Strap
SP-103
Special Beaded Strap
SP-102
Alarm Sensor
SP-909NP
Sensor Adhesive with
Neoprene
SP-1483
Extra Key
SP-1909
(2) 1" x 2" Adhesives
w/ Alcohol Prep Pads
Battery
Connector
Sensor Port
9-volt Alkaline
Battery
(Not Supplied)
Cover
Plate
(4) Phillips Head (Cover Plate) Screws
Battery Installation:
1. Remove the (4) phillips head
screws to open the battery
compartment as shown in the
diagram below.
2. Insert the key, push in and
turn clockwise.
(This places the Alarm in the
“Stand-by” position).
Note: The key can only be
removed in the “ON” position.
3. Attach a 9-volt alkaline battery
(Not Supplied) to the
connector, and insert the
battery into the compartment.
4. Replace the cover plate and
the (4) phillips head screws.
(Note: Tighten screw until it
stops–Do Not Over-Tighten).
Se-Kure Controls,
®Inc.
3714 Runge Street • Franklin Park, IL 60131 • 1-(800) 322-2435 • (847) 288-1111 • Fax: (847) 288-9999
Rev. 11/21/97 SCI-9596©1997 Se-Kure Controls,
®Inc.
Assembly Instructions:
1. Remove the old beaded strap holding the fire
extinguisherʼs pin in place.
(DO NOT REMOVE PIN OR INSPECTORʼS TAG).
2. Hold the sensor in place on the extinguisherʼs handle, and
thread the new (red) beaded strap through the sensor
hole, as shown in Fig. 1 at left.
3. Lasso the handle with the beaded strap by passing it
around the entire handle, up through the ring of the pin,
and into the straps locking hole. (Shown in Fig. 2 at left).
(Note: the fire extinguisher strap is imprinted with the word
ENTER to indicate which way to insert the end).
4. Pull the strap up tight making sure the sensor lays “flat”
on the handle, as shown in Fig. 3. Fig. 4 shows the
completed assembly.
5. Place the double sided
adhesive on the Alarm
Module back, and mount
the module to the wall near
the fire extinguisher, as
shown in Fig. 5.
6. Plug the sensor into the
Alarm unit and turn the key
to the “ON” position, and
remove, (shown in Fig. 6).
Your Fire Extinguisher Alarm is now “ON” and ready
to )))sound((( an alert when used or tampered.
Fig. 1
Fig. 2
Fig. 3
Fig. 4
Fig. 5
Fig. 6
Battery Test Button
(2) 1" x 2"
Base Adhesives
W
A
L
L
VERY IMPORTANT!
NOTE: Clean the
back of the Alarm
Module with an
Alcohol Prep Pad,
and wipe the
surface DRY with a clean
paper towel.
Clean &
Wipe Dry

Other Se-Kure Controls Security System manuals

Se-Kure Controls SK-800KME Series User manual

Se-Kure Controls

Se-Kure Controls SK-800KME Series User manual

Se-Kure Controls K-9 WatchDog User manual

Se-Kure Controls

Se-Kure Controls K-9 WatchDog User manual

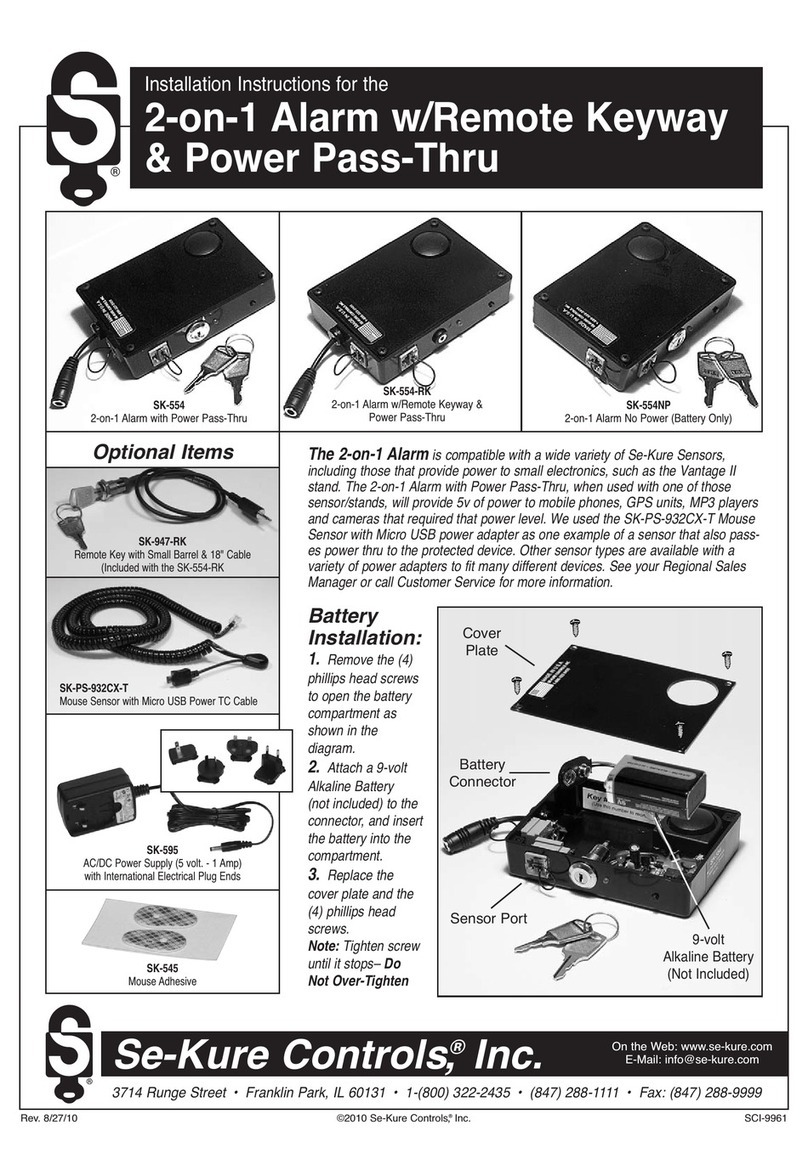
Se-Kure Controls SK-554NP-RKAC-4 User manual

Se-Kure Controls

Se-Kure Controls SK-554NP-RKAC-4 User manual

Se-Kure Controls MicroMini SK-4841 User manual
Se-Kure Controls

Se-Kure Controls MicroMini SK-4841 User manual

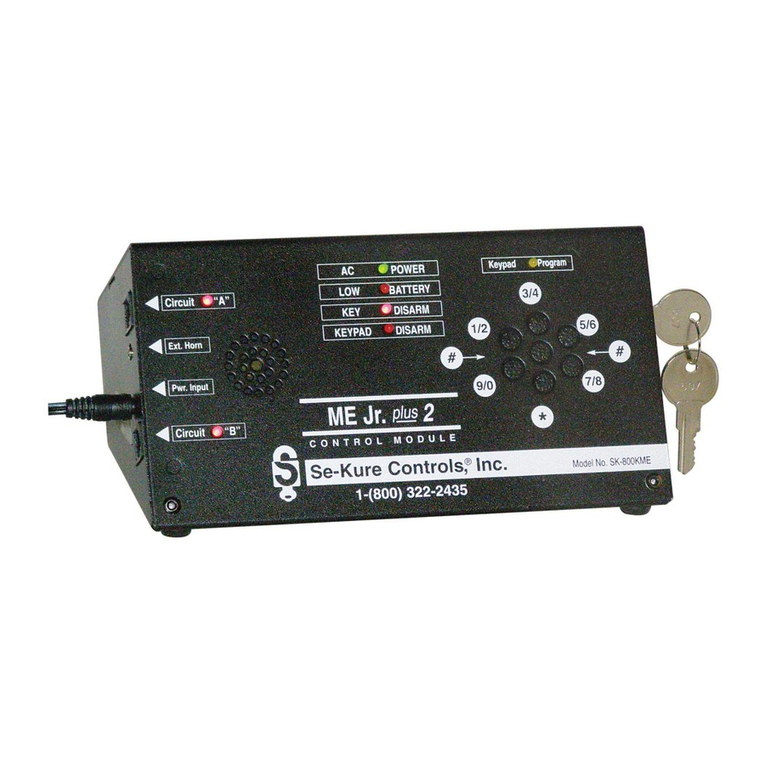
Se-Kure Controls ME Jr. plus 2 SK-800MEI Series User manual

Se-Kure Controls

Se-Kure Controls ME Jr. plus 2 SK-800MEI Series User manual

Se-Kure Controls LE PLUS User manual

Se-Kure Controls

Se-Kure Controls LE PLUS User manual

Se-Kure Controls SK-554 User manual

Se-Kure Controls

Se-Kure Controls SK-554 User manual
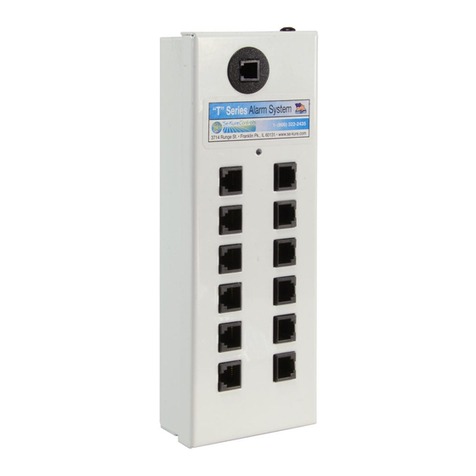
Se-Kure Controls SK-T6 Installation instructions

Se-Kure Controls

Se-Kure Controls SK-T6 Installation instructions

Se-Kure Controls Vantage II User manual
Se-Kure Controls

Se-Kure Controls Vantage II User manual

Se-Kure Controls SK-903KB User manual

Se-Kure Controls

Se-Kure Controls SK-903KB User manual

Se-Kure Controls Mini T Series User manual

Se-Kure Controls

Se-Kure Controls Mini T Series User manual

Se-Kure Controls Klothing Kontrols SK-3600 Series User manual

Se-Kure Controls

Se-Kure Controls Klothing Kontrols SK-3600 Series User manual

Popular Security System manuals by other brands

Schwaiger Secure-4-You HSA500 instructions

Schwaiger

Schwaiger Secure-4-You HSA500 instructions

Adtech CLA 114 instruction manual

Adtech

Adtech CLA 114 instruction manual

Call Aid UK 1142RX Operation & maintenance manual

Call Aid UK

Call Aid UK 1142RX Operation & maintenance manual

GE NetworX V3 installation manual

GE

GE NetworX V3 installation manual

Conrad ZM 02 owner's manual

Conrad

Conrad ZM 02 owner's manual

Your Finder Small Track user manual

Your Finder

Your Finder Small Track user manual

Bridgesecure Technologies Alarmster ONE user manual

Bridgesecure Technologies

Bridgesecure Technologies Alarmster ONE user manual

Risco ProSYS Plus Quick user guide

Risco

Risco ProSYS Plus Quick user guide

Rockwell Automation Trusted TMR manual

Rockwell Automation

Rockwell Automation Trusted TMR manual

DSC Communique VPM5580TC instruction manual

DSC

DSC Communique VPM5580TC instruction manual

UniGuard 10050704892 user guide

UniGuard

UniGuard 10050704892 user guide

FineControl LS-20 Operation manual

FineControl

FineControl LS-20 Operation manual

RedKnows RF-6 user manual

RedKnows

RedKnows RF-6 user manual

Burg SIRENE 2150 manual

Burg

Burg SIRENE 2150 manual

Patrol Hawk Vcare user manual

Patrol Hawk

Patrol Hawk Vcare user manual

FältCom ECII Flex user manual

FältCom

FältCom ECII Flex user manual

Denver SHA-150 Quick user guide

Denver

Denver SHA-150 Quick user guide

Honeywell MA-2000 installation manual

Honeywell

Honeywell MA-2000 installation manual

manuals.online logo
manuals.online logoBrands
  • About & Mission
  • Contact us
  • Privacy Policy
  • Terms and Conditions

Copyright 2025 Manuals.Online. All Rights Reserved.