manuals.online logo
Brands
  1. Home
  2. •
  3. Brands
  4. •
  5. SEA
  6. •
  7. Gate Opener
  8. •
  9. SEA GER Instruction manual

SEA GER Instruction manual

MANUAL RELEASE
TO UNLOCK :
1) Insert the key into the manual release into the front of the motor and turn anti-
clockwise.
2)open and close the leaf Manually.
TO reactivate:
Insert the key into the manual release and turn clockwise
GER
SEA GER
Page 1 of 2
GER INSTALLATION
to have perfect leaf movement (keep tools and mounting bolts for the fixing plate to the
column handy).
- GER can open inwardly or outwardly and can be installed on both left or right.
In Fig.3 you will find the mounting of the motor in the sx version, for the dx version turn
the motor 180° always leaving the splined shaft in the low position.
- GER si provided with COVER SUPPORT PLATE (1), MOUNTING PLATE (2),
MOTOR GEAR BOX (3), COVER and accessories fro a correct instillation
- Place the motor support plate on the column (See Fig.1), so that the 4 holes of the
plate on at the left side and then make 4 holes D.10 on the column correspondent to
the 4 holes on the plate
-Insert the 4 mounting bolts in the holes, place the case fixing plate back and the
mounting plate upon it (2) checking that the central hole is oriented down and then fix
everything to the column.
-Put the motor gear box on the fixing plate with the splined shaft oriented down, the
release lever pointing up and the power supply cable oriented outward (opposed to
the leaf). Fix the motor gear box with the screws provided(m6x130TCE).
-Use the release lever with the purposefully provided key by turning anticlockwise to
release the motor-gear box. install the articulated arm (which is composed by: ARM
WITH COLLAR(5), SWERVED ARM(6) and HINGE(4) on the splined shaft(under the
motor) and fix it with screw provided.
- Check that the gate leaf is completely closed and then rotate the articulated arm in
direction of gate until reaching the exact position (refer to fig.1) and pin point on the
leaf the exact spot where the hinge must be fixed.
-Don’t fix the hinge bracket immediately but open and close the leaf to check that the
manoeuvre is smooth. if problems arise re-install the hinge so to find its ideal
placement.
-The installation of GER cover can be carried out after wiring remove the articulated
arm, insert the protective case, remount the articulated arm and fix all GER parts.
LIMIT SWITCH ADJUSTMENT (if provided) FIG.2
- Carry out the whole of procedures explained in the paragraph “GER
INSTALLATION” up to point 8
- Get the leaf to limit switch position in closing, block the motor by acting
on the release lever with the key provided and adjust the first cam (the
cams have adjustment threads M5x8 so use the right Allen key)so that
the first micro-switch is closed.
- Release the motor and proceed as before with the leaf in the opening
position. Remember that you have to adjust the second cam which
effects the second micro-switch, make an opening and closing
manoeuver to check that the micro-switchs are timing perfectly. If
problems arise, repeat the procedures.
-Take the leaf to the limit switch in closing position and lock the motor,
after wiring is completed.
Disconnect the articulated arm, insert the protective case and finish the
installation off by reattaching the articulated arm in the same position.
Fig 1
Fig 2
Fig 3
HINGE
BRACKET
RISK EXAMINATION
The points indicated by the
arrows are potentially
dangerous. The installer must
make a thorough risk
examination to prevent
crushing, conveying, cutting,
grappling, trapping , so as to
guarantee a safe installation for
people, objects and animals
(Ref- Laws in force in the
country where the installation
has been carried out).
If difficulties arise refer to your area distributor or call our
help desk. These instructions are part of the device and
must be kept in a well known place. The installer shall
follow the provided instructions thoroughly. SEA products
must only be used to automated doors, gates and wings.
Any initiative taken without SEA Srl explicit authorization
will preserve the manufacturer from whatsoever
responsibility. The installer shall provide warning notices
on not assessable further risks, SEA Srl in its relentless ain
to improve its products, is allowed to make whatsoever
adjustment without giving notice. This doesn’t oblige SEA
to up-grade the past production. SEA Srl can not be
deemed responsible for any damages or accident caused
by product breaking, being damages or accident due to a
failure to comply with the instructions herein. The
guarantee will be void and the manufacture responsibility
(according to Machine Law) will be nullified if SEA Srl
original spare parts are not being used.
GER
SEA GER
Page 2 of 2
Packaging materials such as plastic
bags, foam, polystyrene, nails .ect
must be kept out of children’s reach
as dangers may arise, and dispose of
responsibly.

Other SEA Gate Opener manuals

SEA COMPACT Series Original instructions

SEA

SEA COMPACT Series Original instructions

SEA HALF TANK User manual

SEA

SEA HALF TANK User manual

SEA SEAGEAR 1180MEC0 Original instructions

SEA

SEA SEAGEAR 1180MEC0 Original instructions

SEA EASY 20 User manual

SEA

SEA EASY 20 User manual

SEA LYRA Instruction manual

SEA

SEA LYRA Instruction manual

SEA ALPHA 330 STANDARD Original instructions

SEA

SEA ALPHA 330 STANDARD Original instructions

SEA Cougar 270 User manual

SEA

SEA Cougar 270 User manual

SEA SURF 350 Reversible User manual

SEA

SEA SURF 350 Reversible User manual

SEA GATE 2 DG INVERTER User manual

SEA

SEA GATE 2 DG INVERTER User manual

SEA SATURN User manual

SEA

SEA SATURN User manual

SEA FLIPPER User manual

SEA

SEA FLIPPER User manual

SEA LEPUS 800 Instruction manual

SEA

SEA LEPUS 800 Instruction manual

SEA ALPHA Series Original instructions

SEA

SEA ALPHA Series Original instructions

SEA GATE 1 DG R2BF User manual

SEA

SEA GATE 1 DG R2BF User manual

SEA COUGAR 270 User manual

SEA

SEA COUGAR 270 User manual

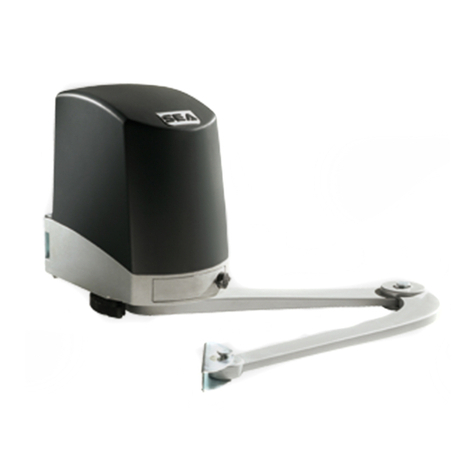
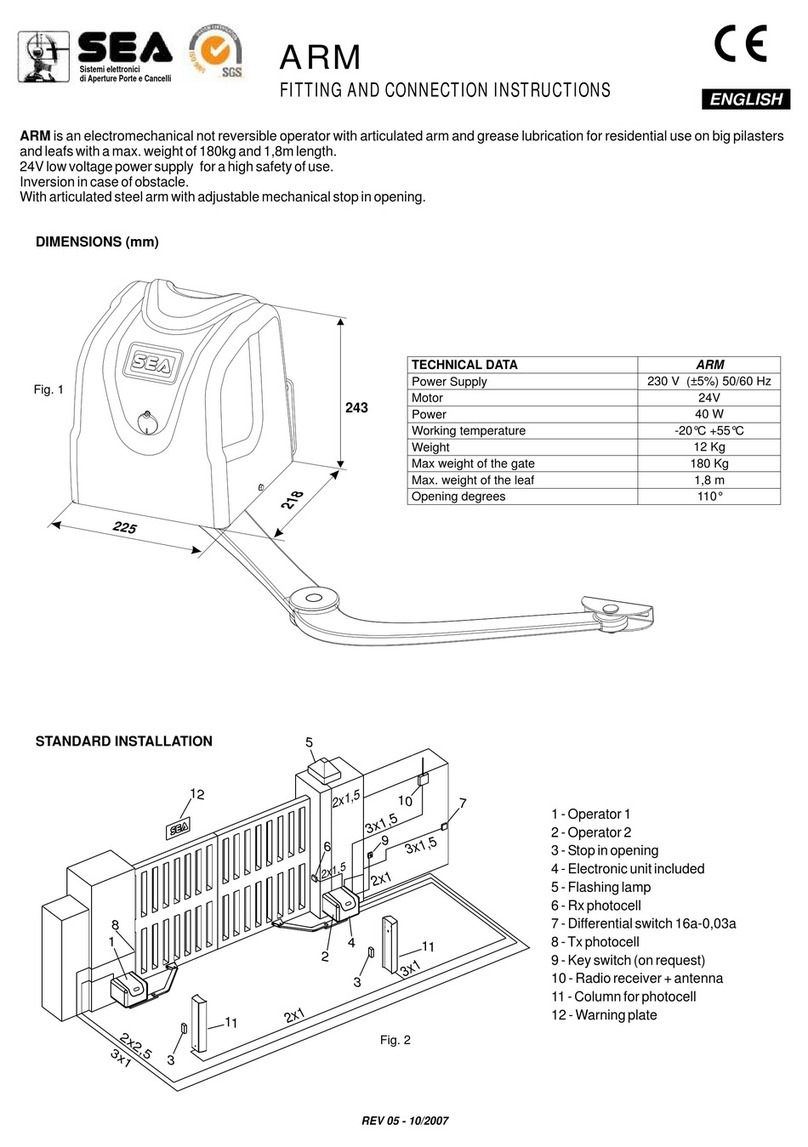
SEA ARM Instruction manual

SEA

SEA ARM Instruction manual

SEA ALPHA 200 PLUS User manual

SEA

SEA ALPHA 200 PLUS User manual

SEA FLIPPER 110V User manual

SEA

SEA FLIPPER 110V User manual

SEA SURF 350 Reversible User manual

SEA

SEA SURF 350 Reversible User manual

SEA SUPER FULL TANK 20 G6 380V User manual

SEA

SEA SUPER FULL TANK 20 G6 380V User manual

SEA FIELD Series User manual

SEA

SEA FIELD Series User manual

SEA JOINT Original instructions

SEA

SEA JOINT Original instructions

SEA KITE User manual

SEA

SEA KITE User manual

SEA TORG Series Instruction manual

SEA

SEA TORG Series Instruction manual

Popular Gate Opener manuals by other brands

Bandini Industrie GiBiDi SL Series Instructions for installations

Bandini Industrie

Bandini Industrie GiBiDi SL Series Instructions for installations

Chamberlain Elite RSL12V Wiring diagram

Chamberlain

Chamberlain Elite RSL12V Wiring diagram

CAB HD.18 AC Operating instructions and spare parts catalogue

CAB

CAB HD.18 AC Operating instructions and spare parts catalogue

WORKMASTER GO-A3-PW Operator's manual

WORKMASTER

WORKMASTER GO-A3-PW Operator's manual

Chamberlain ART300-24MB instructions

Chamberlain

Chamberlain ART300-24MB instructions

CAME FROG installation manual

CAME

CAME FROG installation manual

Chamberlain LA500DC installation manual

Chamberlain

Chamberlain LA500DC installation manual

Security Point IDRO C 27/R manual

Security Point

Security Point IDRO C 27/R manual

FAAC 770 COMPACT installation manual

FAAC

FAAC 770 COMPACT installation manual

FAAC 740-24V user manual

FAAC

FAAC 740-24V user manual

Chamberlain Elite RSW12V quick start

Chamberlain

Chamberlain Elite RSW12V quick start

Nice Apollo 15501K user guide

Nice Apollo

Nice Apollo 15501K user guide

Dea ANGOLO operating instructions

Dea

Dea ANGOLO operating instructions

SUPERJACK SJ A31001 manual

SUPERJACK

SUPERJACK SJ A31001 manual

RIB MAGIC 105 manual

RIB

RIB MAGIC 105 manual

SOMFY SGS 201 Operating and installation guide

SOMFY

SOMFY SGS 201 Operating and installation guide

Motorline professional KVM205 User& installer's manual

Motorline professional

Motorline professional KVM205 User& installer's manual

CAME FROG series installation manual

CAME

CAME FROG series installation manual

manuals.online logo
manuals.online logoBrands
  • About & Mission
  • Contact us
  • Privacy Policy
  • Terms and Conditions

Copyright 2025 Manuals.Online. All Rights Reserved.