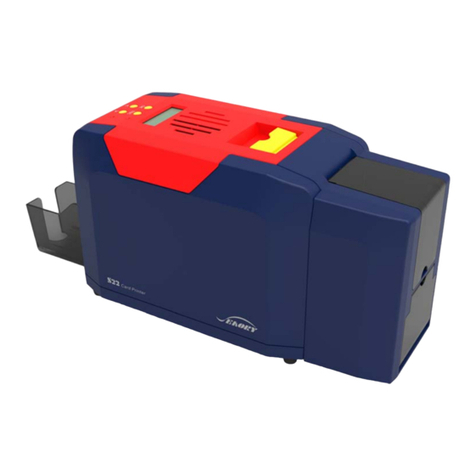
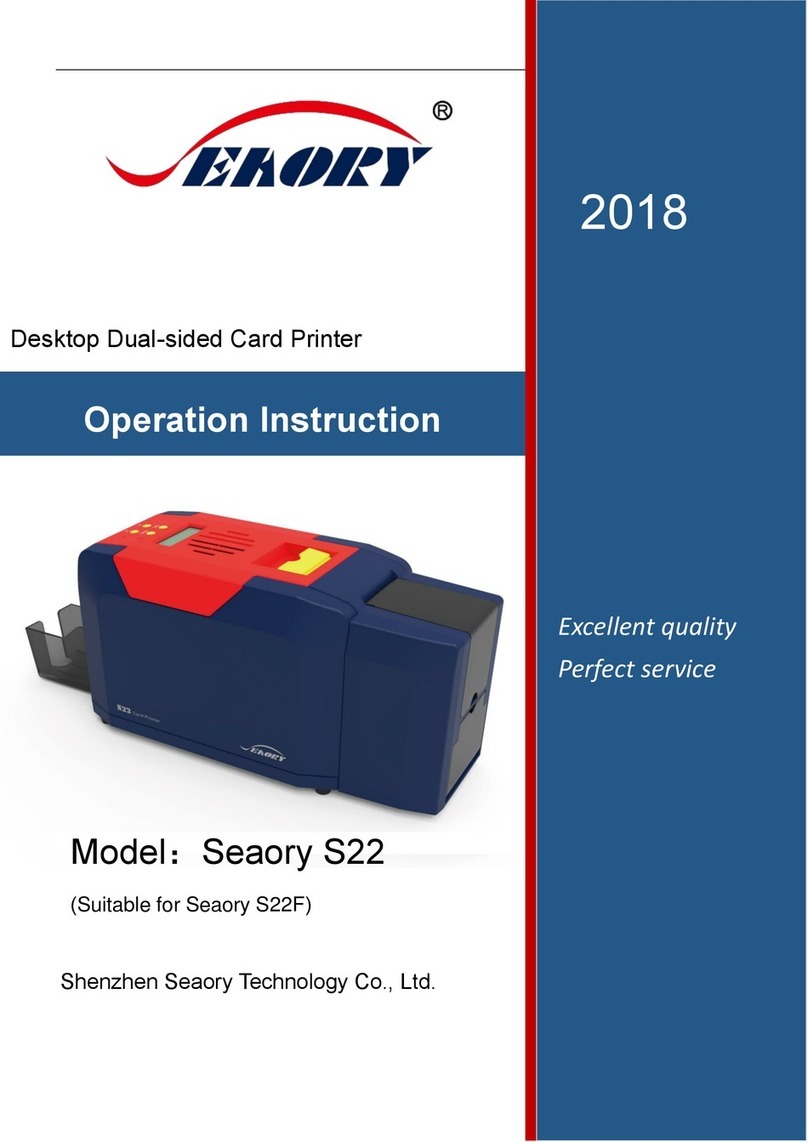
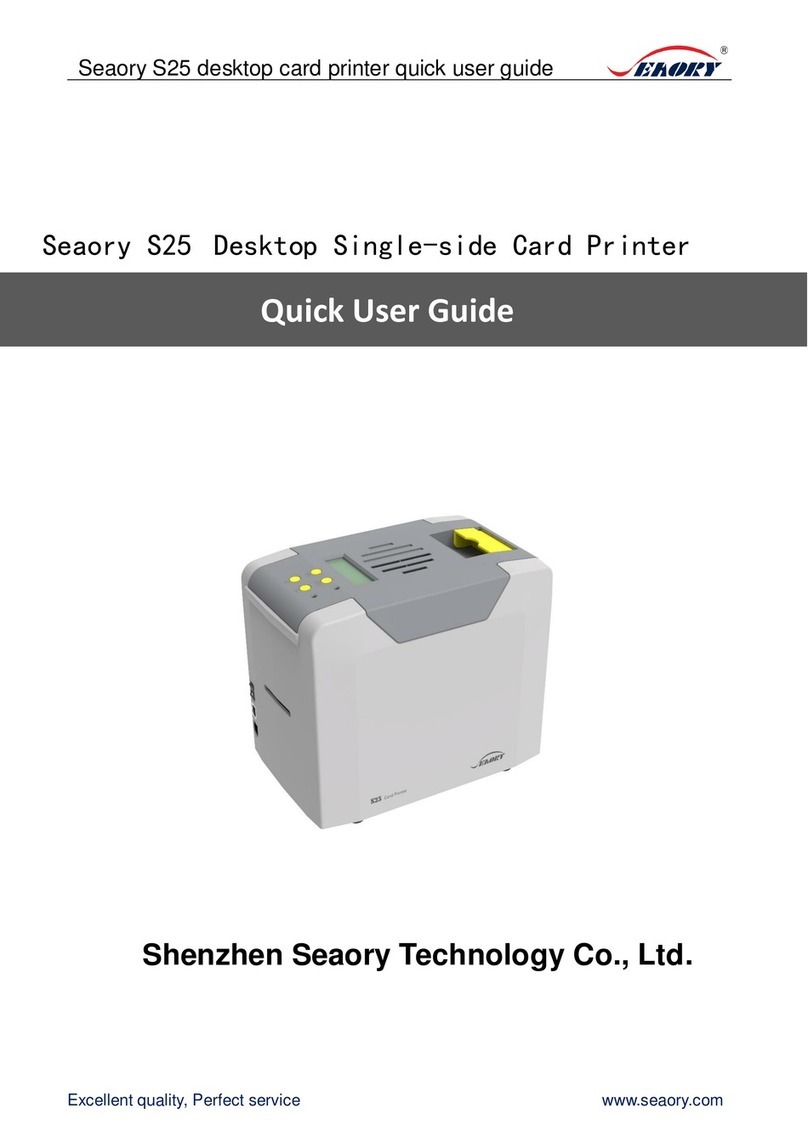
Seaory S22 User manual

S
C
S
ea
C
ar
d
M
J
u
ory
d
P
r
an
u
u
ne 20
1
S2
2
r
int
e
u
al
1
9
2
e
r

Statement
Copyright
Copyright© Shenzhen Seaory Technology CO.,LTD. All rights reserved.
Users shall respect the latest regulations on copyright of their own countries. This
manual, no matter in E-file, text version, or other formats, can never be partially or totally
copied, translated or spread in any way for any reason, without the writing authorization
from Shenzhen Seaory Technology Co., Ltd. Please forgive that any change of this
manual will not be further noticed. Shenzhen Seaory Technology Co., Ltd shall take no
responsibility for any errors (if any) in this manual, accidental damage of printer, or losses
caused by this manual contents.
All the pictures and specifications in this manual are made to help description, while
the actual specifications shall be subject to order. If any query, please refer to the products
specifications on the website of Shenzhen Seaory Technology Co., Ltd.
Warranty
With respect to warranty conditions and restrictive clauses, please refer to the Warranty
Card enclosed in the printer package.
Knowing your new printer
Thanks for choosing Seaory S Series card printer, to start a successful cooperation
between us. Avariety of high quality personalization of identification cards, visa cards, and
membership cards etc. can be realized through simply operation of these card printers.
You shall make sure that printer consumables you bought are from original manufacturer.
To know more information, please visit our website: www.seaory.com.
Preparation
The purpose of this manual is to help you setting the card printer. Before using, please
read this manual carefully, and learn about the printer and its functions, which will save
you time on installation and using. If any errors found, please let us know by mailing to:
info@seaory.com.
Sign Helper
Below signs indicates key information of this manual.
SpecialWarningMessageMoreIn‐depthInformationNotice

C
h
C
h
C
h
h
apter I
1.1 Ins
p
1.2 Ap
p
1.3 Ins
t
h
apter I
I
2.1 Cle
2.2 Cle
h
apter I
I
3.1 Wa
Prepar
p
ection
.
p
earanc
e
t
allation
I
Maint
e
aning t
h
aning p
I
I Tips
f
rning a
n
C
a
ation...
.
.
...........
.
e
Introd
...........
.
e
nance
h
e card
p
rinter h
e
f
or Sol
v
n
d Tips
f
1
a
talo
g
.
...........
.
.
...........
.
uction .
.
.
...........
.
of Prin
t
p
assag
e
e
ad......
.
v
ing Pr
o
f
or Erro
r
g
ue
.
............
.
............
.
............
.
............
t
e
r
........
e
by cle
a
.
............
o
blems.
r
s..........
............
............
............
............
............
a
ning c
a
............
............
............
............
............
............
............
............
a
rd .......
............
............
............
..2
..2
..3
..5
26
26
28
29
29

1.1
Th
e
ch
e
co
u
Ta
b
S22 Accessories
(
Standard
)
Powe
r
O
u
ho
p
Inspec
t
e
card pri
n
e
ck it clos
e
u
ntry you
a
b
le list of a
c
r
cable*1
A
u
tput
p
per*1
In ca
imme
d
t
ion
n
ter is sup
p
e
ly. Kindly
a
re.
c
cessorie
s
A
daptor*1
CD*1
se of missin
d
iatel
y
.
Chapt
e
p
lied with
s
note that
s
come wit
h
USB cabl
e
Manual*
g of any b
e
2
e
r I Prep
a
s
everal a
c
accessori
e
h
S22 car
d
e
*1 Cle
r
o
1 Wa
c
a
e
low articles,
a
ration
c
cessories
e
s may di
f
d
printe
r
:
aning
o
d*1 Cl
e
rranty
a
rd*1
C
o
please cont
a
and plea
s
f
fer depen
d
e
aning roller*1
o
unterweight
card*1
a
ct your loc
a
s
e take tim
d
ing on w
Cleani
n
a
l distributor
e to
hich
n
g cards*5

1.
2
1.2.
2
Appea
r
1 S22/Des
k
Upper
Cover
Inp
u
Ho
pp
Disu
Card
r
ance Int
r
k
top Dual Si
d
u
t
p
er
sed
Exit
r
oducti
o
d
ed Card P
r
3
o
n
r
inte
r
P
S
W
P
o
P
ower
S
witch
LAN Por
t
USB Po
r
o
wer Por
t
t
t
t

4

1.
3
1.3.
prin
prin
3
Installa
1 Placing o
f
Make sure
ter against
ters damag
e
a. Open th
e
b. Unpack
c. Place ri
b
d. Cover it
To opti
m
is chan
g
Please re
m
upward, ri
b
p
ut in.
tion
f
ribbon
to use ori
g
from dama
g
e
d or not w
o
e
cover;
ribbon box
a
b
bon on the
slowly until
m
ize printing q
g
ed.
m
ember to pl
a
b
bon dye side
g
inal ribbon
s
g
es. Please
o
rk.
a
nd get out
carriage by
a sound list
uality, please
a
ce ribbon a
c
adown, and
m
5
s
of Seaory
pay attenti
the ribbon
c
color mark
s
ened
engage in pri
n
c
cording to th
e
m
ake sure the
S Series c
a
on that co
m
c
arriage;
s
, and put t
h
n
ter cleaning
e
e
color mark
s
cover can be
a
rd printers
,
m
patible rib
b
h
e carriage i
e
very time w
h
s
on the carr
i
covered well
,
to protect
b
ons may c
a
nto the prin
t
h
en the ribbon
i
age, glossy
s
after the carri
a
your
a
use
t
er.
s
ide
a
ge

1.3.
Po
w
a.C
o
b.C
o
c.Pl
po
w
d.
W
net
w
2 Connect
c
w
er Supply:
o
nnect pow
e
o
nnect the
a
ease make
w
er supply.
W
hen you n
e
w
ork port of
Pleas
e
power
To ke
e
pulled
c
ard printe
r
e
r cable wit
h
a
daptor with
sure the p
o
e
ed to set u
p
the device.
e
make sure t
h
supply.
e
p your safet
y
out, before y
o
h
adapto
r
the round
s
o
wer cable
h
p
network pr
h
e power ca
b
y
, please ma
k
o
u cleaning o
r
6
s
upply hub
o
h
as been c
o
inting, inser
t
b
le has been
c
k
e sure the
p
r
maintaining
c
o
f printe
r
o
nnected to
t
the specifi
e
c
onnected to
p
ower is off a
n
c
ard printer.
a protectiv
e
e
d network i
a protective
a
n
d power su
p
e
and grou
n
nterface int
o
a
nd groundin
g
p
ply has bee
n
n
ding
o
the
g
n

e.O
LC
D
US
B
a.C
o
b.C
o
pen the po
w
D
, and that
g
B
cable
o
nnect the
s
o
nnect the
f
Please m
a
with
y
our
p
When
c
bythe
additio
n
w
er switch
o
g
reen light i
s
s
quare mou
t
f
lat mouth o
f
a
ke sure drive
p
rinter and co
c
onnectingto
designatedr
n
,thenetwor
k
o
f printer, a
n
s
on.
t
h of USB
w
f
USB with
U
r has been in
s
m
p
uter.
thenetwork
outer,ands
e
k
interfaceca
n
7
n
d make su
r
w
ith USB int
e
U
SB interfa
c
s
talled in the
c
interface,ma
k
e
ttherouter
'
n
onlybeuse
d
r
e that it re
a
e
rface on pr
i
c
e on comp
u
c
omputer corr
e
k
esurethatt
'
sDHCPto
b
d
whenprinti
n
a
ds “Printer
i
nte
r
u
te
r
e
ctl
y
, before c
o
C
c
C
p
henetworkp
b
eautomatic
a
n
gonthenet
w
is ready ”o
n
o
nnecting US
C
onnectwith
c
omputer
C
onnectwith
p
rinter
ortisconnec
t
a
llyobtained.
w
ork.
n
the
B
cable
t
ed
In

1.3
Au
t
Ha
n
a.
To
b. I
n
c.
S
.3 Placing
c
t
omatic car
d
n
d-feeding s
To
set up th
e
n
sert card
m
S
tart Printing
Please u
s
avoiding
a
printing ef
f
card feedi
Cards ca
S22 su
p
c
ards
d
-feeding
ingle card
e
card input
p
m
anually to f
e
or designi
n
s
e CR80 or I
S
a
ny dirty, dam
a
f
ect. The card
ng or multiple
n be put in th
e
p
port hand-fee
p
attern as
B
e
ed slot of
p
n
g the ca
r
d t
S
O 7810 card
s
a
ged or folde
d
thickness sh
a
-cards feedin
g
e
input hoppe
r
ding single c
a
8
B
ack end m
a
p
rinte
r
hrough the
s
s
to print, an
d
d
card, or car
d
a
ll fit to the ad
j
g
at one time.
r
and they will
a
rd printing.
a
nual feed s
s
oftware on
d
do not touc
h
d
with embos
s
j
usting level.
O
automaticall
y
lotin printin
g
your comp
u
h
the printing
s
ing letters, to
O
therwise,it
w
y
feed for the
m
g
preferenc
e
u
ter.
side of the
c
guarantee a
b
w
ill cause failu
r
m
odel of S22.
e
s.
c
ard,
b
est
r
e of

Car
d
Wh
e
the
wa
y
Car
d
Se
a
adj
u
hop
initi
a
fro
m
thic
k
will
fail
u
a.
O
b.
A
thic
k
c.
C
d
Collection
e
n the print
i
output hop
p
y
, could be s
d
thickness
a
ory S22 i
s
u
sting devic
per inside t
a
l value is 0
m
0.3mm t
o
k
ness shall
cause mul
u
re of card f
e
O
pen the to
p
A
djust the thi
k
ness is 0.
8
C
lose the to
p
i
ng/encodin
g
p
er which i
s
et to Outpu
t
adjustment
s
equipped
e, which is
he printer.
C
.8mm (30m
i
o
1.0mm (
1
fit to the ad
j
tiple-cards
e
eding.
p
cover of p
r
ckness lev
e
8
mm in sho
w
p
cover of p
r
g
is comple
s
designed
w
t
hopper, R
e
with a c
a
seated be
h
C
ard thickn
e
i
l), which ca
n
1
0 to 40m
i
j
usting level
feeding at
r
inte
r
e
l by movin
g
w
n in diagra
m
r
inter.
S22 I
n
9
ted, the pri
n
w
ith a capa
c
e
ject tray or
a
rd thickne
s
h
ind the inp
u
e
ss at facto
r
n
be adjust
e
i
l). The ca
r
, otherwise,
one time
o
g
the lever t
o
m
).
n
put Card l
o
n
ted/encod
e
c
ity of 50x0
Do not ejec
t
s
s
u
t
r
y
e
d
r
d
it
o
r C
a
o
preferred t
o
cation
e
d card will
.8mm card
s
t
card.
a
rd Thickne
s
hickness s
e
be returne
d
s
. For eject
s
s Adjustor
e
tting (The
into
card

1.3.
as
w
usi
n
and
res
u
plat
f
ope
are
4 Installatio
Before usi
n
w
ell as do s
e
n
g and oper
a
do setting
s
u
lts after adj
A CD is
b
f
orm.
To begin in
s
n the CD-
R
correct.
To keep
y
before y
o
In cas
e
Some use
some Win
n of drive
r
n
g this print
e
e
ttings, whi
c
a
tion will af
f
s
totally ba
s
ustment, w
a
b
undled wit
h
s
talling a pri
R
OM and se
0.3m
m
y
our safety, pl
o
u cleaning or
e
of no CD in
c
rs may need
t
dows comput
e
e
r, it is very
c
h shall attr
a
f
ect printing
s
ed on this
a
ys to reset
h
the print
e
nt driver, pl
e
lect the pri
n
m
0.5
m
ease make s
u
maintaining
c
c
luded, pleas
e
t
o own admini
s
e
rs.
10
S22 Inside
important t
o
a
ct special
a
quality. Th
e
manual. I
n
the printer
h
e
r which c
o
e
ase put th
e
n
ter driver
m
m
m0.
8
u
re the power
c
ard printer.
e
contact your
s
trator right o
f
o
correctly i
n
a
ttentions fr
o
e
refore, us
e
n
case that
h
ave also b
e
o
ntains the
e
CD into th
e
m
enu, maki
n
8
mm 1.
0
is off and po
w
local distribu
t
f
computer at
t
n
stall the dri
v
o
m users, b
e
e
rs shall ins
t
it does not
e
en provide
d
printer driv
e
CD-ROM
o
n
g sure all i
n
0
mm
w
er supply ha
s
t
or immediate
l
t
he installing
o
v
er and soft
w
e
cause imp
r
t
all and op
e
meet exp
e
d
to you.
er for Micr
o
o
f your com
p
n
stallation
s
s
been pulled
o
l
y.
o
f printer driv
e
w
are
r
oper
e
rate,
e
cted
o
soft
p
uter,
s
teps
o
ut,
e
r in

a.Pl
inst
a
b.
D
out,
offi
c
c. I
n
ease cance
a
lling printe
r
D
ouble-click
then click “
I
c
ial website
n
stalling, pl
e
l all antiviru
s
r
driver.
the icon “S
e
I
nstall” butt
o
occasionall
y
e
ase wait p
a
s
applicatio
n
e
aory S seri
e
o
n. (Note: Pl
y
.)
a
tiently.
11
n
s, and disc
o
e
s driver 0.
9
ease downl
o
o
nnect the
p
9
.13.2.exe”,
o
ad the late
p
rinter with
c
the below
w
st driver pr
o
c
omputer, b
e
w
indow will
c
o
gram on S
e
e
fore
c
ome
e
aory

d.In
you
che
c
Ch
e
e.In
clic
k
and
the pop-up
want to ac
h
c
k if you do
e
ck "Set Ne
t
the pop-up
k
"Start Sea
r
the IP add
r
dialog box,
h
ieve netwo
r
not use net
w
t
work Printe
r
"Serre Net
w
r
ch". At this
r
ess is auto
m
click the "F
r
k printing,
y
w
ork printin
r
" to set up
t
w
ork Printer
time, the S
2
m
atically ob
t
12
inish" butto
n
y
ou need to
g.
t
he network
Setting To
o
2
2 model ca
t
ained. For
t
n
, the driver
check "Set
printer and
o
l" dialog bo
x
rd printer wi
t
his model,
c
has been i
n
Network Pri
click Finish
.
x
, select "A
u
ll be autom
a
c
lick on "Ad
d
n
stalled, an
d
nter", do n
o
.
u
to Search"
a
tically sear
c
d
Printer".
d
if
o
t
and
c
hed,

f.
A
c
a
gr
e
S
e
1.3.
Doi
n
①
C
②P
sel
e
A
fter clickin
g
a
ble, open t
h
e
en light is
o
e
aory S22
w
5 Settings
o
Before usin
Settings in
c
◆Type of
n
g printing
s
C
lick the butt
ut your mo
u
e
ct “Printing
Please
m
local dist
r
g
the button
h
e power s
w
o
n in the sa
m
w
as installed
o
f printing
g printer, pl
e
c
lude:
ribbon ◆
O
s
ettings bas
e
on of “Start
”
u
se on the s
e
preference
”
m
ake sure fully
r
ibutor before
of “Add Pri
n
w
itch of print
e
m
e time.Cli
c
completely
.
e
ase execu
t
O
rientation
◆
e
d on belo
w
”
, chose “D
e
e
lected prin
t
”
, then a wi
n
knowing ho
w
making any
a
13
n
te
r
”, conne
c
e
r, when it r
e
c
k “Start”/“D
.
t
e confirmat
i
◆
Copies
w
steps:
e
vices and
P
t
er, and clic
k
n
dow of it wi
l
w
to set the dri
v
a
lternation.
c
t the printe
r
e
ads “Print
e
evices and
i
on or alter
t
◆Feed car
d
P
rinters”
k
the right b
u
l
l come out.
v
er, otherwise
,
r
with comp
u
e
r is Ready”
Printers” th
e
t
he default
s
d
and Eject
c
u
tton, from
t
,
you shall as
k
u
ter by US
B
on the LC
M
e
n you can
f
s
ettings.
c
ard
t
he Printer
m
k
for help from
B
M
and
f
ind
m
enu,
your

③P
Ma
g
In g
Se
a
For
Ori
e
sett
cur
r
rinting pref
e
g
netic Enco
d
eneral, the
m
a
ory S22 Pri
model S22,
e
ntation/Co
p
ings of Adju
r
ent Driver
v
e
rences me
n
d
ing, Heatin
m
ost frequ
e
nting Prefe
r
Print Optio
n
p
ies,Color o
f
st printing s
v
ersion, Seri
n
u could be
g Energy a
n
e
nt use in pr
i
r
ences:
n
includes
s
f
front/ back
pace, Clea
n
al number
a
14
set the Prin
n
d Tool etc.
i
nt settings
a
s
ettings of
R
side, In an
d
n
ing printer,
a
nd languag
t
Option, Im
a
re Print O
p
R
ibbon Type,
d
Exit of car
d
Magnetic st
e setting of
age Color,
P
p
tion and To
o
Printing
d
etc. The T
o
rip tool, and
the driver.
P
rint Area,
o
l.
o
olcontains
d
it also indi
c
c
ates

Rib
b
Wh
e
fron
ribb
YM
C
Bla
c
b
on Type:
e
n click “Au
t
t and back
s
on is full pa
C
KO five bl
o
c
k/White or
t
omatically
d
s
ides of car
d
nel color rib
o
cks. When
Resin Dithe
d
etect the i
n
d
are same,
bon or half
p
the ribbon i
r
.
15
n
stalled ribb
o
which is c
o
p
anel color
r
s the mono
c
o
n for every
lor for the c
u
r
ibbon, the
p
c
hrome ribb
o
print job”, t
h
u
rrent ribbo
n
p
rinted colo
r
o
n, could b
e
h
e color o
f
n
. When cu
r
r
will use
e
selected
r
rent

16

Wh
e
col
o
wa
s
and
Pri
n
Co
p
Fe
e
be
s
set
t
Rej
e
tray
e
n the “Aut
o
o
r of front a
n
s
chose, the
Black/Whit
e
n
ting orienta
t
p
ies could b
e
e
d card opti
o
s
elected Fe
e
t
o Output h
o
e
ct card opt
.
o
matically d
e
n
d back sid
e
Print K opt
i
e
.
t
ion option:
A
e
set the nu
o
n: Availabl
e
e
ding card
b
o
pper, Reje
c
ion: The rej
e
e
tect the in
s
e
s of card
c
i
on will com
e
A
vailable to
mber of pri
n
e
to set to C
a
b
y hook or
R
c
t tray or D
o
e
ct cards c
o
17
s
talled ribbo
n
c
ould be sel
e
out, and
c
set portrait
o
n
ted card, th
a
rd feeder,
B
R
etry by hoo
o
not eject c
a
o
uld be retu
r
n
for every
p
ected in Y
M
c
ould be sel
e
o
r landscap
e
e setting ra
n
B
ack end m
a
k mode. Th
e
a
rd.
r
ned into De
p
rint job” w
a
M
CKO, YM
C
e
cted betw
e
e
printing,
a
n
ge is 1 to
9
a
nual feed
s
e
eject card
fault, Outpu
a
s cancelle
d
C
O or K. If t
h
e
en Resin
D
a
nd Printing
9
9pcs.
s
lot, and co
u
way, could
t hopper, R
e
d
, the
h
e K
D
ither
u
ld
be
e
ject

Ad
v
out
det
e
Ima
Bal
a
for
p
v
anced card
sensor or
n
e
cted. Eject
ge Color o
p
a
nce, Mage
n
p
rinting by
K
in and card
n
ot. Back e
n
card could
b
p
tion: Availa
b
n
ta Balanc
e
K
of YMCK
O
out options
:
n
d manual f
e
b
e set with
W
b
le to adjus
t
e
, Cyan Bal
a
O
18
:
Card Feed
e
ed slot co
u
W
aiting car
d
t
the Brightn
a
nce, Gam
m
er option co
u
ld be set
A
d
position a
n
ess, Contra
m
a, Saturati
o
uld be sele
c
A
uto feed c
a
n
d Waiting c
st, Sharpne
o
n and Blac
k
c
ted Enable
a
rd when c
a
ard time.
ss, Yellow
k
pixel RGB
card
a
rd is
sum
Other manuals for S22
2
Other Seaory Printer manuals
Seaory
Seaory S20R Instruction manual

Seaory
Seaory R300 User manual

Seaory
Seaory S21 Instruction manual

Seaory
Seaory S21 User manual

Seaory
Seaory S22 Technical manual

Seaory
Seaory R600M Technical manual

Seaory
Seaory S20 Technical manual

Seaory
Seaory S21 Technical manual

Seaory
Seaory S28 Instruction manual

Seaory
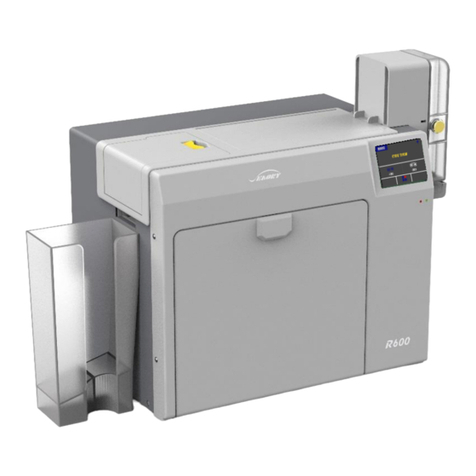
Seaory R600 Operating manual

Seaory
Seaory S20R Technical manual

Seaory
Seaory R300 Operating manual

Seaory
Seaory S22F Technical manual

Seaory
Seaory S22K Technical manual

Seaory
Seaory S20 Instruction manual

Seaory
Seaory S22K Operating manual

Seaory
Seaory R600 Technical manual

Seaory
Seaory S22K User manual

Seaory
Seaory S22 Instruction manual
Seaory
Seaory S26 Technical manual