SMART3G
MANUALE D'INSTALLAZIONE E USO INSTALLATION AND USER MANUAL
MTEX2784.doc rev.2 09/01/2012 Page 13 of 16
4 COLLAUDO E USO 4 TESTING AND USE
4.1 Acc nsion 4.1 Pow r ON
Al momento in cui il rivelatore viene alimentato, si
accende, ad intermittenza lenta il LED rosso sulla scheda
base. L’uscita in corrente è 1,5 mA circa.
Trascorsi 2 minuti circa, il LED rosso lampeggia con una
frequenza pari allo stato in cui si trova il rilevatore (vedere
tabella al punto 4.3) e l’uscita in corrente è a 4,0mA.
Terminata la fase di preriscaldamento il rivelatore è in
grado di funzionare correttamente, anche se sono
comunque necessarie 2 ore circa affinché il rilevatore
raggiunga le prestazioni ottimali.
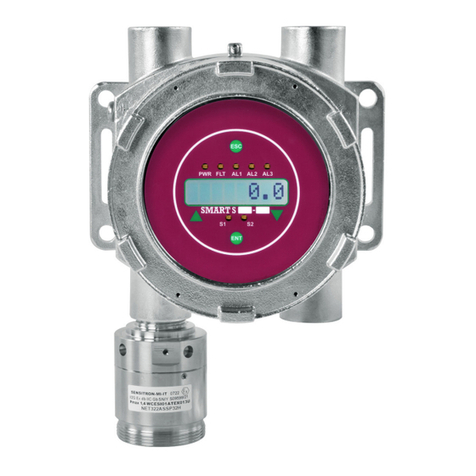
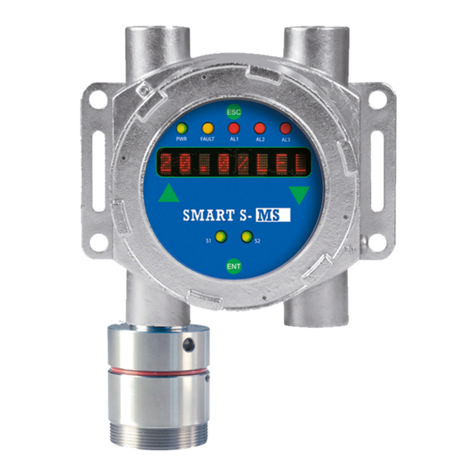
Se il rivelatore è provvisto di scheda display, consultare il
manuale aggiuntivo fornito con gli SMART3G-D
When the detector is powered on, the red LED on the
motherboard starts blinking at slow intermittence. Output
current is nearly 1.5 mA.
After nearly two minutes, the red LED flash rate is
equivalent to the detector working status (see table on
paragraph 4.3) and the output current is 4.0mA.
Once the warm-up phase is over, the detector can work
correctly, although the optimal performances will be
achieved after two hours.
Should the detector be provided with display, please refer
to the additional technical handbook supplied along with
the SMART3G-D.
4.2 Collaudo 4.2 T sting
Il rilevatore viene tarato in fabbrica per il gas
specificamente richiesto dal cliente. Successivamente è
possibile controllare e eventualmente correggerne la
taratura utilizzando l’apposita tastiera di calibrazione.
erificare la risposta del rivelatore utilizzando una miscela
a composizione nota gas/aria, e l'apposito KIT di taratura.
edi paragrafo 7 per ulteriori dettagli
Detectors are factory calibrated for the specific gas
required by the customers. Future adjustment of the
preset calibration can be carried out by employing the
calibration keypad.
Testing should be carried out by using a gas mixture in
the appropriate range, along with our calibration kit.
See paragraph 7 for more details
4.3 Uso 4.3 Us
Il rivelatore funziona automaticamente e autonomamente,
pertanto non è richiesto alcun contributo da parte del suo
utilizzatore.
Il LED rosso lampeggiante posto sulla scheda base del
circuito indica lo stato in cui il rilevatore si trova come
illustrato nella tabella sottostante.
Assicurarsi che la segnalazione dello stato di overrange
del rivelatore venga prevista, come indicato dalla norma
EN60079-29-1:2007, paragrafo 5.4.18
The detector works autonomously and automatically.
Once adequately connected, no further operations are
required.
The flashing red LED on the motherboard indicates the
detector's working condition as detailed in the following
table.
Make sure the overrange status of the detector is
indicated or signalled, as clearly defined by the standard
EN60079-29-1:2007 paragraph 5.4.18.
Fr qu nza lamp ggio in s condi con il jump r JP5-6
ap rto (d fault)
Flash rat in s conds with jump r JP5-6 op n
(d fault configuration)
Significato M aning
Tempo pre-riscaldo 1 ON – 0,1 OFF Warm-up time
Normale funzionamento 1 ON - 1 OFF Normal mode
Guasto - W.D. ON Fault - W.D.
Mantenendo il jumper JP5-6 in posizione chiuso, se la
concentrazione di gas misurata supera il 100% LEL, il
LED sul circuito stampato si accende come per segnalare
il fault, mentre sul display vengono attivate tutte le
segnalazioni LED; l’uscita viene forzata a 22 mA.
Per ripristinare il corretto funzionamento del rivelatore si
dovrà togliere e ridare alimentazione
With the JP5-6 jumper closed, should the measured gas
concentration exceed 100% LEL, the red LED on the PCB
lights up, as to signal the FAULT status, while on the
display all of the LEDs light-up; output current will be
forced to 22 mA.
To reset the detector to normal working conditions it will
be necessary to turn the power of the unit off and on.
Fr qu nza lamp ggio in s condi p r configurazion
JP5-6 chiuso
Flash rat in s conds with jump r JP5-6 clos d
Significato M aning
Tempo pre-riscaldo 1 ON – 0,1 OFF Warm-up time
Normale funzionamento 1 ON - 1 OFF Normal mode
Allarme 1 0,1 ON – 1 OFF Alarm 1
Allarme 2 2 x 0,1 ON – 1 OFF Alarm 2
Allarme 3 3 x 0,1 ON – 1 OFF Alarm 3
Over Range ON Over Range
Guasto - W.D. ON Fault - W.D.


