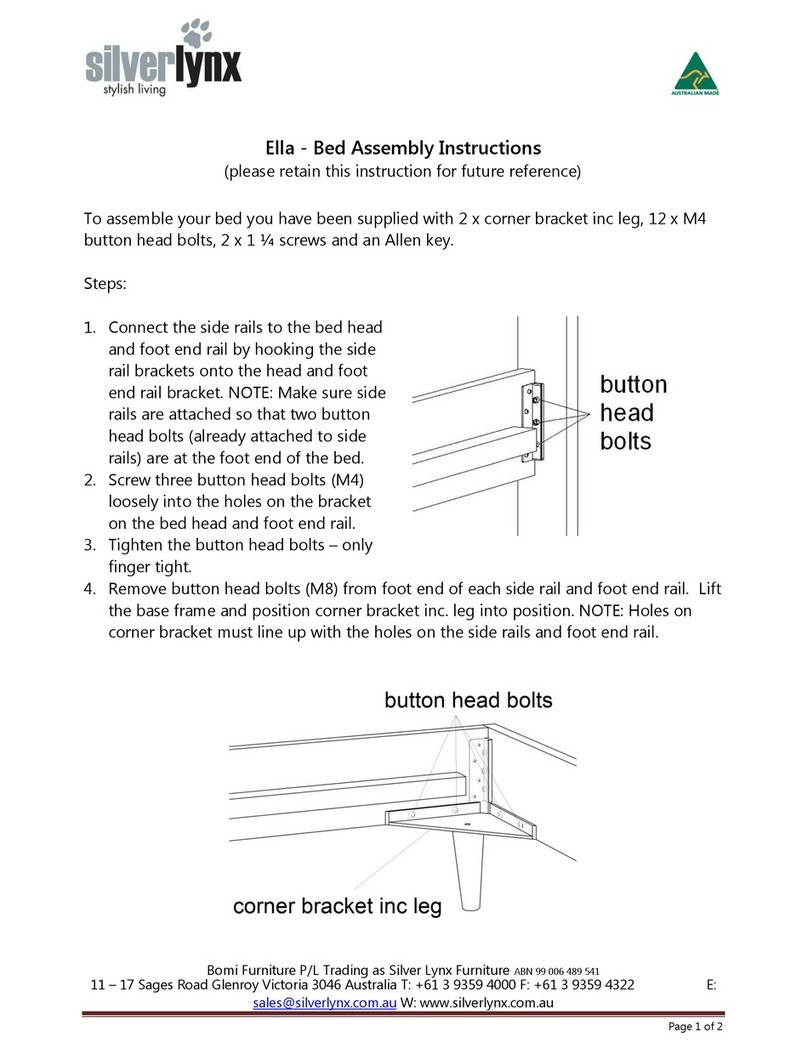
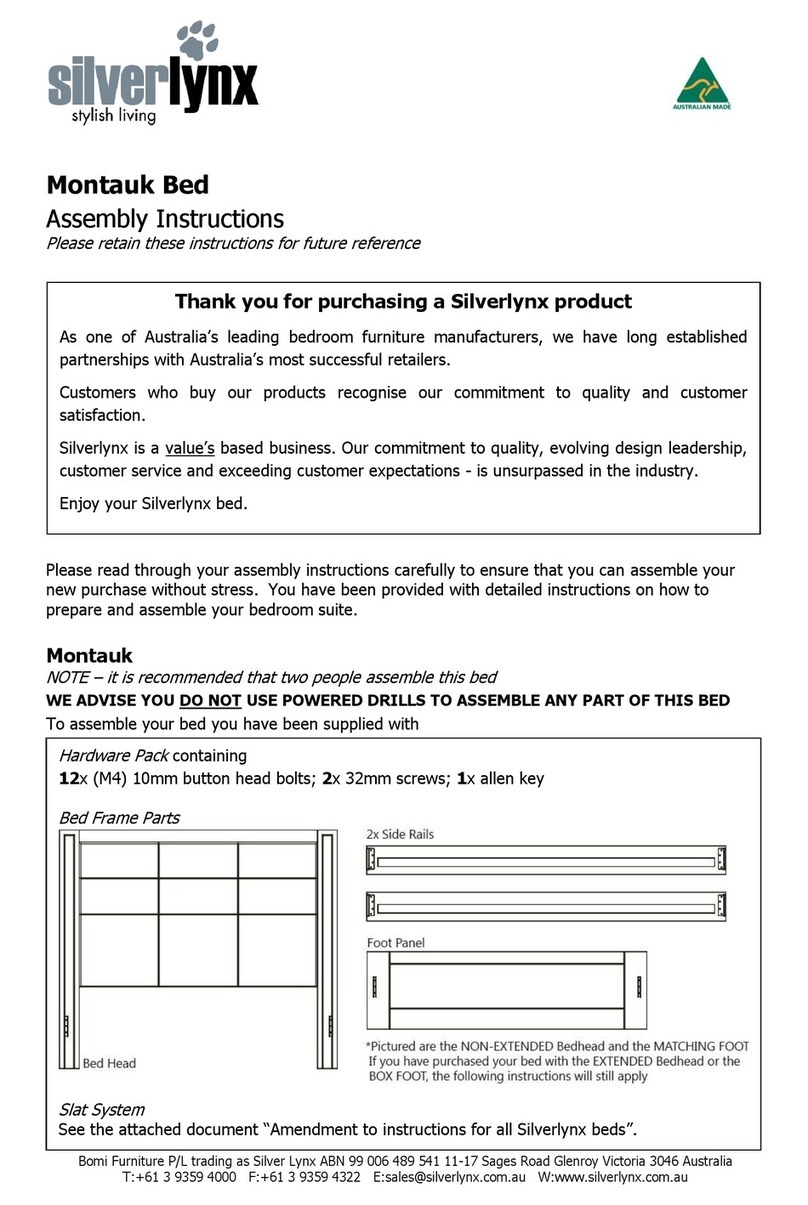
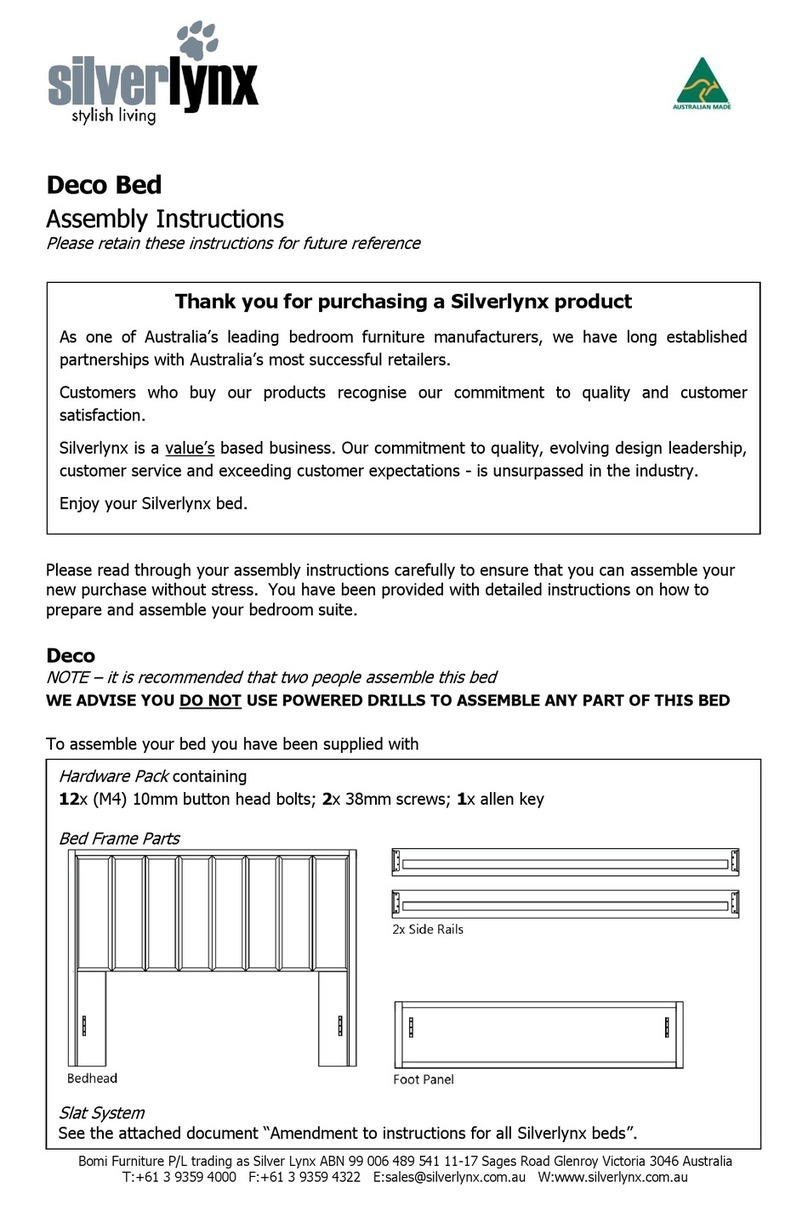
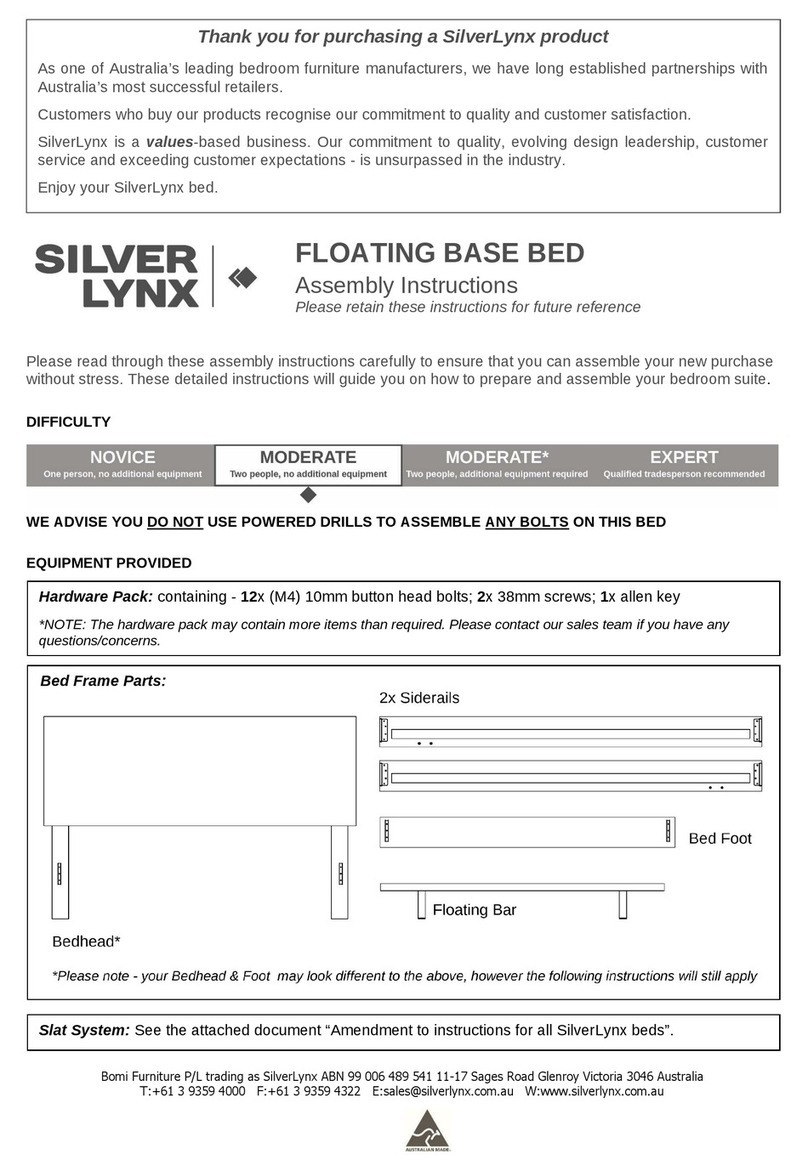
silverlynx COMBO BASE BED User manual

Bomi Furniture P/L trading as Silver Lynx ABN 99 006 489 541 11-17 Sages Road Glenroy Victoria 3046 Australia
T:+61 3 9359 4000 F:+61 3 9359 4322 E:sales@silverlynx.com.au W:www.silverlynx.com.au
COMBO BASE BED
Assembly Instructions
Please retain these instructions for future reference
Please read through these assembly instructions carefully to ensure that you can assemble your new purchase
without stress. These detailed instructions will guide you on how to prepare and assemble your bedroom suite.
DIFFICULTY
WE ADVISE YOU DO NOT USE POWERED DRILLS TO ASSEMBLE ANY BOLTS ON THIS BED
EQUIPMENT PROVIDED
Thank you for purchasing a Silverlynx product
As one of Australia’s leading bedroom furniture manufacturers, we have long established partnerships with
Australia’s most successful retailers.
Customers who buy our products recognise our commitment to quality and customer satisfaction.
Silverlynx is a value’s based business. Our commitment to quality, evolving design leadership, customer
service and exceeding customer expectations - is unsurpassed in the industry.
Enjoy your Silverlynx product.
Bed Frame Parts:
*KING & QUEEN
ONLY. Double, King
Single, and Single
Gas Lift Bases do not
have support legs
**Please note, your
bed head may look
different, however the
following instructions
will still apply
Not Provided: Phillips head screwdriver, Flat head screwdriver
Hardware Pack - attached to Siderails:
containing - 12x (M6) 10mm button head bolts; 2x 15mm
phillips head screws; 2x 30mm bolts; 2x washers; 6x 45mm bolts; 6x nuts; 1x allen key
Note: there is additional hardware pre-fitted to your bed components. These instructions will guide you on their use.

Bomi Furniture P/L trading as Silver Lynx ABN 99 006 489 541 11-17 Sages Road Glenroy Victoria 3046 Australia
T:+61 3 9359 4000 F:+61 3 9359 4322 E:sales@silverlynx.com.au W:www.silverlynx.com.au
STEP 1 –Position Bed Head and Side
Rails approximately where your bed is to
be set up. NOTE the Gas Lift Struts
(which are pre-attached to your Side
Rails) are set up closer to the head end
as shown. Connect the Side Rails to the
Bed Head by hooking the Side Rail
brackets onto the Head brackets.
STEP 2 –Screw three button head
bolts (M6) into the position shown to
connect the Side Rails to the Bed Head
and tighten (finger tight only).
Having trouble? See *Helpful Tips* at
the end of this document.
STEP 3 –Optional angle brackets
located near the bottom of the head
end of your Side Rails can be fixed to
keep the Side Rails parallel with the
bedhead. Use the 15mm screws
provided to screw through the angle
bracket (you will need a Phillips head
screwdriver).
STEP 4 –Complete the above
process on the other Side Rail.
STEP 5 –Fitting the Underbed Drawer
Remove the drawers from the Drawer
Box –to do this, open the drawer all
the way out. There is plastic clip along
the side of the drawer runners.
Standing in front of your open drawer,
push the clip on your left up, while
simultaneously pushing the clip on the
right down. This will release the
drawer runner and you should be able
to completely remove the drawer so
that you can access the inside of the
box.
STEP 6 –Remove the other drawer -
making sure not to swap them when re-
installing. (Note, King Single and Single
beds will only have one drawer)
STEP 7 –Gently move the Drawer
Box into place so that it lines up with
the Side Rails (use the cut-outs on top
of the Drawer Box as handles). There
is a slot on the side of the drawer box
that will line up with the bolt holes near
the foot end of the Side Rails.
STEP 1 - 3
STEP 5 & 6
STEP 7

Bomi Furniture P/L trading as Silver Lynx ABN 99 006 489 541 11-17 Sages Road Glenroy Victoria 3046 Australia
T:+61 3 9359 4000 F:+61 3 9359 4322 E:sales@silverlynx.com.au W:www.silverlynx.com.au
STEP 8 –From the inside of the
Drawer Box, use the 2x 30mm bolts
and 2x washers to secure the Drawer
Box to the Side Rail (1 each side)
STEP 9 –Ensure the bed is square
and then tighten all bolts using the allen
key provided. Once snug, tighten only
with ¼ turn of the Allen Key. DO NOT
USE cordless drivers or power drills as
over-tightening can cause damage to
some components.
STEP 10 –Re-install the drawers by
lining up the runner components on
each drawer with the components in
the Drawer Box. Ensure your drawers
have not swapped position or they will
not fit. NOTE: you do not need to press
the plastic clips, but must make sure
the drawer goes in straight and evenly.
If the drawer does not go all the way to
the closed position, pull it open a few
centimetres and then push closed
again. Having trouble? See *Helpful
Tips* at the end of this document
STEP 10
STEP 9
STEP 8

Bomi Furniture P/L trading as Silver Lynx ABN 99 006 489 541 11-17 Sages Road Glenroy Victoria 3046 Australia
T:+61 3 9359 4000 F:+61 3 9359 4322 E:sales@silverlynx.com.au W:www.silverlynx.com.au
STEP 11 –Setting up the Gas Lift
Struts Slat Frame
The Gas Lift Strut has been pre-fixed to
your Side Rails. To connect them to the
slats, first remove the lock nut (shown
below).
STEP 12 –Lift up the Gas Lift Arm
and line up the bolt with the hole in the
Support Strut.
STEP 13 –Place the Support Strut
over the bolt and secure using the lock
nut.
STEP 14 –Repeat Steps 11-13 on
the other Side Rail.
STEP 15 –There are two holes at the
head end of your Slat Frame where the
Mattress Bar will be fixed. Remove the
nuts that are pre-fitted to your Mattress
Bar and secure onto the Slat Frame as
shown. This will ensure that your
mattress will not slide into the bed head
when accessing the gas lift storage.
STEP 16 –Place the Slat Frame in
position on top of the Gas Lift Struts so
that the holes on the Gas Lift Struts line
up with the locator holes along the
sides of the Slat Frame.
STEP 17 –Use the 6x 45mm bolts &
6x nuts provided to secure the Slat
Frame onto the Struts. The slots on the
Gas Lift Struts allow you to adjust the
Slat Frame forward or backwards as
needed. Use this adjustment so that
once the slats are ‘closed’, the end
rests on the cleat on the Drawer Box
as shown. (Note, without a mattress
placed on top of the Slat Frame, your
Gas Lift bed will stay in an ‘open’
position).
STEP 11
STEP 15
STEP 13
STEP 12
STEP 16 & 17
STEP 17
CONTINUED

Bomi Furniture P/L trading as Silver Lynx ABN 99 006 489 541 11-17 Sages Road Glenroy Victoria 3046 Australia
T:+61 3 9359 4000 F:+61 3 9359 4322 E:sales@silverlynx.com.au W:www.silverlynx.com.au
STEP 18 –(For King & Queen Beds)
Fit Support Legs as shown below by
fixing to the centre rail of the Slat
Frame in the locations shown. Remove
the bolts & nuts that are pre-fit to your
Support Legs and secure the Leg to the
Slat Frame, ensuring the nut is installed
on the underside of the Slat Frame and
Leg. Note, this step is only necessary if
you have either a King or Queen Bed.
Double, King Single, and Single sizes
beds do not require a Support Leg.
STEP 19 –Fine tune the Support
Leg/s by unscrewing the foot so that it
sits JUST above the floor when
closed (frame resting on support
cleats). We recommend adjusting the
leg to touch the floor when closed, then
winding the foot back up by ¼ turn to
adjust
STEP 20 –Loop the Fabric Strap
Handle around the foot end of the
Posture Slat Frame as shown below.
This can now be used as a handle to lift
your bed for access to the storage
space below
STEP 21 –’Close’ the Slat Frame and
place your mattress on top (you may
need to lift your mattress onto the
‘open’ slats to have enough weight to
‘close’ the slats). Your Combo Bed is
now ready to enjoy
STEP 18 & 19
STEP 20

Bomi Furniture P/L trading as Silver Lynx ABN 99 006 489 541 11-17 Sages Road Glenroy Victoria 3046 Australia
T:+61 3 9359 4000 F:+61 3 9359 4322 E:sales@silverlynx.com.au W:www.silverlynx.com.au
NOTES
•Button head bolts should be regularly inspected and may need to be retightened periodically
•Never drag or move assembled furniture as this may cause damage
CARE & MAINTENANCE
Your SilverLynx product is crafted with care, properly maintained, it will mature over time developing a rich
deep patina enhancing its appearance. To get the best performance from your SilverLynx product, please
follow the simple care instructions listed below.
•Do not use silicone based polishes/cleaners at any time.
•Dust surfaces gently with a feather duster then wipe gently with a slightly damp cloth/chamois.
•Do not allow liquids, damp clothes to remain in contact with lacquered surface for extended periods.
•Never place furniture in close proximity to heating outlets.
•Exposure to direct sunlight will cause colour fading to fabrics, leathers and timber finishes.
•Do not allow solvents, abrasives or heated objects to come in contact with the product.
•Do not use cordless drivers or power drills to tighten any bolts, as over-tightening can cause components to
bow, and can cause damage to the bolts.
Contact your retailer or our sales office for further information
*Helpful Tips*
STEP 2 & 3
The button head bolts that connect the Siderails to the Bed Head & Foot can sometimes be tricky to align. If you
are having trouble, try supporting the bottom edge of the Siderail near the bracket and lift it up while you
connect the bolts. This can help line up the holes in both brackets so that the bolt can connect easily.
STEP 10
Make sure the runners are aligned on both sides before pushing the drawer closed. You may find it easier to
slide the ‘arms’ of the runners all the way out from the drawer box –OR, you may find it easier if you push the
‘arms’ all the way in before trying to align the drawer. When properly aligned the drawer should close halfway
without resistance. At the halfway point, if resistance is felt, pull the drawer back out a few centimetres then
push closed again. Repeat until drawer closes fully.
GENERAL
Make sure not to tighten bolts before attaching all components and making sure they sit square. Once you are
ready, make sure all bolts are snug, then tighten only with ¼ turn of the Allen Key. DO NOT USE powered drills
as over-tightening can cause components to bow.
Table of contents
Other silverlynx Indoor Furnishing manuals

silverlynx
silverlynx LINCOLN 4 User manual
silverlynx
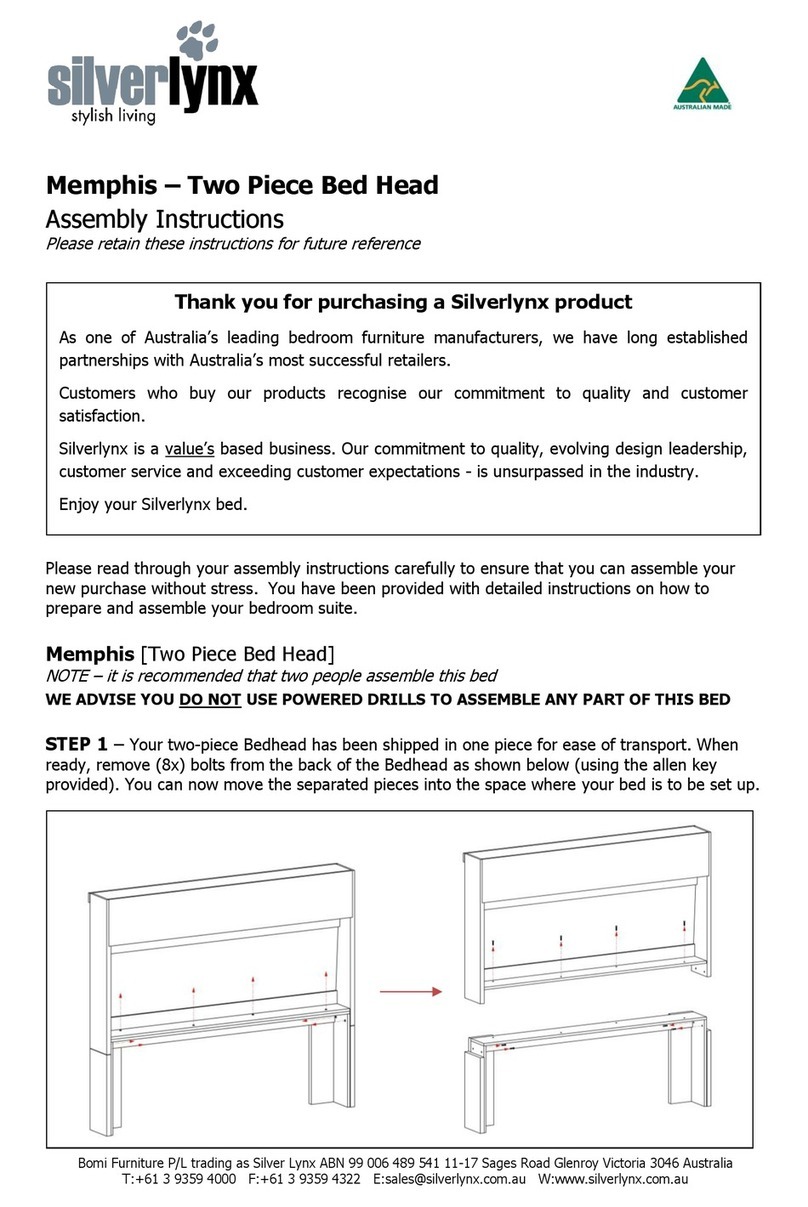
silverlynx Memphis User manual

silverlynx
silverlynx Spindle Bed User manual
silverlynx
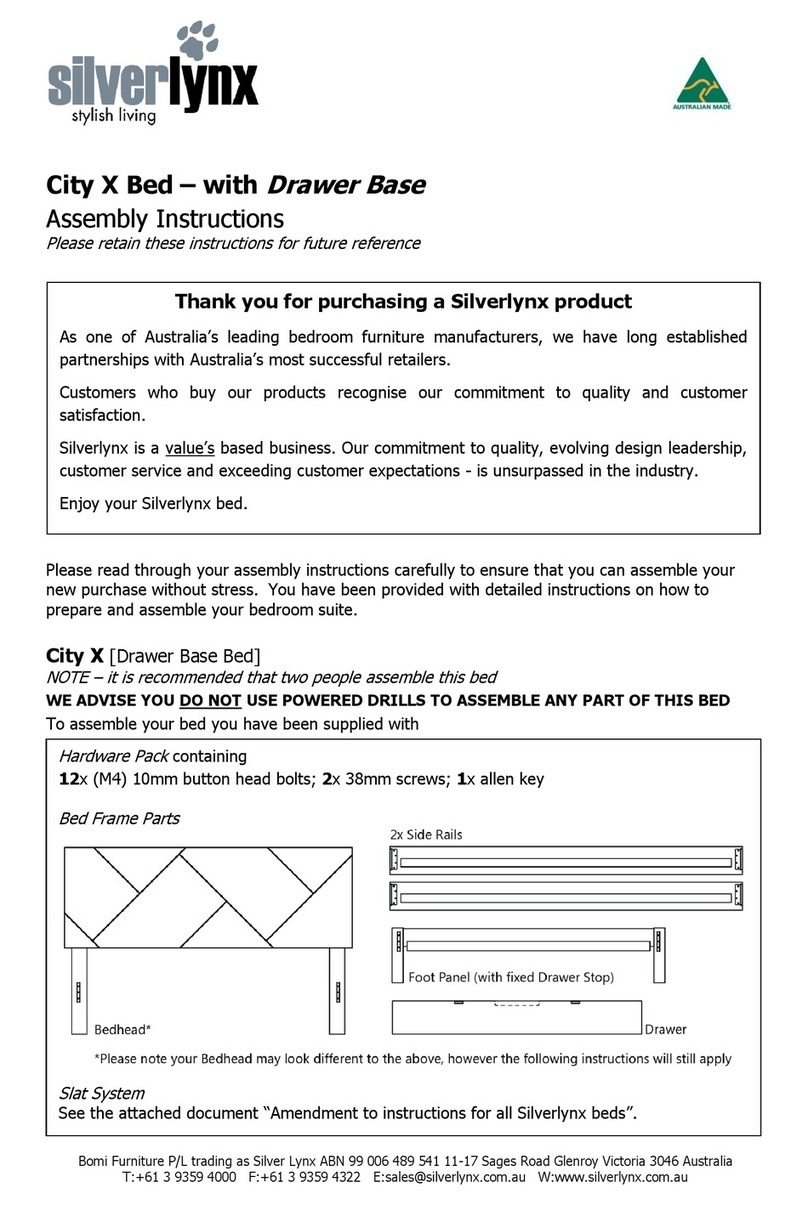
silverlynx City X User manual
silverlynx
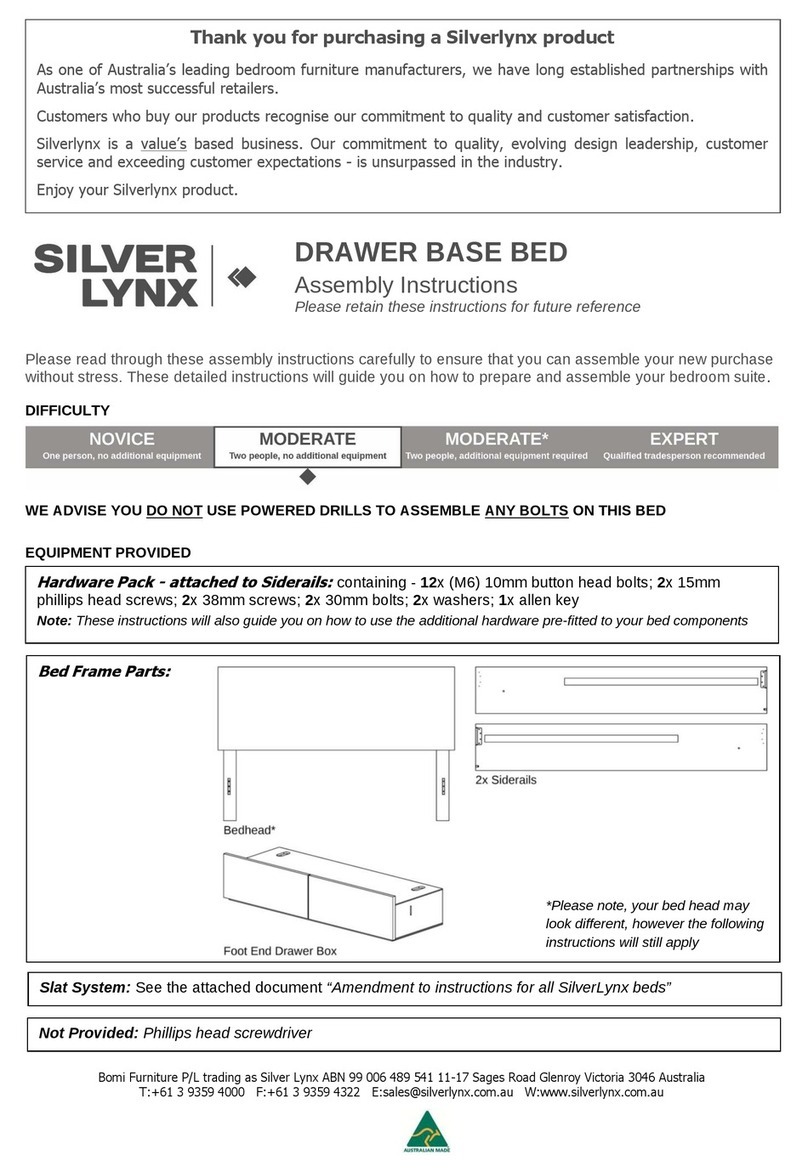
silverlynx DRAWER BASE BED User manual
silverlynx
silverlynx SILVERLYNX Series User manual

silverlynx
silverlynx Gas Lift Bed User manual
silverlynx
silverlynx MAITLAND User manual

silverlynx
silverlynx Doona Foot User manual
silverlynx
silverlynx Gallery Bed with Slimline Base User manual
