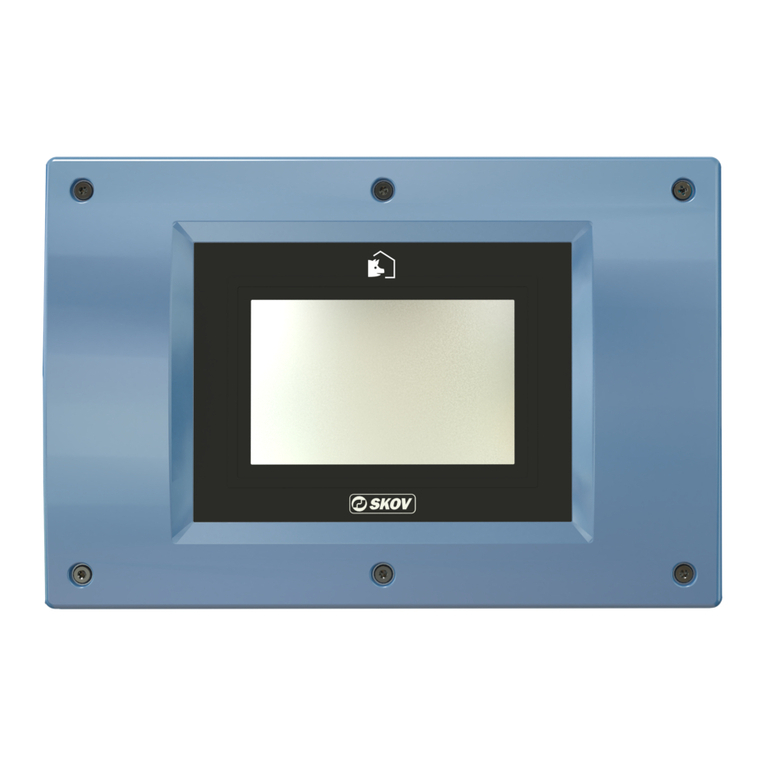
Skov DOL 834 CE Manual

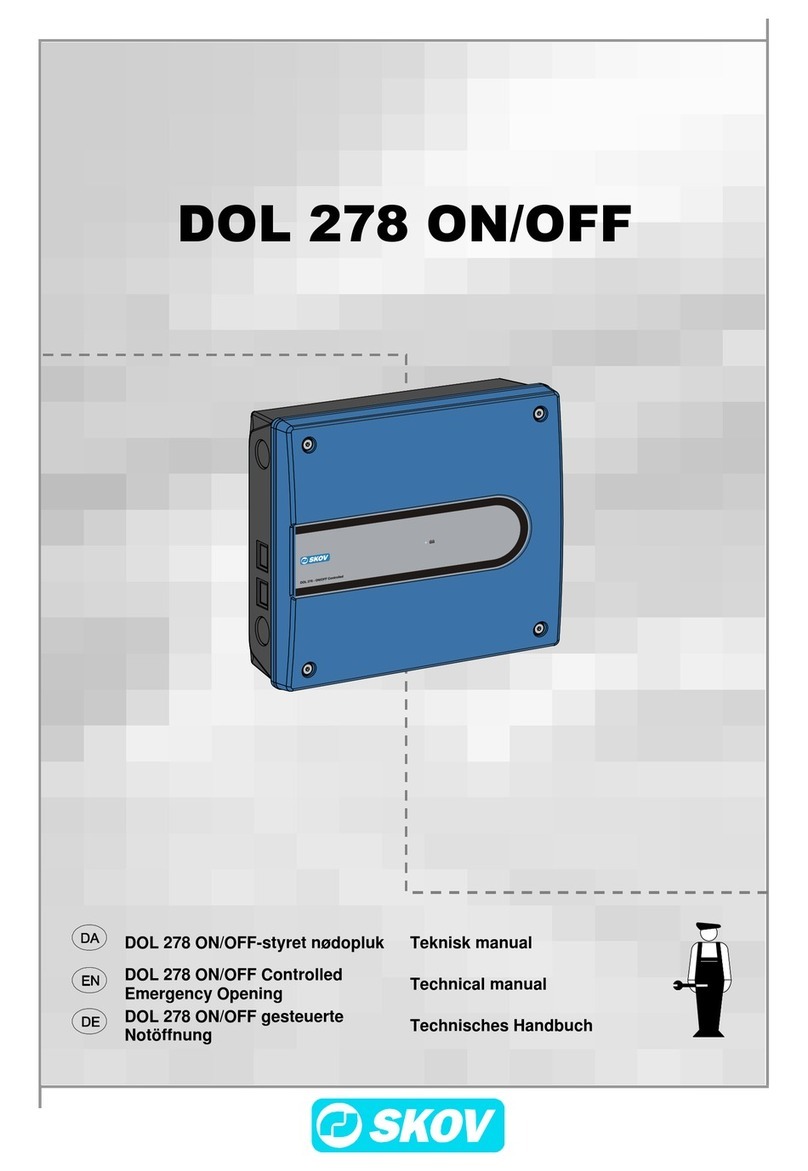
DOL 834 CE
Climate Controller
Technical User Guide
614181 • 2021-04-01 Software version 7.6
English For other language variants of this document we refer to:
Español Para otras variantes del idioma de este documento, visite:
Français Pour les versions dans d'autres langues de ce document veuillez consulter:
http://docs.skov.com/1256


DOL 834 CE
Technical User Guide 3
Product and Documentation Changes
SKOV A/S reserves the right to change this document and the product herein described without further notice.
In case of doubt, please contact SKOV A/S.
The date of change appears from the front and back pages.
IMPORTANT!
Notes concerning alarm systems
Breakdowns, malfunctions or faulty settings may cause substantial damage and financial losses when regulat-
ing and controlling the climate in a livestock house. It is therefore essential to install a separate, independent
alarm system that monitors the house climate concurrently with the climate and production controller. According
to EU-directive No. 98/58/EU, an alarm system must be installed in all mechanically ventilated houses.
We would like to draw your attention to the fact that the product liability clause of general terms and conditions
of sale and delivery specifies that an alarm system must be installed.
In case of an operating error or inappropriate use, ventilation systems can result in production
losses or cause loss of lives among livestock.
We recommend that ventilation systems should be mounted, operated and serviced only by
trained staff and that a separate emergency opening unit and an alarm system be installed as well
as maintained and tested at regular intervals, according to terms and conditions of sale and deliv-
ery.
Installation, servicing and troubleshooting of all electrical equipment must be carried out by quali-
fied personnel in compliance with the applicable national and international standard EN 60204-1
and any other EU standards that are applicable in Europe.
The installation of a power supply isolator is required for each motor and power supply to facilitate
voltage-free work on the electrical equipment. The power supply isolator is not included.
Note
• All rights belong to SKOV A/S. No part of this manual may be reproduced in any manner whatsoever without
the expressed written permission of SKOV A/S in each case.
• All reasonable efforts have been made to ensure the accuracy of the information contained in this manual.
Should any mistakes or imprecise information occur in spite of this, SKOV A/S would appreciate being noti-
fied thereof.
• Irrespective of the above, SKOV A/S shall not accept any liability with regard to loss or damage caused or
alleged to be caused by reliance on any information contained herein.
• Copyright by SKOV A/S.

DOL 834 CE
Technical User Guide
1 Guidelines ....................................................................................................................................................... 7
2 Product description ....................................................................................................................................... 8
3 Operating instructions................................................................................................................................. 10
3.1 Operation .................................................................................................................................. 10
3.2 Daily use ................................................................................................................................... 11
3.3 Activity log................................................................................................................................ 12
3.4 Selecting default pages........................................................................................................... 13
3.5 Creating pages ......................................................................................................................... 13
3.6 Pages ........................................................................................................................................ 15
3.6.1 House view ................................................................................................................................ 15
3.7 Settings..................................................................................................................................... 16
3.8 Selection of language.............................................................................................................. 18
3.9 Password .................................................................................................................................. 18
4 Climate .......................................................................................................................................................... 20
4.1 Central air intake...................................................................................................................... 20
4.2 Central exhaust ........................................................................................................................ 22
5 Management ................................................................................................................................................. 24
5.1 Management ............................................................................................................................. 24
5.2 History curves .......................................................................................................................... 24
5.3 Auxiliary sensors ..................................................................................................................... 25
5.4 Equipment status..................................................................................................................... 25
6 Alarms ........................................................................................................................................................... 26
6.1 Stopping an alarm signal ........................................................................................................ 26
6.2 Alarm test ................................................................................................................................. 27
6.3 Power failure alarm.................................................................................................................. 27
6.4 Alarm settings .......................................................................................................................... 27
6.4.1 Alarms for central air intake ....................................................................................................... 27
6.4.2 Alarms for central exhaust ......................................................................................................... 27
6.4.3 Alarms for auxiliary sensor......................................................................................................... 28
6.5 Auxiliary alarms ....................................................................................................................... 28
6.6 Emergency control .................................................................................................................. 29
6.6.1 Emergency opening ................................................................................................................... 29
6.7 Equipment status..................................................................................................................... 29
7 Maintenance instructions ............................................................................................................................ 30
7.1 Cleaning.................................................................................................................................... 30
7.2 Recycling/Disposal .................................................................................................................. 30
8 Work routine ................................................................................................................................................. 31
9 Installation guide.......................................................................................................................................... 32
9.1 Selecting components............................................................................................................. 32
9.2 Slave relays .............................................................................................................................. 32
9.3 Select type of Unit of measurements..................................................................................... 32
9.4 View week number................................................................................................................... 33
9.5 Connecting components......................................................................................................... 33
9.5.1 Installation wizard ...................................................................................................................... 33

DOL 834 CE
9.6 Climate ...................................................................................................................................... 34
9.6.1 Central air intake........................................................................................................................ 34
9.6.2 Central exhaust.......................................................................................................................... 34
9.6.2.1 Air outlet..................................................................................................................................... 34
9.6.2.1.1 Speed control............................................................................................................................. 34
9.6.2.1.2 Dynamic MultiStep ..................................................................................................................... 34
9.6.2.1.3 Dynamic Air at central exhaust .................................................................................................. 37
9.6.3 Active functions in the event of control failure............................................................................ 38
9.7 Management ............................................................................................................................. 38
9.7.1 Set up equipment monitoring ..................................................................................................... 38
9.7.2 Auxiliary ..................................................................................................................................... 38
10 Calibration..................................................................................................................................................... 39
10.1 Calibration ................................................................................................................................ 39
10.2 Calibration of current sensor.................................................................................................. 40
11 Testing........................................................................................................................................................... 41
11.1 Testing basis components...................................................................................................... 41
11.1.1 Testing temperature and air humidity sensors........................................................................... 41
11.1.2 Testing Alarm............................................................................................................................. 41
11.2 Testing optional components: Manual control ..................................................................... 41
11.2.1 Testing climate functions ........................................................................................................... 42
11.2.1.1 Testing the central air intake...................................................................................................... 42
11.2.1.2 Testing of central exhaust.......................................................................................................... 42
11.2.1.2.1 Stepless fans ............................................................................................................................. 42
11.2.1.3 MultiStep .................................................................................................................................... 43
11.2.2 Testing management functions.................................................................................................. 44
11.2.2.1 Testing of current sensor ........................................................................................................... 44
11.3 Testing network connection ................................................................................................... 44
12 Service........................................................................................................................................................... 45
12.1 Settings..................................................................................................................................... 45
12.1.1 Climate....................................................................................................................................... 45
12.1.1.1 Setting of exhaustion (MultiStep) ............................................................................................... 45
12.1.1.2 Setting of heating ....................................................................................................................... 46
12.1.2 Network settings ........................................................................................................................ 46
12.1.3 UTC time.................................................................................................................................... 47
12.2 Display ...................................................................................................................................... 47
12.3 Backup ...................................................................................................................................... 47
12.3.1 Backup of historical data............................................................................................................ 48
12.3.2 SD card and USB stick .............................................................................................................. 48
12.4 Software update ....................................................................................................................... 50
12.4.1 Preparing for a software update................................................................................................. 50
12.4.2 Carrying out the software update............................................................................................... 51
12.4.3 Check after software update ...................................................................................................... 52
12.5 Control parameters.................................................................................................................. 52
12.5.1 Control parameters .................................................................................................................... 52
12.6 Adjustment of pressure........................................................................................................... 54
12.6.1 Adjustment of stepless unit ........................................................................................................ 54
12.6.2 Adjust pressure .......................................................................................................................... 55
12.7 System ...................................................................................................................................... 55
12.7.1 Resetting data............................................................................................................................ 55
13 General .......................................................................................................................................................... 57
13.1 About......................................................................................................................................... 57
14 Troubleshooting instructions ..................................................................................................................... 58
Technical User Guide

DOL 834 CE
Technical User Guide
14.1 Temperature sensor control table.......................................................................................... 58
14.1.1 Table relating to DOL 114 temperature sensor control.............................................................. 58
14.1.2 Table relating to DOL 12 temperature sensor control................................................................ 59
15 Technical data .............................................................................................................................................. 60
15.1 Dimensioned sketch ................................................................................................................ 61
16 Functionality ................................................................................................................................................. 62

DOL 834 CE
Technical User Guide 7
1 Guidelines
This user manual deals with the daily operation of the house controller. The manual provides the fundamental
knowledge about the functions of the controller that is required to ensure optimum use of it.
Some functions are optional and only used in specific set-ups of the house controller. These func-
tions are shown with an optional icon.
If a function is not used, e.g. 24-hour clock, it is not shown in the user menus of the controller. The manual may
therefore contain sections that are not relevant to the specific setup of your controller. See also the Technical
Manual or, if necessary, contact service or your dealer.
This manual's Operating Instructions consists of a general introduction, which describes briefly how to operate
the house controller.
This is followed by descriptions of the controller functions.

DOL 834 CE
8 Technical User Guide
2 Product description
DOL 834 is a house controller developed for insect farming systems with a focus on the soldier fly and meal-
worms. It is thus intended for breeding and growth of larvae and pupae, but can be adapted to most types of in-
sect farming systems.
Insect farming is an intensive form of production. The insects generate a lot of heat, just like the level of CO2
and NH3 can be high in relation to the room. It requires efficient ventilation with high and uniform air change en-
suring good production conditions throughout the insect house.
DOL 834 meets the insects' special needs for climate control with recirculation, humidification, ventilation boost
and curve control, which is performed on an hourly basis. The ventilation can be controlled as an equal pressure
system and as a central exhaust system.
The house controller is available in two variants, both of which are used in a total insect ventilation system:
• DOL 834 Insect (section ventilation)
• DOL 834 CE Insect (central exhaust)
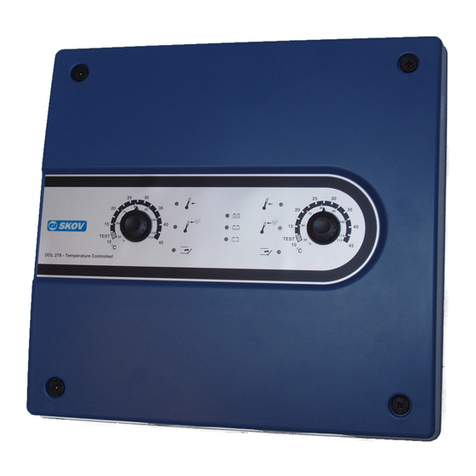
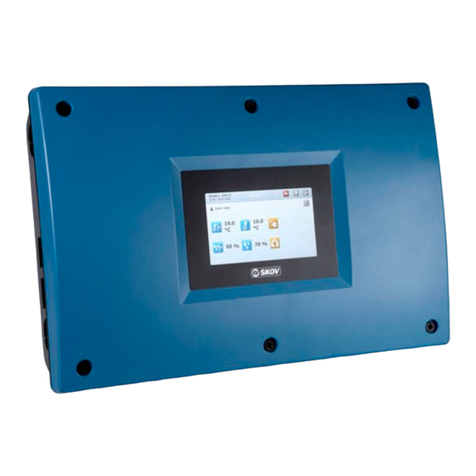
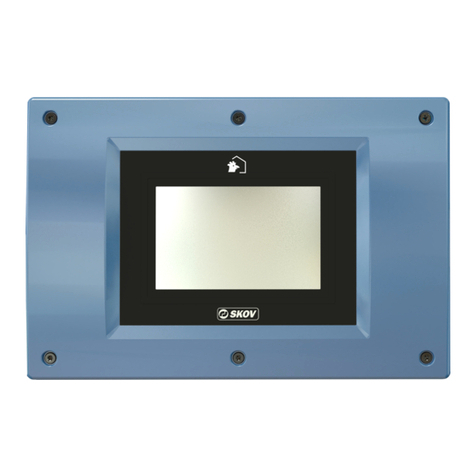
The climate controller is operated via a touch display with graphical views of e.g. the ventilation status, icons
and curves. Page views may be adapted in accordance with the user requirements so that the most frequently
used working procedures are easily accessible.
Nursery, grow-out and pupa house
Central exhaust - fan bank
DOL 834 CE insect
Air outlet
DOL 834 insect
Air inlet
DOL 834 insect
Recirculation unit
DOL 834 insect
Air inlet
DOL 834 CE insect
Figure1: Ventilation components in an insect house with grow-out crates
In production systems for soldier flies, humidity control and removal of humidity with the ventilation air is crucial
in pupa, nursery and growth sections. The flies are produced here in a moist substrate, and the heat production
of the larvae is released especially in the form of water vapor.
During the growth-out period, the moisture content of the substrate changes. Typically, the substrate has a dry
matter content of approx. 30 % at the start, while at the end it must have a dry matter content of 50-60 %. Dur-
ing the production it is important to maintain such a high moisture content in the substrate that the larvae can
eat the dry matter. The larvae have no teeth and therefore they have to suck in the food. Likewise, it must be
avoided that the surface dries out, as this can make the substrate inaccessible to the larvae, and cause it to
form cakes/crusts, which will be sieved off together with the larvae at the end of production. At the end, it must
be so dry that the larvae can be sieved from the frass. See the section about Humidity.

DOL 834 CE
Technical User Guide 9
Fly houses
Air inlet
DOL 834 insect
Air inlet for recirculation
DOL 834 CE
Air outlet
DOL 834 insect
Figure2: Ventilation components in an insect house with fly cages.
In fly houses, the focus is on good air quality. Here the flies hatch, after which they mate and lay eggs in fly
cages over a period of 10-14 days. They consume no nutrition and only a little moisture from a damp surface.
Therefore, they have a very modest heat and humidity production. However, it is also important to avoid humid
areas inside the fly cages. See the section about CO2.
DOL 834 CE is used for controlling the pressure in an exhaust duct for a central exhaust ventilation system.
It can also be used in houses where fresh air needs to be heated up or cooled down before it enters the house.

DOL 834 CE
10 Technical User Guide
3 Operating instructions
3.1 Operation
The climate and production controller is operated by means of the touch display.
The view in the display is called a page. You can scroll both up/down and right/left to see the entire page.
A
B
E
F
G
H
I
J
C D
APages with selected key values and settings.
BThe icon and name of the page.
CThe selected house name, time and possibly week and day number.
DShortcuts to pages. A maximum of 5 shortcuts can be shown here. The selected shortcut is high-
lighted.
EActivity log. Activities comprise operation, events and alarms.
FSurvey of all pages, access to settings and language selection.
GSettings with direct adjustment access.
HInformation on how the controller is currently working.
IThe 3 dots indicate that pressing the card will display additional information.
JAn inactive function has grayed-out text and icon.

DOL 834 CE
Technical User Guide 11
3.2 Daily use
The controller is operated via created pages giving access to settings and information.
We recommend that you create pages with the content you need for daily operation. The pages provide infor-
mation about and status of the operation. Furthermore, the content of the pages works as shortcuts to the set-
tings menu for quick and easy access to changing settings. See also the sections Creating pages [}13] and
Pages [}15].
5 of these pages can be shown as shortcuts at the top of the controller display:
A
APress the shortcuts to switch between the pages.
If a menu has sub-menus it is shown by an arrow pointing right
. Press the line to open sub-menus.
You can take a step back in menus by pressing the button with
the arrow pointing left in the left corner.
In all menus and settings, changes can be canceled by press-
ing Cancel or confirmed by pressing Confirm.

DOL 834 CE
12 Technical User Guide
3.3 Activity log
The controller registers operation, events and alarms with the information of when they took place and when
they were deactivated. It often happens that several alarms follow each other because one defective function
also affects other functions.
For instance, a flap alarm can be followed by a temperature alarm as the controller cannot adjust the tempera-
ture correctly with a defective flap. Thus, the previous alarms give you the possibility of following an alarm
course back in time to detect the error that caused the alarms.
The activity log contains information about alarms such as:
• When the alarm occurred.
• When the alarm ended.
• The value that triggered the alarm.
Other active alarms are marked on the list.
• Hard alarms are marked in red.
• Soft alarms are marked in yellow.
• Deactivated alarms are gray.
The icon for Activity log indicates the number of active alarms, as long as an alarm situation has not ended.
Furthermore, it is displayed when a value/setting was changed and when.
A
B
CD
APress the icon for the Activity log to open it.
BPress the line of an activity to see the details, such as when an alarm was activated and when the
alarm was acknowledged.
Press Close to close the details window again.
CSelect between different views of the various types of activities:
All: shows all types
Alarm: shows only alarms
Operation: shows operation of the controller
Event: shows, for example, reset of the controller
DUse the search field to search in the Activity log. Enter at least 3 characters to search.

DOL 834 CE
Technical User Guide 13
3.4 Selecting default pages
The climate and production controller comes with a number of default pages that vary according to the ventila-
tion system and animal type.
In order to simplify the set-up of controller, you can use default pages.
Remember to adjust the settings to the current conditions.
Press the Overview and select Settings .
Then select General | Manage pages | Default pages | Load
default pages.
Select the collection of pages you want.
3.5 Creating pages
We recommend that you create a number of pages to show exactly the functions and values used in the individ-
ual house and that cover the needs of the daily user.
The pages work as shortcuts to the key values and settings and therefore gives you quick access to reading val-
ues and changing the settings.
The contents of the pages is combined by 2 types of cards with different layout.
Top card: Display of, for example, curves, house view, program overview or daily view at the top of the page.
Key values below the top card.
Cards: Key values in columns with headings.
Press the Overview and select Settings .
Select General and Manage pages.
Press New page.
Name the page.
Select a suitable icon for the page content to easily recognize it.
Select if a shortcut for the page should be shown in the display.
A maximum of 5 shortcuts can be shown here. Pages without
shortcuts are shown when you press the Overview .
Press Go to page to be able to select the content on the page.

DOL 834 CE
14 Technical User Guide
The new page is displayed.
Press the gear wheel icon in the bottom right corner.
Select the content you want on the page (views in top cards
and/or key values in cards).
To layout the columns as you want or to group cards, you can
also insert Empty cards.
A
C
B
D
APress the one of the tools to edit headlines or card content, to move or delete the cards.
Edit
Move
Delete
BWhen a tool is selected, the icons on the cards change to reflect the tool.
CAdd more cards.
DFinish the setup by pressing Confirm.
When editing cards, several cards can be joined together, for example you can join Temperature with Tempera-
ture setpoint.

DOL 834 CE
Technical User Guide 15
First select the editing tool and click on the key value you
want to add setpoints to.
Select Key value 2 and select the key value to be displayed.
Select Key value 3, if required and select the key value to be
displayed.
If the values are also displayed as graphs, the graphs can also
be shown in the card.
To the right in the menu a preview of the card is shown.
You can add up to two key values to a status view. For exam-
ple, you can join:
Temperature + Temperature setpoint
Humidity + Humidity setpoint
Ventilation + Minimum ventilation/animal
Heating + Heat offset
Feed consumption + Add feed
Provided that the functions are supported by the controller.
3.6 Pages
A page is a user-defined display of selected values, graphs and settings. Pages therefore provide quick access
to reading and operation.
We recommend that you create a number of pages to show exactly the functions and values used in the individ-
ual house and that cover the needs of the daily user.
3.6.1 House view
This view provides a graphic overview of the house with selected values and settings.
First select the angle of the house illustration. The illustration is
shown in the small picture to the right. Then select to hide or
display the house, the chimneys and the silos. Finally, save the
layout by pressing Confirm.

DOL 834 CE
16 Technical User Guide
C
B
A
D
AAdd key values.
BSelect one of the tools to edit, move or delete the key value.
CWhen a tool is selected, the icon of the key value reflects the selected tool.
DFinish the setup by pressing Confirm.
3.7 Settings
The settings menu is opened by pressing Overview and then Settings .
The menu is divided into the following sub-menus: Climate, Production, Management, Alarm settings, Techni-
cal and General.
The display will show the menu that was last opened.
The menu opens to the left and settings are made to the right.
Activating/deactivating functions
Functions can be activated and deactivated by means of the
toggle button.

DOL 834 CE
Technical User Guide 17
Scroll up/down
If the page or menu is higher than the display, you can scroll
up/down.
The possibility to scroll is shown by the arrows in the display.
You can scroll by pressing the arrows or letting your finger slide
across the display.
Scroll right/left
If the page or menu is wider than the display, you can scroll
right/left.
The option of scrolling right/left can be seen by the shadow in
the first column in the menu.
You can scroll by letting your finger slide across the display.

DOL 834 CE
18 Technical User Guide
3.8 Selection of language
Press Overview to open the menu.
The selected language is shown with a tick mark.
If the requested language is not shown, press More.
Select the language from the list. Press Confirm.
Note that names of functions (such as 24-hour clocks, water
meters), pages and programs that can be named by the user
are not translated.
They have English names from the factory.
3.9 Password
This section is only relevant to houses where the Password function is activated.
The controller can be protected against unauthorized operation with the use of passwords. This function can be
activated in the menu | Management | Use password.
In order to gain access to changing a setting, you must enter a password that corresponds to the user level
where the relevant function is located (Daily, Advanced and Service).
Enter the code.
After entering the password, the controller can be operated at
the corresponding user level. After 10 minutes without opera-
tion, the user is automatically logged off.

DOL 834 CE
Technical User Guide 19
Select a page after operation. After 1 minute, the controller will
need the password entered again.
Activate the function Use password for technical menu only to make the controller require the Service
password only when the user wants to change settings in the menus Installation, Calibration and Ser-
vice.
You can change the password for each of the three user levels in the menu | Management | Password.
In order to gain access to changing a password, you must first enter the valid password.
User level Gives access to Factory-set code
Daily view
(without login)
Entering the number of animals
Fine-tuning of temperature, humidity and air quality
Daily Daily:
Changing of set values
1111
Advanced Daily + advanced:
Changing of curves and alarm settings
Set the house controller in manual mode
2222
Service Daily + advanced + service:
Changing of settings under Technical menu
3333
Limitation of access to operation of the house controller
We recommend that you change the default passwords and subsequently change the password
on a regular basis.

DOL 834 CE
20 Technical User Guide
4 Climate
4.1 Central air intake
The central air intake function is used to adjust the temperature of the fresh air before it enters the house. The
air is taken into an air mixing room where it may be heated up.
DOL 834 CE
Central air intake
with heating
Temperature control
Figure3: House with central air intake from air mixing room for adjusting the temperature of outdoor air
Press Central air intake | Temperature
Air intake setpoint Setting for the inside temperature that activates the ventilation.
To increase the Air intake setpoint without increasing the heating temperature,
you must adjust Heating setpoint with the corresponding number of degrees after
you have adjusted the Air intake setpoint.
Heating setpoint Setting for the inside temperature that activates the heating.
It is set as an absolute temperature but also functions as an offset for the Air in-
take setpoint. It means that the Heating setpoint changes accordingly when the
Air intake setpoint is adjusted.
Outside temperature Display of the current outside temperature.
Air intake temperature Display of the temperature at which air inlets are regulated.
Air intake sensor 1 View of the current temperatures of the individual sensors.
Up to four temperature sensors can be connected. The controller will regulate the
temperature in relation to an average of their registrations.
Press Central air intake | Heating
Heating active Connection and disconnection of heat supply.
Heating requirement Current heat supply for the installed heat sources.
Heater 1 requirement Current heat supply for the individual heater.
Press Central air intake | Inlet
Ventilation requirement Displays the current ventilation requirement.
Inlet position View of how much the air inlet is open.
Table of contents
Other Skov Controllers manuals
Popular Controllers manuals by other brands

Bosch
Bosch ACC MT installation instructions

Tech Controllers
Tech Controllers L-7 user manual

MKS
MKS Mass-Flo 1500 Series instruction manual

Blue Point Engineering
Blue Point Engineering Wizard - VIII Instruction

Rockwell Automation
Rockwell Automation Allen-Bradley AADvance T9110 Solutions handbook

Viqua
Viqua BA-ICE-S manual