manuals.online logo
Brands
  1. Home
  2. •
  3. Brands
  4. •
  5. Solinst
  6. •
  7. Measuring Instrument
  8. •
  9. Solinst 102M User manual

Solinst 102M User manual

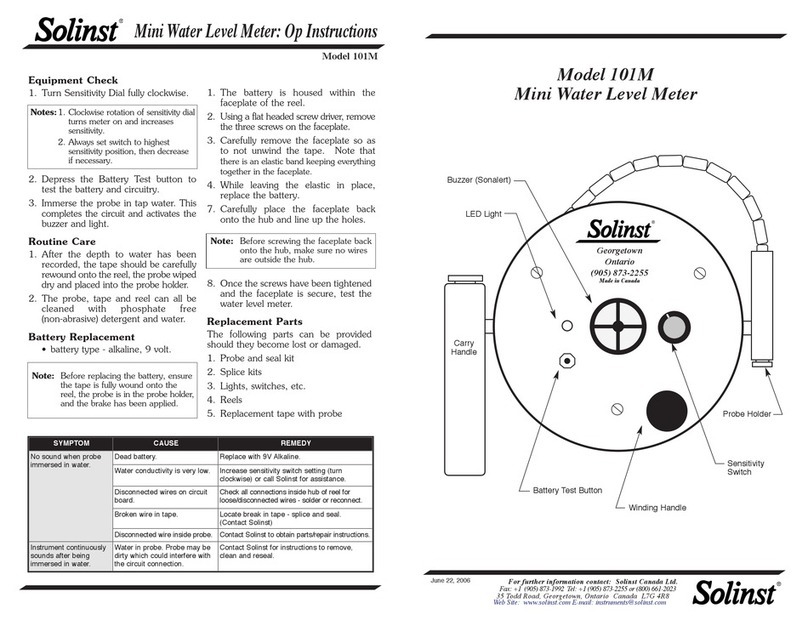
Mini Water Level Meter: Op Instructions
Model 102M
Printed in Canada
February 4, 2020
(#114943)
For further information contact: Solinst Canada Ltd.
Fax: +1 (905) 873-1992; (800) 516-9081 Tel: +1 (905) 873-2255; (800) 661-2023
35 Todd Road, Georgetown, Ontario Canada L7G 4R8
Web Site: www.solinst.com E-mail: [email protected]
®Solinst is a registered trademark of Solinst Canada Ltd.
Notes: 1. Clockwise rotation of sensitivity
dial turns meter on and
increases sensitivity.
2. Always set dial to highest
sensitivity position, then decrease
if necessary.
2. Depress the Battery Test button to
test the battery and main circuitry.
3. Submerse the probe in tap water to test
the probe. This completes the circuit
and activates the buzzer and light.
Routine Care
1. After the depth to water has been
recorded, the cable should be carefully
rewound onto the reel, the probe wiped
dry and placed into the probe holder.
2. The probe, weights, cable and reel
can be wiped clean with phosphate
free (non-abrasive) detergent and
water. Do not submerge the reel.
Battery Replacement
• Battery type - alkaline, 9 volt.
1. The battery is housed within the
faceplate of the reel.
2. Using a Phillips screwdriver, remove
the three screws on the faceplate.
Replacement Parts
The following parts can be provided
should components become lost or
damaged.
1. Splice kits
2. Lights, dials, etc.
3. Reels
4 Replacement cable with probe
(complete)
5. Assembled probes on 10 ft or 3 m
lengths of cable
6. Weights
3. Carefully remove the faceplate so
as to not unwind the cable. Note
that there is an elastic band keeping
everything together in the faceplate.
4. While leaving the elastic band in
place, replace the battery.
5. Carefully place the faceplate back
onto the hub and line up the holes.
Troubleshooting
SYMPTOM CAUSE REMEDY
No sound when probe
immersed in water.
Dead battery. Replace with 9V Alkaline.
Water Conductivity is very low. Increase sensitivity dial setting (turn clockwise) or
call Solinst for assistance.
Disconnected wires on circuit
board.
Check all connections inside hub of reel for
loose/disconnected wires - solder or reconnect.
Broken wire in cable. Locate break in cable - splice and seal, or replace.
(Contact Solinst)
Disconnected wire inside probe. Contact Solinst to obtain parts/repair instructions.
Instrument continuously
sounds after being
immersed in water.
Water in probe. Probe may be
dirty which could interfere with
the circuit connection.
Contact Solinst for instructions to clean or
replace the probe.
Note: Before screwing the faceplate back
onto the hub, make sure no wires are
outside the hub.
6. Once the screws have been tightened
and the faceplate is secure, test the
water level meter.
Equipment Check
1. Turn sensitivity dial fully clockwise.
Water Level Measurements
1. The zero measurement point on both
P4 and P10 Probes is near the tip.
2. Feed the cable into the well. If a tape
guide is used, lay the cable onto the
groove on the top. Measurements will
be read at the point of the V-notch on
the tape guide. Remember to deduct
2/10 ft or 6.0 cm.
3. The light and buzzer activate when
the probe tip enters water. To ensure
accuracy, lower and raise the probe a
few times and then record the depth
measurement from the cable at the top
of the well.
Tape Guide (Optional)
Fit onto well casing
Measurement point
(Deduct 2/10 ft or 6.0 cm)
On/Off
Sensitivity
Dial
Probe
Holder
Available Probes: P4 (4 mm diameter - no weights) & P10 (10 mm diameter)
Carry
Handle
LED Light
Buzzer
(Sonalert)
Winding
Handle
Battery Test
Button
Zero Point
P10 Probe P4 Probe
Zero Point
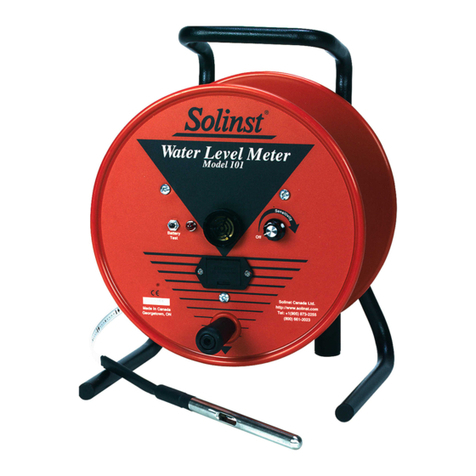

Other Solinst Measuring Instrument manuals

Solinst 102 User manual

Solinst

Solinst 102 User manual

Solinst 401 User manual

Solinst

Solinst 401 User manual

Solinst 9700 SolSat 5 User manual

Solinst

Solinst 9700 SolSat 5 User manual

Solinst 107 Mk2 User manual

Solinst

Solinst 107 Mk2 User manual

Solinst Levelogger 3001 Use and care manual

Solinst

Solinst Levelogger 3001 Use and care manual

Solinst LevelSender 5 User manual

Solinst

Solinst LevelSender 5 User manual

Solinst 101B User manual

Solinst

Solinst 101B User manual

Solinst 101 P2 User manual

Solinst

Solinst 101 P2 User manual

Solinst 101M User manual

Solinst

Solinst 101M User manual

Solinst Levelogger 3001 User manual

Solinst

Solinst Levelogger 3001 User manual

Solinst 101 P7 SC1000 User manual

Solinst

Solinst 101 P7 SC1000 User manual

Solinst 101 P2 Operating and safety instructions

Solinst

Solinst 101 P2 Operating and safety instructions

Solinst 102 User manual

Solinst

Solinst 102 User manual

Solinst 102M User manual

Solinst

Solinst 102M User manual

Solinst 101 Operating and safety instructions

Solinst

Solinst 101 Operating and safety instructions

Solinst 101 Parts list manual

Solinst

Solinst 101 Parts list manual

Solinst 122M User manual

Solinst

Solinst 122M User manual

Solinst 104 User manual

Solinst

Solinst 104 User manual

Solinst 101 User manual

Solinst

Solinst 101 User manual

Solinst 101 Operating and safety instructions

Solinst

Solinst 101 Operating and safety instructions

Solinst 101D User manual

Solinst

Solinst 101D User manual

Solinst 101 SC2000 Operating and safety instructions

Solinst

Solinst 101 SC2000 Operating and safety instructions

Solinst 101 Operating and safety instructions

Solinst

Solinst 101 Operating and safety instructions

Solinst 201 User manual

Solinst

Solinst 201 User manual

Popular Measuring Instrument manuals by other brands

Sekonic DIGITALMASTER L-758DR operating manual

Sekonic

Sekonic DIGITALMASTER L-758DR operating manual

Turner Designs Enviro-T manual

Turner Designs

Turner Designs Enviro-T manual

Sony AM-NX9 Service manual

Sony

Sony AM-NX9 Service manual

Kusam-meco 2781 manual

Kusam-meco

Kusam-meco 2781 manual

GANN Hydromette BL A plus operating instructions

GANN

GANN Hydromette BL A plus operating instructions

AEG ARE H5 Series Short Instruction

AEG

AEG ARE H5 Series Short Instruction

MAC C275A manual

MAC

MAC C275A manual

Riverside MPIC-Slope user manual

Riverside

Riverside MPIC-Slope user manual

CORNING ONE HEU Quick installation sheet

CORNING

CORNING ONE HEU Quick installation sheet

Megger ICLAMP user guide

Megger

Megger ICLAMP user guide

SamKnows Whitebox installation guide

SamKnows

SamKnows Whitebox installation guide

RADIOMETER AFM 3 manual

RADIOMETER

RADIOMETER AFM 3 manual

ETS-Lindgren HI-2200 user manual

ETS-Lindgren

ETS-Lindgren HI-2200 user manual

ABB B21 installation manual

ABB

ABB B21 installation manual

PQ Plus UMD 705 Quick start manual

PQ Plus

PQ Plus UMD 705 Quick start manual

Neriox 129603 operating instructions

Neriox

Neriox 129603 operating instructions

Siemens ULTRAMAT 6 manual

Siemens

Siemens ULTRAMAT 6 manual

RBR ecom-JN operating instructions

RBR

RBR ecom-JN operating instructions

manuals.online logo
manuals.online logoBrands
  • About & Mission
  • Contact us
  • Privacy Policy
  • Terms and Conditions

Copyright 2025 Manuals.Online. All Rights Reserved.