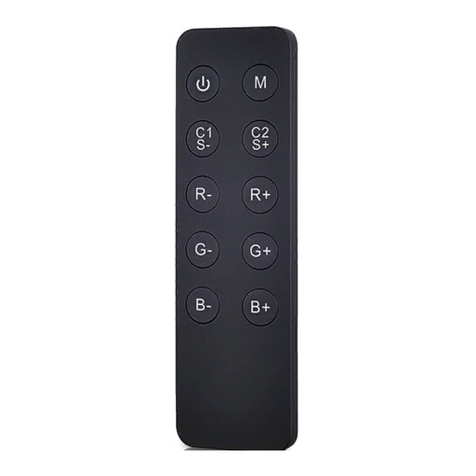
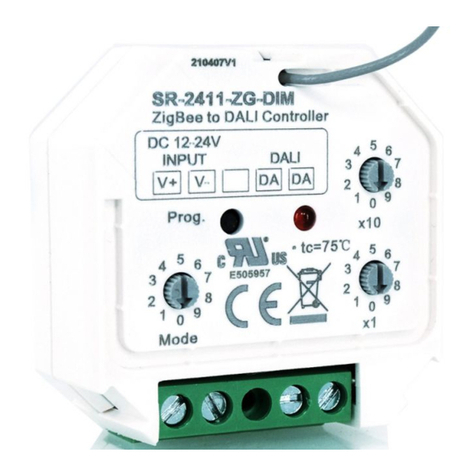
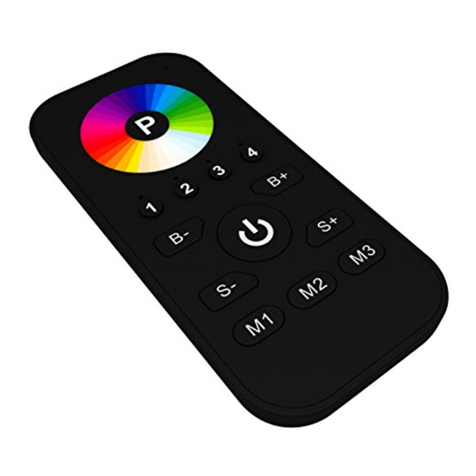
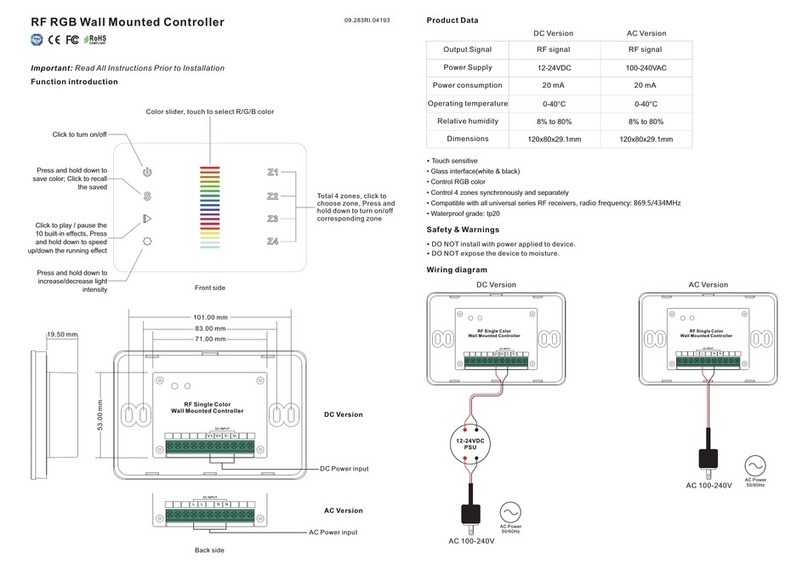
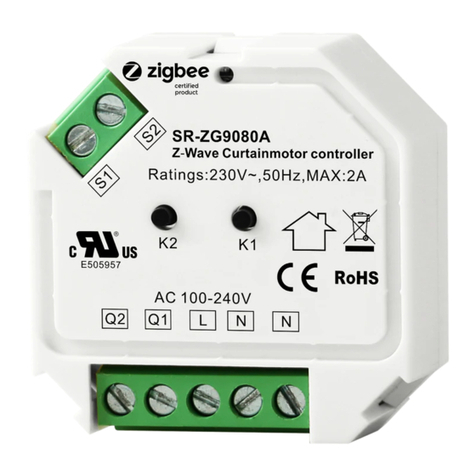
RF-WIFI transmitter(convertor/controller)
for SR-1009XX
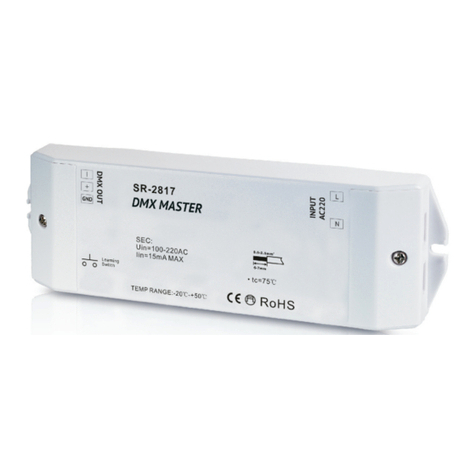
SR-2818WITR-NEW
1
Product introduction
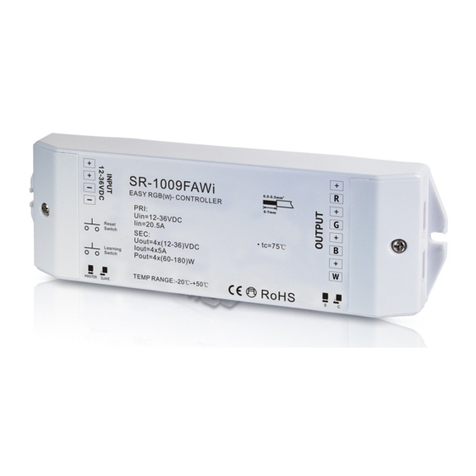
SR-2818WITR-NEW is a convertor which works with Surnicher ’s
receiver SR-1009FX series to be controlled by IOS or Android
system via WIFI. IOS and Android application is similar, we will
use IOS as an example in this manual.
Parameter
Remote
Part No. Operation Voltage
SR-2818WITR-NEW 5-12VDC/5-36VDC
Output
RF Signal
Operation frequency
2.4G
Part No. Iuput Voltage
SR-1009FA 12-36VDC
Receiver
Remarks
Current Output
Constant voltage4x(60-180)W
4x5A
SR-1009EA 12-36VDC Constant voltage4x(96-288)W
4x8A
SR-1009FA3 12-36VDC Constant current4x(4.2-12.6)W
4x0.35A
SR-1009FA7 12-36VDC Constant current4x(8.4-25.2)W
4x0.7A
Brief introduction of buttons
Tx
Link
Ready
SR-2818WITR-NEW
ANT2
ANT1
(5- 12V DC)
(5- 12V DC)
Conf igure &
Rese t butto n
Installing wire diagram
Tx
Lin k
Rea dy
SR-2818WITR -NEW
ANT 2
ANT 1
(5- 12VDC )
(5- 12VDC )
Confi gure &
Reset b utton
Power Supply
5-12VDC
LN
110V-23 0VAC
2
Configure
There are three different ways to configure smart phone
connect to convertor:
1.
We just need choose any one according different situation.
Easylink to router
2.Autolink to router
3.Directly connected to WIFI controller
Easylink to Router
Mostly be use when convertor installing place is easy to be
accessed and need to control LED lighting by own house's WIFI.
Three different ways to configure
smart phone connect to convertor:
1.Easylink to router
2.Autolink to router
3.Directly connected to WIFI
controller
1)IPhone/IPad connect to house’s WIFI
2)Enter easy lighting application
P1
P2 P3
3)Short press setting button (P2)
4)Short press Easylink to router button (P3)
3
P5
5)Short press the configure button on wifi convertor(P4)
6)Press ok (P5)
7)Enter password and then press ok (P6)
P6
8)There will be a interface indicate successful, then press OK.
Tx
Link
Ready
SR-2 818W ITR- NEW
ANT2
ANT1
(5-1 2VDC)
(5-1 2VDC)
Configure &
Reset button
P4
Short press
4
Autolink to router
Most popular way when need to control LED lighting by own
house's WIFI.
1)Search and connect the Easylighting(WIFI controller default
password 0123456789)
2)Enter easy lighting application
3)Short press setting button (P2)
4)Short press Autolink to router (P10)
5)Press yes , it will search all the router around automatically
(P11.P12)
P9 P10
P11 P12
5
6)Choose router we want connect
P13 P14
7)Enter password and then press OK (P13.P14)
Directly connect to WIFI controller
Be used without house's wifi
1)Search and connect the Easylighting(WIFI controller default
password 0123456789)
2)Enter easy lighting application
3)Short press setting button .
4)Press (P15)
5)Press yes (P16).
P16P15
6
Room editing
1.Short press setting button (P17)
2.Short press Edit room information button (P18)
there will be room editing page as(P19)
P17 P18
P19
7
a. Edit room/zone name
1)Press Edit button (P20)
2)Click the words(”bedroom” for example)
P20 P21
3)Clean the old name and enter a new name ( zone 1 for example)
zone 1
4)Press save button (P21)
b. Change picture for the room
1)Press Edit button (P20)
2)Short press the middle of the room picture(P22)
3)Camera will be opened automatically
4)Take a picture
1
3
4
P22
5)Click use photo (P23)
P23
5)Press save button (P22)
2
8
c. Edit color wheel for corresponding LED lighting
1)Press Edit button there will be four different color wheel in
lower right
P24
For RGBW LED lighting
For CDW LED lighting
For CCT led lighting
For single color LED
lighting
2)Cancel the mark for other three color wheels and keep one
( take single color as example) (P25)
P25 P26
3)Press save
4)Choose this zone there will be one directly enter
corresponding color wheel
Attention
Different zones which were edited to different color wheel
cannot be chose at same time.
Different Zones which were edited to same color wheel or
did not be edited any color wheel can be selected at same
time.
9
Manual
a. Room button(P27,P28)
Choose Room button
Short press middle of zone picture
1
2
3
4
1
2
Mark on the upper right side of room picture to indicate
choose successfully, multiple rooms can be choose at same time
3
Press room button again be confirm the rooms’ selection
4
3
3
5
Upper area will indicate room’s name we selected.
5
P27 P28
(P29)Long press middle of the room picture to on/off
corresponding rooms/zones. There will be a red
off mark on the right upper side of the room picture
when the room is switched off. P29
b. color wheel
There will be four different color wheels we can select if we did
not edit the room: RGB, CDW, CCT, Single color.
1)Slide the upper areas from top to down to choose color wheel
from one to one. (P29,P30)
P29 P30
11
Or fast press twice to enter the
color wheel selection interface to
choose color wheel(P31)
P31
c. pause&run button(P32)
Running button exist in RGB, CDW color wheel interface, they
are similar so here will take RGB as an example to explain.
Running & Pause button
Moving speed
adjust libe
P32
Attention
Press pause&run button , mode will run. Press it once,
it runs one mode. Press button again, it stops, then press
one more time, it will enter next mode. There are total 10
build-in modes. If we pressed color after we pause the
running, the running mode will back form first one.
Long press the pause&run button , LED lighting will
flash twice, the color running in different zones will be
switched from Synchronize moving to color chasing &
color chasing to Synchronize running.
Fastest speed
Lowest speed
12
d. Learning button
Manual for this button will be explained in next chapter.
e. back button
After edit, click back button to return setting interface.
Learning ( combining)
a. Normal learning way
1)Selected any one room and there will be small mark on the
upper right side.
2)Press room button .
3)Press learning key on RF controllers SR-1009xx series
4)Touch the color wheel,LED lighting will blink to confirm room
designation
Press at on receiver(SR-1009Fxx) over 5
seconds until light flash, then delete the learned ID.
learning key
LED
b. Special learning way: using learning key in room
editing page. This learning way can only be activated in 15
seconds after power on the controller.
1)Enter to room editing page
2)Power off and on RF controller SR-1009XX
3)Short press the room which we want learning to
4)Short press the learning key
5)LED lighting will blink to confirm room designation
10
1)Power off and on RF controllers SR-1009faxx
2)Long press learning key over 5 second until LED light
blink
3)Then deletes the learned ID
Learn
Delete
Attention: This way normally is used when the RF controllers
SR-1009XX was installed in a place cannot be accessed.
Learn
Delete

