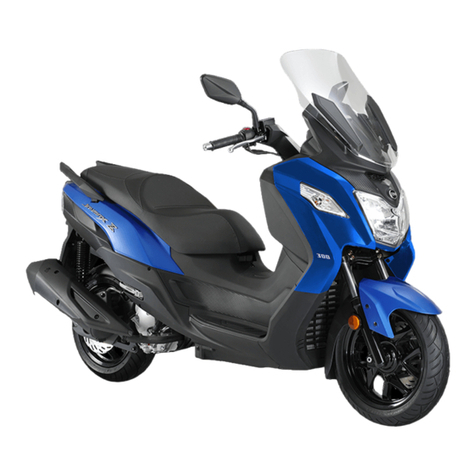
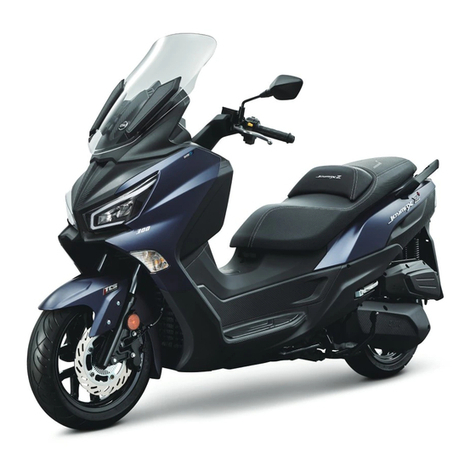
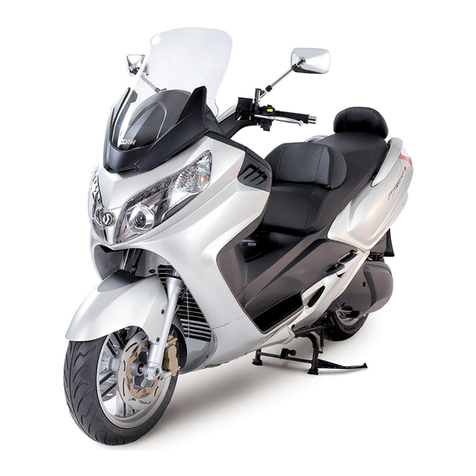
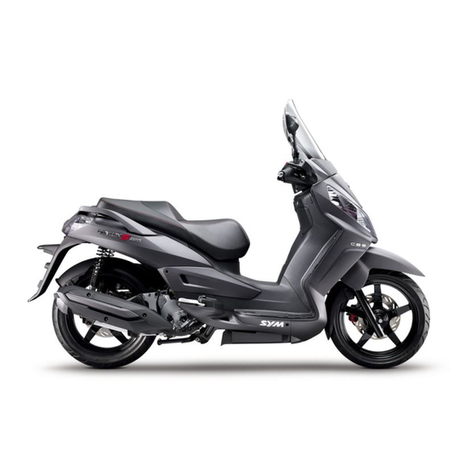
Sym HD300 User manual

OWNER'S MANUAL
MANUEL D’UTILISATION
GEBRUIKERSHANDLEIDING
MANUAL DO UTILISADOR
LS30W1-EU

1
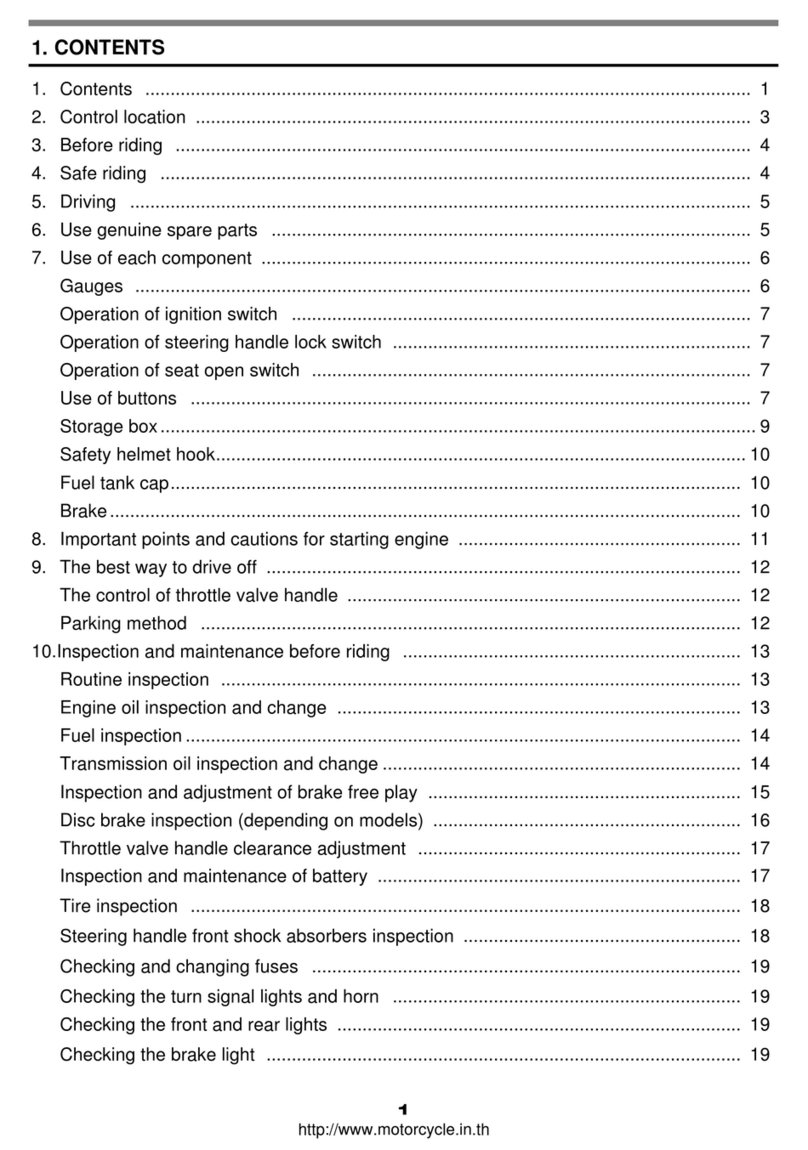
1. Contents
1. Contents ....................................................................................................................... 1
2. Before Riding ............................................................................................................... 3
3. Safe Riding ....................................................................................................................3
4. Driving .......................................................................................................................... 4
5. Use Genuine Spare Parts ........................................................................................... 4
6. Parts Location ............................................................................................................. 5
Combination instrument ...................................................................................................... 6
Ignition switch ................................................................................................................ 11
Right handlebar switches ...................................................................................................13
Left handlebar switches .................................................................................................... 13
Fuel tank cap ................................................................................................................. 14
Shopping hook ............................................................................................................... 15
Front compartment ......................................................................................................... 15
Luggage box .................................................................................................................. 16
Rear carrier ................................................................................................................... 16
Side stand ..................................................................................................................... 17
Main stand .................................................................................................................... 17
Passenger footrest ......................................................................................................... 18
7. How to Start the Engine ............................................................................................ 18
To start the engine .......................................................................................................... 18
To stop the engine .......................................................................................................... 18
8. How to Ride the Motorcycle ..................................................................................... 19
Break-in ........................................................................................................................ 19
Throttle control ............................................................................................................... 19
Moving off ...................................................................................................................... 19
Breaking ........................................................................................................................ 19
Anti-lock Brake System ................................................................................................... 20
Park the scooter ............................................................................................................. 20
9. Maintenance and Adjustment .................................................................................. 21
Importance of maintenance .............................................................................................. 21
Routine checks .............................................................................................................. 21
Oil level inspection / oil change ........................................................................................ 22
Transmission oil change .................................................................................................. 23
Fuel inspection ................................................................................................................ 23
Coolant level inspection / filling ......................................................................................... 24

2
Coolant change .............................................................................................................. 24
Brake system inspection .................................................................................................. 24
Throttle free play inspection ............................................................................................. 25
Tire / tire pressure inspection ........................................................................................... 25
Steering / front fork inspection .......................................................................................... 26
Fuse inspection .............................................................................................................. 26
Battery inspection ........................................................................................................... 26
Air cleaner/ V-belt air cleaner inspection ............................................................................ 26
Rear shock absorber adjustment ...................................................................................... 27
10. Diagnosis When Engine Does Not Start .................................................................. 27
11. Periodic Maintenance Schedule .............................................................................. 28
12. Specification .............................................................................................................. 29
13. Labels Location ........................................................................................................ 30

3
2. Before Riding
This manual describes the correct usage of this scooter including safety riding, simple inspection methods
and so on.
For a more comfortable and safety riding, please read this manual carefully.
For your benefit, please ask your SYM dealer the operating manual and carefully read the following:
•Correct use of the scooter.
•Pre-delivery inspection and maintenance.
Thank you very much for your patronage
In order to maximize your scooter’s performance, a periodical inspection and maintenance should be
completely carried out.
We recommend that after riding your new scooter for the first 1000 kilometers, you should take your
scooter to the original dealer for an initial inspection, and to have your scooter inspected periodically
every 5000 kilometers thereafter.
•In case the scooter’s specifications and construction are modified and different from the photos and
diagrams on the owner’s manual / catalogues, the specifications and construction of the actual scooter
shall prevail.
3. Safe Riding
It is very important to be relaxed and clothe properly when driving, observe traffic regulations, do not rush,
always drive carefully and relaxed.
Usually, most people would ride their newly bought scooter very carefully, but after they became familiar
with their scooters, they tended to become reckless which may result in an accident.
To remind you:
•Please wear a safety helmet, and properly tighten the chin belt when riding a scooter.
•Clothes with open or loose cuffs may be blown by wind and cause the cuffs to get caught on the
steering handle and thus affects riding safety.
•So, put on clothes with tight sleeves.
•Hold the steering handle by both hands when riding. Never ride with only one hand.
•Observe the speed limit.
•Wear suitable low-heel shoes.
•Perform periodical maintenance and inspection in accordance with the schedule.
WARNING!!
•To avoid getting burned by exhaust pipe when taking a passenger. Make sure your passenger has
put his/her feet on the pedals.
•After running, the exhaust pipe is very hot, be careful not to get burned when conducting an
inspection or maintenance.
•After running, the exhaust pipe is very hot, select a suitable location to park your scooter to avoid
others getting burned by the exhaust pipe.
CAUTION:
•Modified scooter will affect its structure or performance, and cause poor engine operation or exhaust
noise, which will result in shortening the scooter’s service life.
Besides, modification is illegal and does not conform to the original design and specifications.
A modified scooter will not be covered by warranty, therefore, do not modify your scooter at will.
•Tire and rim modifications will make it unsafe to ride and may cause severe injury or death.
4
4. Driving
Keep the related parts of your body such as arms, palms, lumbar, and toes relax and ride with the most
comfortable posture in order to be able to react quickly whenever it is necessary.
•Rider’s posture will greatly affect riding safety. Always keep your body’s gravity in the center of the
saddle, if your body’s gravity is on the rear part of saddle, the front wheel load will be reduced, and this
will cause the steering handle shaking. It is dangerous to ride a scooter with an unstable handle.
•It will be much easier to make a turn if rider inclines his body inward when turning. On the other hand,
the rider will feel unstable if his body and the scooter do not incline.
•The scooter is hard to control on a bumpy, unleveled, unpaved road, try to know the road conditions in
advance, slow down and use your shoulder’s force to control the handle.
•Suggestion: Do not load objects on the front pedals unnecessarily, to avoid affecting the riding safety
and the operation of steering handle.
CAUTION:
The rider’s feeling on the handle is slightly different with a load or without a load.
Overload may cause the handle to swing and affects the riding safety.
Therefore, do not overload your scooter.
Overloading the scooter will cause the scooter to become unstable and hard to maneuver, it may cause
serious damage to the tires and rims, as well as it may change the center of gravity, which could result
in an accident that could cause injury or death. Do not exceed the maximum authorized load.
CAUTION:
•Do not place flammable materials such as rags between the body side cover and engine to avoid
components damaging by fire.
•Do not load objects on areas not specified for loading to avoid damage.
SUGGESTION
To maximize the scooter’s performance and prolong its service life:
The first month or first 1000km is the wear- in period for the engine and components.
Avoid rapid acceleration, and keep the speed below 60km/hr.
5. Use Genuine Spare Parts
In order to maintain the scooter’s best performance, each part’s quality, material, and machined precision
must conform with the design requirements. “SYM Genuine Spare Parts” were made from the same high
quality materials used for the original scooter. No parts would be sold to the market until they could meet
the designed specifications through sophisticated engineering and stringent quality control. Therefore, it is
necessary to purchase “SYM Genuine Spare Parts” from “SYM Authorized Dealers or Franchised
Dealers” when replacing spare parts. If you buy cheap, or fake substitute parts from the market, no
guarantee can be provided either for the quality or durability. Also, it may result in unexpected troubles and
lower the scooter’s performance.
•Always use SYM Genuine Spare Parts to keep your scooters pure blood and to ensure its long service
life.

5
6. Parts Location
(1)
(3)
(8)
(7)
(6)
(5)
(11)
(9)
(4)
(2)
(10)
(1). LED Headlight
(2). Passenger Footrest
(3). Coolant Level Inspection Window
(4). Side Stand Switch
(5). Side Stand
(6). Shipping Hook
(7). Fuel Lid
(8). Seat / Luggage Box
(9). Rear Carrier
(10). Tail / Brake Light
(11). Rear Turn Indicator
(12). License Plate Light
(13). Rear Shock Absorber
(14). Main Stand
(13)
(15)
(12)
(16)
(17)
(18)
(21)
(22)
(23)
(24)
(25)
(20)
(15). Rear View Mirrors
(16). Front Brake Lever
(17). Rear Brake Lever
(18). LED Position Lights
(19). Right Turn Indicator/Front
(19)
(20). Left Turn Indicator/Front
(21). Left Handlebar Switches
(22). Combination Instrument
(23). Right Handlebar Switches
(24). Throttle Grip
(25). Ignition Switch
(26). Front Compartment
HD300 (LS30W1-EU)
(26)
(14)

6
Combination Instrument
NOTE :
•Not to have trouble on electrical meter working, or damage the electrical meter.
•Do not wipe plastic components, such as the instrument panel, the headlight, body covers, etc. with
solvents, such as gasoline, etc. Wiping plastic components with solvents can damage these components.
○,A Turn Signal Indicator Light
The corresponding turn signal indicator light blinks when the turn signal switch is pushed to the right or
left.
○,B ABS Indicator Light
The ABS (Anti-lock Brake System) indicator light goes on when the ignition switch is turned on and goes
off shortly after the scooter starts moving. If the ABS is normal, it stays off. If something is wrong with the
ABS, the indicator goes on and stays on. When the indicator light is on, the ABS does not function but if
the ABS fails, the conventional brake system will still work normally.
○,C Oil Check Indicator Light
The oil check indicator show how long the engine oil is used. The oil check indicator light turns on at
every 1,000km riding distance according to the oil distance meter (page 9). When this indicator turns on,
please check the oil level in the oil level inspection widow (page 22). In oil mileage mode, quickly press
the S button twice to reset the oil check indicator light (page 9).
○,A
○,H
○,G
WARNING:
Never operate the instrument buttons while riding the scooter.
○,B
○,C ○,D ○,E
○,F
○,I ○,J
○,K
○,A

7
○,D EFi Warning Indicator Light
When turn the main switch to “ON”, the EFi warning indicator remains on initially. It should be go off
immediately after the engine is running. It displays the condition of the EFi system is working correctly. If
there is any problem on the EFi system, the warning indicator remains on all the time or does not come
on. Please contact your SYM authorized dealer if this light goes on. This indicator light goes off when the
side stand is down (page 17).
○,E High Beam Indicator
This indicator turns on with high beam headlight is turned on.
○,F Tachometer
This tachometer shows the engine speed in revolutions per minute (rpm).
Do not operate the engine in the red zone ○,a.
○,G Fuel Gauge
This fuel gauge shows the fuel level. There are 10 sectors in the fuel gauge.
If the fuel tank is full, the needle will be in the “F” mark.
When the needle is in the red zone ○,a, go refuel the fuel tank immediately.
○,H Speedometer
The speedometer shows the current vehicle speed.
The outer hemisphere ○,a represents km/h.
The inner hemisphere ○,b represents mph.
○,I M Button
Press this button to switch meter mode of the multifunction meter.
○,J S Button
Press this button to switch between ambient temperatures, battery
voltage and clock in the multifunction meter.
This button is also designed to reset the trip meter, oil mileage meter
in the multifunction meter.
○,a
○,a
○,a
○,b

8
○,K Multifunction Meter
○,a Multifunction display
-Clock
-Battery voltage gauge
-Ambient temperature gauge
○,b Oil distance meter
○,c Trip meter
○,d Odometer
○,e Coolant temperature gauge
○,a Multifunction Display
When the ignition switch is turned on, battery voltage will display for approximately 10 seconds.
Then the below display mode can be shifted circularly by pushing the S button.
Clock →Battery voltage →Ambient temperature →Clock …
Clock
This clock displays only 24-hour mode.
To set the clock, do the below steps.
Turn the ignition switch on and wait for approximately 10 seconds.
Push the M button for more than 2 seconds, the hour display starts blinking.
Push the S button to adjust the hours.
Push the M button. The hour display stops blinking and the minute display starts blinking.
Push the S button to adjust the tens place in the minute display.
Push the M button. The tens place stops blinking and the unit display starts blinking.
Push the S button to adjust the units place in the minute display.
Push M button to finish clock setting.
NOTE :
•When the battery is disconnected, the clock is reset to 12:00 and starts working again when the battery
is reconnected.
•If the clock is idled about 30 seconds while setting, it will exit setting mode automatically and starts
working again.
•If the ignition switch is turned off while setting the clock, the clock will exit setting mode when the
ignition switch is turned on again.
•The clock works normally by the backup power even the ignition switch is turned off.
○,a ○,b
○,c ○,d
○,e

9
Battery Voltage Gauge
The battery voltage display shows current battery voltage. It is forced display about 10 seconds when the
ignition switch is turned on.
Display range: 8.0V~18.0V.
Ambient Temperature Gauge
This gauge shows current air temperature. To check out ambient temperature, push S button in battery
voltage mode. This gauge has 2 display modes as below:
Celsius mode: Display in thermometric scale of Celsius. Push S button to go to Fahrenheit mode.
Fahrenheit mode: Display in thermometric scale of Fahrenheit.
Display range: -20~50℃, -4~122℉.
○,b Oil Distance Meter
This meter records how long the engine oil is used. The oil check indicator light (page 6) goes on at every
1,000km riding distance according to this oil distance meter. When the oil check indicator light goes on,
please check the oil level in the oil level inspection window (page 22).
In oil distance mode, quickly push S button twice to reset oil distance meter.
Display range: 0~9999.9 km.
CAUTION:
•If the battery voltage is below 10.0V or above 16.0V when the ignition switch is turned on, and
the engine is hard to start or cannot be started, have your scooter checked by an authorized SYM
dealer.
•If the battery voltage is below 10.0V or above 16.0V when the engine is running, have your scooter
checked by an authorized SYM dealer.
NOTE :
•If the oil distance meter is not reset, the oil check indicator light will go on permanently until it is reset.
•If the oil distance meter is not reset, when the oil distance exceed the maximum limit 9999.9 km, the
meter will return to 0 km and continue adding up values. In this condition, the oil indicator light will not
go off until it is reset.
•This oil distance meter only shows in kilometers.

10
○,c Trip Meter
This trip meter shows the distance in kilometers since it was last reset to zero.
In trip meter mode, quickly push S button twice to reset trip meter.
Display range: 0~999.9 km.
○,d Odometer
This odometer shows the total distance in kilometers the scooter has been ridden.
It cannot be reset.
○,e Coolant temperature gauge
This gauge displays the temperature of engine coolant.
Normally the first ○,a to third ○,b sector comes on indicates the engine
is working at its operating temperature. The coolant temperature
varies with changes in the weather and engine load. If the sixth sector
○,c comes on, when the scooter is in operation, stop the engine and
move the scooter to a safe place, and check the coolant level in the
reserve tank and the radiator fan (page 24).
NOTE :
•This trip meter only shows in kilometers.
NOTE :
•The data is maintained in the combination instrument even when the battery is disconnected.
•When the figures come to 99999, they will return to 0 and start working again.
•This odometer only shows in kilometers.
NOTE :
•This scooter is not equipped with a high coolant temperature indicator light.
•The coolant temperature gauge will not blink when the coolant temperature is too high.
•
Please take notice of the coolant temperature gauge when the engine is running.
○,a
○,b
○,c

11
Ignition Switch
IGNITION SWITCH IGNITION KEY
○,A Ignition Key Slot
Insert the ignition key into the ignition key hole to operate the ignition switch.
○,B “On” Position
Engine can be started in this position. Ignition key cannot be removed. Electrical equipment can be used.
Headlight comes on in this position. The USB power outlet can be used in this position.
○,C “Off” Position
Engine can be turned off in this position. Electrical circuits will be turned off.
○,D “Seat Open” Position
The seat can be opened in these positions.
In “On” position, turn the ignition key clockwise, the ignition key will return to “On” position
automatically.
In “Off ” position, turn the ignition key anti-clockwise, the ignition key will return to “On” position
automatically.
In “Lock” position, turn the ignition key anti-clockwise, the ignition key will return to “Lock” position
automatically.
○,E “Lock” Position
The handlebar can be locked in this position.
Turn the ignition key to ”Off ” position to stop the engine.
Turn the handlebar fully to the left.
Push the ignition key anti-clockwise to lock the handlebar.
The ignition key can be removed in this position.
To unlock the handlebar, turn the ignition key clockwise to “Off ” position.
○,F “Fuel Lid” Position
The fuel lid can be opened in this position.
Turn the ignition key to “Off ” position.
Push the ignition key and turn clockwise to open the fuel lid.
The ignition key will return to “Off ” position automatically.
○,A
○,B
○,C
○,D
○,D
○,D
○,E
○,F
○,G
○,a
○,b
○,H

12
○,G Magnetic Shutter
This magnetic shutter button is designed to close the ignition key slot.
In “Off ” position, remove the ignition key and push this button to close the slot.
In “Lock” position, remove the ignition key and push this button to close the slot.
○,H Shutter Opener
This shutter opener is designed to open the magnetic shutter.
Align the projection ○,b of the shutter key with the shutter slot ○,a, and turn the shutter key clockwise
to open.
CAUTION:
•Never operate the ignition switch key when the scooter is running. Turning the ignition switch to
“Off ” position, will shut off the electrical system and that may result in a dangerous accident. The
ignition switch can only be turned off after the scooter is completely stopped.
•If the ignition switch remains in the “On” position for a prolonged period after the engine is stopped,
the battery voltage will be reduced and this may affect engine’s start capability.
•Lock the steering handle and remove the key before leaving the scooter. Do not leave the key in the
ignition switch when leaving the scooter.

13
Right Handlebar Switches
○,A Engine Stop Switch
This switch should normally remain in the position for the motorcycle to operate. In an emergency,
switch to the position to stop the engine.
○,B Starter Button
This starter button operates the electric starter when the engine is not running. Turn the ignition switch on;
push this button while holding the front or rear brake lever to start the engine.
Left Handlebar Switches
○,A Dimmer Switch
High and low beam can be selected with this switch. When the headlight is on high beam , the high
beam indicator light goes on.
High beam
Low beam
NOTE :
•Even though the engine stop switch can stop the engine, it does not turn off all the electrical circuits.
Normally the engine stop switch should be used to stop the engine.
NOTE :
•
This motorcycle is equipped with a permanently lit headlight; the headlight (low beam), position light, tail
light, and the license plate light will light up once the ignition switch is turned on. The above mentioned
lights cannot be turned off.
•
Do not leave the scooter behind too much time after turning the ignition switch on.
○,A
○,B
○,A
○,B
○,C
○,D

14
○,B Passing Light Button
When pushing the passing light button , the high beam indicator light goes on to signal the driver of
the vehicle ahead that you are about to pass. The passing light is shut off as soon as the button is
released. This button is integrated into the dimmer switch.
○,C Turn Signal Switch
When the turn signal switch is turned to the left or right , the corresponding turn signals blink on
and off. To stop blinking, push the switch in.
○,D Horn Button
When the horn button is pushed when the ignition switch is turned on; the horn sounds.
Fuel Tank Cap
Turn the ignition key to “Fuel Lid”position (page 11) to release the fuel lid ○,A.
To open the fuel tank cap ○,B, turn it anti-clockwise.
Put the fuel tank cap on the fuel tank cap seat ○,C.
Fill in the fuel.
To close the fuel tank cap, align the two triangle marks ○,aon the fuel tank cap, and turn it clockwise
until it is locked.
Press the fuel lid to close it.
Fuel Requirement
Fuel type: Unleaded gasoline only.
Octane number: Research Octane Number (RON) 92 or higher.
Gasoline / alcohol blends: As known as gasohol, up to 5%.
Fuel tank capacity: 10 L.
CAUTION:
•Gasoline is extremely flammable and can be explosive under certain conditions. Do not smoke and
turn the ignition switch off when fueling. Make sure the area is well ventilated and free of any
flammable source.
•Never fill the fuel tank to the top. If the tank is filled to the top, heat may cause the fuel to overflow.
•Make sure the fuel tank cap is closed securely after refueling.
•
Wipe off the gasoline immediately if it is spilled out on the scooter.
○,A
○,B
○,C
○
,
a

15
Shopping Hook
This scooter is equipped with a shopping hook. Do not attach large luggage to the hook that would hang out
from the scooter and interfere the movement of your legs. Flip up ○,Ato hide the hook.
Maximum load: 3 kg.
Front Compartment
The front compartment is located under the ignition switch. The USB power outlet ○,Ais in the front
compartment. Press down the button ○,Bto open the compartment cover ○,Cto get access to the USB
power outlet. This power outlet can charge low power consumption devices when the engine is running.
CAUTION:
•Use only unleaded gasoline to prevent engine damage. Leaded gasoline reduces the capability of
the catalytic converter in the exhaust system.
•Use recommended octane number. Using lower octane gasoline will cause engine performance to
decrease.
•Never use fuels containing high concentration alcohol.
•Do not use contaminated gasoline.
NOTE :
•Do not use the USB power outlet when the engine is not running.
•To prevent the fuse to melt down, do not charge devices exceed 10 W.
•
Disconnect devices when leaving the scooter or after riding.
○,A
○,A
○,B
○,C

16
Luggage Box
The luggage box is under the seat. Open the seat (page 11) to use the luggage box. Helmets ○,Acan be
stored in the luggage box. Some helmets may not fit in the space due to the size or design. The diagnostic
tool connector ○,Bis located in the rear top of the luggage box.
Maximum load: 10 kg.
Rear Carrier
The rear carrier ○,Ais designed to install a top box ○,B. Remove the rear carrier cover ○,Cto install a top
box. The top box ○,Bis not a HD 300 accessory.
Remove the screws ×2 ○,D.
Pull up ○,aand remove the cover.
Remove the clip ○,E.
Install a chosen top case and make sure the top case is mounted securely.
NOTE :
•Do not exceed the maximum weight limit.
•The luggage box may affected by engine heat. Do not put in valuables, food or objects are flammable
or susceptible to heat damage.
NOTE :
•Contact your SYM authorized dealer for more information if you need to install a top case.
○,A
○,B
○,A
○,B
○,C ○,D
○,E
○
,
a

17
Side Stand
This scooter is equipped with a side stand ○,A. The side stand is use for park the scooter. Do not sit on the
scooter when it is on its side stand. Always kick the side stand fully up before riding.
This scooter is equipped with a side stand switch ○,B. The engine cannot be started when the side stand is
on. The engine will be stopped when kicking down the side stand while the engine is running.
Main Stand
This scooter is equipped with a main stand ○,A. Use the main stand to park the scooter up right.
Stand on the left side of the scooter and let down the main stand.
Hold the left handle grip and the left side of the rear carrier.
Press down the tip of the stand ○,awith your right foot, make sure the 2 contact points ○,btouch the
surface firmly.
Pull up and back.
Turn the handle bar fully to the left.
NOTE :
•Turn the handlebar fully to the left when using the side stand.
○,A
○,B
○,A ○
,
a
○
,
b

18
Passenger Footrest
This scooter is equipped with 2 passenger footrests ○,A. Flip down ○,athe footrests for passenger to use.
7. How to Start the Engine
To Start the Engine
Make sure the engine stop switch is in the position.
Make sure the side stand is up.
Turn the ignition key to “ON” position.
Pull the rear or front brake lever and push the starter button with the completely closed throttle to start
the engine.
To Stop the Engine
Completely close the throttle.
Turn off the ignition switch.
Position the motorcycle on a firm, level surface with side stand / main stand down.
NOTE :
•Fold up the passenger footrests when there is no passenger sit on the scooter.
CAUTION:
•Check the oil and the fuel volume before starting the engine.
•To prevent unexpected movement, fully pull the clutch lever before starting the engine.
•Release the starter button immediately after starting the engine.
•If the engine cannot be started after activating the starter 3 ~ 5 seconds, please slightly open the
throttle grip then push the starter button can help starting the engine.
•Do not push the starter button for more than 10 seconds to prevent damaging the starter.
•If the engine cannot be started after several attempts, please turn the ignition switch off and wait
10 seconds for the next start.
•Do not push the starter button while the engine is running.
•The exhaust gas is toxic; please start the engine in areas with good ventilation.
○,A
○
,
a

19
8. How to Ride the Motorcycle
Break-In
During the first 1000 km of running, follow the below guidelines to ensure your scooter’s reliability and
performance.
Avoid full throttle starts and rapid acceleration.
Avoid hard braking.
Ride conservatively.
Throttle Control
To accelerate, slowly open the throttle ○,A.
To decelerate, close the throttle ○,B.
Moving Off
Make sure the side stand / main stand is up.
Make sure the surrounding area is clear.
Smoothly open the throttle to move off
Breaking
Completely close the throttle, the engine will help slowing down the motorcycle.
When stopping, always apply both brakes at the same time. Generally speaking, the front brake should
be applied a bit more than the rear.
Never lock the brakes or it will cause the tires to skid. When turning a corner, reduce your speed before
getting into the corner.
Even though this scooter is equipped with ABS, braking during turning a corner may cause wheel slip. It
is better to limit and do not apply hard braking force when cornering.
For emergency braking, focus on applying the brakes as hard as possible.
CAUTION:
•Always open the throttle carefully particularly if you are unfamiliar with the motorcycle.
•New tires are slippery and may cause loss of control, it is necessary to establish normal tire grip in
the break-in period.
For Front Wheel
For Rear Wheel
○,A
○,B
This manual suits for next models
1
Table of contents
Languages:
Other Sym Scooter manuals

Sym
Sym MAXSYM 400 User manual

Sym
Sym Scooter User manual

Sym
Sym Allo 50 User manual

Sym
Sym Fiddle II 50 SYM Series User manual

Sym
Sym MAXSYM 400i User manual

Sym
Sym Mio FS11W1-EU Series User manual

Sym
Sym Jet 4 125 User manual

Sym
Sym JOYRIDE 125 User manual

Sym
Sym FIDDLE 125 User manual

Sym
Sym Joymax Z+ User manual

Sym
Sym XA05W4-EU Series User manual

Sym
Sym ORBIT III XE05W2-EU Series User manual

Sym
Sym Fiddle III 50 User manual

Sym
Sym Fiddle II 50 SYM Series User manual

Sym
Sym Orbit 125 User manual

Sym
Sym MIO ELECTRIC User manual

Sym
Sym Jet 100 User manual

Sym
Sym TUSCANY 150 User manual

Sym
Sym Symphony ST XB05W4-EU Series User manual

Sym
Sym MaxSym 600i ABS User manual