manuals.online logo
Brands
  1. Home
  2. •
  3. Brands
  4. •
  5. Target
  6. •
  7. Indoor Furnishing
  8. •
  9. Target Windham User manual

Target Windham User manual

© 2019 Target. The Bullseye Design is a trademark of Target Brands, Inc. All rights reserved.
>>
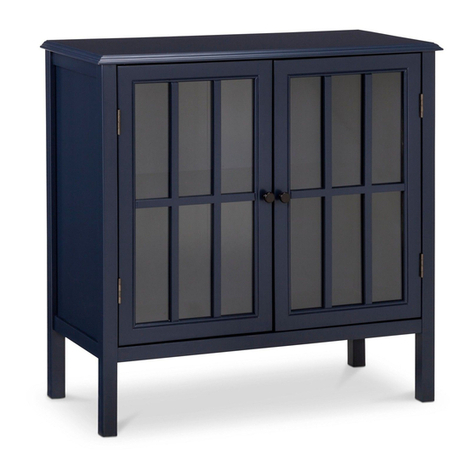
windham
console table
assembly instructions
style # WNCNSLTBBK (black)
dpci # 249-16-0818
tcin # 14122480
style # WNCNSLTBRD (red)
dpci # 249-16-0819
tcin # 14122481
style # WNCNSLTBGY (gray)
dpci # 249-16-0816
tcin # 14373228
style # WNCNSLTBWH (shell)
dpci # 249-16-0815
tcin # 14372248
style # WNCNSLTBBL (teal)
dpci # 249-16-0817
tcin # 14373265
2
Congratulations on your latest Target purchase.
Now what? Don’t start sweating over this box of parts. This will be easy. We did the hard work for you.
All you need to do is follow our simple instructions and you’ll be on your way to transforming your
room in no time. Good luck—though we’re condent you won’t need it.
before you begin
1. Check for damaged or missing parts. Call 1-855-MYTGTHOME (855-698-4846) to order missing supplies.
2. Use the carton as a working surface to prevent product damage during assembly.
3. Read through and review assembly steps.
4. Gather all tools prior to assembly.
tools needed
3
table of contents
introduction 2
hardware 4
parts list 5
how to use the cam lock system 6
assembly 7-15
QUESTIONS? Just call 1-855-MYTGTHOME (855-698-4846) for parts and service. For faster service, have the style number and dpci number ready when calling.
4
hardware
(H1) x 16
wooden dowel
(H2) x 18
cam bolt
(H3) x 18
cam
(H4) x 12
at-head screw
(H5) x 2
knob bolt
(H6) x 2
knob
(H7) x 1
wall strap
(H8) x 1
38mm wall screw
(H9) x 1
wall anchor
(H10) x 1
15mm truss head screw
(H11) x 2
5/8” washer
5
exploded diagram
ITEM DESCRIPTION QUANTITY
A top panel 1
B right side panel 1
C left side panel 1
D back panel 1
E shelf 1
F drawer face 1
G drawer bottom 1
H top trim 1
I drawer back 1
J drawer right side 1
K drawer left side 1
L drawer support 2
M bottom trim 1
how to use the cam lock system
1.
Screw cam bolt into panel
2.
Align cam bolt(s) with cam(s)
and insert all the way into
cross-bored hole(s)
3.
Push cam into panel - arrow feature
on cam top points to panel edge
4.
Rotate cam(s) clockwise 180° to
lock panels together
5.
Panels should be tight against each
other and connection should be rigid
6
1. 2. 3.
4. 5.
step 1: attach shelf/back panel/top and bottom trim to left side panel
(H1) x 3
wooden dowel
(H2) x 5
cam bolt
(H3) x 5
cam
1.1. Carefully tap small wooden dowels into place. Leave 1/2” of the dowels sticking out.
1.2. Screw-In cam bolts must be screwed down ush.
1.3. Refer to page 6 for instructions on how to use the cam lock system.
7
Carefully tap small wooden dowels into place. Leave 1/2” of the dowels sticking out.
step 2: attach right side panel
(H1) x 3
wooden dowel
(H2) x 5
cam bolt
(H3) x 5
cam
2.1. Carefully tap small wooden dowels into place. Leave 1/2” of the dowels sticking out.
2.2. Screw-In cam bolts must be screwed down ush.
2.3. Refer to page 6 for instructions on how to use the cam lock system.
8
Carefully tap small wooden dowels into place. Leave 1/2” of the dowels sticking out.
step 3: attach top panel
(H1) x 4
wooden dowel
(H2) x 6
cam bolt
(H3) x 6
cam
(H4) x 2
at-head screw
3.1. Carefully tap small wooden dowels into place. Leave 1/2” of the dowels sticking out.
3.2. Screw-In cam bolts must be screwed down ush.
3.3. Refer to page 6 for instructions on how to use the cam lock system.
3.4. Do not over tighten screws.
9
Carefully tap small wooden dowels into place. Leave 1/2” of the dowels sticking out.
step 4: attach drawer left and right sides/drawer supports to drawer face
(H1) x 2
wooden dowel
(H2) x 2
cam bolt
(H3) x 2
cam
(H4) x 4
at-head screw
4.1. Carefully tap small wooden dowels into place. Leave 1/2” of the dowels sticking out.
4.2. Screw-In cam bolts must be screwed down ush.
4.3. Refer to page 6 for instructions on how to use the cam lock system.
4.4. Do not over tighten screws.
10
(H3) x 2
cam
(H4) x 4
at-head screw
step 5: install drawer bottom and position drawer back
(H1) x 4
wooden dowel
5.1. Carefully tap small wooden dowels into place. Leave 1/2” of the dowels sticking out.
11
5.1. Carefully tap small wooden dowels into place. Leave 1/2” of the dowels sticking out.
12
step 6: attach drawer back
(H4) x 6
at-head screw
6.1. Do not over tighten screws.
13
step 7: attach knobs
(H5) x 2
knob bolt
(H6) x 2
knob
7.1. Align knob bolts with pre-drilled holes to attach knobs to drawer. Do not over tighten bolts.
14
step 8: install drawer
step 9: install anti-tip kit
(H10) x 1
15mm truss
head screw
(H7) x 1
wall strap
(H11) x 2
5/8” washer
(H9) x 1
wall anchor
(H8) x 1
38mm wall
screw
Position against wall
Mark position of strap hole on wall
Drill 1/4” hole
Tap in wall anchor
Fasten anti-tip strap with wall screw
provided
15
(H11)
(H7)
(H10)
15
(H8)
(H9)
(H11)
Fasten anti-tip strap with wall screw
provided
Mark position of strap hole on wall
WARNING
Serious or fatal crushing injuries can occur
from furniture tip-over. To help prevent
tip-over:
• Install tip-over restraint provided.
• Place heaviest items
in
the lowest drawers.
• Do not set TV's or other heavy objects
on
top
of
this product, unless the product is
specifically designed to accommodate them.
• Never allow children to climb or hang
on
drawers,
doors, or shelves.
• Never open more than one drawer at a time.
(OR)
• Do not defeat or remove the drawer interlock
system .
Use of tip-over restraints may only reduce,
but not eliminate, the risk of tip-over.
This is a permanent label. Do not remove.
1. This unit has been designed for the weight shown. Exceeding this recommended weight could result in
excessive “sagging” of the top. Extreme overloading can cause failure of the top and possible injury.
2. Furniture Care Instructions: Dust with a clean, lint-free cloth. Use a spray furniture polish as needed.
16
65 lbs.
50 lbs.
15 lbs. 15 lbs.
QUESTIONS?
Just call 1-855-MYTGTHOME (855-698-4846) for parts and service. For faster service, have the style number and DPCI number ready when calling.
© 2019 Target. The Bullseye Design is a trademark of Target Brands, Inc. All rights reserved.

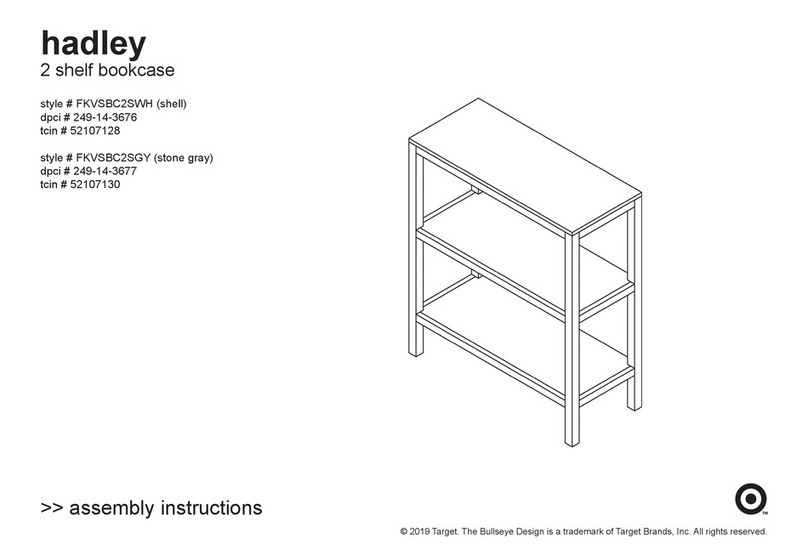
Other manuals for Windham

3

This manual suits for next models

5

Other Target Indoor Furnishing manuals
Target SALICE Made By Design 249-05-590 User manual

Target

Target SALICE Made By Design 249-05-590 User manual

Target CAPRI User manual

Target

Target CAPRI User manual

Target BALI LOUNGER WITH CUSHION User manual

Target

Target BALI LOUNGER WITH CUSHION User manual

Target Howell FCS60615-1 User manual

Target

Target Howell FCS60615-1 User manual

Target Britanna FWS70487B User manual

Target

Target Britanna FWS70487B User manual

Target AKIRA User manual

Target

Target AKIRA User manual

Target Windham WNTLCBDWWH User manual

Target

Target Windham WNTLCBDWWH User manual

Target room essentials 249-05-0297 User manual

Target

Target room essentials 249-05-0297 User manual

Target Halsted FRS80712GST3 User manual

Target

Target Halsted FRS80712GST3 User manual

Target Warwick FKWWNRCNBR User manual

Target

Target Warwick FKWWNRCNBR User manual

Target carson CAMEDIWDEB User manual

Target

Target carson CAMEDIWDEB User manual

Target warwick FKWWCNTBBR User manual

Target

Target warwick FKWWCNTBBR User manual

Target Bullseye Design 249-02-4519 User manual

Target

Target Bullseye Design 249-02-4519 User manual

Target SVEIN SIDE TABLE WITH SHELF User manual

Target

Target SVEIN SIDE TABLE WITH SHELF User manual

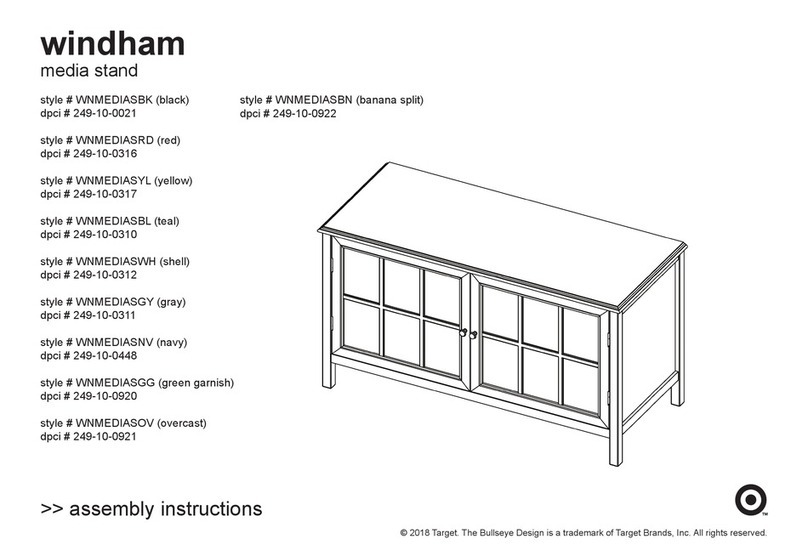
Target windham WNMEDIASBK User manual

Target

Target windham WNMEDIASBK User manual

Target BK2SHLFXEB User manual

Target

Target BK2SHLFXEB User manual
Target HAVERHILL 58 MEDIA STAND 4 DOORS User manual

Target

Target HAVERHILL 58 MEDIA STAND 4 DOORS User manual

Target 340H User manual

Target

Target 340H User manual

Target warwick FKWWLBCBBR User manual

Target

Target warwick FKWWLBCBBR User manual
Target Halsted FRS80921B User manual

Target

Target Halsted FRS80921B User manual

Target Lunenburg media cabinet TGLNBGTVGY User manual

Target

Target Lunenburg media cabinet TGLNBGTVGY User manual

Target DSBSCDSKES User manual

Target

Target DSBSCDSKES User manual

Target 5 Shelf bookcase with doors BK5SHFWDEB User manual

Target

Target 5 Shelf bookcase with doors BK5SHFWDEB User manual

Target Windham WNBUFFETBL User manual

Target

Target Windham WNBUFFETBL User manual

Popular Indoor Furnishing manuals by other brands

Regency LWMS3015 Assembly instructions

Regency

Regency LWMS3015 Assembly instructions

Furniture of America CM7751C Assembly instructions

Furniture of America

Furniture of America CM7751C Assembly instructions

Safavieh Furniture Estella CNS5731 manual

Safavieh Furniture

Safavieh Furniture Estella CNS5731 manual

PLACES OF STYLE Ovalfuss Assembly instruction

PLACES OF STYLE

PLACES OF STYLE Ovalfuss Assembly instruction

Trasman 1138 Bo1 Assembly manual

Trasman

Trasman 1138 Bo1 Assembly manual

Costway JV10856 manual

Costway

Costway JV10856 manual

moss DESIGN Caisson Credenza Assembly instructions

moss DESIGN

moss DESIGN Caisson Credenza Assembly instructions

Aquaglide FULL DECK 15.0 owner's manual

Aquaglide

Aquaglide FULL DECK 15.0 owner's manual

AREBOS AR-HE-SW30 user manual

AREBOS

AREBOS AR-HE-SW30 user manual

Till-Hilft Fulda 87005.330 Assembly instructions

Till-Hilft

Till-Hilft Fulda 87005.330 Assembly instructions

Twoey Outside 2010 quick start guide

Twoey Outside

Twoey Outside 2010 quick start guide

Hettich Easys 200 operating instructions

Hettich

Hettich Easys 200 operating instructions

The bedboss RELAX 404 Series owner's manual

The bedboss

The bedboss RELAX 404 Series owner's manual

Oeseder Möbelindustrie Bern 991 720 Assembly instructions

Oeseder Möbelindustrie

Oeseder Möbelindustrie Bern 991 720 Assembly instructions

Costway HW68469 user manual

Costway

Costway HW68469 user manual

Next ALIX A27743 Assembly instructions

Next

Next ALIX A27743 Assembly instructions

BROSA Hans Assembly guide

BROSA

BROSA Hans Assembly guide

Prodigg MINIKA PBA015T-FUR installation manual

Prodigg

Prodigg MINIKA PBA015T-FUR installation manual

manuals.online logo
manuals.online logoBrands
  • About & Mission
  • Contact us
  • Privacy Policy
  • Terms and Conditions

Copyright 2025 Manuals.Online. All Rights Reserved.