L2 Repair Document TCLCommunication Ltd.
Rev.
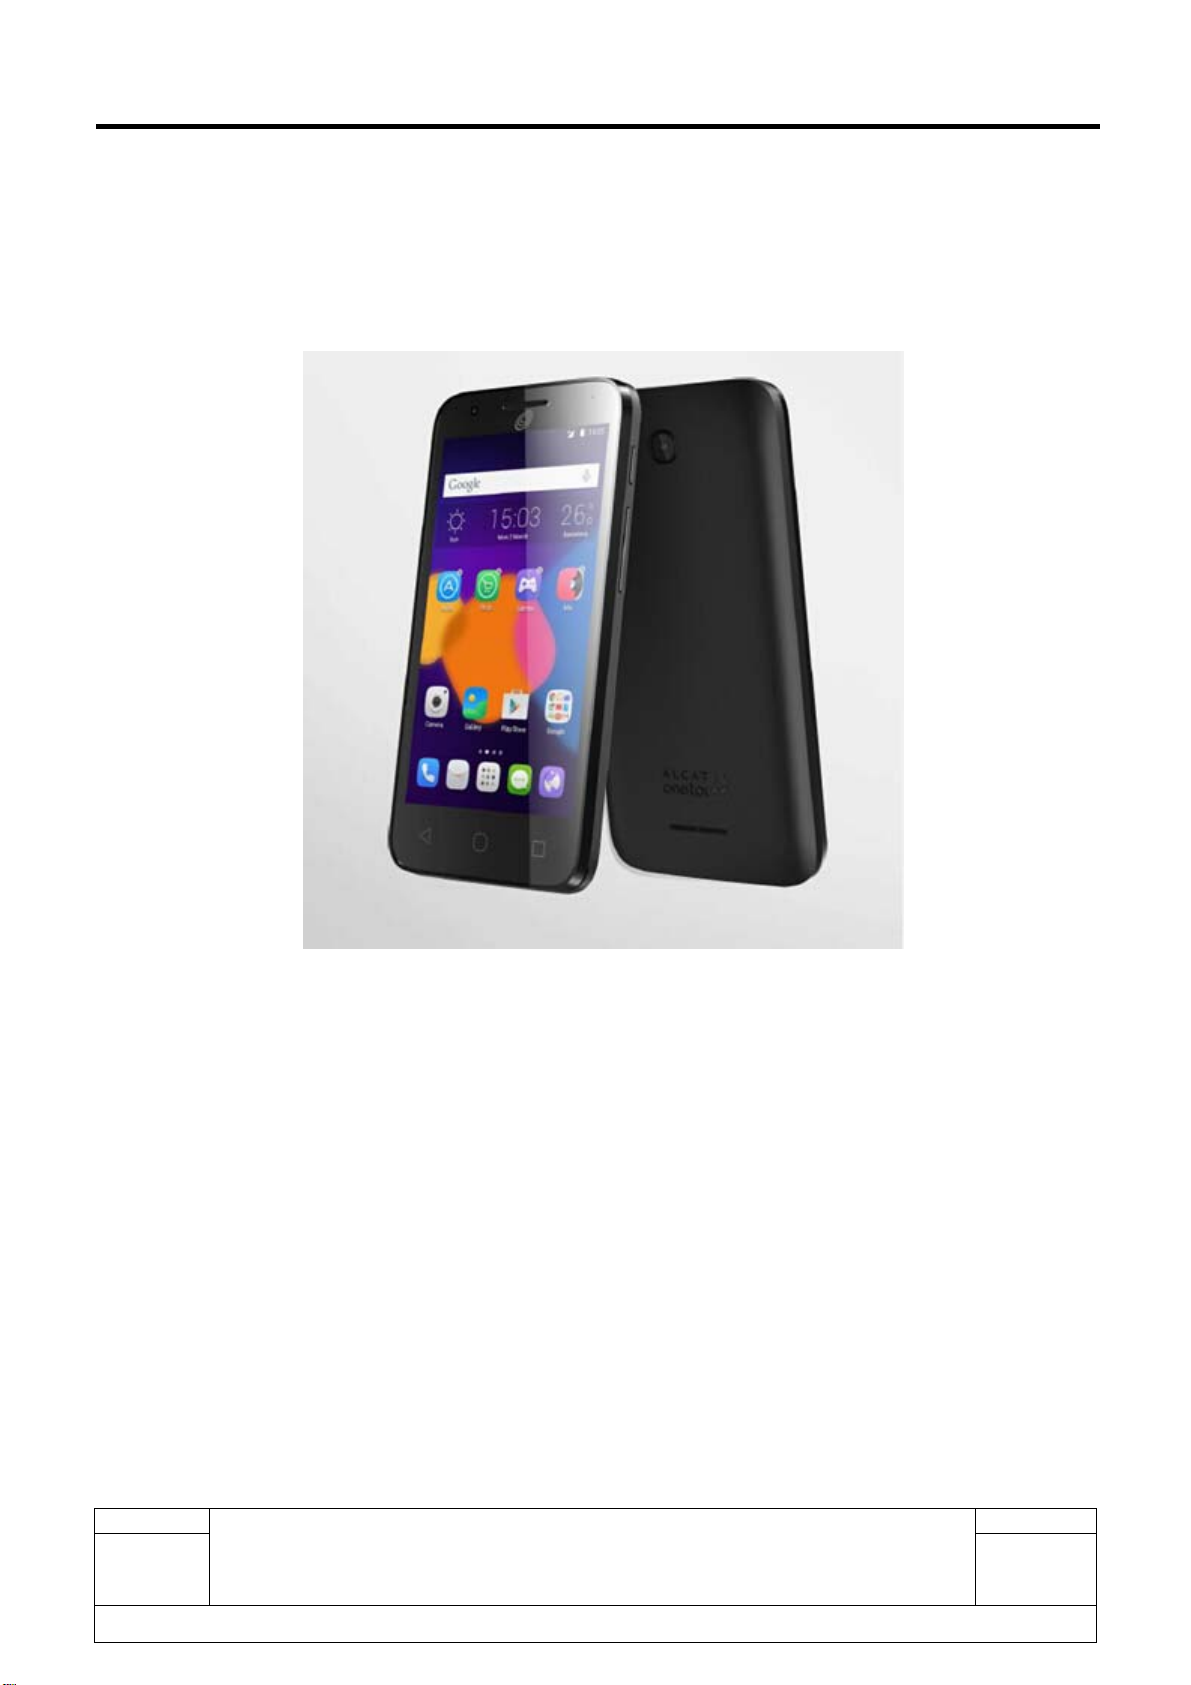
A570BL & A571VL Level 2 Repair Document
Page
1.0 6/35
All rights reserved. Transfer, copy, use or communication of this file is prohibited without authorization.
2.2 Visual mechanical check
Mechanical warranties check items:
1) Corrosion
Corrosion on the USB connector, SIM connector, and other metal surfaces。
2) Hole (diameter > 1mm)
Holes on any surface, including the front casing, furnished frame, battery cover, touch Lens,
keypad…
3) Bump
Bumps (diameter > 1mm) on any surface, including front casing, decorate frame, battery
cover, touch Lens, keypad, etc.
4) Scratch
Scratches (length > 3mm) on any surface, including the front casing, decorate frame, battery
cover, touch Lens, keypad, etc.
5) Distortion
Bend, twisted or crushed on the h/s, cover/casing or connectors, etc.
6) Broken
Touch broken, casing/cover broken, etc.
7) Dropped
Keypad tear off, touch lens, connectors dropped, etc.