manuals.online logo
Brands
  1. Home
  2. •
  3. Brands
  4. •
  5. TE Connectivity
  6. •
  7. Cables And Connectors
  8. •
  9. TE Connectivity TNC COAXICON Series User manual

TE Connectivity TNC COAXICON Series User manual

©2012 Tyco Electronics Corporation, a TE Connectivity Ltd. company
All Rights Reserved
*Trademark
TE Connectivity, TE connectivity (logo), and TE (logo) are trademarks. Other logos, product and/or company names may be trademarks of their respective owners.
1of 2
Instruction Sheet
TOOLING ASSISTANCE CENTER
1-800-722-1111
PRODUCT INFORMATION
1-800-522-6752
This controlled document is subject to change.
For latest revision and Regional Customer Service,
visit our website at www.te.com
408-2235
TNC COAXICON* Connector
Crimping Tools and Dies 28 SEP 12 Rev C
PROPER USE GUIDELINES
Cumulative Trauma Disorders can result from the prolonged use of manually powered hand tools. Hand tools are intended for occasional use
and low volume applications. A wide selection of powered application equipment for extended-use, production operations is available.
‡For use in Hand Tool 69710 or Pneumatic Tool 69365. †Engineering controlled. Figure 1
1. INTRODUCTION
The Series TNC Connectors listed in Figure 1 are
used with Hand Tool 69811, with Dies 220006-1 in
Hand Tool 69710, or Pneumatic Tool 69365.
2. CRIMP END ASSEMBLY
1. Slip the ferrule on the cable, then strip the cable
and flair braid as shown in Figure 2.
2. Insert stripped conductor into the wire barrel on
the crimp end. Twist crimp end slightly to ease entry
of wire.
Figure 2
3. Push crimp end back under braid so that the
braid passes over and around the support sleeve.
Apply sufficient pressure to cause the cable
dielectric to bottom against the dielectric of the
crimp end. See Figure 2. Twist the crimp end
slightly to ensure bottoming.
4. Slide the ferrule forward and over the braid on the
crimp end as far as it will go. Crimp end is now
ready to be crimped. See Figure 2.
3. CRIMPING PROCEDURE
3.1. Hand Tool 69811
1. Open crimping dies by closing the tool handles
until the CERTI-CRIMP* hand crimping tool ratchet
control releases. Note that once the ratchet is
engaged, the handles cannot be opened until they
are fully closed.
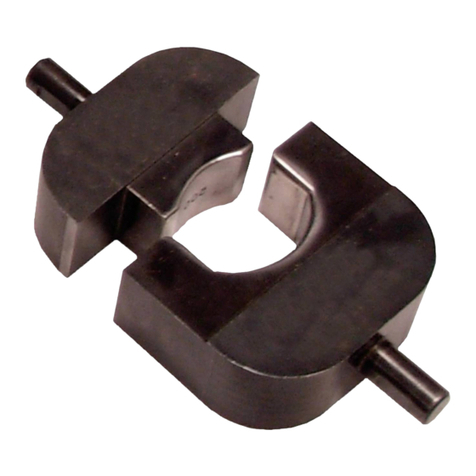
2. The crimping tools have double sets of dies, see
Figure 3, to crimp the braid ferrule and wire barrel of
the jack or plug crimp end. Ferrule and wire barrel
are crimped at the same time.
3. Place the crimp end in the crimping dies as
shown in Figure 3.
Figure 3
CABLE PLUG JACK BULKHEAD
JACK RIGHT-ANGLE
PLUG CRIMPING
TOOL CRIMPING
DIES‡
RG 304 331109
331109-1†
331109-2† 331133
331133-1† 226484-1†
226484-2 1-332292-7
1-332292-8†
1-332292-9† 69811 220006-1
Plug or Jack
Crimp End 11.13 [.438]
2.39
[.094]
11.13
[.438]
Wire
Barrel Support
Sleeve Braid Ferrule
FlaredBraidGoesOverand
Around Support Sleeve
Crimp End Dielectric
Apply Sufficient Pressure to Cause
Cable Dielectric to Bottom Against
Dielectric of Crimp End
Cable Dielectric
Shoulder Push Ferrule Over Braid, Ferrule
Bottoms Against Shoulder
AssemblyNowReady
to be Crimped
Wire Barrel of Plug or
Jack Crimp End Will
Bottom in Crimping Die
Braid Ferrule Will
Bottom on Upper Braid
Ferrule Crimping Die
ORIGINAL INSTRUCTIONS
408-2235
2of 2
Rev C
4. Make certain that the wire barrel and braid ferrule
of the crimp end are resting firmly on the crimping
dies. See Figure 3.
5. Hold the assembly in place and close the handles
until the CERTI-CRIMP hand crimping tool ratchet
control releases to complete the crimp.
3.2. Interchangeable Dies
Series TNC COAXICON crimping dies are used in
tools 69710 and 69365. Read the instructions shipped
with the tools for information concerning die insertion
and general tool performance, then proceed as
follows:
1. Place the crimping dies in tool.
2. The die assemblies have double sets of crimping
dies similar to those in hand tools. See Figure 4.
Figure 4
3. Place the jack or plug crimp end in the crimping
dies as shown in Figure 5.
Figure 5
4. Make certain the wire barrel and braid ferrule of
the crimp end are resting firmly on the crimping
dies. See Figure 5. Hold the assembly in place and
complete the crimp.
4. JACK AND PLUG ASSEMBLY
1. Assemble the jack crimp end and jack body as
shown in Figure 6.
Figure 6
2. Assemble the plug crimp end and plug body in
the same manner as shown for the jack assembly.
See Figure 7.
Figure 7
3. Use a wrench on flats to tighten. A torque of 1.70
to 2.26 N•m [15 to 20 in.-lbs] is suggested.
5. REVISION SUMMARY
•Updated document to corporate requirements
•Reactivated document
Die
Holding
Screws
Stationary
Die
Moving
Die
Braid Ferrule Rests Firmly
on Ferrule Crimping Die
Wire Barrel Bottoms
in Crimping Die
Jack Crimp End
Jack Body
Crimped Ferrule
Assembled Jack
Plug Crimp End
Plug Body
Crimped Ferrule
Assembled Plug

Other TE Connectivity Cables And Connectors manuals

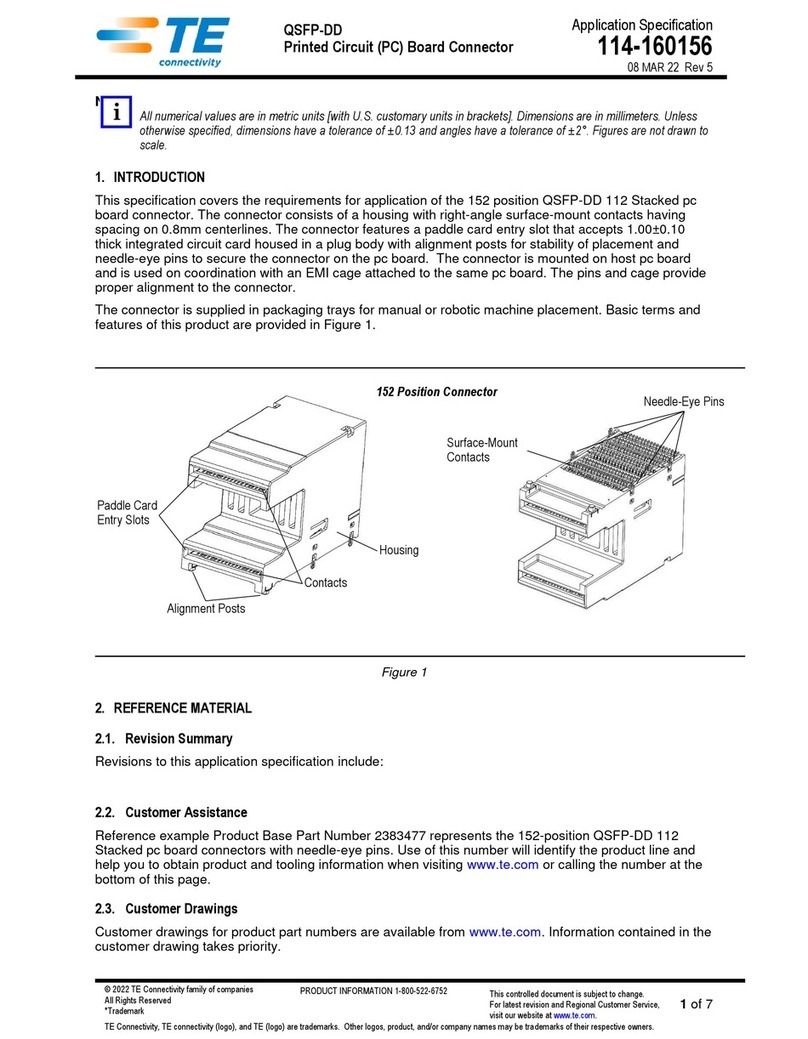
TE Connectivity QSFP-DD User guide

TE Connectivity

TE Connectivity QSFP-DD User guide

TE Connectivity 025/250 User manual

TE Connectivity

TE Connectivity 025/250 User manual

TE Connectivity DYNAMIC 5000 Series User manual

TE Connectivity

TE Connectivity DYNAMIC 5000 Series User manual

TE Connectivity D-150-Z Series Reference guide

TE Connectivity

TE Connectivity D-150-Z Series Reference guide

TE Connectivity Type N User manual

TE Connectivity

TE Connectivity Type N User manual

TE Connectivity AMPOWER 68361-1 User manual

TE Connectivity

TE Connectivity AMPOWER 68361-1 User manual

TE Connectivity 55PC1122-16-9/96-9 User manual

TE Connectivity

TE Connectivity 55PC1122-16-9/96-9 User manual

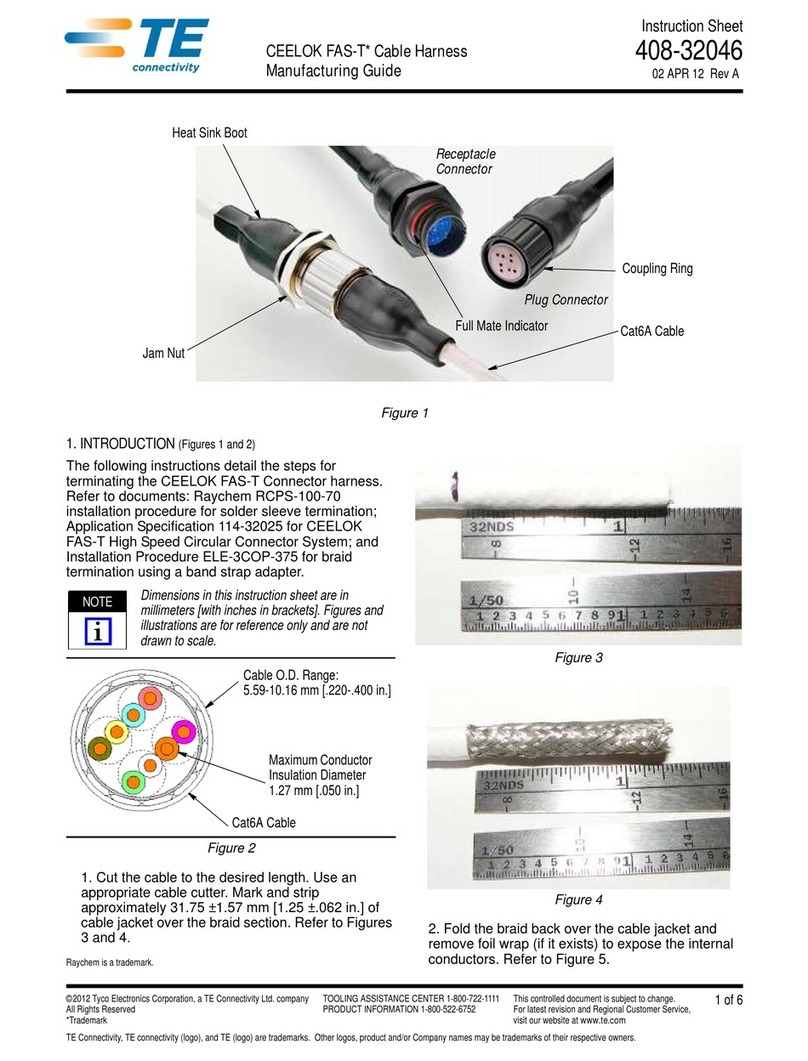
TE Connectivity CEELOK FAS-T User manual

TE Connectivity

TE Connectivity CEELOK FAS-T User manual

TE Connectivity AMP-LATCH User guide

TE Connectivity

TE Connectivity AMP-LATCH User guide

TE Connectivity RD-316 User manual

TE Connectivity

TE Connectivity RD-316 User manual

TE Connectivity Quadrax DSub User guide

TE Connectivity

TE Connectivity Quadrax DSub User guide

TE Connectivity GS-IPC-500U User manual

TE Connectivity

TE Connectivity GS-IPC-500U User manual

TE Connectivity VAL-U-LOK 3-1586040-6 User manual

TE Connectivity

TE Connectivity VAL-U-LOK 3-1586040-6 User manual

TE Connectivity Miniature AMP-IN User guide

TE Connectivity

TE Connectivity Miniature AMP-IN User guide

TE Connectivity RF COAXIAL User manual

TE Connectivity

TE Connectivity RF COAXIAL User manual

TE Connectivity AMP NETCONNECT 1499119-1 User manual

TE Connectivity

TE Connectivity AMP NETCONNECT 1499119-1 User manual

TE Connectivity Raychem LJSM Series User manual

TE Connectivity

TE Connectivity Raychem LJSM Series User manual

TE Connectivity EP-II User manual

TE Connectivity

TE Connectivity EP-II User manual

TE Connectivity SGI 1.25 User guide

TE Connectivity

TE Connectivity SGI 1.25 User guide

TE Connectivity 747564-9 User manual

TE Connectivity

TE Connectivity 747564-9 User manual

TE Connectivity AMPLIMITE HDP-20 User manual

TE Connectivity

TE Connectivity AMPLIMITE HDP-20 User manual

TE Connectivity HVP800 2PHI 90 User manual

TE Connectivity

TE Connectivity HVP800 2PHI 90 User manual

TE Connectivity HVA630-5p User manual

TE Connectivity

TE Connectivity HVA630-5p User manual

TE Connectivity DRC16 User manual

TE Connectivity

TE Connectivity DRC16 User manual

Popular Cables And Connectors manuals by other brands

Philips SWV3503S/10 user manual

Philips

Philips SWV3503S/10 user manual

Farmnavigator 4G Agri installation manual

Farmnavigator

Farmnavigator 4G Agri installation manual

EM-Technik 3T Series Operating and installation instructions

EM-Technik

EM-Technik 3T Series Operating and installation instructions

Gomax SP-5108E user manual

Gomax

Gomax SP-5108E user manual

Philips SWV3020S/17 Information

Philips

Philips SWV3020S/17 Information

Panduit DP6 PLUS installation instructions

Panduit

Panduit DP6 PLUS installation instructions

OEZ CS-BL-B002 Instructions for use

OEZ

OEZ CS-BL-B002 Instructions for use

Pfeiffer Vacuum Tele TC cable 400 operating instructions

Pfeiffer Vacuum

Pfeiffer Vacuum Tele TC cable 400 operating instructions

Festo NEBM-T1G8-E R3G8 Series Instructions and Assembly

Festo

Festo NEBM-T1G8-E R3G8 Series Instructions and Assembly

Astell & Kern AK HC3 manual

Astell & Kern

Astell & Kern AK HC3 manual

TUPower A11 quick start guide

TUPower

TUPower A11 quick start guide

CommScope HELIAX FiberFeed FDH1210-24SE2 Series Installation guidelines

CommScope

CommScope HELIAX FiberFeed FDH1210-24SE2 Series Installation guidelines

EZCOO EZ-MX42PRO-HAS Installation instruction

EZCOO

EZCOO EZ-MX42PRO-HAS Installation instruction

PureEdge Lighting Cirrus Suspension Downlight Modular CSDM-LPD... installation instructions

PureEdge Lighting

PureEdge Lighting Cirrus Suspension Downlight Modular CSDM-LPD... installation instructions

SIIG JU-P20612-S1 Quick installation guide

SIIG

SIIG JU-P20612-S1 Quick installation guide

Leviton 48642 installation instructions

Leviton

Leviton 48642 installation instructions

Cablexpert DSP-2PH4-001 user manual

Cablexpert

Cablexpert DSP-2PH4-001 user manual

IOGear GWAVRD Q1670 quick start guide

IOGear

IOGear GWAVRD Q1670 quick start guide

manuals.online logo
manuals.online logoBrands
  • About & Mission
  • Contact us
  • Privacy Policy
  • Terms and Conditions

Copyright 2025 Manuals.Online. All Rights Reserved.