manuals.online logo
Brands
  1. Home
  2. •
  3. Brands
  4. •
  5. Teknion
  6. •
  7. Indoor Furnishing
  8. •
  9. Teknion north 56 User manual

Teknion north 56 User manual

north 56
INDEX
By Section
Product Name
Product
Code
Guide
No.
Last
Updated
Product Name
Product
Code
Guide
No.
Last
Updated
Product Name
Product
Code
Guide
No.
Square Table NFTS TNR_001 Sep 2022
Rectangular Table - Split Top NFTTT TNR_002 Sep 2022
Rectangular Table - Standard Top NFTTS TNR_003 Sep 2022
TABLES
*Click on the desired Installation Guide to jump to the Guide
page.
September 2022 PAGE 1 of 1
Square Table (NFTS)
Section:
Description: Page No:
Date:
Rev. No: 0
SQUARE AND ROUND TABLES
TABLES
Sept 2022 1 of 8
TNR_001
north 56
Installation Guides
A
B
C
D
E
NOTE: North 56 Square Table
configuration is shown (NFTS)
Installation steps are similar for
NFTR
Section:
Description: Page No:
Date:
Rev. No: 0
SQUARE AND ROUND TABLES
TABLES
Sept 2022 2 of 8
TNR_001
north 56
Installation Guides
Part and Product Identification
A - Meeting Table Worksurface
(C07-9107-X) x1
B - Leg Assy
(N01-7726-X) x4
D - Rectangular Table Brkt Kit
( X01-4589S-X) x1
C - Table Apron
(C07-8931-X) x4
F -Wire Management Kit, N56
(X01-4584) x1
E1 - Footrest Weldment
(N01-7234-X) x 1
D1 - Corner Bracket
(A16-10817 ) x4
G2 - #8- 5
8 SCR QU PAN HD
(FS8-5-8-PB) x 14 or 22
G1 - SWERV USB HUB
(YMSUB) x 1
G - SWERV USB Branched Kit
(YMSUB) x 1
F1 - Cable Manager Bracket
(A16-8947) x 2
F2 - #10x0.875 ZN WH QD
(E07-0077) x 4
F3 - Cable Manager Extrusion
(B03-2389/24) x 2
H2 - P-Clip 3
8 " Cord, 0.170 Hole
(PCORDMGMT-3316) x 2
G4 - Flat Quad WD. Screw 6 x 5
8
(E04-0090) x 2
I2 - Mockett Table Connector
Tether (D05-0106-2) x2
I3 - Phillips Rounded Head Screw
for Metal (D05-0106-3) x4
H1 - LPM Compact
(BLELPC0220P072) x1
D2 - 1
4-20x0.625 ST ZN
(E01-0098) x 16
E - Footrest Assy
(N01-7729-X) x1
E2 - 1
4"-20 X 3
4 " Flat Head #12
Machine Screw Quadrex
(E01-0768) x 4
G3 - P-Clip 1
8 " Cord, 0.170 Hole
(PCORDMGMT-3362) x 4 or 8
H - LPM Compact (BLELPC) x 1
H3 - Flat Quad WD. Screw 6 x 5
8
(E04-0090) x 2
I - Mockett Table Connector
(D05-0106) x1
I1 - Mockett Table Connector
Cover (D05-0106-1) x2
STEP 2: After Apron has been pre assembled, position the apron over mating holes and fasten
to worksurface to engage screw only. Do not tighten
STEP 1: Assemble Corner Brackets to mating edges of Apron. Lightly fasten to hold apron in
place
Section:
Description: Page No:
Date:
MOUNT CORNER BRACKET TO APRON MOUNT APRON TO WORKSURFACE
TNR_001
3 of 8
Sept 2022
SQUARE AND ROUND TABLES
TABLES
north 56
Installation Guides
C
D
C
A
D2
D2
STEP 4: Loosen nuts from pre assembled legs and feed through corner bracket. Lightly fasten
leg to bracket reusing nuts. When legs are fastened to the apron, re-tighten all screws to ensure
secure connection
STEP 3: Before fastening leg to apron, align and fasten footrest to legs allowing easier
installation onto apron.
Section:
Description: Page No:
Date:
FASTEN FOOTREST TO LEGS FASTEN LEGS TO APRON
TNR_001
4 of 8
Sept 2022
SQUARE AND ROUND TABLES
TABLES
north 56
Installation Guides
B
E1 B
E2
NOTE: Ensure that legs are
mounted flush to apron
NOTE: Only for 36 and 42 height
configurations
STEP 6: Route Cables along the leg of the table through the wire management kit provided.
Use Nylon Cable Clamps to remove any strain from the cables and help routing down the leg.
NOTE: Adhere the wire management extrusion to the interior of the desired leg 3 inches from
the bottom of the leg
STEP 5: For Undermount Power, pilot holes are located at the four corners of the worksurface.
Align mounting bracket of power module and fasten onto worksurface. Note: it is
recommended to install wiring prior to mounting for easier connection.
Section:
Description: Page No:
Date:
UNDERSURFACE POWER CABLE ROUTING FOR POWER MODULES
TNR_001
5 of 8
Sept 2022
SQUARE AND ROUND TABLES
TABLES
north 56
Installation Guides
NOTE: OPTIONAL NOTE: OPTIONAL
G1
G2
Section:
Description: Page No:
Date:
CABLE ROUTING FOR POWER MODULE CONT'D
Sept 2022 6 of 8
TNR_001
SQUARE AND ROUND TABLES
TABLES
north 56
Installation Guides
STEP 7: Following the recessed cutouts on the worksurface, route the pig tailed connectors for the undermount power module through the cutouts and along the apron using nylon clips
G1
NOTE: Leg is hidden to show
cable routing
Section:
Description: Page No:
Date:
SURFACE POWER INSTALLATION
Sept 2022 7 of 8
TNR_001
SQUARE AND ROUND TABLES
TABLES
north 56
Installation Guides
STEP 8: In order to install the LPM Compact power module, feed the power cord through the cutout and align the module with the radius corners to allow flush mounting. To secure the power
module, turn the wing nuts clockwise to lock the module to the table
NOTE: OPTIONAL H1
STEP 10: Worksurfaces with Mockett Table Connectors installed can be tethered together by
extending the Connector and latching it to the mating housing
STEP 9: Using the screws provided in the kit, fasten the Mockett Table Connectors to the
worksurface ( there are two connectors in a kit).
Section:
Description: Page No:
Date:
MOCKETT TETHER INSTALL TETHERING MULTIPLE TABLES
TNR_001
8 of 8
Sept 2022
SQUARE AND ROUND TABLES
TABLES
north 56
Installation Guides
I3
I1
I2
Rectangular Table- Split Top (NFTTT)
Section:
Description: Page No:
Date:
Rev. No: 0
RECTANGULAR TABLE
TABLES
Sept 2022 1 of 5
TNR_002
north 56
Installation Guides
A
C
E
B
D
NOTE: North 56 Rectangular
Table configuration is shown with
Split Top Worksurface
Part and Product Identification
Section:
Description: Page No:
Date:
Rev. No: 0
RECTANGULAR TABLE
TABLE
Sept 2022 2 of 5
TNR_002
north 56
Installation Guides
A - Meeting Table Worksurface
(C07-9282-X) x2
B - Leg Assy
(N01-7726-X) x4
C - Table Front Apron
(C07-9108-X) x2
E - Rectangular Table Brkt Kit
( X01-4589T-X) x1
D - Table Apron
(C07-8931-X) x2
E4 - 1
4-20x0.625 ST ZN
(E01-0098) x 26
E5 - #10x0.875 ZN WH QD
(E07-0077) x 4
E2 - Side Apron Tie-Down Bracket
(A16-10888 ) x2
E1 - Corner Bracket
(A16-10817 ) x4
E3 - Split Top Rib Bracket
(A16-10885 ) x1,2 or 3
F - Mockett Table Connector
(D05-0106) x1
F1 - Mockett Table Connector
Cover (D05-0106-1) x2
F2 - Mockett Table Connector
Tether (D05-0106-2) x2
F3 - Phillips Rounded Head Screw
for Metal (D05-0106-3) x4
STEP 2: Assemble corner brackets to mating edges of Apron. Lightly fasten to hold apron in
place
STEP 1: Pre- assemble angle brackets to inside of apron. NOTE: Do not secure, keep loose.
Only tighten screws when table components are installed
Section:
Description: Page No:
Date:
MOUNT BRACKET TO APRON MOUNT CORNER BRACKET TO APRON
TNR_002
3 of 5
Sept 2022
RECTANGULAR TABLE
TABLES
north 56
Installation Guides
C
C
D
D
E5
E4
E2
E3
E5
STEP 4: Loosen nuts from pre assembled legs and feed through corner bracket. Lightly fasten
leg to bracket reusing nuts. When legs are fastened to the leg/ apron, re-tighten all screws to
ensure secure connection
STEP 3: After Apron has been pre assembled, position the apron over mating holes and hand
tighten to worksurface.
Section:
Description: Page No:
Date:
FASTEN APRON TO WORKSURFACE ATTACH LEGS TO APRON
TNR_002
4 of 5
Sept 2022
RECTANGULAR TABLE
TABLES
north 56
Installation Guides
A
E4
NOTE: Check that all legs are
mounted flush to the apron as
shown below
STEP 6: Worksurfaces with Mockett Table Connectors installed can be tethered together by
extending the Connector and latching it to the mating housing
STEP 5: Using the screws provided in the kit, fasten the Mockett Table Connectors to the
worksurface ( there are two connectors in a kit).
Section:
Description: Page No:
Date:
MOCKETT TETHER INSTALLATION TETHER MULTIPLE TABLES
TNR_002
5 of 5
Sept 2022
RECTANGULAR TABLE
TABLES
north 56
Installation Guides
F2
F3
F1
Rectangular Table - Standard Top (NFTTS)
Section:
Description: Page No:
Date:
Rev. No: 0
RECTANGULAR TABLE
TABLES
Sept 2022 1 of 8
TNR_003
north 56
Installation Guides
A
C
E
B
D
NOTE: North 56 Rectangular
Table configuration is shown with
Standard Worksurface
Section:
Description: Page No:
Date:
Rev. No: 0
RECTANGULAR TABLE
TABLES
Sept 2022 2 of 8
TNR_003
north 56
Installation Guides
Part and Product Identification
A - Meeting Table Worksurface
(C07-9107-X) x1
B - Leg Assy
(N01-7726-X) x4
C - Table Front Apron
(C07-9108-X) x2
E - Rectangular Table Brkt Kit
( X01-4589S-X) x1
D - Table Apron
(C07-8931-X) x2
F -Wire Management Kit, N56
(X01-4584) x1
E3 - 1
4-20x0.625 ST ZN
(E01-0098) x 26
E4 - #10x0.875 ZN WH QD
(E07-0077) x 4
E2 - Tie-Down Bracket
(A16-10816 ) x2
E1 - Corner Bracket
(A16-10817 ) x4
F1 - Cable Manager Bracket
(A16-8947) x 2
F2 - #10x0.875 ZN WH QD
(E07-0077) x 4
F3 - Cable Manager Extrusion
(B03-2389/24) x 2
H - LPM Compact
(BLELPC0220P072) x1
G2 - #8- 5
8 SCR QU PAN HD
(FS8-5-8-PB) x 14 or 22
G1 - SWERV USB HUB
(YMSUB) x 1
G - SWERV USB Branched Kit
(YMSUB) x 1
H2 - P-Clip 3
8 " Cord, 0.170 Hole
(PCORDMGMT-3316) x 2
G4 - Flat Quad WD. Screw 6 x 5
8
(E04-0090) x 2
I2 - Mockett Table Connector
Tether (D05-0106-2) x2
I3 - Phillips Rounded Head Screw
for Metal (D05-0106-3) x4
H1 - LPM Compact
(BLELPC0220P072) x1
G3 - P-Clip 1
8 " Cord, 0.170 Hole
(PCORDMGMT-3362) x 4 or 8
H3 - Flat Quad WD. Screw 6 x 5
8
(E04-0090) x 2
I - Mockett Table Connector
(D05-0106) x1
I1 - Mockett Table Connector
Cover (D05-0106-1) x2
STEP 2: After Apron has been pre assembled, position the apron over mating holes over
worksurface and attach with screws. NOTE: Do not over tighten, only engage screws to hold
position of Apron to Worksurface
STEP 1: Assemble corner brackets to mating edges of Apron. Lightly fasten to hold apron in
place
Section:
Description: Page No:
Date:
MOUNT CORNER BRACKET TO APRON FASTEN APRON TO WORKSURFACE
TNR_003
3 of 8
Sept 2022
RECTANGULAR TABLE
TABLES
north 56
Installation Guides
C
D
E3 E3
E1
E3 E4
STEP 4: Check to ensure that leg is secured correctly to the table apronSTEP 3: Loosen nuts from pre assembled legs and feed through corner bracket. Lightly fasten
leg to bracket reusing nuts. When legs are fastened to the apron, re-tighten all screws to ensure
secure connection
Section:
Description: Page No:
Date:
ATTACH LEGS TO APRON ATTACH LEGS TO APRON CONT'D
TNR_003
4 of 8
Sept 2022
RECTANGULAR TABLE
TABLES
north 56
Installation Guides
A
B
NOTE: Ensure that legs are
mounted flush to apron
STEP 6: Loop extra wire around unit to remove excessive wire hanging and create firm cable
routing
STEP 5: Route Cables along the leg of the table through the wire management kit provided.
Use Nylon Cable Clamps to remove any strain from the cables and help routing down the leg.
Note: Adhere the Wire Management Extrusion to the interior of the desired leg, 3 inches from
bottom of the leg.
Section:
Description: Page No:
Date:
CABLE ROUTING FOR POWER MODULES WRAP EXCESSIVE CABLE AROUND MODULE
TNR_003
5 of 8
Sept 2022
RECTANGULAR TABLE
TABLES
north 56
Installation Guides
NOTE: OPTIONAL
NOTE: OPTIONAL
G2
G1
Section:
Description: Page No:
Date:
CABLE ROUTING FOR POWER MODULE CONT'D
Sept 2022 6 of 8
TNR_003
RECTANGULAR TABLE
TABLES
north 56
Installation Guides
STEP 7: Following the recessed cutouts on the worksurface, route the pig tailed connectors for the undermount power module through the cutouts and along the apron using nylon clips
NOTE: OPTIONAL

Other Teknion Indoor Furnishing manuals
Teknion transit Operating and maintenance instructions

Teknion

Teknion transit Operating and maintenance instructions
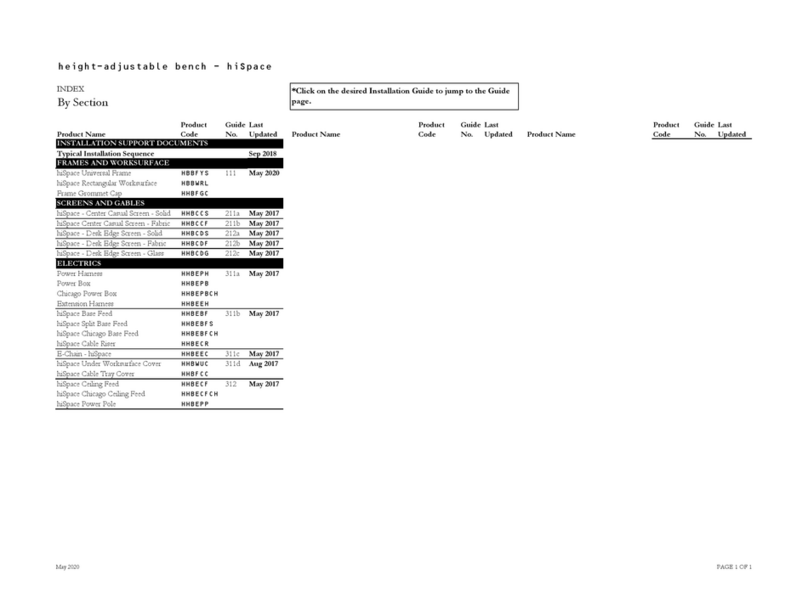
Teknion hiSpace User manual

Teknion

Teknion hiSpace User manual

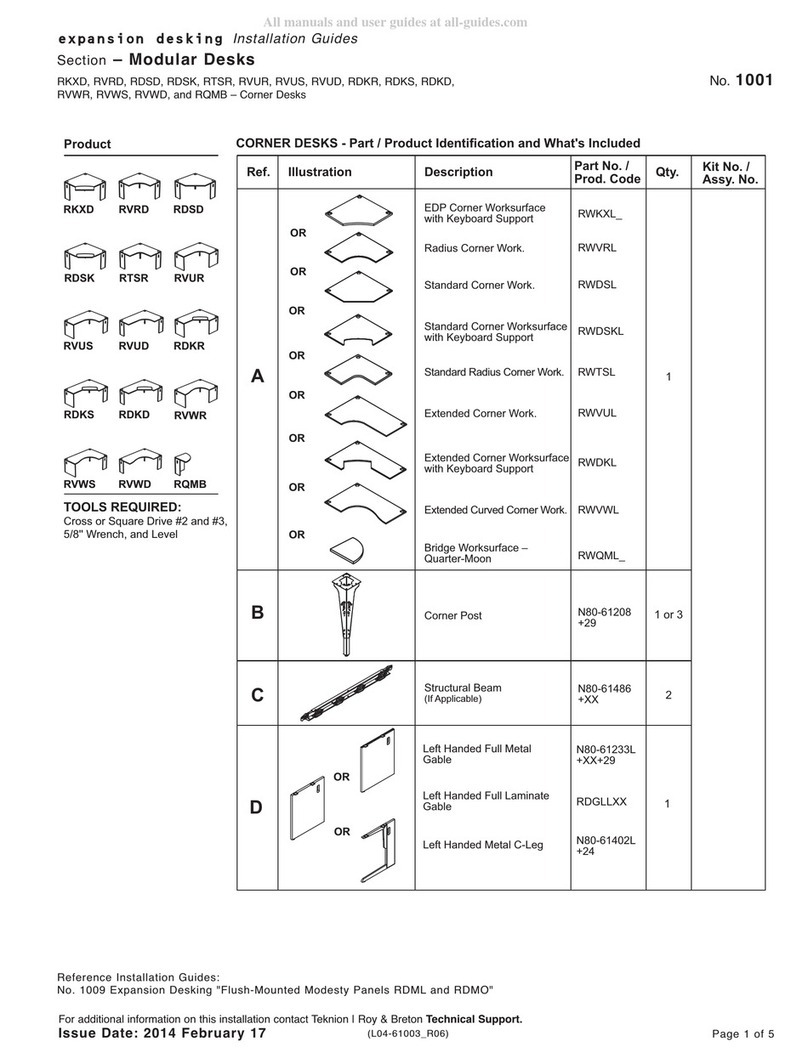
Teknion RKXD Operating and maintenance instructions

Teknion

Teknion RKXD Operating and maintenance instructions

Teknion Projek Owner's manual

Teknion

Teknion Projek Owner's manual
Teknion BM_R User manual

Teknion

Teknion BM_R User manual
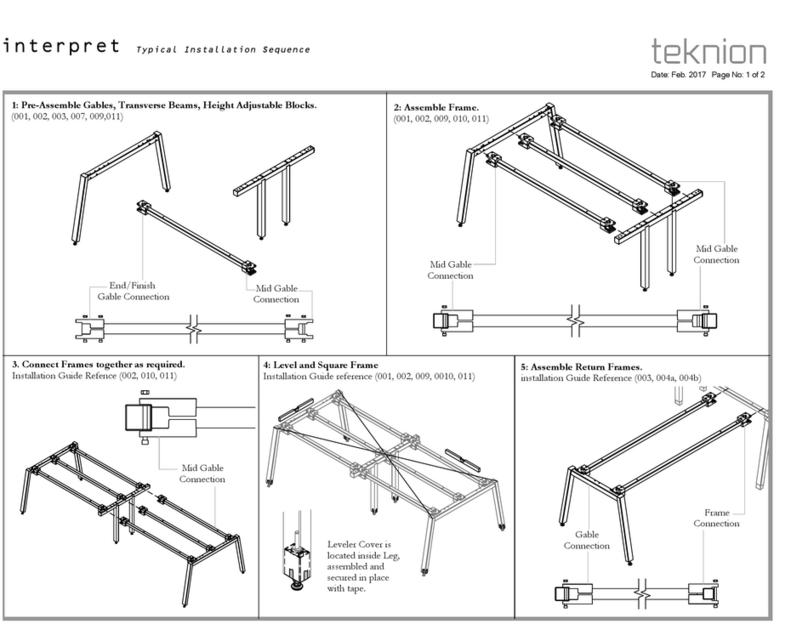
Teknion Interpret User manual

Teknion

Teknion Interpret User manual
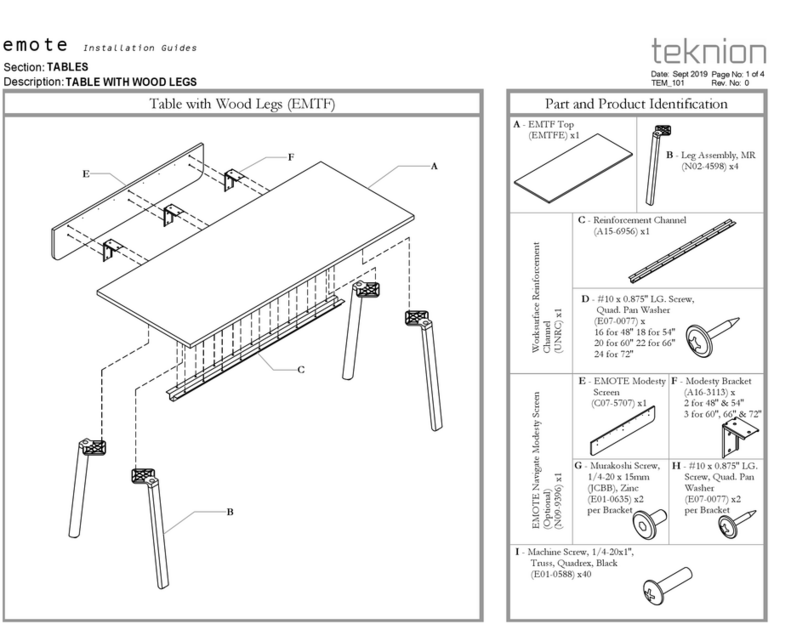
Teknion Emote User manual

Teknion

Teknion Emote User manual
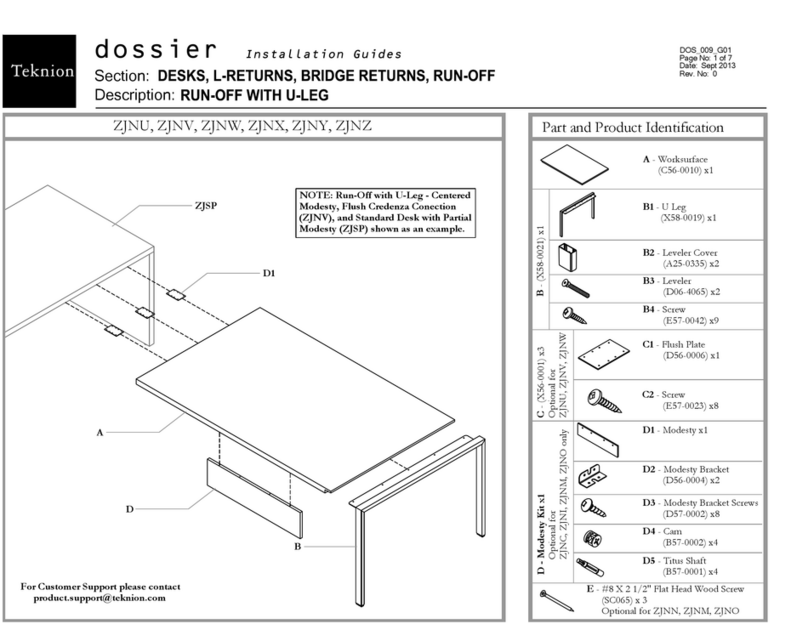
Teknion Dossier Operating and maintenance instructions
Teknion

Teknion Dossier Operating and maintenance instructions

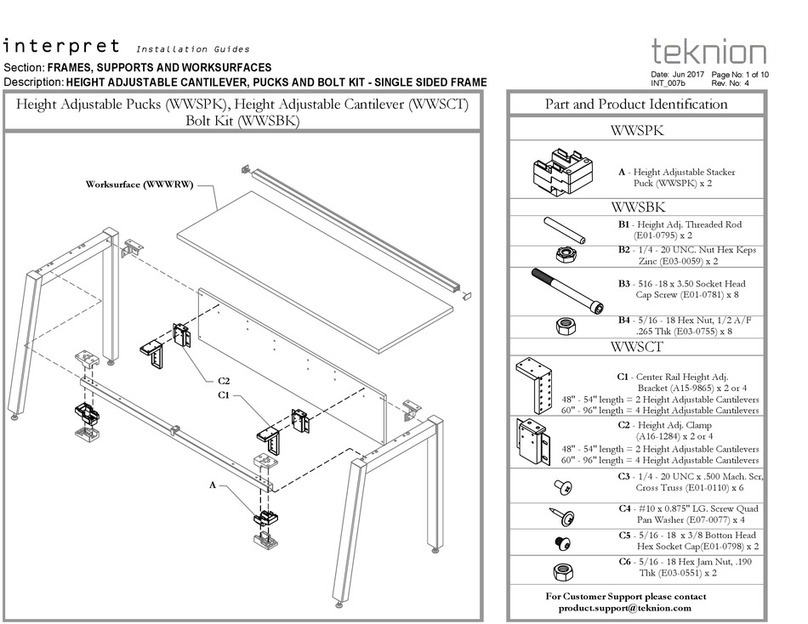
Teknion interpret WWSPK Operating and maintenance instructions

Teknion

Teknion interpret WWSPK Operating and maintenance instructions

Teknion Dossier ZJRP Operating and maintenance instructions

Teknion

Teknion Dossier ZJRP Operating and maintenance instructions

Teknion NUOVA CONTESSA Owner's manual

Teknion

Teknion NUOVA CONTESSA Owner's manual
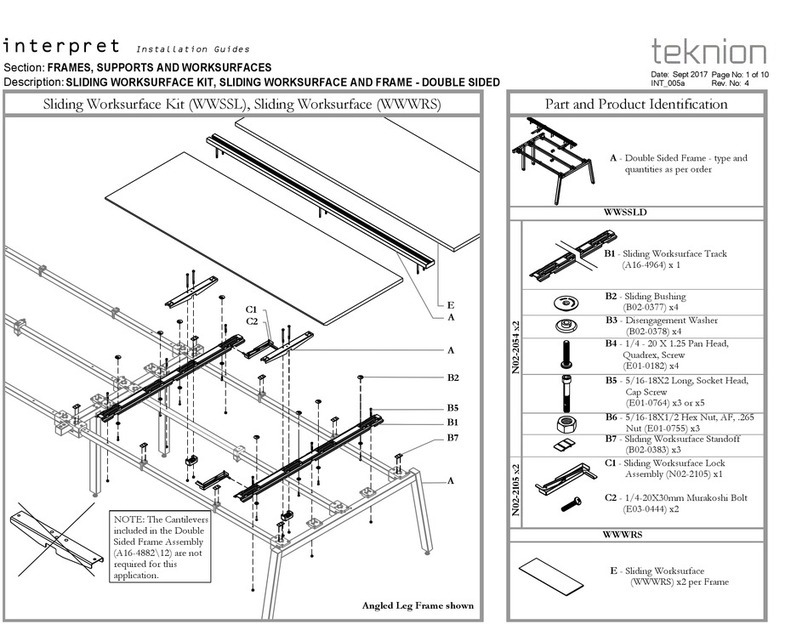
Teknion Interpret User manual

Teknion

Teknion Interpret User manual
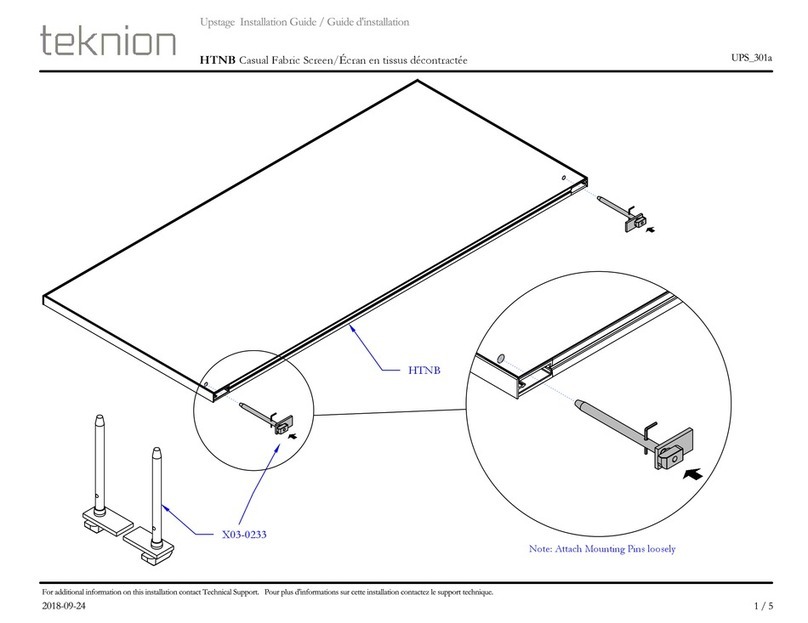
Teknion HTNB User manual

Teknion

Teknion HTNB User manual
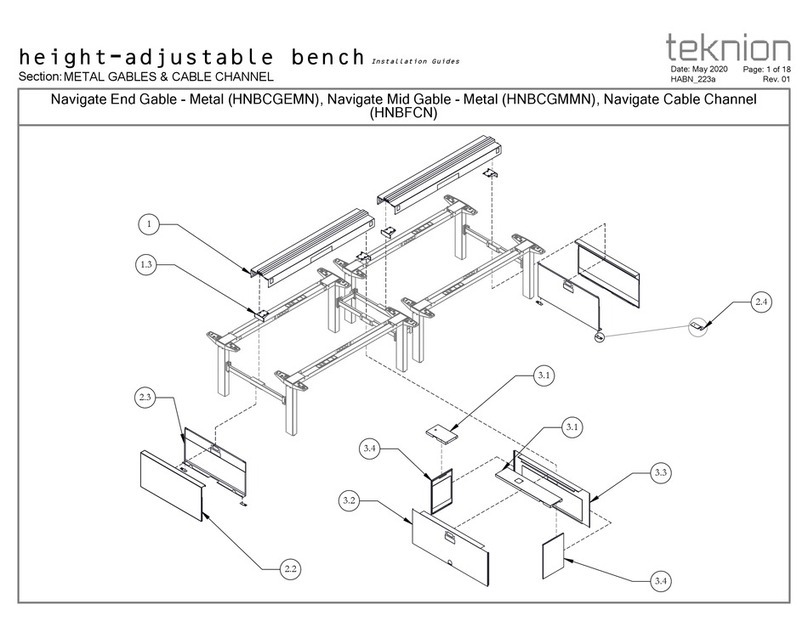
Teknion Height-adjustable bench Operating and maintenance instructions
Teknion

Teknion Height-adjustable bench Operating and maintenance instructions

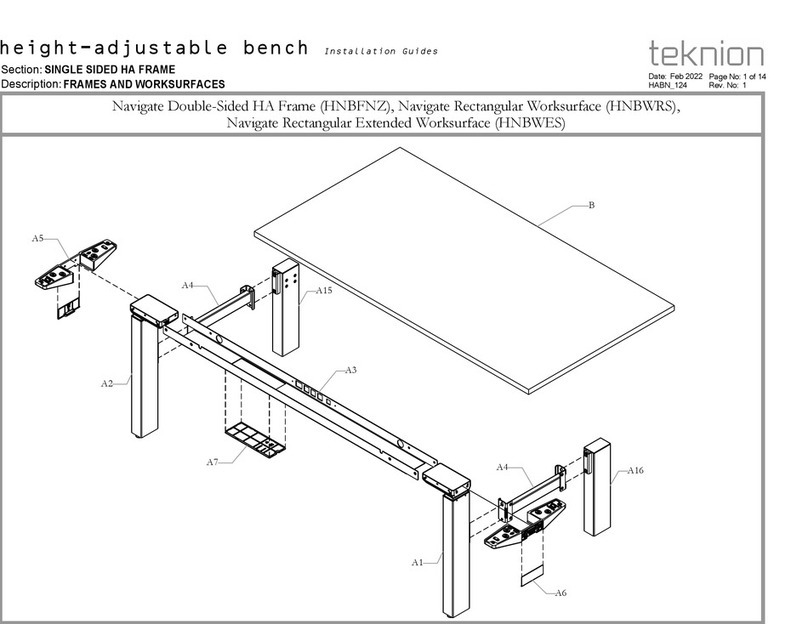
Teknion HNBFNZ User manual

Teknion

Teknion HNBFNZ User manual

Teknion hiSpace User manual

Teknion

Teknion hiSpace User manual
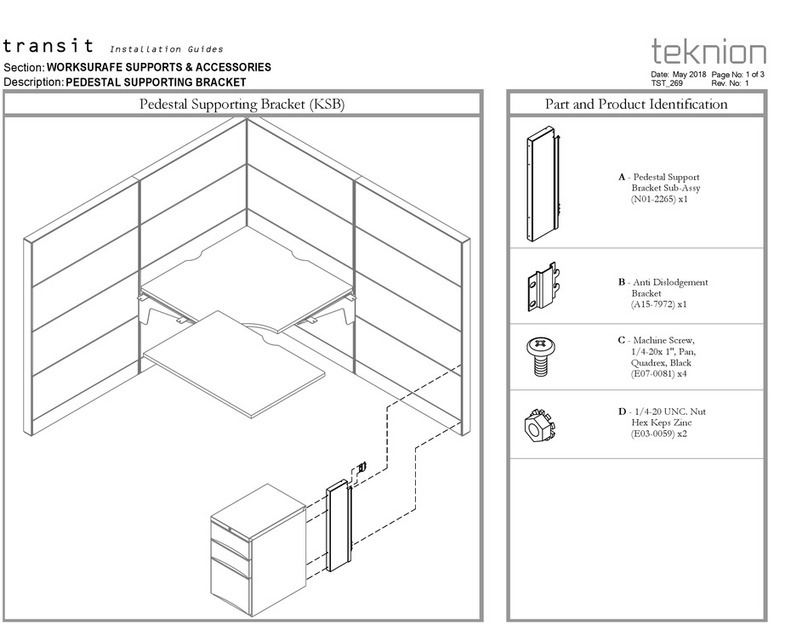
Teknion Transit KSB Operating and maintenance instructions
Teknion

Teknion Transit KSB Operating and maintenance instructions

Teknion Marini Owner's manual

Teknion

Teknion Marini Owner's manual
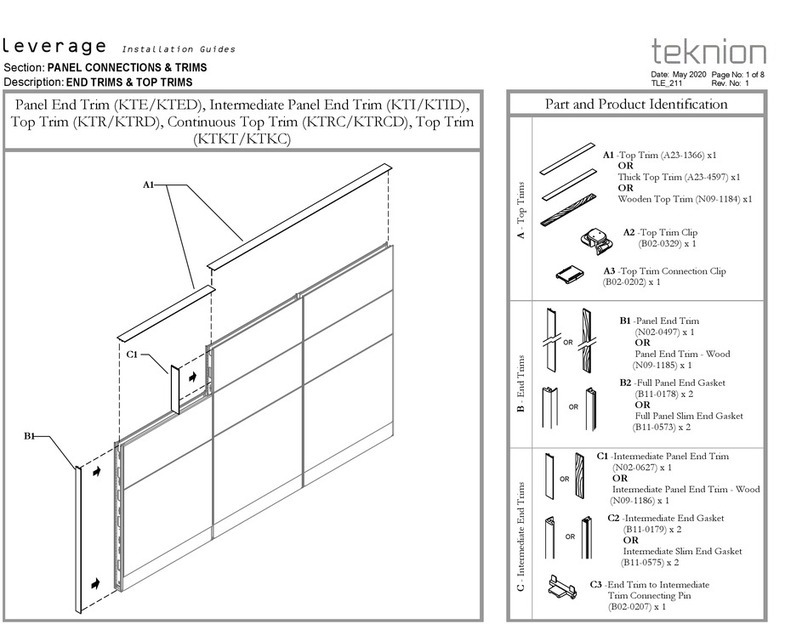
Teknion Leverage User manual

Teknion

Teknion Leverage User manual
Teknion BSMLHR User manual

Teknion

Teknion BSMLHR User manual

Teknion zones Operating and maintenance instructions

Teknion

Teknion zones Operating and maintenance instructions

Teknion Savera Owner's manual

Teknion

Teknion Savera Owner's manual

Teknion mina User manual

Teknion

Teknion mina User manual

Teknion Complements Series Operating and maintenance instructions

Teknion

Teknion Complements Series Operating and maintenance instructions

Popular Indoor Furnishing manuals by other brands
Global Granada 3105-1 Specifications

Global

Global Granada 3105-1 Specifications

Rauch M2582 Assembly instructions

Rauch

Rauch M2582 Assembly instructions

Next 256507 Assembly instructions

Next

Next 256507 Assembly instructions

Martela Pinta EQB user manual

Martela

Martela Pinta EQB user manual

Multimo A 209-CAPSULE FOLDING SINGLE BED Assembly instructions

Multimo

Multimo A 209-CAPSULE FOLDING SINGLE BED Assembly instructions

COMPACE DYME690 user guide

COMPACE

COMPACE DYME690 user guide

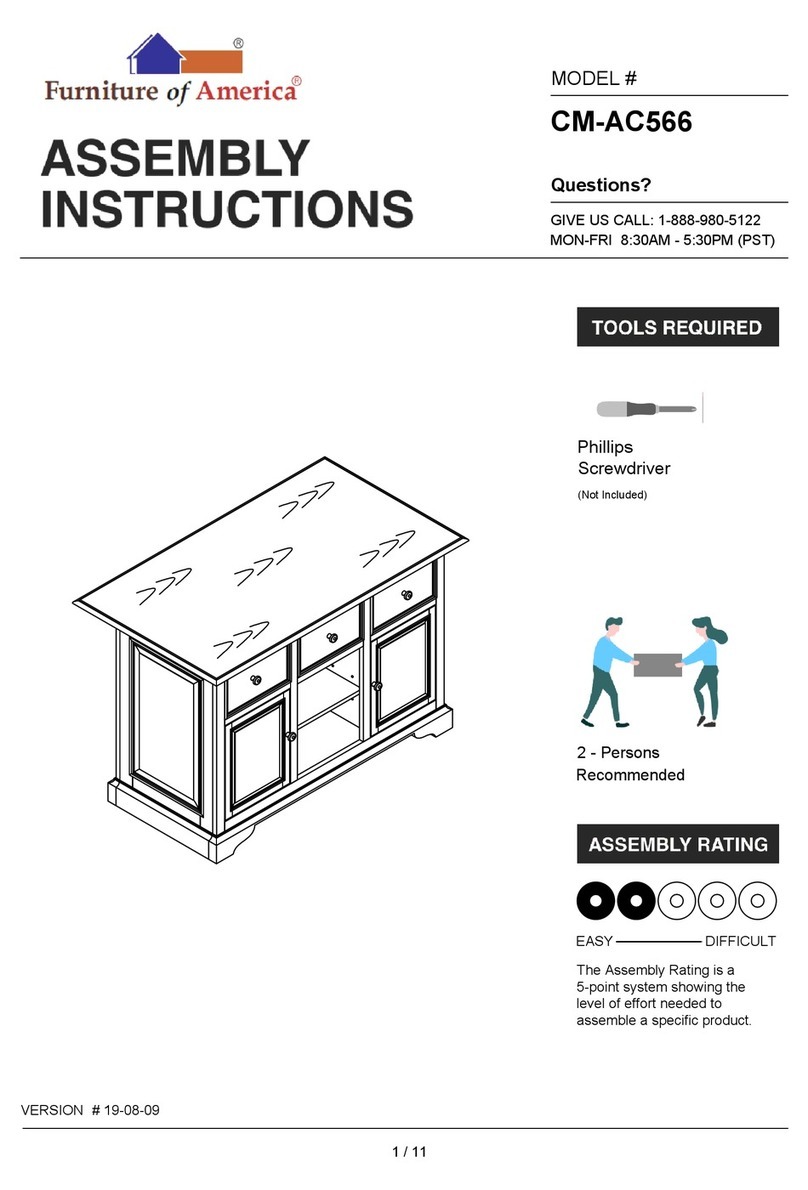
Furniture of America CM-AC566 Assembly instructions
Furniture of America

Furniture of America CM-AC566 Assembly instructions

Songmics LBS02 manual

Songmics

Songmics LBS02 manual

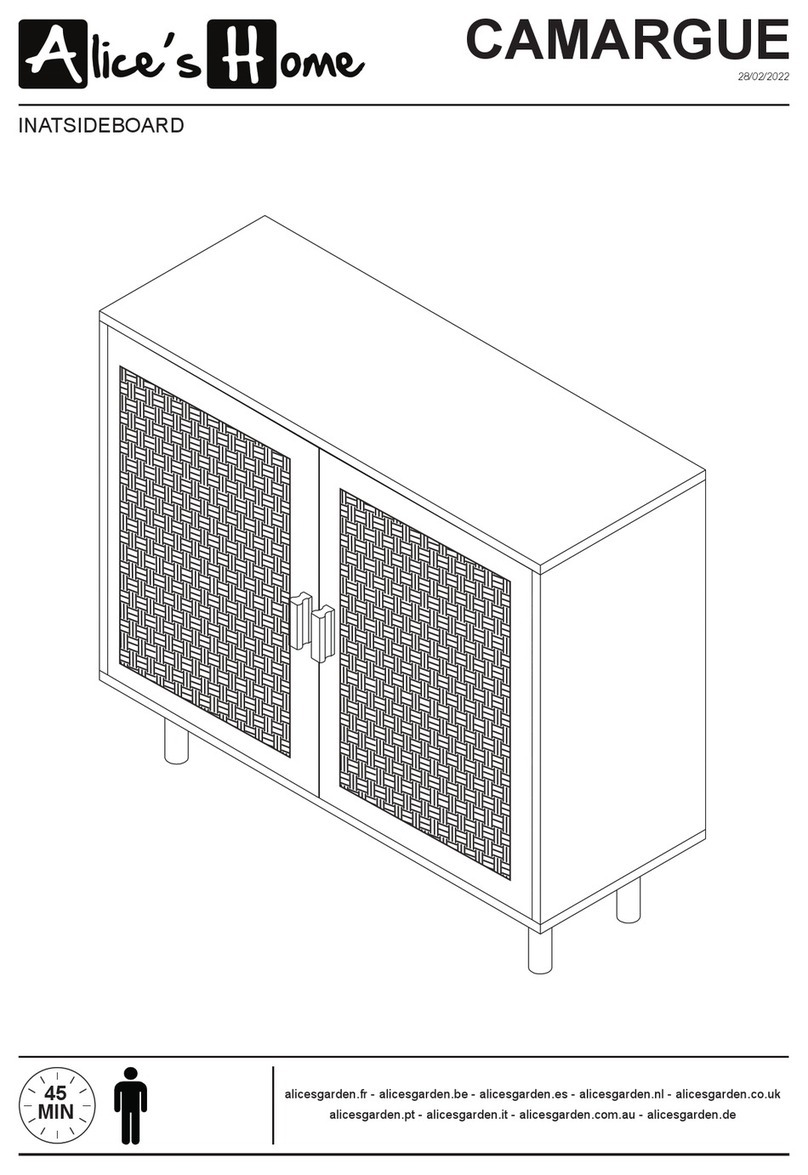
Alice's Home CAMARGUE quick start guide
Alice's Home

Alice's Home CAMARGUE quick start guide

Better Homes and Gardens Austen BH19-D1-1011-01 manual

Better Homes and Gardens

Better Homes and Gardens Austen BH19-D1-1011-01 manual

emob TOULON 01 Assembly instructions

emob

emob TOULON 01 Assembly instructions
DeVorm Big Modular Table System installation guide

DeVorm

DeVorm Big Modular Table System installation guide

POVISON SF016ADL-1 user manual

POVISON

POVISON SF016ADL-1 user manual

VITRA Tyde Assembly instructions

VITRA

VITRA Tyde Assembly instructions

Rauch M2806 Assembly instructions

Rauch

Rauch M2806 Assembly instructions

Sono Ekoflex Series installation guide

Sono

Sono Ekoflex Series installation guide

GMP CUB 3 X 3 BLK Assembly instruction

GMP

GMP CUB 3 X 3 BLK Assembly instruction

Furniture of America CM-BK970 Assembly instructions

Furniture of America

Furniture of America CM-BK970 Assembly instructions

manuals.online logo
manuals.online logoBrands
  • About & Mission
  • Contact us
  • Privacy Policy
  • Terms and Conditions

Copyright 2025 Manuals.Online. All Rights Reserved.