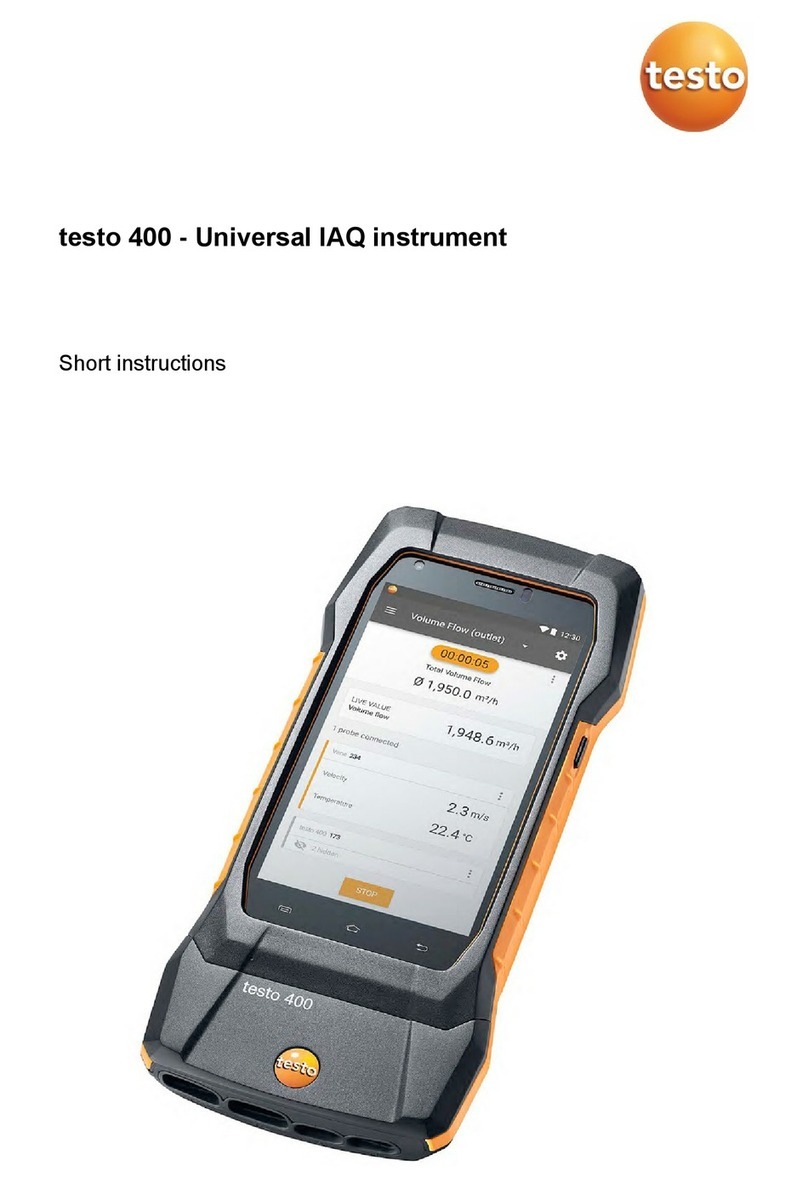
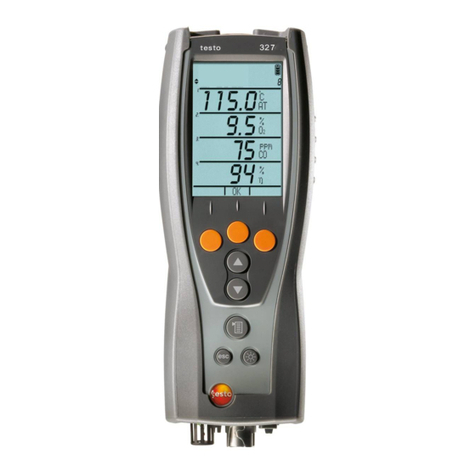
TESTO 340 User manual

Instruction manual en
testo 340
Flue gas analyser

General notes
Please read this documentation through carefully and familiarise yourself with the opera-
tion of the product before putting it to use. Keep this document to hand so that you can
refer to it when necessary.
This document describes the country-specific version GB of the testo 340 measuring
instrument.
Identification
Symbol Meaning Comments
Warning advice: Warning! Read the warning advice carefully and
Serious physical injury could be caused if the specified take the specified precautionary measures!
precautionary measures are not taken.
Warning advice: Caution! Read the warning advice carefully and
Slight physical injury or damage to equipment could take the specified precautionary measures!
occur if the specified precautionary measures are not
taken.
Important note. Please take particular notice.
Text Text appears on the instrument's display -
Key Press the key.
Function key with the function “OK”. Press function key.
xyz Short form for operating steps. See
Short form
,p.3.
OK
General notes
2

Short form
This document uses a short form for describing steps
(e.g. calling up a function).
Example: Calling up the Flue gas function
Short form: Measurements Flue gas
(1) (2) (3) (4) (5)
Steps required:
1Open the Main menu: .
2Select Measurements menu: , .
3Confirm selection: .
4Select Flue gas menu: , .
5Confirm selection: .
OK
OK
OKOK
General notes 3

Content
See also
Functional overview
, p. 60.
General notes ........................................................................................2
Content ..................................................................................................4
A. Safety advice ........................................................................................7
B. Intended purpose ..................................................................................9
C. Product description ............................................................................10
C.1 Measuring instrument ..................................................................10
C.1.1 Overview ..................................................................................10
C.1.2 Keypad ....................................................................................11
C.1.3 Display ....................................................................................11
C.1.4 Instrument connections ............................................................12
C.1.5 Interfaces ................................................................................13
C.1.6 Components ............................................................................13
C.1.7 Carrying strap ........................................................................14
C.2 Modular flue gas probe ................................................................14
D. Commissioning ....................................................................................14
E. Operation ............................................................................................15
E.1 Mains unit/rechargeable battery ..................................................15
E.1.1 Changing the battery ..............................................................15
E.1.2 Charging batteries ....................................................................16
E.1.3 Operation with the mains unit ..................................................16
E.2 Probes/sensors ..........................................................................17
E.2.1 Connecting probes/sensors ....................................................17
E.2.2 Replacing the probe module ....................................................18
E.3 Regular care ................................................................................18
E.3.1 Condensate trap ......................................................................18
E.3.2 Checking/replacing the particle filter ........................................19
Content
4

E.4 Basic operating steps ..................................................................19
E.4.1 Switching the measuring instrument on ....................................19
E.4.2 Calling up the function ............................................................20
E.4.3 Entering values ........................................................................20
E.4.4 Printing data ............................................................................21
E.4.5 Saving data ..............................................................................21
E.4.6 Confirming an error message ..................................................21
E.4.7 Switching the measuring instrument off ....................................21
E.5 Memory ......................................................................................22
E.5.1 Folders ....................................................................................22
E.5.2 Location ..................................................................................23
E.5.3 Protocols ................................................................................24
E.5.4 Extras Memory ........................................................................25
E.6 Instrument diagnosis ..................................................................26
F. Configuration ......................................................................................26
F.1 Instrument settings ......................................................................27
F.1.1 Display edit ..............................................................................27
F.1.2 Printer ......................................................................................28
F.1.3 Start keys edit ..........................................................................29
F.1.4 AutoOff ....................................................................................29
F.1.5 Communication ........................................................................30
F.1.6 Date/Time ..............................................................................30
F.1.7 Language ................................................................................30
F.2 Sensor settings ............................................................................31
F.3 Fuels ..........................................................................................35
G. Measuring ............................................................................................36
G.1 Preparing measurements ............................................................36
G.1.1 Zeroing phases ........................................................................36
G.1.2 Using the modular flue gas probe ............................................37
G.1.3 Configuring the reading display ................................................37
G.1.4 Set location/fuel ......................................................................37
G.2.1 Flue gas, Flue gas + m/s, Flue gas + Dp2 ................................38
G.2.2 Program ..................................................................................39
G.2.3 Draught ....................................................................................40
G.2.4 Smoke#/HCT ..........................................................................40
G.2.5 Gas flow rate ..........................................................................41
G.2.6 Oil flow rate ..............................................................................42
G.2.7 m/s ..........................................................................................42
G.2.8 Dp2 ........................................................................................43
G.2.9 Burner control ..........................................................................43
Content 5

H. Transferring data ................................................................................45
H.1 Protocol printer ............................................................................45
I. Care and maintenance ........................................................................46
I.1 Cleaning the measuring instrument ..............................................46
I.2 Replacing sensors ......................................................................46
I.3 Filter for CO, H2-comp., NO exchanging sensors ......................47
I.4 Recalibrating sensors ..................................................................47
I.5 Cleaning the modular flue gas probe ............................................48
I.6 Replacing probe preliminary filter ................................................48
I.7 Replacing thermocouple ..............................................................48
J. Questions and answers ......................................................................49
K. Technical data ....................................................................................50
K.1 Standards and tests ....................................................................50
K.2 Measuring ranges and accuracies ..............................................50
K.3 Other instrument data ..................................................................52
K.4 EC declaration of conformity ........................................................53
K.5 Principles of calculation ..............................................................53
K.5.1 Fuel parameters ......................................................................54
K.5.2 Calculation formulae ................................................................54
K.6 Recommended rinsing times ......................................................57
L. Accessories/spare parts ....................................................................58
Functional overview ............................................................................60
Content
6

A. Safety advice
Avoid electrical hazards:
Never use the measuring instrument and probes to measure on or near live parts!
Protect the measuring instrument:
Never store the measuring instrument/sensors together with solvents
(e.g. acetone). Do not use any desiccants.
Product with Bluetooth® (Option)
Changes or modifications, which are not expressly approved by the responsible official
body, can lead to a withdrawal of operating permission.
Interference with data transfer can be caused by instruments which transmit on
the same ISM band, e.g. microwave ovens, ZigBee
The use of radio connections is not allowed in e.g. aeroplanes and hospitals. For this
reason, the following point must be checked before entering:
Deactivate Bluetooth function
Inst’ settings Communication Select IrDA
Product safety/
preserving warranty claims:
Operate the measuring instrument only within the parameters specified in the Techni-
cal data.
Handle the measuring instrument properly and according to its intended purpose.
Never apply force!
Temperatures given on probes/sensors relate only to the measuring range of the
sensors. Do not expose handles and feed lines to any temperatures in excess of
70 °C unless they are expressly permitted for higher temperatures.
Open the measuring instrument only when this is expressly described in the instruc-
tion manual for maintenance purposes.
Carry out only the maintenance and repair work that is described in the instruction
manual. Follow the prescribed steps exactly. For safety reasons, use only original
spare parts from Testo.
OKOKOK
A. Safety advice 7

Any additional work must only be carried out by authorised personnel. Testo will
otherwise refuse to accept responsibility for the proper functioning of the measuring
instrument after repair and for the validity of certifications.
Ensure correct disposal:
Dispose of defective rechargeable batteries and spent batteries at the collection
points provided for that purpose.
Send the measuring instrument directly to us at the end of its useful life. We will ensu-
re that it is disposed of in an environmentally friendly manner.
A. Safety advice
8

B. Intended purpose
This chapter describes the areas of application for which the measuring instrument is
intended.
The testo 340 is a handheld measuring instrument used in professional flue gas analysis
for:
· Engineers servicing/monitoring industrial combustion plants (process systems, power
stations)
· Emissions inspectors
· Engine manufacturers and operators
· Service engineers/mechanics of burner/boiler manufacturers in the industrial sector
Typical measuring tasks and particular characteristics of the testo 340 include:
· Measurement on industrial engines (CO/NO dilution)
· Measurement on gas turbines (high precision CO and NO plus optional dilution)
· Emissions measurement (integrated flow speed and differential pressure measurement)
testo 340 should not be used:
· for continuous measurements > 2 h
· as a safety (alarm) instrument
The testo 340 with the Bluetooth option may only be operated in countries in which it
is type approved (see Technical Data).
B. Intended purpose 9

C. Product description
This chapter provides an overview of the individual components of the product.
C.1 Measuring instrument
C.1.1 Overview
Infrared interface
Do not point infrared beam at
people's eyes!
Interfaces: USB, PS2
On/Off switch
Condensate trap (on rear)
Attachment for carrying strap (on rear)
Magnetic holders (on rear)
Strong magnets
Damage ttooother iinstruments!
Keep well away from
products which could be
damaged through the
effects of magnetism (e.g.
monitors, computers, heart
pacemakers, credit cards).
Display
Service cover (on rear)
Keypad
Instrument connections: flue gas probe,
sensor, pressure probe, mains unit, gas
outlet
Placeholder:
Pbersicht.tif
C. Product description
10
Other manuals for 340
3
Table of contents
Other TESTO Measuring Instrument manuals

