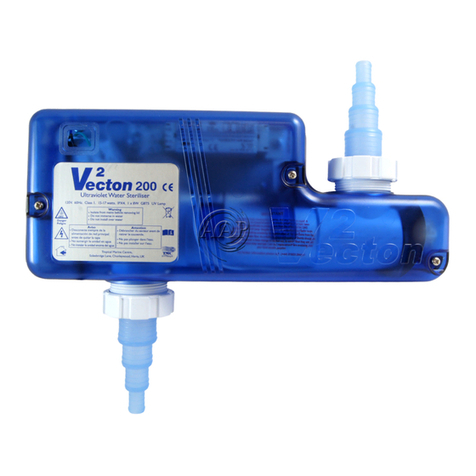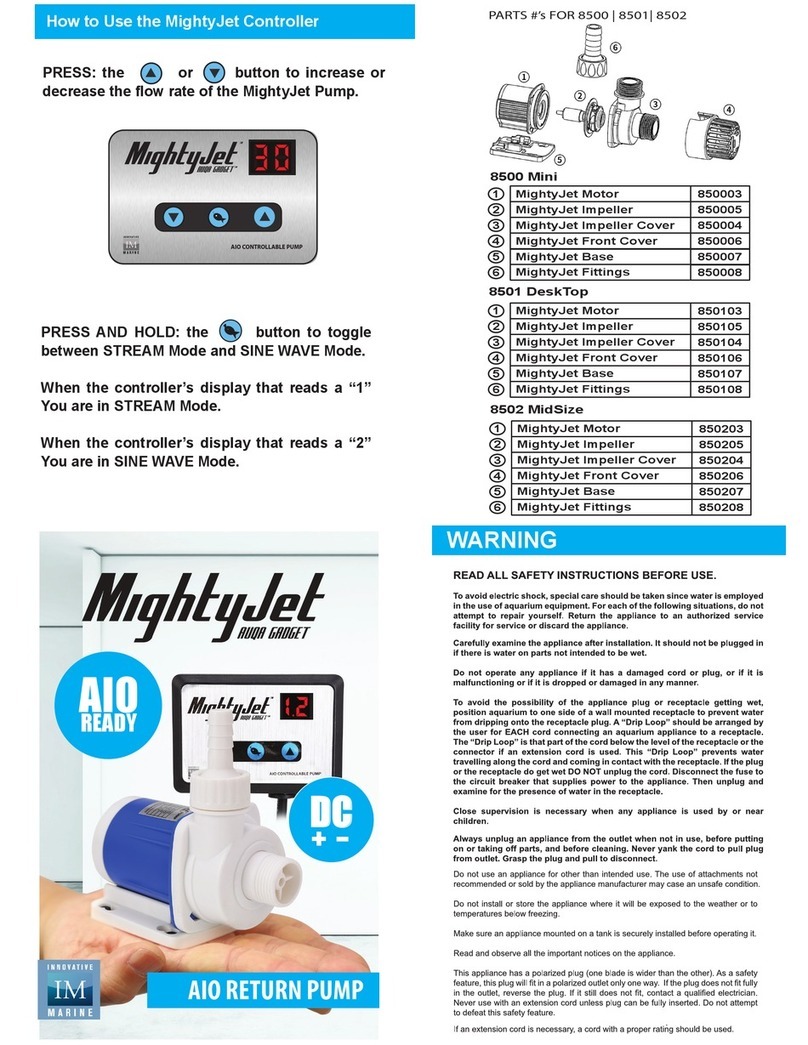
Este dispositivo se suministra para su uso con el Esterilizador
UV de Acuario V2ecton y el Clarificador UV para Estanques Pond Clear
Advantage.
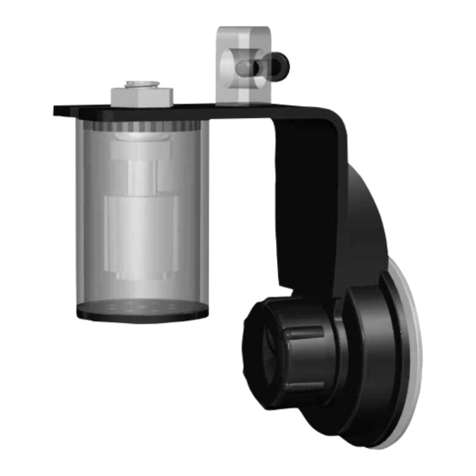
El codo tiene dos funciones
En el Pond Clear Advantage aumentará el brillo seguro visible de la lámpara UV
situada dentro de la unidad UV.
En el V2ecton ofrece diversas orientaciones del tubo flexible.
Tal y como muestra el diagrama, el extremo con la contratuerca roscada se
puede instalar tanto en la entrada como en la salida de la unidad UV.
Es importante colocar correctamente la junta A en la boca de la
entrada/salida UV y sujetarla entre esta boca y la boca del codo
transparente. Es importante usar la junta A en esta posición y no la
junta B. La junta A se suministra con el codo transparente y está hecha
de un material más suave que la junta B. La junta B se suministra con
la unidad UV original.
Procedimiento de instalación:
1. Coloque la derivación de la manguera en el extremo del codo transparente tal
y como se muestra en el diagrama y como se explica en el manual de
instrucciones de la unidad UV.
2. Coloque el tubo flexible (no incluido) en la derivación de la manguera.
3. Coloque toda la unidad montada del codo transparente y la derivación de la
manguera en la entrada/salida de la unidad UV asegurándose de que la junta A
está correctamente posicionada tal y como se ha descrito anteriormente.
Ahora debe apretar la contratuerca en la entrada/salida asegurándose de que
está bien apretada a mano para impedir escapes de agua.
OSBERVE QUE
La unidad montada del codo transparente y la derivación de la manguera no
puede soportar un peso excesivo. Si tiene tramos de tubo de plástico largos o
incómodos, debe sujetarlos para impedir que supongan un peso excesivo para la
unidad completa.
Si se gira la unidad de codo transparente y derivación de la manguera después de
estar conectada a la entrada/salida UV, debe volver a apretar la contratuerca para
garantizar que la unidad mantenga aún el sello hermético.
Si se golpea o se cae la unidad de codo transparente y derivación de la manguera,
o si se han realizado labores de mantenimiento, debe revisar la unidad de codo
transparente y derivación de la manguera para asegurarse de que siga
correctamente colocada.
En caso de no seguir estas instrucciones o no realizar las comprobaciones
indicadas anteriormente, se podrían producir escapes de agua. Si tiene
alguna duda, compruebe ue la unidad está hermética.
Este acessório é fornecido para uso com o Esterilizador UV
de Aquários V2ecton e o Clarificador UV para Lagos Pond Clear
Advantage.
O cotovelo tem duas funções -
No ‘Pond Clear Advantage’ aumentará o brilho visível seguro da lâmpada de UV
que se encontra situada dentro da unidade de UV.
No ‘V2ecton’ oferece uma variedade de orientações de tubos flexíveis.
Como mostrado no diagrama, a extremidade com a contraporca roscada montada
pode ser adaptada ou na entrada ou na saída da unidade de UV.
É da maior importância assentar correctamente a junta A sobre a face
da entrada/saída de UV e encaixá-la entre esta face e a face do cotovelo
transparente. É da maior importância usar a junta A nesta posi ão e
não a junta B. A junta A é fornecida com o cotovelo transparente e é
feita de um material mais macio do que a junta B. A junta B é fornecida
com a unidade original de UV.
Como fazer a montagem:
1. Monte a ponta da mangueira no cotovelo transparente como é mostrado no
diagrama e como é explicado no livro de instruções da unidade de UV.
2. Monte a sua mangueira flexível (não fornecida) na ponta da mangueira.
3. Monte o conjunto do cotovelo transparente/ponta da mangueira completo na
entrada/saída da unidade de UV, certificando-se de que a junta A é assentada
correctamente como descrito acima. Agora, aperte a contraporca montada na
entrada/saída, certificando-se de que foi bem apertada manualmente para
impedir derrames de água.
É FAVOR NOTAR:
O conjunto do cotovelo transparente/ponta da mangueira não pode suportar
peso excessivo. Portanto, se tiver extensões longas ou difíceis de mangueiras de
plástico estas devem ser apoiadas, para evitar que o conjunto completo seja
sobre-esforçado.
Se o conjunto do cotovelo transparente/ponta da mangueira for rodado depois de
ter sido ligado à entrada/saída de UV, a contraporca montada tem de ser re-
alinhada para assegurar que ainda há uma boa vedação à prova de água.
Se o conjunto do cotovelo transparente/ponta da mangueira, acidentalmente,
bater ou for atirado contra qualquer coisa, ou se a manutenção não foi feita, o
cotovelo transparente/ponta da mangueira deve ser verificado para certificar-se
de que continua posicionado e montado correctamente.
Se estas instruções não forem cumpridas ou não forem feitas as
verificações acima mencionadas pode resultar em derrames de água. Em
caso de dúvida, certifi ue-se sempre de ue o conjunto tem uma boa
vedação à prova de água.
L’accessorio con raccordo a gomito viene utilizzato nello
Sterilizzatore UV di Acquari V2ecton e nel Chiarificatore UV per Vasca
Pond Clear Advantage.
Il raccordo a gomito ha due funzioni
Nel Pond Clear Advantage aumenta la luminescenza della lampada a raggi UV
posizionata nell'unità UV.
Nello V2ecton consente di orientare le tubazioni in maniera flessibile.
Come si vede dal diagramma, l'estremità con il controdado filettato può essere
raccordata con l'ingresso o l'uscita dell'unità UV.
È importante posizionare correttamente la guarnizione A sulla faccia
dell'ingresso/uscita UV e stringerla tra la stessa e quella del raccordo a
gomito. In questa posizione è importante usare la guarnizione A e non
la guarnizione B. La guarnizione A è completa del raccordo a gomito
ed è in materiale più morbido della guarnizione B. La guarnizione B è
fornita con l'originale unità UV.
Procedura di montaggio:
1. Inserire la resca nell'estremità del raccordo a gomito come mostrato nel
diagramma e spiegato nel libretto di istruzione dell'unità UV.
2. Inserire il proprio tubo flessibile (non fornito) nella resca.
3. Inserire l'insieme raccordo a gomito/resca nell'ingresso/uscita dell'unità UV,
assicurandosi che la giunzione A sia posizionata correttamente come descritto
sopra. Il controdado su misura deve essere ora serrato sull'ingresso/uscita,
assicurandosi che sia ben serrato a mano per evitare eventuali perdite di
acqua.
N.B.
L'insieme raccordo a gomito/resca non può sostenere pesi eccessivi. Se si
utilizzano tubi di plastica lunghi o a serpentina è necessario dotarli di sostegno
per evitare un'eccessiva tensione dell'insieme.
Se l'insieme raccordo a gomito/resca viene ruotato dopo essere stato collegato
all'ingresso/uscita UV, il controdado su misura deve essere serrato nuovamente
per assicurarne la tenuta stagna.
Se l'insieme raccordo a gomito/resca viene colpito o urtato per errore, o se si è
svolto un intervento di manutenzione, si consiglia di controllare l'insieme
raccordo a gomito/resca per assicurarsi che sia ancora posizionato e inserito
correttamente.
Se non si seguono le presenti istruzioni o non si svolgono i succitati controlli
potrebbe verificarsi una perdita d'ac ua. In caso di dubbio, controllare che
l'insieme sia a tenuta stagna.
Данная деталь предназначена для использования вместе с
аквариумным стерилизатором V2ecton и ультрафиолетовым
осветлителем водоемов Pond Clear Advantage UV.
У патрубка две функции:
Для блока Pond Clear Advantage – усиление безопасного видимого свечения
ультрафиолетовой лампы, находящейся внутри ультрафиолетового блока.
Обеспечение ориентации гибкой трубки стерилизатора V2ecton в разных
направлениях.
Как показано на рисунке, конец патрубка, на котором установлена
резьбовая стопорная гайка, можно устанавливать либо на входе, либо на
выходе ультрафиолетового блока.
Важно правильно расположить уплотнительную прокладку «A» на
ли евой поверхности входа/выхода ультрафиолетового блока,
поместив ее между этой поверхностью и поверхностью сквозного
патрубка. В этой пози ии нужно обязательно использовать прокладку
«A», а не «B». Прокладка «A» входит в комплект сквозного патрубка.
Она сделана из более мягкого материала, чем прокладка «B». Прокладка
«B» входит в исходный комплект ультрафиолетового блока.
Порядок установки:
1. Подсоедините переходник для лага к концу сквозного патрубка, как
показано на рисунке и описано в инструкции к ультрафиолетовому блоку.
2. Подсоедините гибкий ланг (в комплект не входит) к переходнику.
3. Подсоедините собранный узел сквозного патрубка/переходника ко
входу/выходу ультрафиолетового блока, проследив за тем, чтобы
прокладка «A» была правильно помещена, как описано вы е.
Установленную стопорную гайку теперь нужно вручную затянуть на
входе/выходе, так чтобы исключить просачивание воды.
ВНИМАНИЕ!
Собранный узел сквозного патрубка/переходника не выдерживает
избыточного веса. Если некоторые участки пластмассового ланга
сли ком длинны или проходят в необычных местах, для них необходимо
обеспечить опоры во избежание перегрузки смонтированного узла.
Если собранный узел сквозного патрубка/переходника был повернут после
подсоединения ко входу/выходу ультрафиолетового блока, необходимо
затянуть установленную на нем гайку, чтобы обеспечить хоро ую
водонепроницаемость.
Если собранный узел сквозного патрубка/переходника испытал случайное
падение или удар, или ремонтировался, его необходимо заново проверить
на правильность расположения и установки.
Несоблюдение этих указаний или невыполнение указанной проверки
может привести к просачиванию воды
.
При наличии сомнений всегда
проверяйте узел на водонепрони аемость
.
