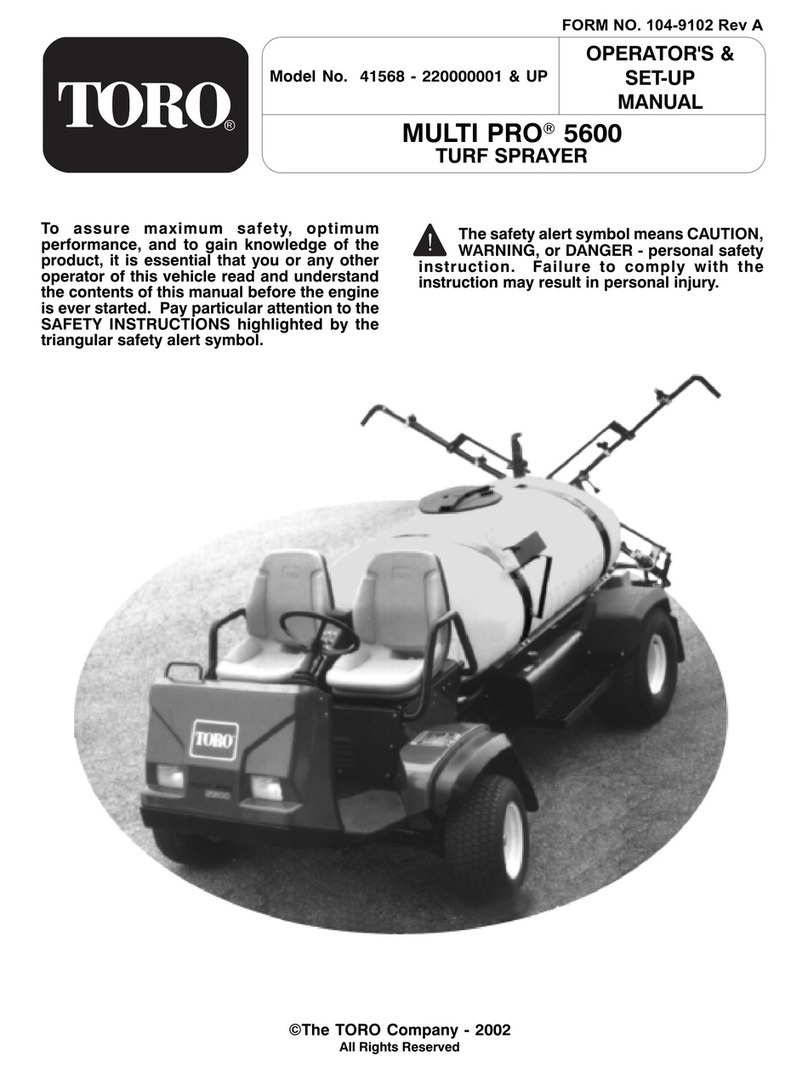
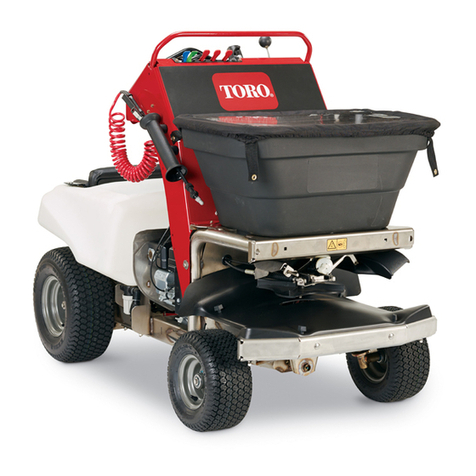
Toro Multi Pro 41602 User manual
Other Toro Paint Sprayer manuals
Toro
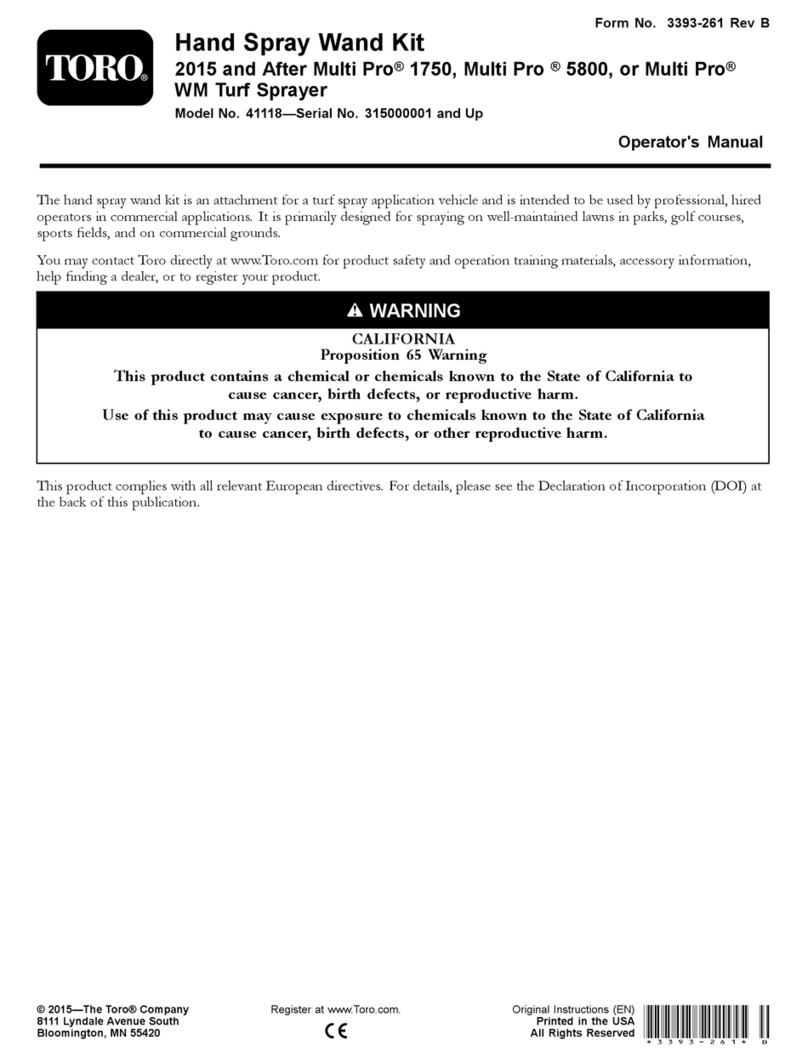
Toro Multi Pro 41118 User manual
Toro
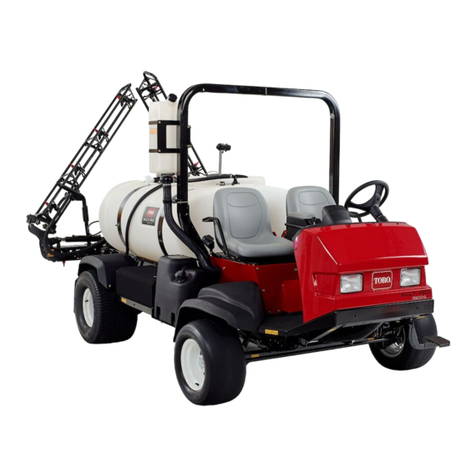
Toro 41593 User manual
Toro
Toro 41440 Specifications
Toro
Toro SprayMaster 34246 User manual
Toro
Toro Multi Pro 5800-D User manual
Toro
Toro Multi Pro 1750 User manual
Toro
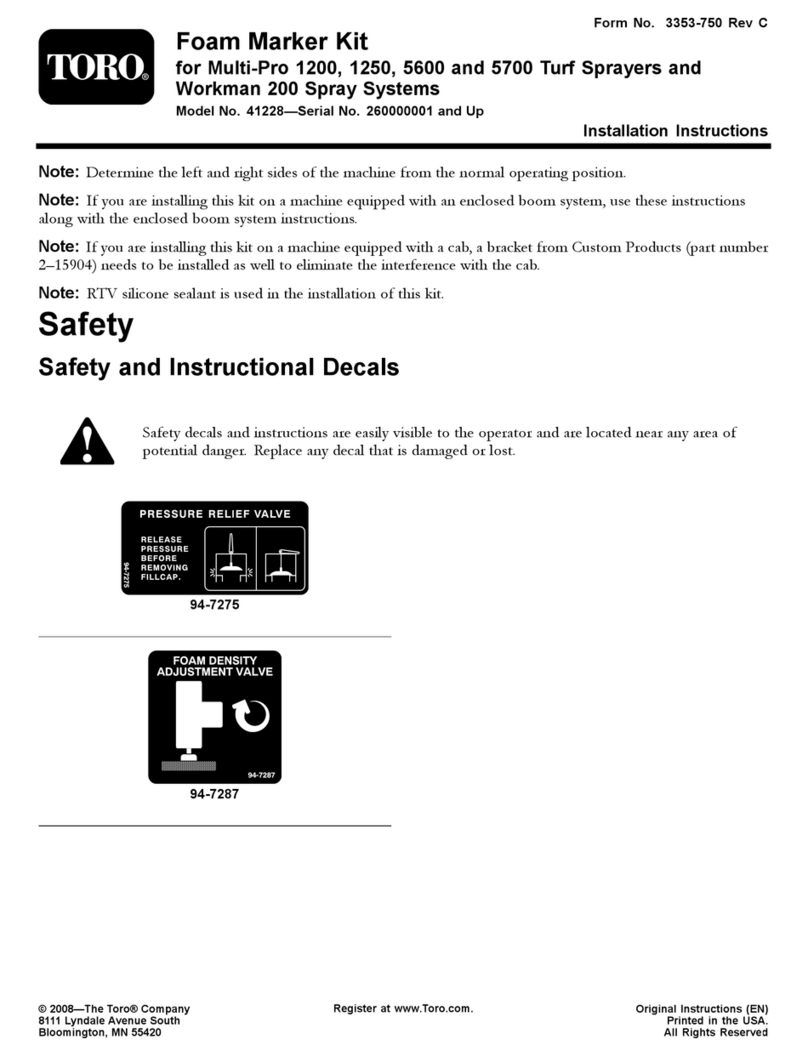
Toro 41228 User manual

Toro
Toro 34230 User manual

Toro
Toro Multi Pro 5800 User manual

Toro
Toro Multi-Pro 5800 User manual

Toro
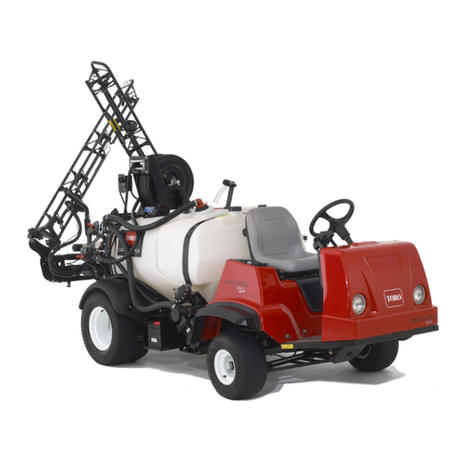
Toro Multi-Pro 1250 User manual

Toro
Toro Ultra Sonic Boom 133-2808 User manual
Toro
Toro 41177 Multi-Pro 1250 User manual
Toro
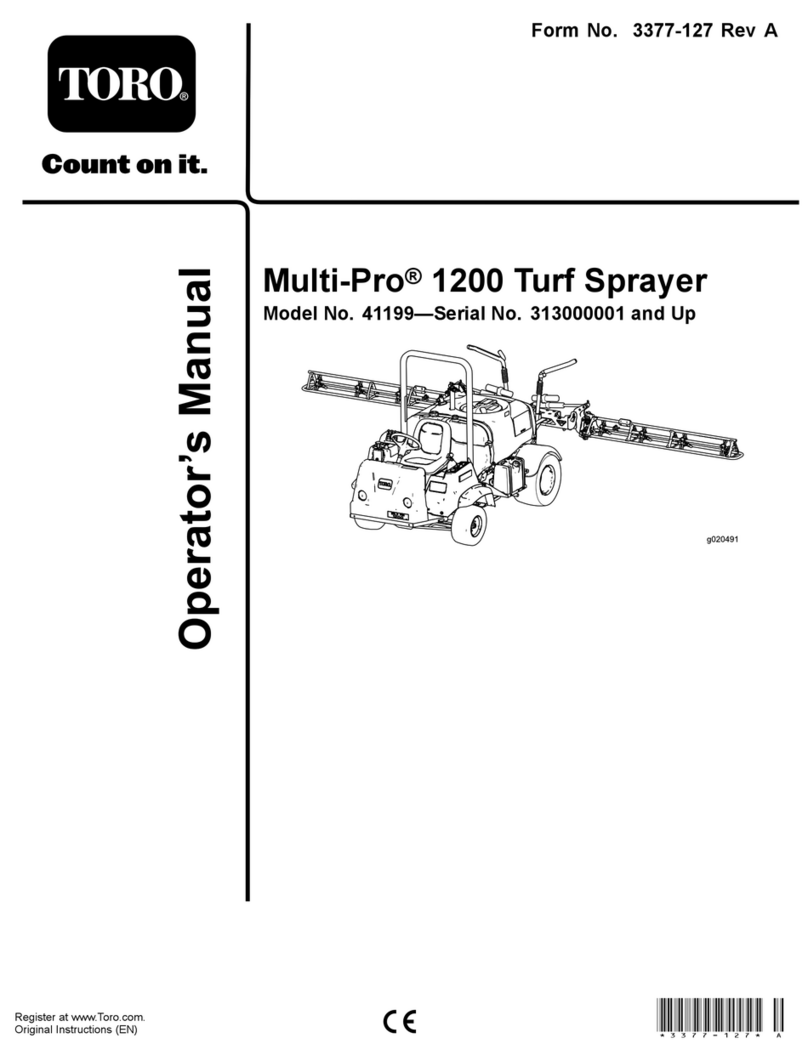
Toro 41199 User manual

Toro
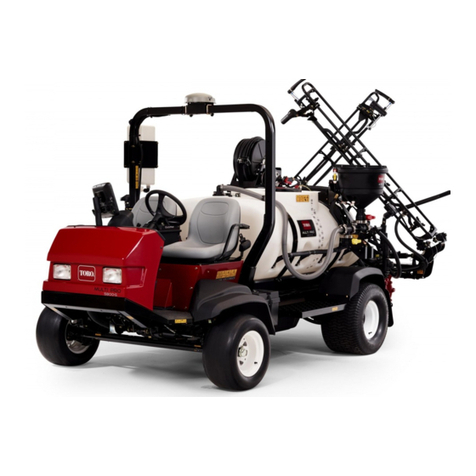
Toro Multi Pro 1750 User manual
Toro
Toro Multi Pro 5800-G User manual
Toro
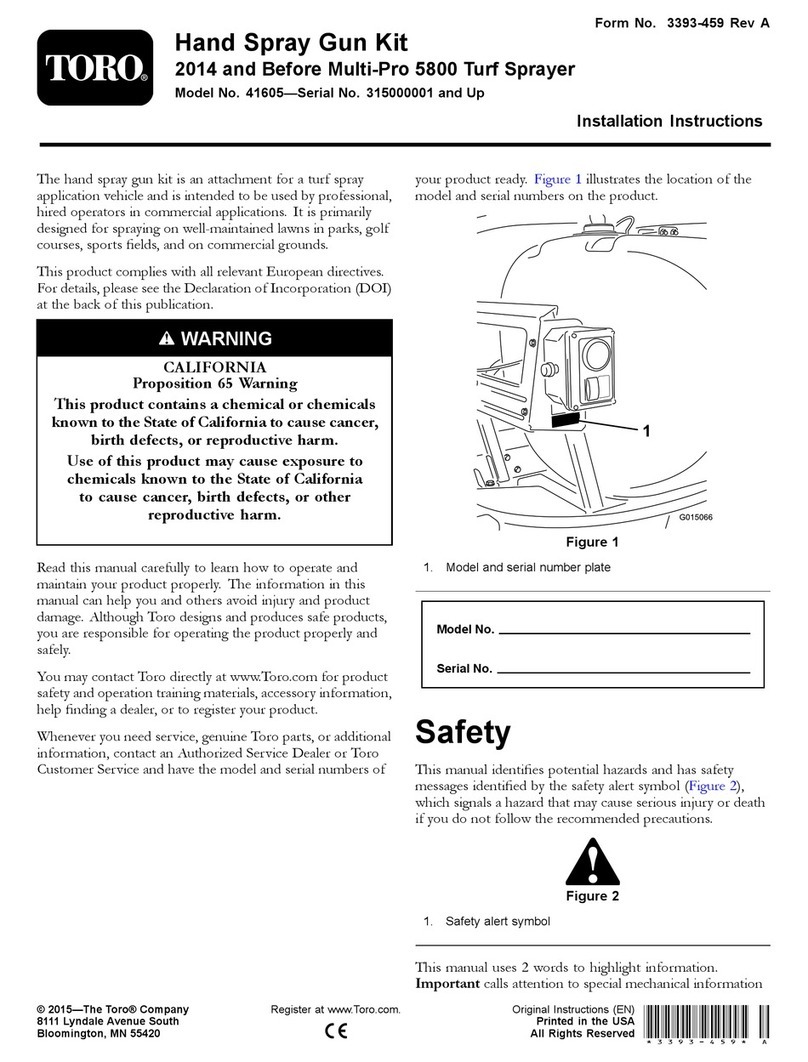
Toro 41605 User manual

Toro
Toro Multi Pro 41240 User manual

Toro
Toro Multi-Pro 5800 User manual
Toro
Toro GeoLink 41624 User manual
Popular Paint Sprayer manuals by other brands

zogics
zogics Z-DAS instruction manual

KISANKRAFT
KISANKRAFT KK-KBS-165 Operation manual

Matrix
Matrix SG 650 Translation of the original instructions

Anest Iwata
Anest Iwata SGA-3 Installation, use & maintenance instruction manual

paasche
paasche VV Instructions and parts list

Carlisle
Carlisle DeVilbiss JGA-510 Service manual
