manuals.online logo
Brands
  1. Home
  2. •
  3. Brands
  4. •
  5. Toro
  6. •
  7. Paint Sprayer
  8. •
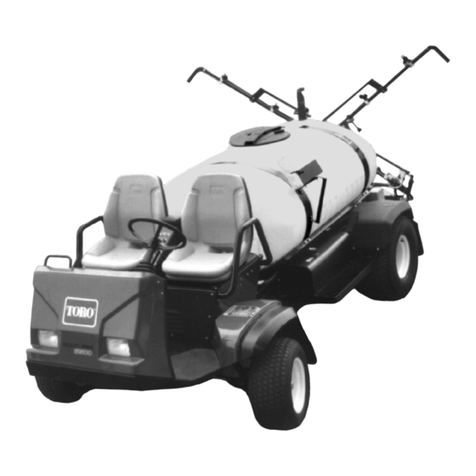
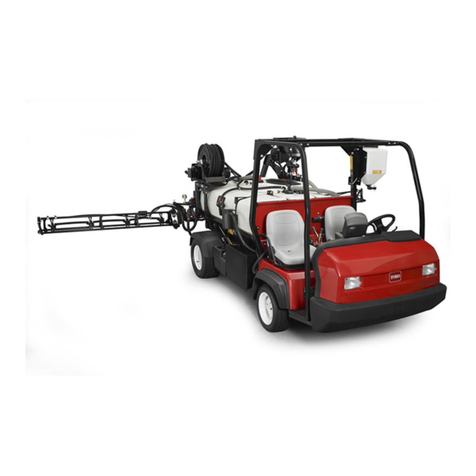
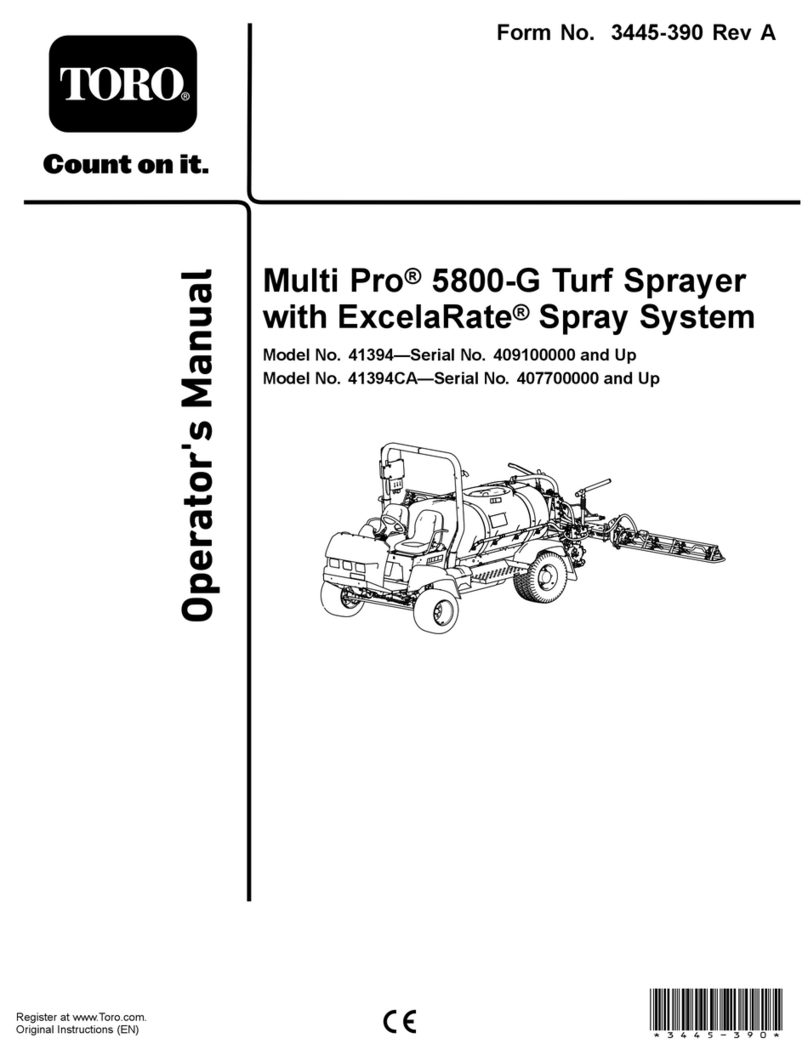
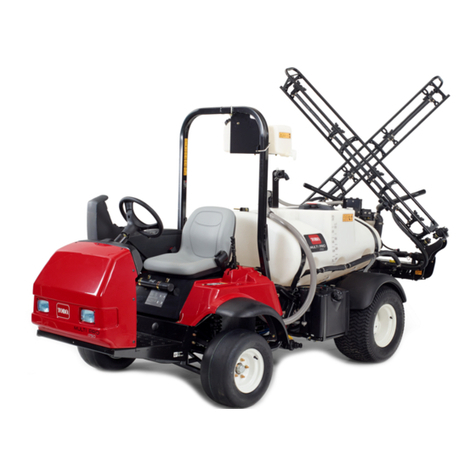
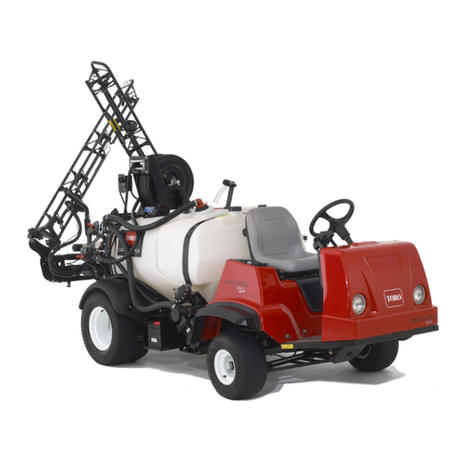
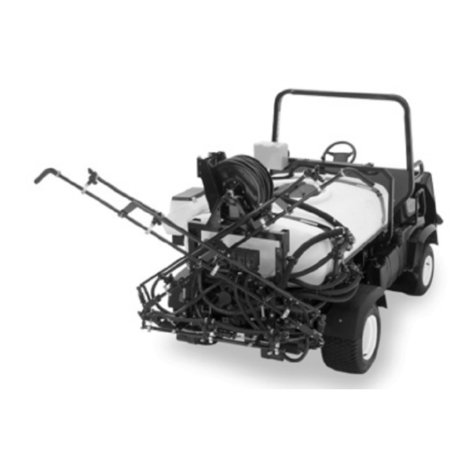
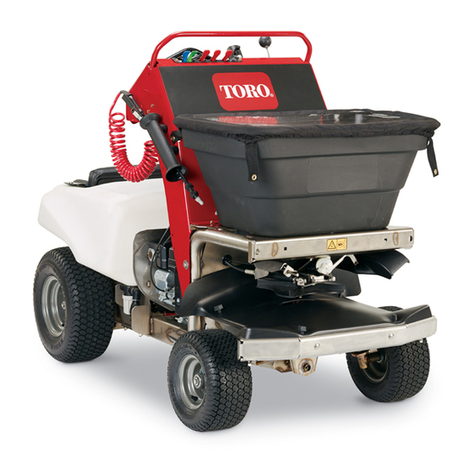
  9. Toro Multi-Pro 5800 User manual

Toro Multi-Pro 5800 User manual

Other manuals for Multi-Pro 5800

4

This manual suits for next models

2

Other Toro Paint Sprayer manuals

Toro Multi Pro 5800 User manual

Toro

Toro Multi Pro 5800 User manual

Toro Multi-Pro 5800 User manual

Toro

Toro Multi-Pro 5800 User manual

Toro Multi Pro 5800-D User manual

Toro

Toro Multi Pro 5800-D User manual

Toro Multi Pro 41602 User manual

Toro

Toro Multi Pro 41602 User manual

Toro Spray Master User manual

Toro

Toro Spray Master User manual

Toro Multi Pro 1750 User manual

Toro

Toro Multi Pro 1750 User manual

Toro 41177 Multi-Pro 1250 User manual

Toro

Toro 41177 Multi-Pro 1250 User manual

Toro Multi Pro 1750 User manual

Toro

Toro Multi Pro 1750 User manual

Toro 41107 User manual

Toro

Toro 41107 User manual

Toro 34215 User manual

Toro

Toro 34215 User manual

Toro MultiPro 1750 User manual

Toro

Toro MultiPro 1750 User manual

Toro 41228 User manual

Toro

Toro 41228 User manual

Toro Multi Pro 5800-G User manual

Toro

Toro Multi Pro 5800-G User manual

Toro 125-8120 User manual

Toro

Toro 125-8120 User manual

Toro 41229 User manual

Toro

Toro 41229 User manual

Toro 41621 User manual

Toro

Toro 41621 User manual

Toro Multi Pro 1750 User manual

Toro

Toro Multi Pro 1750 User manual

Toro Multi-Pro 5800 User manual

Toro

Toro Multi-Pro 5800 User manual

Toro 41086 User manual

Toro

Toro 41086 User manual

Toro Spray Master Series User manual

Toro

Toro Spray Master Series User manual

Toro Ultra Sonic Boom 41218 User manual

Toro

Toro Ultra Sonic Boom 41218 User manual

Toro 41199 User manual

Toro

Toro 41199 User manual

Toro Multi Pro 41240 User manual

Toro

Toro Multi Pro 41240 User manual

Toro 41605 User manual

Toro

Toro 41605 User manual

Popular Paint Sprayer manuals by other brands

Idex Akron Brass FS100 quick start guide

Idex

Idex Akron Brass FS100 quick start guide

mbp TEL 15BS instructions

mbp

mbp TEL 15BS instructions

Solo 425 Classic Original instructions

Solo

Solo 425 Classic Original instructions

WAGNER AirCoat GM 4100 AC operating manual

WAGNER

WAGNER AirCoat GM 4100 AC operating manual

Graco 1095 HI Operation manual

Graco

Graco 1095 HI Operation manual

Titan MultiFinish 440 owner's manual

Titan

Titan MultiFinish 440 owner's manual

Graco GUSMER D Series instructions

Graco

Graco GUSMER D Series instructions

SNOWJOE Sunjoe 24V-GS-LTW-RM Operator's manual

SNOWJOE

SNOWJOE Sunjoe 24V-GS-LTW-RM Operator's manual

Walther FSP-01 Assembly instructions

Walther

Walther FSP-01 Assembly instructions

Fimco LG-4-3-1 owner's manual

Fimco

Fimco LG-4-3-1 owner's manual

Nordson MicroMax 2 manual

Nordson

Nordson MicroMax 2 manual

Bonide 051 Operation and service instructions

Bonide

Bonide 051 Operation and service instructions

zogics Z-DAS instruction manual

zogics

zogics Z-DAS instruction manual

KISANKRAFT KK-KBS-165 Operation manual

KISANKRAFT

KISANKRAFT KK-KBS-165 Operation manual

Matrix SG 650 Translation of the original instructions

Matrix

Matrix SG 650 Translation of the original instructions

paasche VV Instructions and parts list

paasche

paasche VV Instructions and parts list

Carlisle DeVilbiss JGA-510 Service manual
Carlisle

Carlisle DeVilbiss JGA-510 Service manual
Gardena 11120 Operator's manual

Gardena

Gardena 11120 Operator's manual

manuals.online logo
manuals.online logoBrands
  • About & Mission
  • Contact us
  • Privacy Policy
  • Terms and Conditions

Copyright 2025 Manuals.Online. All Rights Reserved.

FormNo.3375-338RevA
CoveredBoomKit
Multi-Pro®5700/5800TurfSprayerwithTruss-StyleBoom
ModelNo.41602—SerialNo.313000001andUp
Operator'sManual
LooseParts
Usethechartbelowtoverifythatallpartshavebeenshipped.
ProcedureDescriptionQty.Use
Centerboombracket2
Boommountplate2
U-nut4
Hexheadscrew,3/8x1-1/4inch2
Model/serialnumberdecal1
Regulatorydecal(119-4986)1
Flangenut(3/8inch)2
Washerplate2
1
Hexheadscrew,5/16x1-1/4inch4
Installthecenterboombracketsand
cover.
Wingboomcover2
Washerplate16
U-nut12
2Hexheadscrew,5/16x1-1/4inch12
Installthewingboomcovers.
Drainvalvemountbracket1
Carriagescrew(3/8x1-1/4inch)2
3Flangenut(5/16inch)2
Installthedrainvalvemountbracket.
4Nopartsrequired–Checkthattheboomcovershaveproper
clearance.
Important:AirinductionFlatFannozzles(AICTeeJet)arerecommendedforusewiththecoveredboomkitto
avoidchemicalbuilduponthecoversduringapplication.RefertoToro'snozzlechartfordetails.
Note:TheSpringUpgradeKit,PartNo.120-8508should
beinstalledwiththeCoveredBoom.
©2012—TheToro®Company
8111LyndaleAvenueSouth
Bloomington,MN55420
Registeratwww.T oro.com.OriginalInstructions(EN)
PrintedintheUSA
AllRightsReserved*3375-338*A
1
InstalltheCenterBoom
BracketsandCover
Partsneededforthisprocedure:
2Centerboombracket
2Boommountplate
4U-nut
2Hexheadscrew,3/8x1-1/4inch
1Model/serialnumberdecal
1Regulatorydecal(119-4986)
2Flangenut(3/8inch)
2Washerplate
4Hexheadscrew,5/16x1-1/4inch
Procedure
1.Attachthemodel/serialnumberdecalandthe
regulatorydecaltooneofthecenterboombracketsas
showninFigure1.
Note:Beforeapplyingthedecals,cleanthedecalarea
andensurethatitisfreeofdirt,grease,orotherforeign
material.
2.Installeachofthe2centerbracketsandboommount
platestothecenterboomusing2hexheadscrews(3/8
x1-1/4inch)and2angenuts(3/8inch)asshown
inFigure1.
Note:Whenmountingthekittoasprayer,usethe
holesinthecenterbrackettoattachthekittotheunit.
WhenmountingthekittoaWorkman,usetheholesin
theboommountplatetoattachthekittotheunit.
3.Installthecentercoverassemblytothecenterboom
bracketsusing4U-nuts2washerplates,and4hexhead
screws(5/16x1-1/4inch)asshowninFigure1.
2
InstalltheWingBoomCovers
Partsneededforthisprocedure:
2Wingboomcover
16Washerplate
12U-nut
12Hexheadscrew,5/16x1-1/4inch
Procedure
1.Orientthespraynozzlesonbothwingboomsstraight
downwardsothatitcantintheholesofthewing
boomcovers.
2.Installoneofthewingboomcovers(Figure1)using8
washerplates,6hexheadscrews(5/16x1-1/4inch),
and6U-nuts.
3.Repeatstep2toinstalltheotherwingboomcover.
3
InstallingtheDrainValve
MountBracket
Partsneededforthisprocedure:
1Drainvalvemountbracket
2Carriagescrew(3/8x1-1/4inch)
2Flangenut(5/16inch)
Procedure
1.Installthedrainvalvemountbracketontothemachine
with2carriagescrewsand2angenuts(5/16inch)as
showninFigure1.
2.Movethedrainvalvefromitsexistingpositionand
installitontothemountingbracket(Figure1)usingthe
existinglynchpinandlanyard.
2
4
CheckingtheClearanceofthe
BoomCovers
NoPartsRequired
Procedure
Verifythatthecenterboomcoverandthewingboomcovers
donotbindwhentheboomsarelowered,andadjustthe
coversasneeded.
3
16
G019670
Figure1
1.Washerplate(18)7.Hexheadscrew,3/8x1-1/4inch(4)13.Model/serialnumberdecal
2.Spraynozzle(properlyoriented)8.Boommountplate(2)14.Centerboomcover
3.Wingboom(2)9.Flangenut,3/8inch(4)15.Wingboomcover(2)
4.Carriagescrew(2)10.U-nut(16)16.Hexheadscrew,5/16x1-1/4inch(16)
5.Drainvalvemountbracket11.Centerboombracket(2)
6.Flangenut,5/16inch(2)12.Regulatorydecal
4