Triton Systems ©
6
TDN 07103-00278 Rev: B
( )
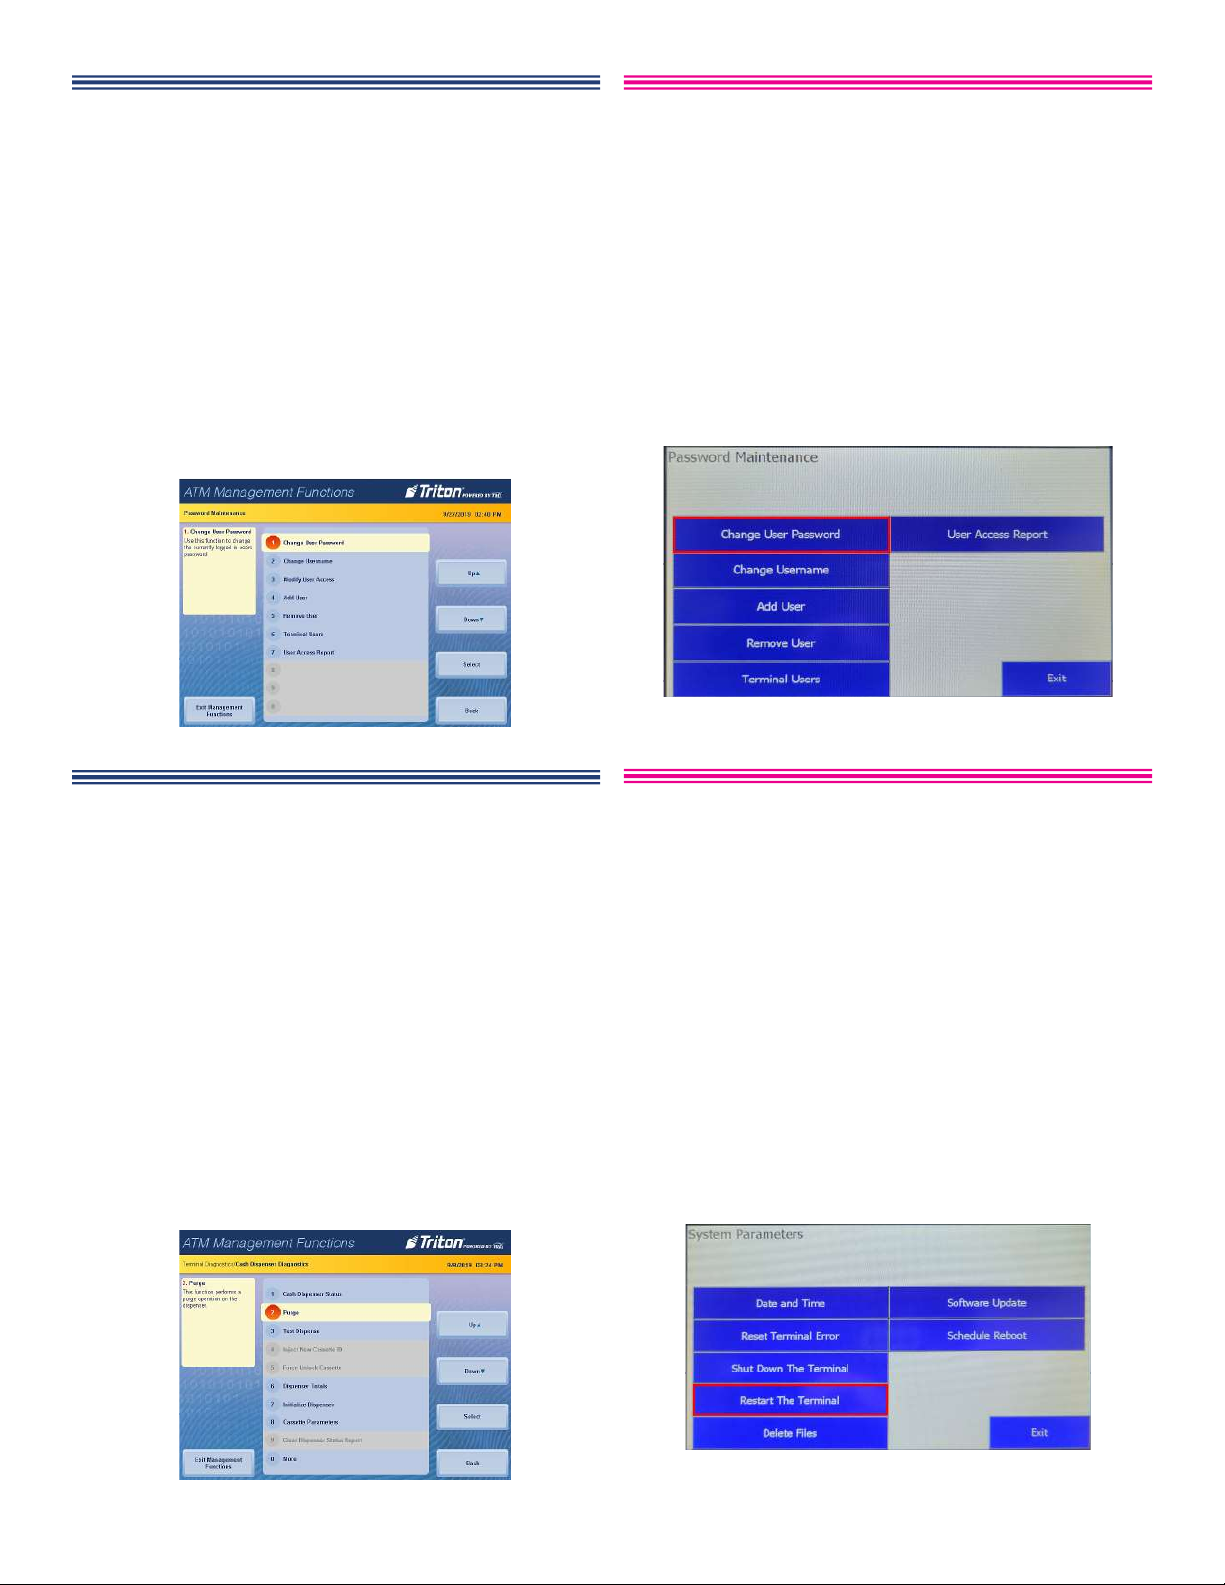
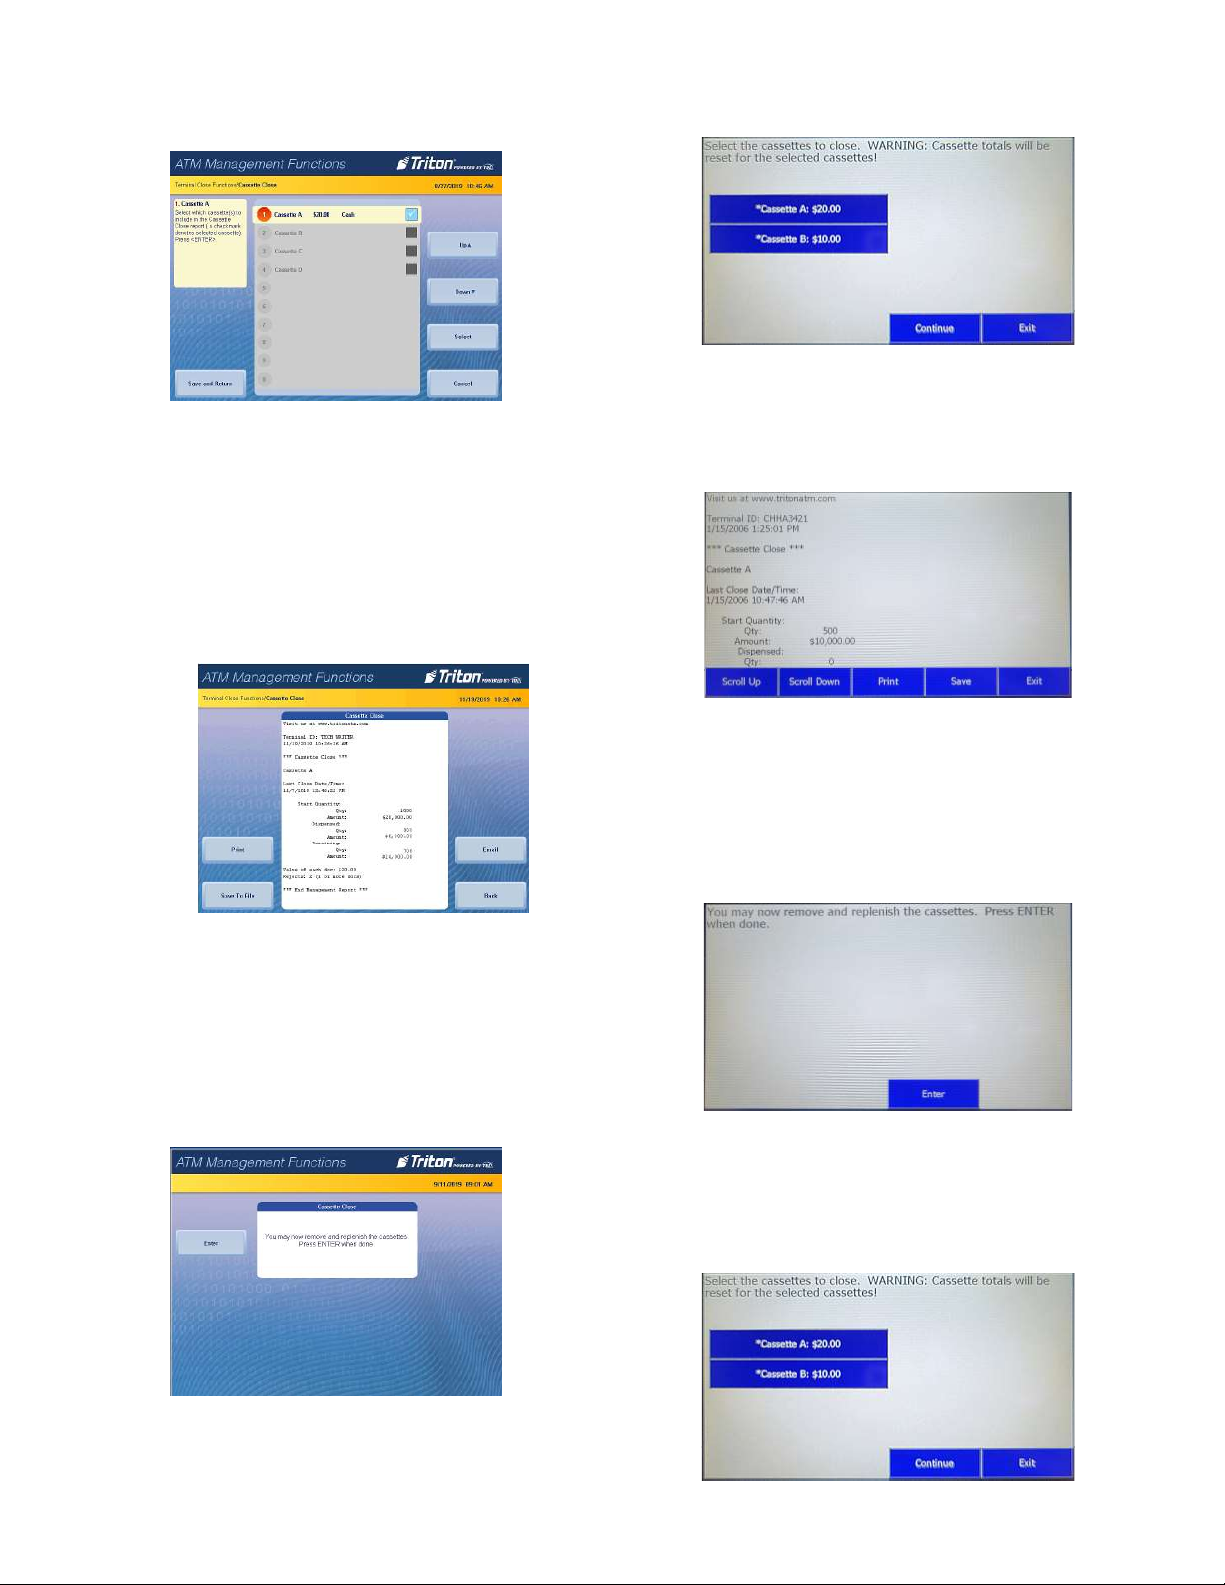
Follow access instructions to enter Management
Functions menu.
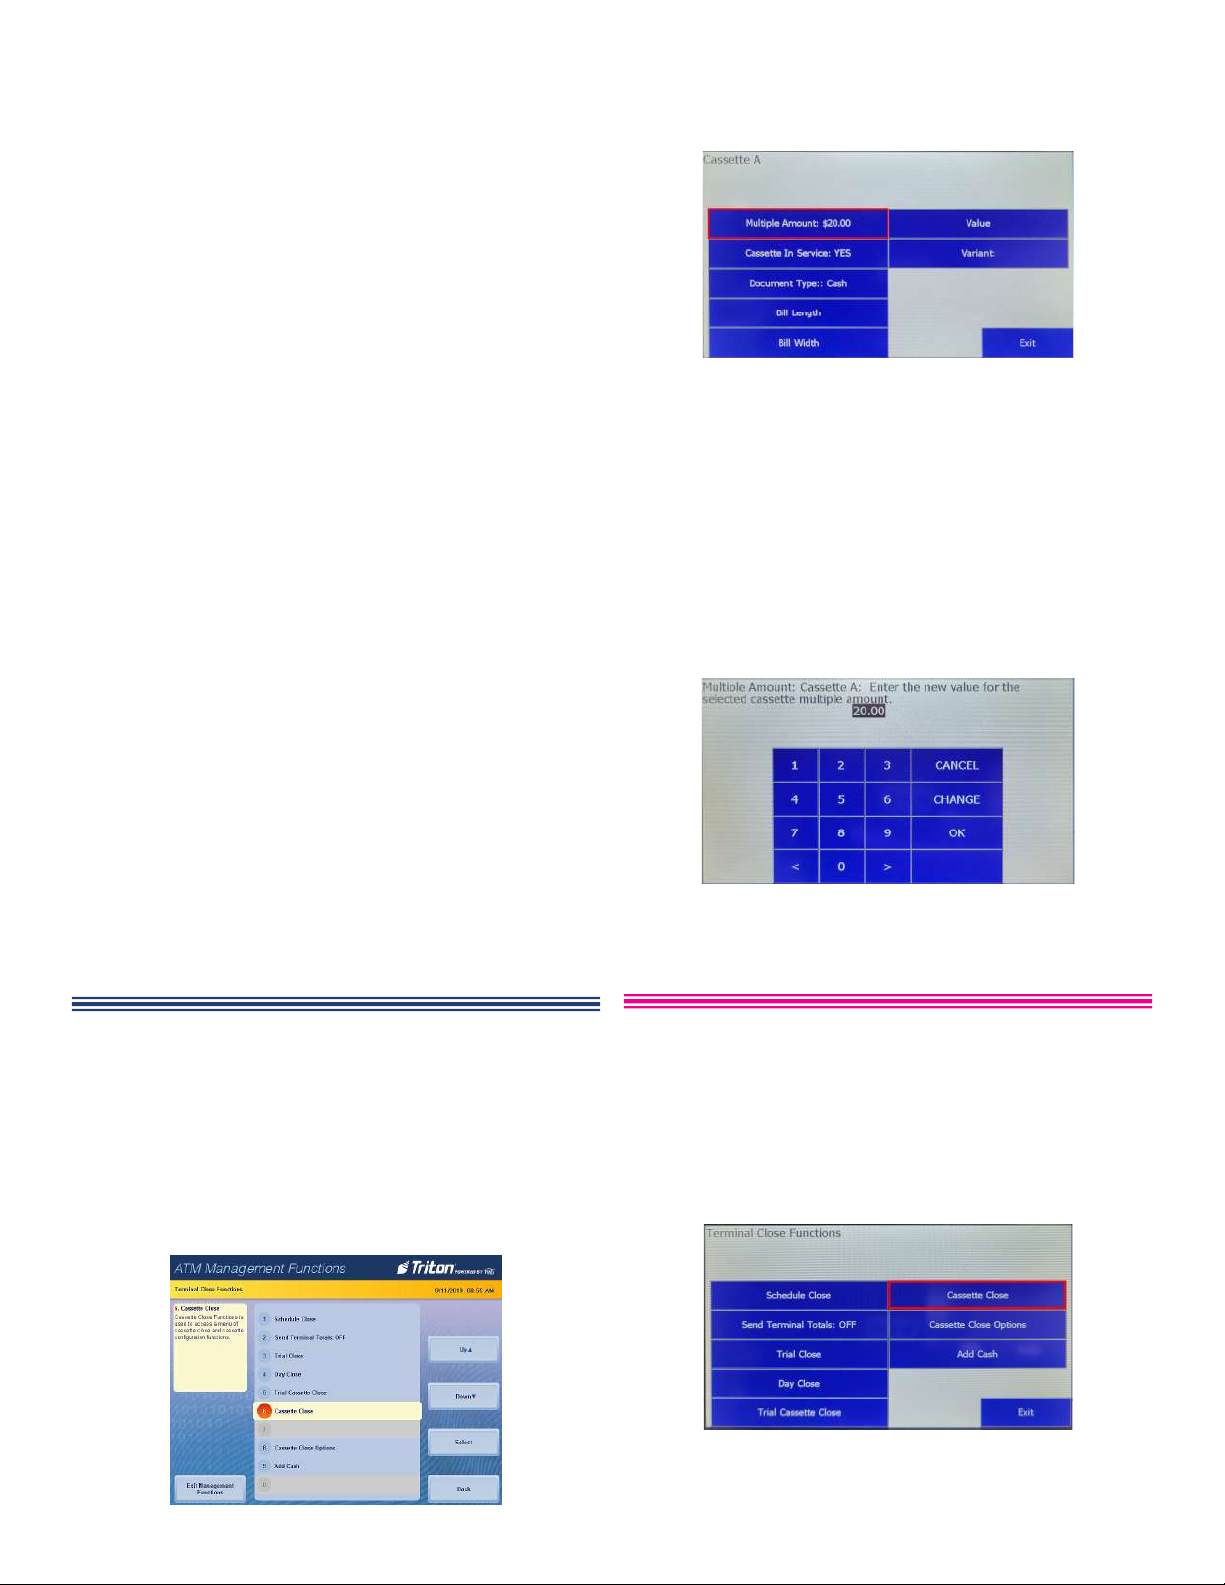
1. Set denomination allows user to enter the type of
document in the cassette, such as cash ($10, $20)
or non-cash (coupons).
2. Open dispenser vault and pull on each cassette,
none should pull out, but need to verify the
dispenser says they are locked..
3. Navigate via Management Functions > Terminal
Con guration (6) > Cassette Setup (4) > Cassette
Parameters (5) > Multiple Amount (9). May hear
the cassette unlock.
4. Remove the cassette from dispenser. Add currency
notes to the cassette. Press Enter.
5. Replace Cassette in dispenser. Will hear the
diverter click-click. Press Enter.
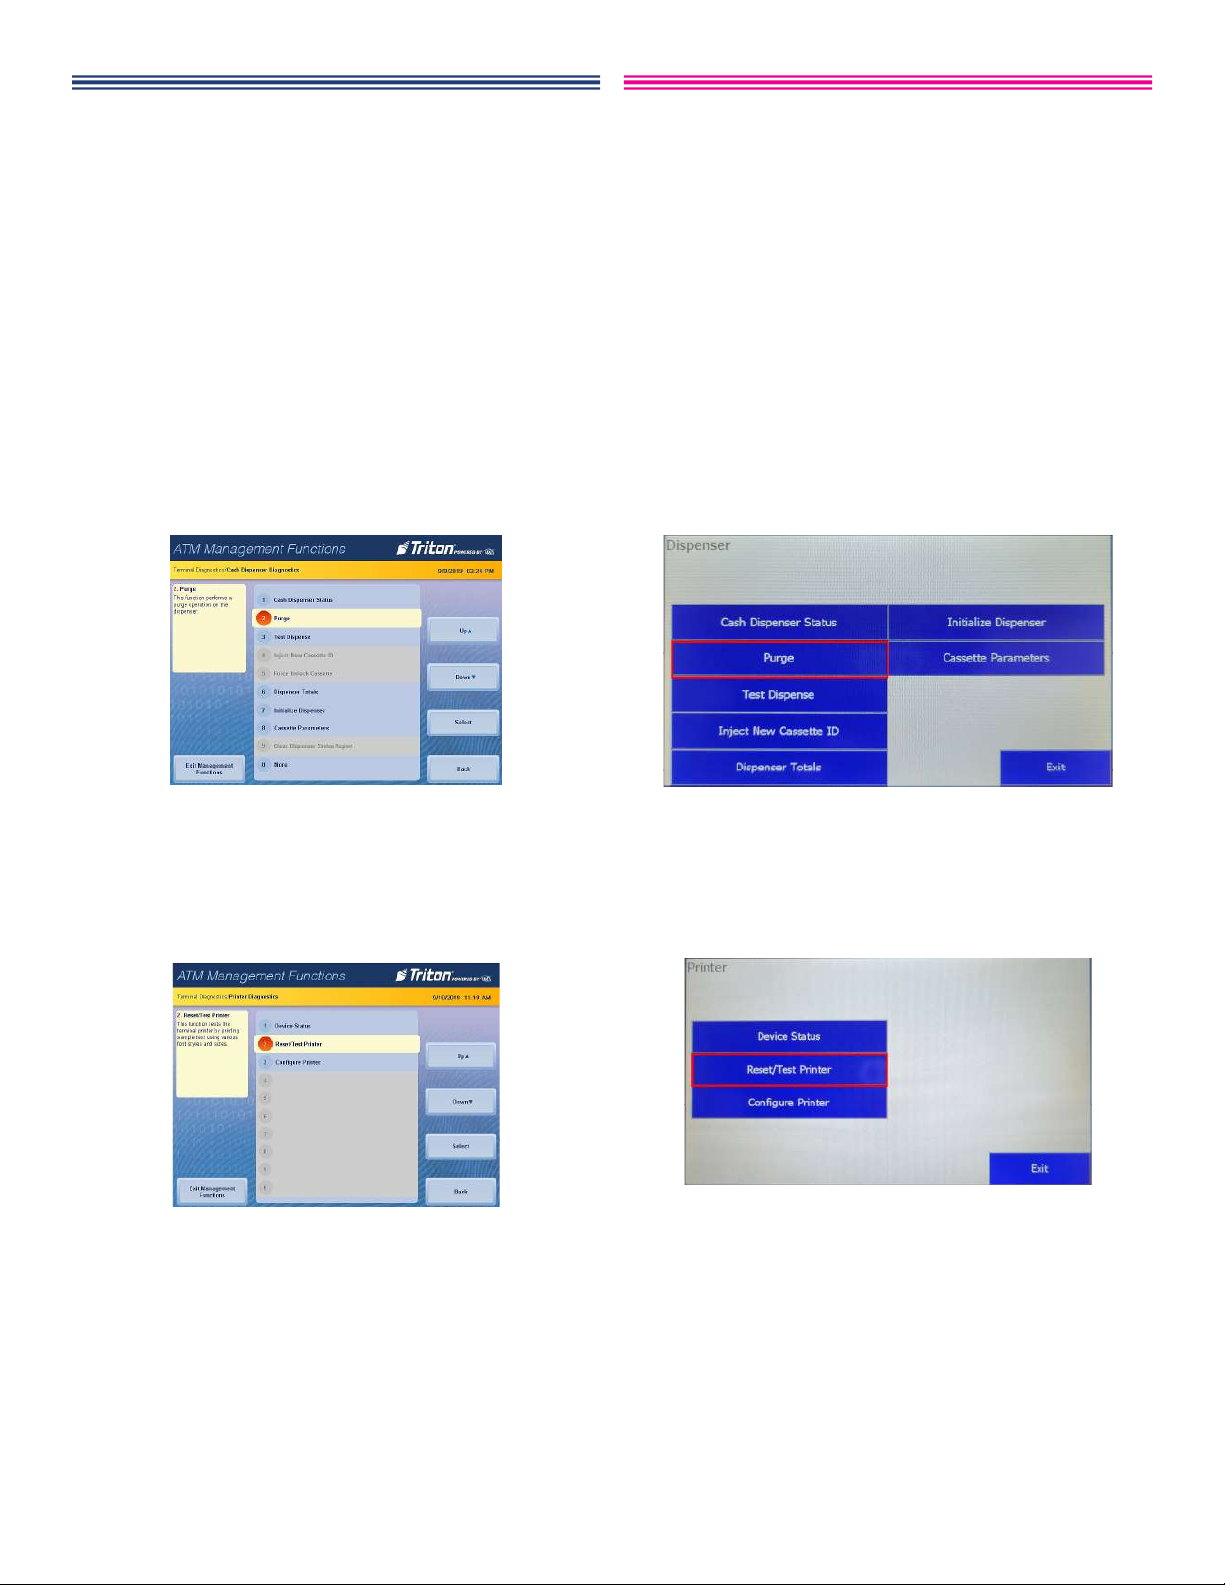
6. Will see ‘Operation in Progress’ and hear the
dispenser pick a bill from the cassette and place in
the Reject cassette.
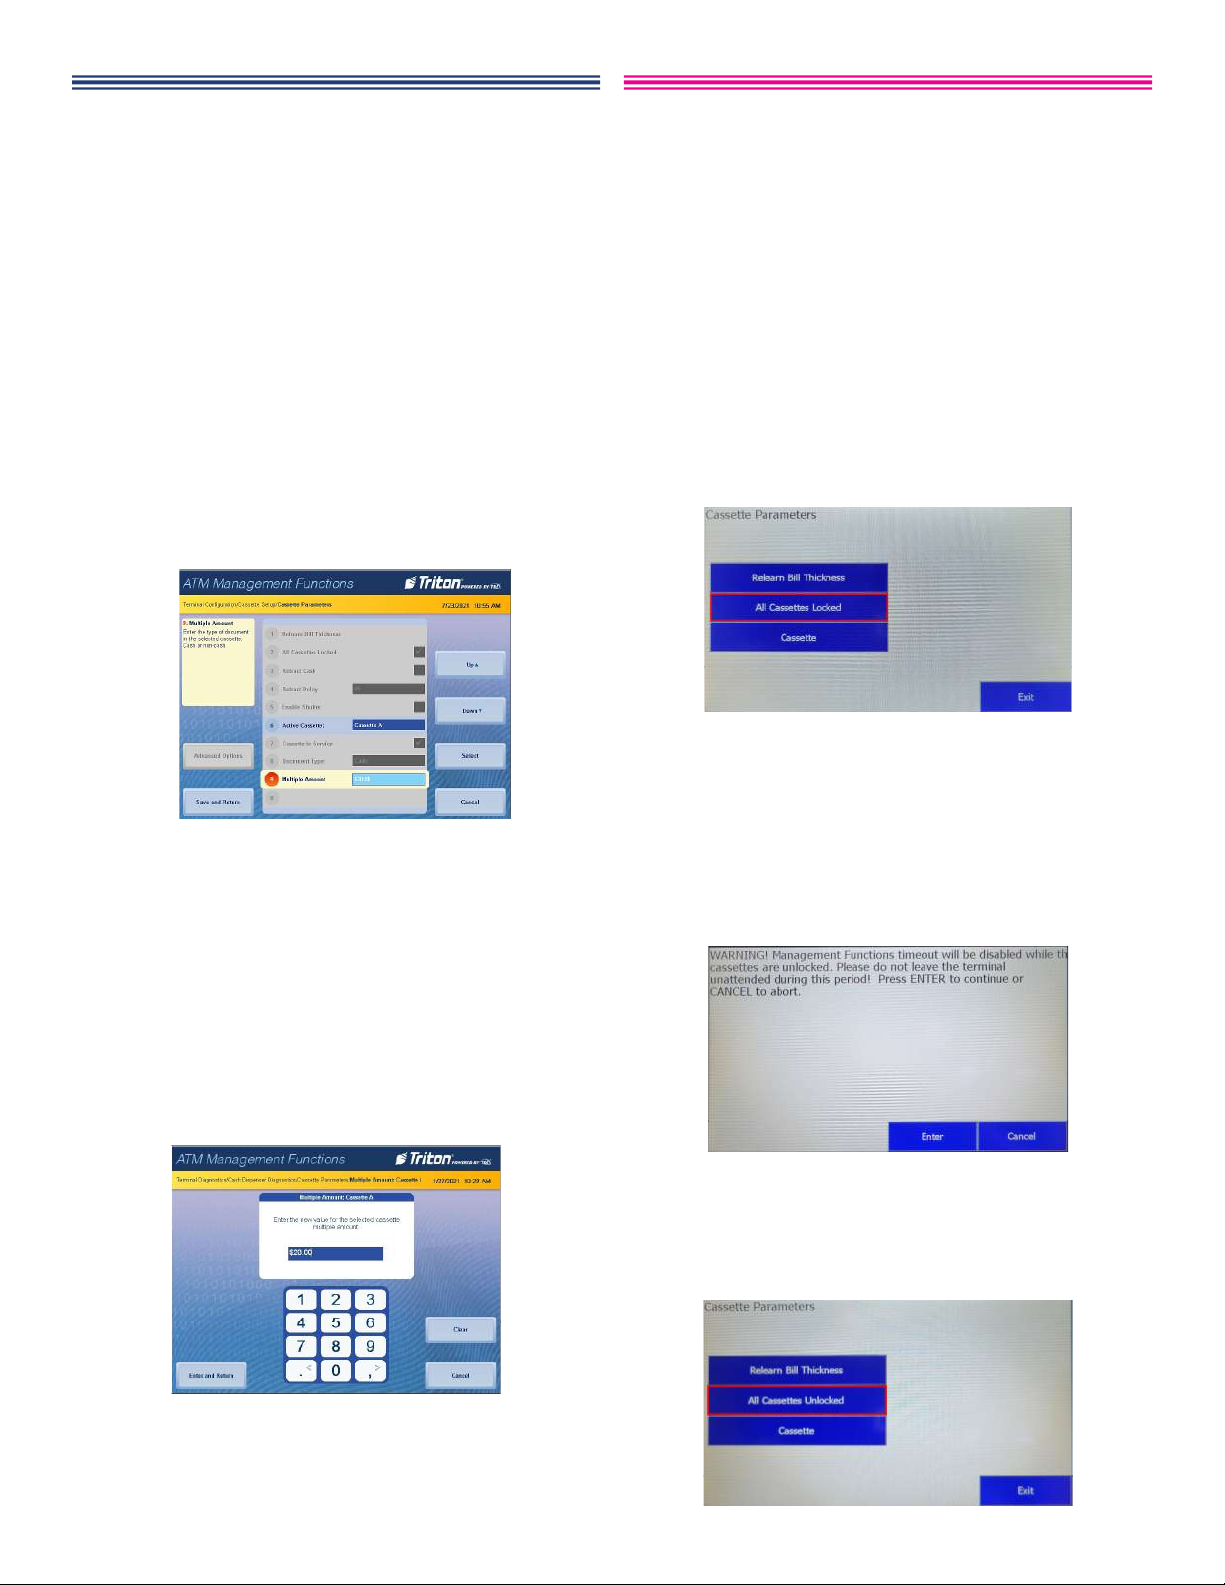
7. Enter the Multiple Amount (Denomination) value
and press Enter and Return.
8. Press Save and Return twice and press Back to top
menu.
( )
Follow access instructions to enter (RSP) Main Menu.
1. Set denomination allows user to enter the type of
document in the cassette, such as cash ($10, $20)
or non-cash (coupons).
2. Verify cassettes are locked in the dispenser.
Navigate via (RSP) Main Menu > Cassette Setup
> Cassette Parameters. Should see ‘All Cassettes
Locked’.
3. If all cassettes physically locked and the display
says they are locked, go to step-7.
4. If a cassette is not locked, seat cassettes properly
then press All Cassettes Locked’. Goto next step..
5. e dispenser will unlock all cassettes and present
warning message. Pull on cassettes, all should be
unlocked. Re-seat the cassettes. Should hear the
diverter vane clicking twice.
6. Press All Cassettes Unlocked to change the
cassette’s status to lock. Will receive message
verifying the locked cassettes. Press Enter.


 User manual")


 User manual")