manuals.online logo
Brands
  1. Home
  2. •
  3. Brands
  4. •
  5. Trixie
  6. •
  7. Pet Care Product
  8. •
  9. Trixie natura 62336 Datasheet

Trixie natura 62336 Datasheet

Other Trixie Pet Care Product manuals

Trixie TX9 User manual

Trixie

Trixie TX9 User manual

Trixie 40040 User manual

Trixie

Trixie 40040 User manual

Trixie 24344 User manual

Trixie

Trixie 24344 User manual

Trixie 39212 User manual

Trixie

Trixie 39212 User manual

Trixie TX4 User manual

Trixie

Trixie TX4 User manual

Trixie Reptiland Reptile Rain User manual

Trixie

Trixie Reptiland Reptile Rain User manual

Trixie Dayna Datasheet

Trixie

Trixie Dayna Datasheet

Trixie REPTILAND Manual

Trixie

Trixie REPTILAND Manual

Trixie 39338 User manual

Trixie

Trixie 39338 User manual

Trixie 23888 User manual

Trixie

Trixie 23888 User manual

Trixie Le Bistro User manual

Trixie

Trixie Le Bistro User manual

Trixie TX2 User manual

Trixie

Trixie TX2 User manual

Trixie Vital Flow User manual

Trixie

Trixie Vital Flow User manual

Trixie TX1 User manual

Trixie

Trixie TX1 User manual

Trixie Duo Stream User manual

Trixie

Trixie Duo Stream User manual

Trixie TX4+1 User manual

Trixie

Trixie TX4+1 User manual

Trixie Vital Falls User manual

Trixie

Trixie Vital Falls User manual

Trixie 24442 User manual

Trixie

Trixie 24442 User manual

Trixie 62324 Datasheet

Trixie

Trixie 62324 Datasheet

Trixie Therm`o`Dog Insulation User manual

Trixie

Trixie Therm`o`Dog Insulation User manual

Trixie 39346 User manual

Trixie

Trixie 39346 User manual

Trixie 39335 User manual

Trixie

Trixie 39335 User manual

Trixie 76084 User manual

Trixie

Trixie 76084 User manual

Trixie TX5 User manual

Trixie

Trixie TX5 User manual

Popular Pet Care Product manuals by other brands

PitPat PP02 user manual

PitPat

PitPat PP02 user manual

Schwinn Rascal owner's manual

Schwinn

Schwinn Rascal owner's manual

K&H Small Animal quick start guide

K&H

K&H Small Animal quick start guide

SHOR-LINE 006.3230.00 Product guide

SHOR-LINE

SHOR-LINE 006.3230.00 Product guide

Petsafe Stubborn Dog Receiver Collar operating guide

Petsafe

Petsafe Stubborn Dog Receiver Collar operating guide

juwel Rio 240 instruction manual

juwel

juwel Rio 240 instruction manual

Datamars OMNI MAX user manual

Datamars

Datamars OMNI MAX user manual

Roverpet 30DDPP Assembly instructions

Roverpet

Roverpet 30DDPP Assembly instructions

SportDOG SD-105S-C manual

SportDOG

SportDOG SD-105S-C manual

Staywell 400 Series Magnetic user guide

Staywell

Staywell 400 Series Magnetic user guide

Dogtek Sonic Birdhouse user guide

Dogtek

Dogtek Sonic Birdhouse user guide

Togfit Deluxe Trigger Lock Door Gate Instructions for use

Togfit

Togfit Deluxe Trigger Lock Door Gate Instructions for use

Girafus 227PA user manual

Girafus

Girafus 227PA user manual

ubbink KoiFeeder Solar operating instructions

ubbink

ubbink KoiFeeder Solar operating instructions

Petsafe ST-100 operating guide

Petsafe

Petsafe ST-100 operating guide

CADOCA Deuba 106911 instructions

CADOCA

CADOCA Deuba 106911 instructions

Dogtra RR Deluxe owner's manual

Dogtra

Dogtra RR Deluxe owner's manual

Carson CONVERTIBLE PET YARD 2200 owner's manual

Carson

Carson CONVERTIBLE PET YARD 2200 owner's manual

manuals.online logo
manuals.online logoBrands
  • About & Mission
  • Contact us
  • Privacy Policy
  • Terms and Conditions

Copyright 2025 Manuals.Online. All Rights Reserved.

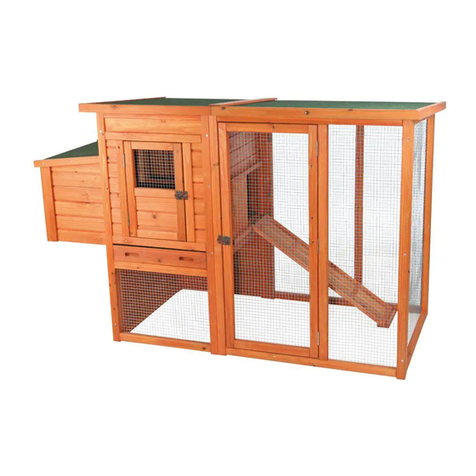
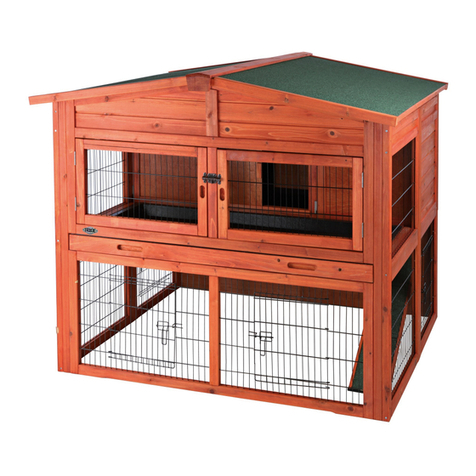
Aufbauanleitung / Assembling Instruction & Stückliste / Parts list
Art Nr. /
Item No.
62336
Natura Kaninchenstall,
mit Freigehege 194 x 152 x 80
cm
Pos. Nr. /
Pos. No.
Beschreibung / Description Abmessung /
Measurement
Anzahl /
Quantity
Art. Nr. /
Item No.
Pos. 1 Vorderteil, unten, Mitte
Bottom front part, middle 510 x 1010 x 25 mm 1 62336-10
Pos. 2 Vorderteil, unten rechts
Bottom front part, right 510 x 1010 x 25 mm 1 62336-11
Pos. 3 Rückwand, unten, Mitte
Bottom back wall, middle 510 x 1010 x 25 mm 1 62336-22
Pos. 4 Rückwand, unten rechts
Bottom back wall, right 510 x 1010 x 25 mm 1 62336-23
Pos. 5 Vorderteil, oben rechts
Upper front part, right 1025 x 450 x 25 mm 1 62336-12
Pos. 6 Rückwand, oben rechts
Upper back wall, right 1025 x 450 x 25 mm 1 62336-24
Pos. 7 Seitenteil, rechts
Right side panel 660 x 1070 x 25 mm 1 62336-31
Pos. 8 Seitenteil, Mitte
Side panel, middle 660 x 375 x 25 mm
660 x 1015 x 25mm 162336-33
62336-32
Pos. 9 Vorderteil, links, 2-tlg.
Bottom front part, left, 2-part 655 x 895 x 25 mm
655 x 385 x 25 mm 162336-13
62336-15
Pos. 10 Rückwand, links, 2-tlg.
Bottom back wall, left, 2-part 655 x 895 x 25 mm
655 x 480 x 25 mm 162336-25
62336-26
Pos. 11 Seitenteil, links
Left side panel 660 x 1070 x 25 mm 1 62336-30
Pos. 12 Rampe
Ramp 850 x 20 x 160 mm 1 62336-41
Pos. 13 Mittelboden, Mitte, groß
Mid-floor, middle, large 370 x 15 x 605 mm 1 62336-52
Pos. 14 Mittelboden, außen, klein
Mid-floor, outside, small 325 x 15 x 605 mm 4 62336-53
Pos. 15 Ausziehbare Bodenwanne
Drawer with plastic inlay 650 x 87 x 630 mm 1 62336-40
Pos. 16 Dachplatte
Roof 1050 x 20 x 760 mm 2 62336-50
Pos. 17 Stirnbrett, hinten rechts
Eave, back right 1070 x 45 x 20 mm 1 62336-55
Pos. 18 Stirnbrett, hinten links
Eave, back left 1070 x 45 x 20 mm 1 62336-56
Pos. 19 Stirnbrett, vorne links
Eave, left front 1070 x 60 x 20 mm 1 62336-57
Pos. 20 Stirnbrett, vorne rechts
Eave, right front 1070 x 60 x 20 mm 1 62336-58
Pos. 21 Metallgriff
Metal handle 510 x 100 mm 1 62336-14
Pos. 22 Dachfirst
Roof ridge 88 x 30 x 740 mm 1 62336-54
2. Verschrauben Sie nun das rechte, obere Vorderteil (5) und das
rechte, obere Rückteil (6) mit den entsprechenden Unterteilen.
Die Metallfixierung für die Rampe muss an die untere Kante der
Rückwand geschraubt werden.
Now screw together the right, upper front part (5) and the right, upper
back part (6) with the suitable lower parts. The metal fixation has to be
fixed to the lower edge of the back panel.
3. Befestigen Sie nun das Vorder- und Rückteil mit
der rechten Seitenwand (7) und den Mittelwänden
(8).
Fix the right front and back panel with the right side
panel (7) and the middle panels (8).
4. Anschließend verbinden auch Sie die linken Vorder- und
Rückwände (9-10) mit den Kunststoffverbindungen.
Then connect also the left front and back panels (9 - 10) with the
plastic cam-locks.
1. Verbinden Sie das mittlere und das rechte,
untere Vorderteil ( 1 - 2) mit Hilfe der
Kunstoffverbindungen, genau wie das mittlere und
das rechte, untere Teil (3 - 4) der Rückwand.
Connect the middle and the right, lower front part (1 - 2)
with the help of the plastic cam-lock, as well as the
middle and the right, lower part (3 - 4) of the back wall.
180510 TRIXIE Heimtierbedarf GmbH & Co. KG 87980
Aufbauanleitung / Assembling Instruction & Stückliste / Parts list
A 25
B 25
C 9
D 3
ELinsenkopfschraube mit Mutter
Rounded head screw with nut 3
Fixierung für Rampe
Fixation for ramp 1
Scharnier, für Tür
Hinge, for door 5 cm 6 6235-72
1-Wege Verschlussriegel
1-way locking bolt 4,5 cm 3 6235-53
8. Befestigen Sie den Metallgriff (21) mit der Schiebetür und
schrauben Sie die Firstleiste (22) an.
Fix the metal handle (21) with the sliding door and screw the roof ridge
(22).
9. Fertig.
Finish.
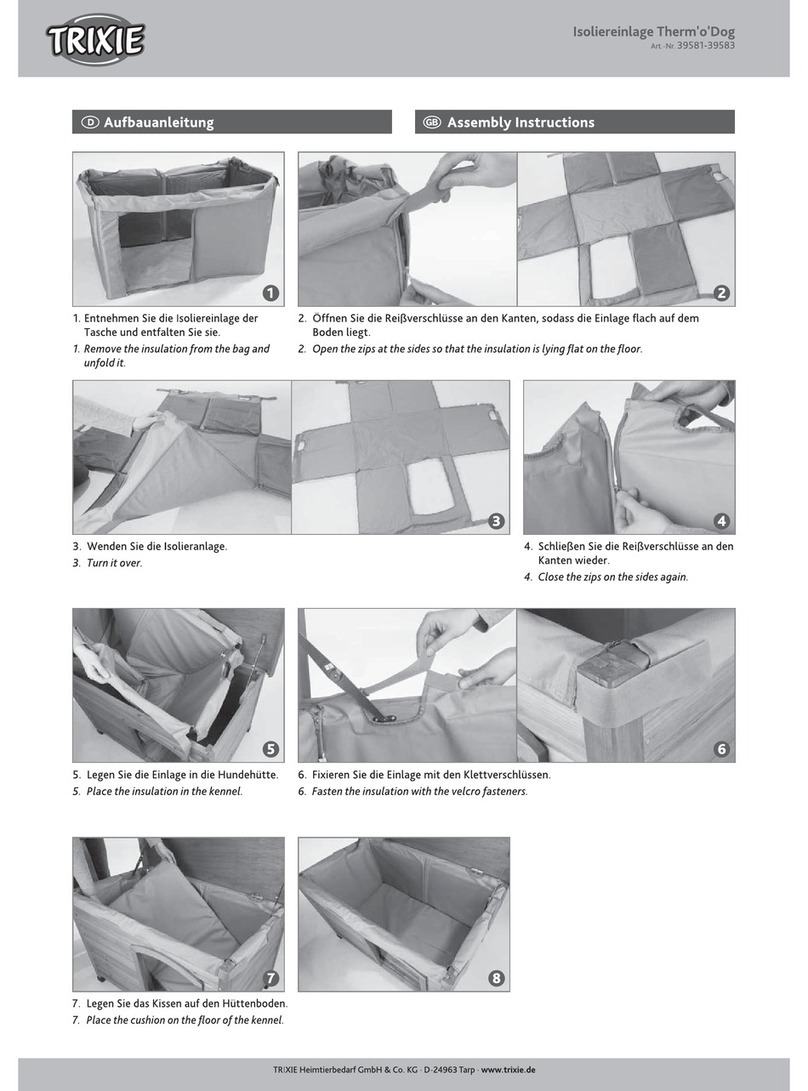
weitere bereits vormontierte Teile (als Ersatzteile separat erhältlich) /
other parts already assembled (spare parts separately available)
7. Befestigen Sie die Dachplatten (16) und schrauben
Sie die Stirnbretter (17-20) an.
Fix the roof plates (16) and the roof eaves (17 - 20) as well.
Kleinteileset / Small parts
Senkkopfschraube
Countersunk screw
62336-60
5. Schrauben Sie nun die linke Seitenwand (11) fest,
setzen Sie die Rampe (12) ein und befestigen Sie diese.
Fix now the left side wall (11), put in the ramp (12) and tighten
it.
6. Fügen Sie jetzt die große Platte des Mittelbodens (13) in
der Mitte ein und die kleinen Platten (14) auf beiden Seiten.
Schieben Sie die ausziehbare Bodenwanne (15) ein.
Insert the big floor (13) in the middle and the small floors (14) on
both sides. Insert the drawer (15).
180510 TRIXIE Heimtierbedarf GmbH & Co. KG 87980