manuals.online logo
Brands
  1. Home
  2. •
  3. Brands
  4. •
  5. Tyger
  6. •
  7. Automobile Accessories
  8. •
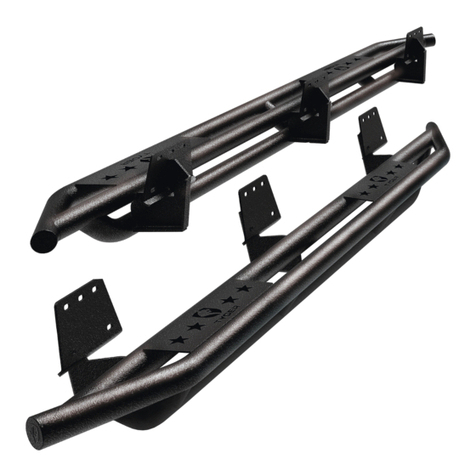
  9. Tyger ARMOR TG-AM2F20098 User manual

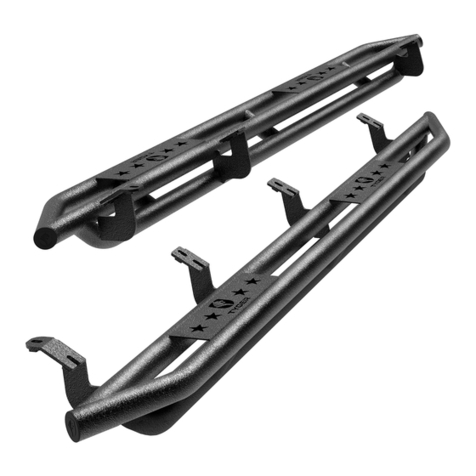
Tyger ARMOR TG-AM2F20098 User manual

TM
Customer Support 1-866-340-3038
1/4
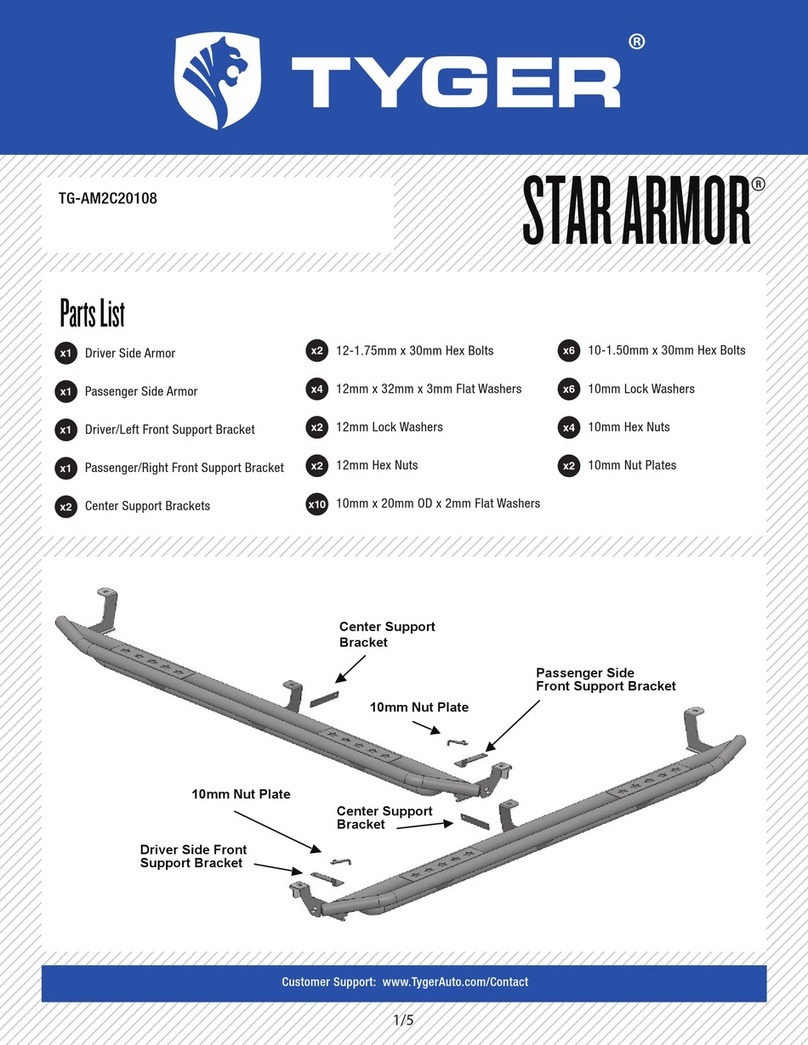
PartsList
Driver Side Armor
Passenger Side Armor
10mm x 27mm ODx 3mm Flat Washers
x1
x1
x36
10mm Hex Nuts
x12
10-1.5mm x 30mm Hex Bolts
10mm Clip Nuts
10mm Lock Washers
x24
x12
x24
TG-AM2F20098
Front
Driver/Left Side Armor
Assembly
Passenger/right Side
Armor Assembly
Front
1-866-340-3038www.tygerauto.comsupport@tygerauto.com
TYGERARMOR
TM
Warning
To protect your investment, wax this product after installing. Regular waxing is
recommended to add a protective layer over the nish. Do not use any type of polish
or wax that may contain abrasives that could damage the nish. Use only mild soap
to clean the Side Armor.
BeforeInstallation
REMOVE CONTENTS FROM BOX. VERIFY ALL
PARTS ARE PRESENT. READ INSTRUCTIONS
CAREFULLY BEFORE STARTING INSTALLATION.
ASSISTANCE IS HIGHLY RECOMMENDED.
2/4
Starting on the driver side of the vehicle, locate the (5) pairs of
factory holes along the bottom of the body, (pinch weld). NOTE:
Side Armor will attach to the 2nd, 3rd and 5th mounting
locations, (Figure 1). Directly above each pair of holes, locate
the factory mounting holes in the inner side panel, (Figures 1,
3-5). NOTE: The inner holes may be covered with sealing tape or
insulation.
STEP1
(Fig 1) Driver/left body mounting locations
along back of inner rocker panel illustrated
Front
(Fig 2) Locate the factory holes along the pinch
weld. Start at the 2nd pair of factory holes
(Fig 3) Typical Mounting Location
Factory holes
in pinch weld
Line up Clip Nut
with factory hole
Fig 4
Factory holes in pinch
weld pictured from
behind body panel
Line up Clip Nuts
with factory holes
Front
(Fig 5) Driver/left center mounting location
1-866-340-3038www.tygerauto.comsupport@tygerauto.com
Move along the vehicle to the next, (center), mounting location,
(Figures 1 & 5). Repeat Steps 1 & 2 to install (2) 10mm Clip
Nuts. NOTE: If you are not sure which sets of mounting holes to
use, hold the driver/left Side Armor assembly up in the proper
position and line up the mounting brackets with the mounting
locations along the inner body panel.
STEP3
Move to the last, (5th), mounting location at the back of the cab.
Repeat Step 3 to install (2) 10mm Clip Nuts, (Figure 9).
STEP4
Select the driver/left Side Armor. With assistance, carefully
position the Side Armor up to and against the (3) mounting
locations. Attach the Side Armor to the (6) 10mm Clip Nuts with
(6) 10mm Hex Bolts, (6) 10mm Lock Washers and (6) 10mm Flat
Washers, (Figures 6-9). Do not tighten at this time.
STEP5
Move to the 2nd pair of holes along the pinch weld, directly
under the center of the front door, (Figures 1 & 2). Select (2)
10mm Clip Nuts. Slide the 10mm Clip Nuts into the rectangular
opening with the nut towards the inside. Line up the threaded
nut on the clip with the round holes on each side of the rectan-
gular opening, (Figures 3 & 4).
STEP2
(2) 10mm Hex Bolts
(4) 10mm Flat Washers
(2) 10mm Lock Washers
(2) 10mm Hex Nuts
(Fig 6) Driver/left front mounting location
Front
Front
(Fig 7) Driver/left front mounting location
(2) 10mm Hex Bolts
(2) 10mm Lock Washers
(2) 10mm Flat Washers
(2) 10mm Hex Bolts
(4) 10mm Flat Washers
(2) 10mm Lock Washers
(2) 10mm Hex Nuts
(Fig 8) Driver/left front and center installation
Front
3/4
1-866-340-3038www.tygerauto.comsupport@tygerauto.com
Line up the holes in the bottom of the mounting brackets on the
Side Armor with the (6) mounting holes in the pinch weld. Attach
the Side Armor to the pinch weld with (6) 10mm Hex Bolts, (12)
10mm Flat Washers, (6) 10mm Lock Washers and (6) 10mm Hex
Nuts, (Figures 6-9). NOTE: Insert Hex Bolt with Flat Washer
through pinch weld rst, then through bracket, (Figure 6). Do not
fully tighten at this time.
STEP6
Do periodic inspections to the installation to make sure that all
hardware is secure and tight.
STEP9
Rear
(Fig 9) Driver/left rear bracket pictured
(2) 10mm Hex Bolts
(2) 10mm Lock Washers
(2) 10mm Flat Washers
(2) 10mm Hex Bolts
(4) 10mm Flat Washers
(2) 10mm Lock Washers
(2) 10mm Hex Nuts
Complete Installation
Level and adjust the Side Armor properly and tighten all
hardware.
STEP7
Repeat Steps 1-7 for passenger/right Side Armor assembly
installation.
STEP8
4/4
1-866-340-3038www.tygerauto.comsupport@tygerauto.com
Other Tyger Automobile Accessories manuals

Tyger STAR ARMOR TG-AM2C20218 User manual

Tyger

Tyger STAR ARMOR TG-AM2C20218 User manual

Tyger TG-BP6J85368 User manual

Tyger

Tyger TG-BP6J85368 User manual

Tyger TG-RK1B204B User manual

Tyger

Tyger TG-RK1B204B User manual

Tyger TG-BP9F80298 User manual

Tyger

Tyger TG-BP9F80298 User manual

Tyger T3 User manual

Tyger

Tyger T3 User manual

Tyger T1 User manual

Tyger

Tyger T1 User manual

Tyger STAR ARMOR TG-AM2D20608 User manual

Tyger

Tyger STAR ARMOR TG-AM2D20608 User manual

Tyger TG-GD6D60078 User manual

Tyger

Tyger TG-GD6D60078 User manual

Tyger Armor TG-AM2T20208 User manual

Tyger

Tyger Armor TG-AM2T20208 User manual

Tyger TG-BP6TTG-BP6T80568 User manual

Tyger

Tyger TG-BP6TTG-BP6T80568 User manual

Tyger TG-BP9D80398 User manual

Tyger

Tyger TG-BP9D80398 User manual

Tyger Guard TG-GD6C60047 User manual

Tyger

Tyger Guard TG-GD6C60047 User manual

Tyger STAR ARMOR TG-AM2C20108 User manual

Tyger

Tyger STAR ARMOR TG-AM2C20108 User manual

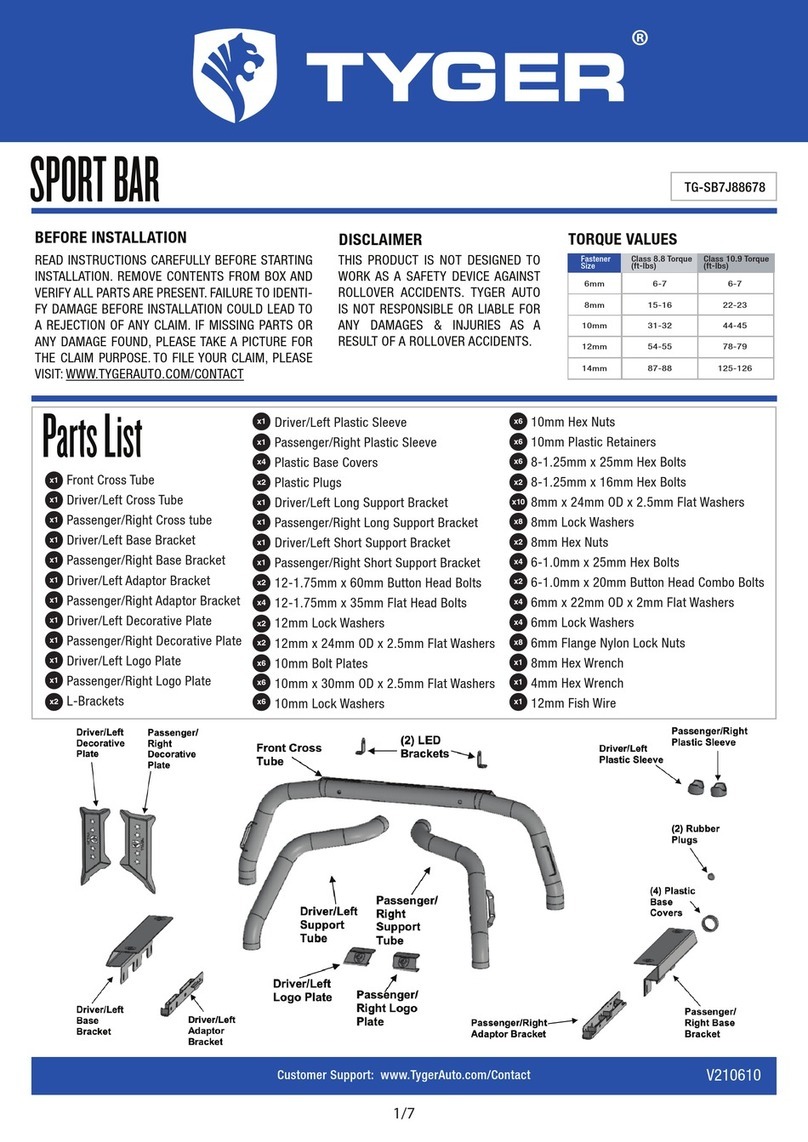
Tyger TG-SB7J88678 User manual

Tyger

Tyger TG-SB7J88678 User manual

Popular Automobile Accessories manuals by other brands

Erickson 07494 manual

Erickson

Erickson 07494 manual

Parrot MULTICAN user guide

Parrot

Parrot MULTICAN user guide

Pacific PPR2B user manual

Pacific

Pacific PPR2B user manual

Canyon CNE-CCA04 quick guide

Canyon

Canyon CNE-CCA04 quick guide

Voxx Electronics 7051 manual

Voxx Electronics

Voxx Electronics 7051 manual

Westin 30-0020 instructions

Westin

Westin 30-0020 instructions

LAS 10332 operating instructions

LAS

LAS 10332 operating instructions

CARRYBOY CB-789R-CIGD installation manual

CARRYBOY

CARRYBOY CB-789R-CIGD installation manual

Havis-Shields P-MFK-9 installation instructions

Havis-Shields

Havis-Shields P-MFK-9 installation instructions

Silver Spring WCC-500A owner's manual

Silver Spring

Silver Spring WCC-500A owner's manual

Webasto thermo top evo Installation documentation

Webasto

Webasto thermo top evo Installation documentation

Offroad Animal PR-JGC-WK2-11-ASM0 FITTING INSTRUCTION

Offroad Animal

Offroad Animal PR-JGC-WK2-11-ASM0 FITTING INSTRUCTION

Wallbox EV PORTABLE User's manual & installation manual

Wallbox

Wallbox EV PORTABLE User's manual & installation manual

Thule Spare me 963PRO installation instructions

Thule

Thule Spare me 963PRO installation instructions

Virtual Reality Hands Free Bluetooth Car Kit MP3/WMA player & FM modulator... Installation and operation

Virtual Reality

Virtual Reality Hands Free Bluetooth Car Kit MP3/WMA player & FM modulator... Installation and operation

travall TDG 1694 FITTING INSTRUCTION

travall

travall TDG 1694 FITTING INSTRUCTION

Menabo ACONCAGUA installation instructions

Menabo

Menabo ACONCAGUA installation instructions

Stealth 9360 quick guide

Stealth

Stealth 9360 quick guide

manuals.online logo
manuals.online logoBrands
  • About & Mission
  • Contact us
  • Privacy Policy
  • Terms and Conditions

Copyright 2025 Manuals.Online. All Rights Reserved.