manuals.online logo
Brands
  1. Home
  2. •
  3. Brands
  4. •
  5. Tyger
  6. •
  7. Automobile Accessories
  8. •
  9. Tyger TG-SB7J88678 User manual

Tyger TG-SB7J88678 User manual

1/7
Customer Support: www.TygerAuto.com/Contact
Parts List
Front Cross Tube
Driver/Left Cross Tube
Passenger/Right Cross tube
Driver/Left Base Bracket
Passenger/Right Base Bracket
Driver/Left Adaptor Bracket
Passenger/Right Adaptor Bracket
Driver/Left Decorative Plate
Passenger/Right Decorative Plate
Driver/Left Logo Plate
Passenger/Right Logo Plate
L-Brackets
x1
x1 x6
x6
x6
x2
x8
x2
x4
x4
x4
x8
x2
x10
x1
x1
x4
x1
x2
x1
x1
x2
x2
x2
x6
x6
x6
x4
x1
x1
x1
x1
x1
x1
x1
x1
x1
x1
x2
Driver/Left Plastic Sleeve
Passenger/Right Plastic Sleeve
Plastic Base Covers
Plastic Plugs
Driver/Left Long Support Bracket
Passenger/Right Long Support Bracket
Driver/Left Short Support Bracket
Passenger/Right Short Support Bracket
12-1.75mm x 60mm Button Head Bolts
12-1.75mm x 35mm Flat Head Bolts
12mm Lock Washers
12mm x 24mm OD x 2.5mm Flat Washers
10mm Bolt Plates
10mm x 30mm OD x 2.5mm Flat Washers
10mm Lock Washers
10mm Hex Nuts
10mm Plastic Retainers
8-1.25mm x 25mm Hex Bolts
8-1.25mm x 16mm Hex Bolts
8mm x 24mm OD x 2.5mm Flat Washers
8mm Lock Washers
8mm Hex Nuts
6-1.0mm x 25mm Hex Bolts
6-1.0mm x 20mm Button Head Combo Bolts
6mm x 22mm OD x 2mm Flat Washers
6mm Lock Washers
6mm Flange Nylon Lock Nuts
8mm Hex Wrench
4mm Hex Wrench
12mm Fish Wire
TG-SB7J88678
SPORT BAR
x1
x1
x1
V210610
BEFORE INSTALLATION
READ INSTRUCTIONS CAREFULLY BEFORE STARTING
INSTALLATION. REMOVE CONTENTS FROM BOX AND
VERIFY ALL PARTS ARE PRESENT. FAILURE TO IDENTI-
FY DAMAGE BEFORE INSTALLATION COULD LEAD TO
A REJECTION OF ANY CLAIM. IF MISSING PARTS OR
ANY DAMAGE FOUND, PLEASE TAKE A PICTURE FOR
THE CLAIM PURPOSE. TO FILE YOUR CLAIM, PLEASE
VISIT: WWW.TYGERAUTO.COM/CONTACT
THIS PRODUCT IS NOT DESIGNED TO
WORK AS A SAFETY DEVICE AGAINST
ROLLOVER ACCIDENTS. TYGER AUTO
IS NOT RESPONSIBLE OR LIABLE FOR
ANY DAMAGES & INJURIES AS A
RESULT OF A ROLLOVER ACCIDENTS.
DISCLAIMER
6mm
8mm
10mm
12mm
14mm
6-7
15-16
31-32
54-55
87-88
6-7
22-23
44-45
78-79
125-126
Fastener
Size
Class 8.8 Torque
(ft-lbs) Class 10.9 Torque
(ft-lbs)
TORQUE VALUES
2/7
Customer Support: www.TygerAuto.com/Contact
Remove tonneau cover if equipped. Select the Front Cross Tube.
Insert (1) 12mm Button Head Bolt into (1) 12mm Lock Washer and
(1) 12mm Flat Washer. Thread the bolt assembly into the 12mm
Fish Wire (Fig 1). Slide the Fish Wire assembly through the holes
in the Front Cross Tube (Figs 2 & 3). Insert 8mm Hex Wrench into
the head of the bolt to hold it in place inside the tube (Fig 4).
STEP 1
Slide the Passenger/ Right Plastic Sleeve onto the
Passenger/Right Rear Support Tube. Thread the 12mm Button
Head Bolt into the Passenger/Right Support Tube (Figs 4 & 5).
STEP 2
PROCEDURE:
REMOVE CONTENTS FROM BOX. VERIFY ALL PARTS ARE PRESENT.
READ INSTRUCTIONS CAREFULLY BEFORE STARTING INSTALLATION.
ASSISTANCE IS RECOMMENDED.
(Fig 1) Thread 12mm assembly into the 12mm Fish Wire
(Fig 2) Use Fish wire to pull 12mm
Hex Bolt into the Front Cross Tube
12mm Button Head Bolt
12mm Lock Washer
12mm Flat Washer
12mm Fish Wire
12mm Hex Bolts
12mm Lock Washers
12mm Flat Washers
(Fig 3) Remove Fish Wire and
hold onto the bolt threads
(Fig 4) Passenger/Right Support
Tube installation to Front Cross Tube
Passenger/Right Plastic Sleeve
Use 8mm Hex Wrench to hold 12mm
Button Head Bolt in place in tube
Front
Front
Front
3/7
Customer Support: www.TygerAuto.com/Contact
Slide (2) Plastic Base Cover onto the bottom of the
Passenger/Right tubes. Select the Passenger/Right Base Bracket.
Attach the Base Bracket to the bottom of the Tubes with (2)
12mm Flat Head Bolts (Fig 6). Leave hardware loose. Repeat this
STEP to attach the Driver/Left Base Bracket.
STEP 4
Repeat STEPS 1 & 2 to attach the Driver/Left Rear Support Tube.
DO NOT tighten hardware.
STEP 3
Select the Passenger/Right Decorative Plate. Attach the
Decorative Plate to the welded brackets on the sides of the Tubes
with (4) 6mm Flange Nuts (Figs 7 & 8). Repeat this STEP to attach
the Driver/Left Decorative Plate. DO NOT tighten hardware.
STEP 5
(Fig 5) Passenger/Right
Support Tube installed
(Fig 7) Passenger/Right
Decorative Plate installation
(Fig 6) Passenger/Right
Base Bracket installation
(4) 6mm Flanged Nuts
(Fig 8) Passenger/Right
Decorative Front installed
Front
Front
Front
4/7
Customer Support: www.TygerAuto.com/Contact
Determine if vehicle is equipped with bedrails
For vehicles with bedrails (Fig 9):
STEP 6
a. Locate and remove the factory tie down loops attached to the
bedrails (Fig 9).
c. Line up the Bolt Plates to the (3) slots in the Passenger/Right
Base Plates.
d. With assistance attach the Base Brackets to the (6) Bolt Plates
with the Passenger/Right Long Support Bracket, (6) 10mm Flat
Washers, (6) 10mm Lock Washers and (6) 10mm Hex Nuts (Fig
11). DO NOT tighten hardware.
e. Attach the Support Bracket to the front of the bed with (1) 8mm
x 25mm Hex Bolt, (1) 8mm Lock Washer and (1) 8mm Flat Washer
(Fig 12). DO NOT tighten hardware.
b. Slide (3) 10mm Bolt Plates into each of the rails (Fig10).
(Fig 9) Remove the tie down from
the utility rail to access the channel
Front
(Fig 11) Attach the Passenger/Right
Base Bracket to the Bolt Plates
Front
(Fig 10) Slide (3) 10mm Bolt Plates into
the bedrail (Driver/Left side shown) (Fig 12) Attach the Support
Bracket to the front of the bed
(3) 10mm Bolt Plates
(3) 10mm Flat Washers
(3) 10mm Lock Washers
(3) 10mm Hex Nuts
Front
8mm X 25mm Hex Bolt
8mm Lock Washer
8mm Flat Washer
5/7
Customer Support: www.TygerAuto.com/Contact
For vehicles without bedrails (Fig 13):
f. Repeat previous Steps to attach the Driver/Left Base Bracket
and Long Support Bracket.
g. Continue to STEP 7.
a. Locate the threaded inserts on the walls of the bed.
b. Select the Passenger/Right Adaptor Bracket. Insert (3) 10mm
Bolt Plates into the Adaptor Bracket. Thread (3) 10mm Plastic
Retainers onto the (3) 10mm Bolt Plates to hold them in place (Fig
14).
c. Attach the Adaptor Bracket to the walls of the bad with (2)
6mm Button Head Bolts, (2) 6mm Lock Washers and (2) 6mm Flat
Washers (Fig 15). DO NOT tighten hardware.
d. Attach the Passenger/Right Short Support Bracket to the
Adaptor Bracket with (1) 8mm x 25mm Hex Bolt, (1) 8mm Lock
Washer and (1) 8mm Flat Washer (Fig 15).
e. Repeat previous Steps to attach the Driver/Left Adaptor
Bracket and Short Support Bracket.
f. With assistance attach the Base Brackets to the Adaptor
Brackets with (6) 10mm Flat Washers, (6) 10mm Lock Washers
and (6) 10mm Hex Nuts (Fig 16). DO NOT tighten hardware.
(Fig 13) Vehicles without bedrails have
threaded inserts (Driver/Left shown)
(Fig 16) Attach the Base Bracket to the Adaptor
Bracket (For vehicles without bedrails)
(Fig 15) Attach the Adaptor Bracket to the side
of the bed (For vehicles without bedrails)
(Fig 14) Insert (3) 10mm Bolt Plates into
the Passenger/Right Adaptor Bracket
(For vehicles without bedrails)
(3) 10mm Bolt Plates
(3) 10mm Plastic Retainers
(2) 6mm Hex Bolts
(2) 6mm Lock Washers
(2) 6mm Flat Washers
8mm x 25mm Hex Bolt
8mm Lock Washer
8mm Flat Washer
Short Support Bracket
(3) 10mm Flat Washers
(3) 10mm Lock Washers
(3) 10mm Hex Nuts
Front
Front
Front
6/7
Customer Support: www.TygerAuto.com/Contact
Level and center the Sports Bar. Tighten all hardware.
STEP 7
Select (2) Rubber Plugs. Insert Plugs into the front holes of the
Front Cross Tube (Fig 18).
STEP 8
g. Attach the Short Support Brackets to the front of the bed wit (2)
8mm x 25mm Hex Bolts, (2) 8mm Lock Washers and (2) 8mm Flat
Washers (Fig 17).
h. Continue to STEP 7.
(Optional to attach a Light Bar) Select (1) L-Bracket. Attach to the
Passenger/Right top of the Sports Bar with (1) 8mm x 25mm Hex
Bolt, (2) 8mm Flat Washers, (1) 8mm Lock Washer and (1) 8mm
Hex Nut (Fig 19). Repeat this STEP to attach (1) L-Bracket to the
Driver/Left side.
STEP 9
Attach Light Bar (sold separately) to the L-Brackets with (2) 8mm
x 16mm Hex Bolt, (2) 8mm Lock Washer and (2) 8mm Flat Washer
(Fig 20).
STEP 10
(Fig 17) Attach the Small Support
Bracket to the front of the bed
(Fig 18) Insert Rubber Plug into Hole
Front
(Fig 19) LED Light Bracket installation
Front
Front
Front
8mm x 25mm Hex Bolt
(2) 8mm Flat Washers
8mm Lock Washer
8mm Hex Nut
(Fig 20) LED installation
8mm x 16mm Hex Bolt
8mm Lock Washer
8mm Flat Washer
8mm x 25mm Hex Bolt
8mm Lock Washer
8mm Flat Washer
7/7
Customer Support: www.TygerAuto.com/Contact
(OPTIONAL) Locate the threaded mounting hole on the inside of
the Base Bracket for the Passenger/Right Logo Plate. Attach Logo
Plate with one 6mm Combo Bolt (Figs 21-23). Repeat this STEP
to attach the Driver/Left Logo Plate. Do not attach Plates if a
tonneau cover will be installed.
STEP 11
Do periodic inspections to the installation to make sure that all
hardware is secure and tight.
STEP 12
(Fig 21) Passenger/Right Logo Plate
Front
(Fig 23) Logo Plate installed
Front
(Fig 22) Passenger/Right Logo Plate
installation (Optional)
Rear

Other Tyger Automobile Accessories manuals

Tyger ARMOR TG-AM2F20098 User manual

Tyger

Tyger ARMOR TG-AM2F20098 User manual

Tyger TG-BP6J85368 User manual

Tyger

Tyger TG-BP6J85368 User manual

Tyger TG-BP6TTG-BP6T80568 User manual

Tyger

Tyger TG-BP6TTG-BP6T80568 User manual

Tyger TG-BP9D80398 User manual

Tyger

Tyger TG-BP9D80398 User manual

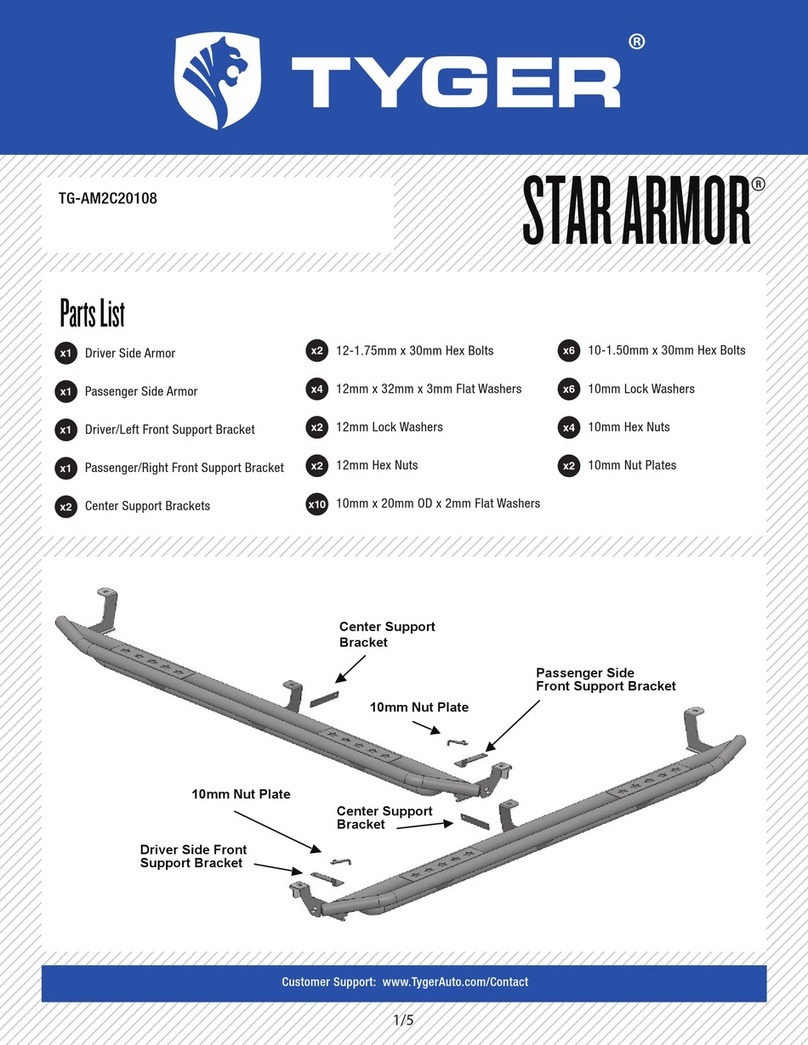
Tyger STAR ARMOR TG-AM2C20108 User manual

Tyger

Tyger STAR ARMOR TG-AM2C20108 User manual

Tyger T3 User manual

Tyger

Tyger T3 User manual

Tyger Armor TG-AM2T20208 User manual

Tyger

Tyger Armor TG-AM2T20208 User manual

Tyger T1 User manual

Tyger

Tyger T1 User manual

Tyger TG-RK1B204B User manual

Tyger

Tyger TG-RK1B204B User manual

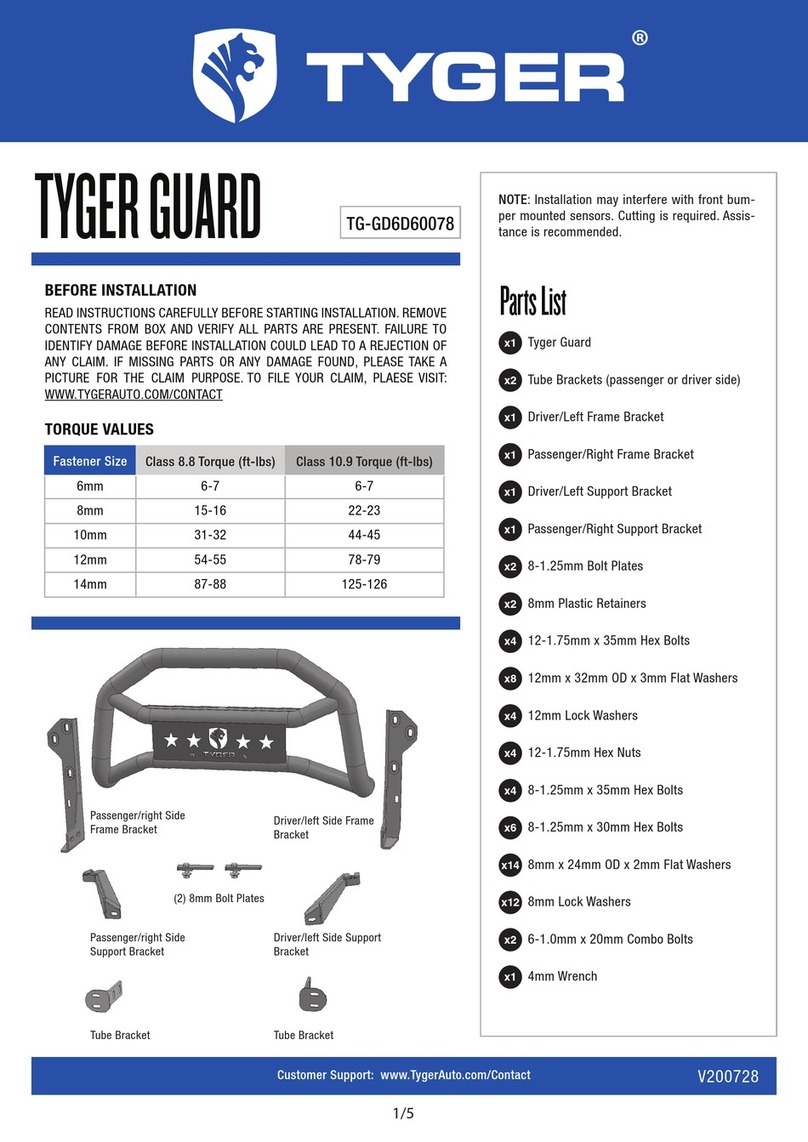
Tyger TG-GD6D60078 User manual

Tyger

Tyger TG-GD6D60078 User manual

Tyger STAR ARMOR TG-AM2D20608 User manual

Tyger

Tyger STAR ARMOR TG-AM2D20608 User manual

Tyger STAR ARMOR TG-AM2C20218 User manual

Tyger

Tyger STAR ARMOR TG-AM2C20218 User manual

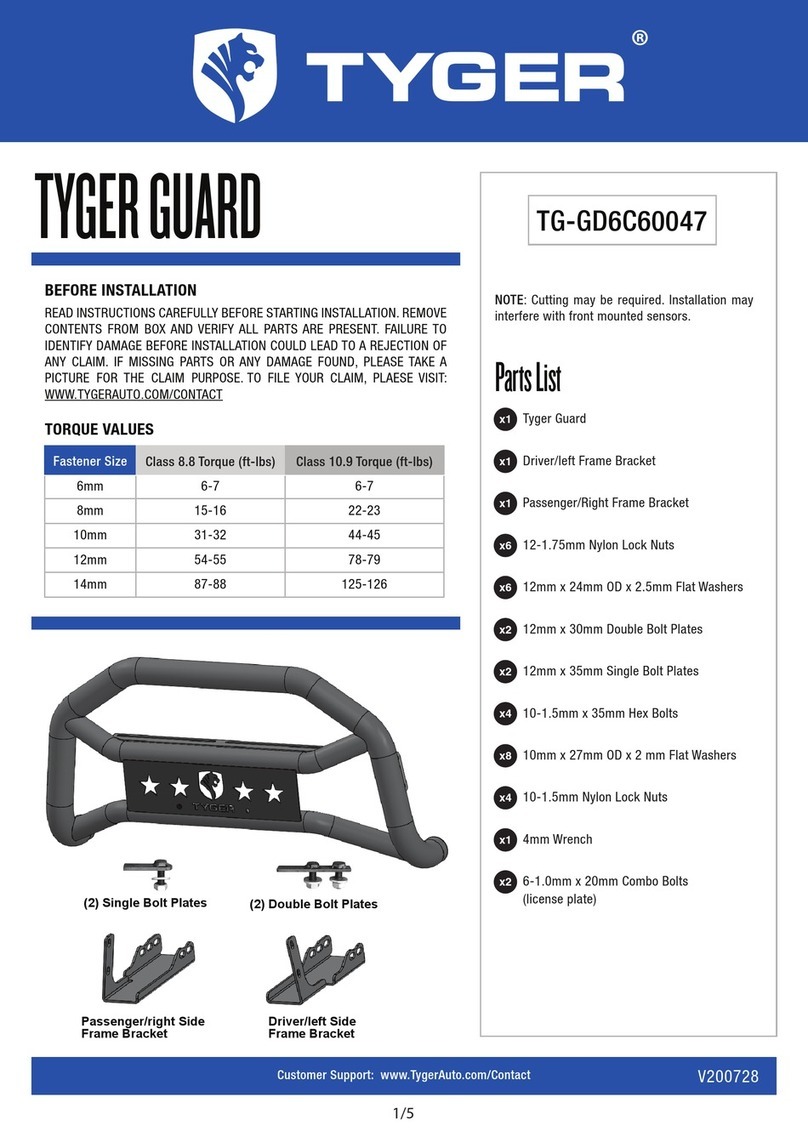
Tyger Guard TG-GD6C60047 User manual

Tyger

Tyger Guard TG-GD6C60047 User manual

Tyger TG-BP9F80298 User manual

Tyger

Tyger TG-BP9F80298 User manual

Popular Automobile Accessories manuals by other brands

Motorola RLN5933 Mounting instructions

Motorola

Motorola RLN5933 Mounting instructions

curt 18087 installation instructions

curt

curt 18087 installation instructions

BMW 51 47 0 027 792 installation instructions

BMW

BMW 51 47 0 027 792 installation instructions

GE Smart Home user guide

GE

GE Smart Home user guide

Kuda-Phonebase 291170 Installation instruction

Kuda-Phonebase

Kuda-Phonebase 291170 Installation instruction

EverFocus EV-RM30 manual

EverFocus

EverFocus EV-RM30 manual

Prorack PR3600 quick start guide

Prorack

Prorack PR3600 quick start guide

Gewiss JOINON Column Installation and operation manual

Gewiss

Gewiss JOINON Column Installation and operation manual

Bundutec BunduTop manual

Bundutec

Bundutec BunduTop manual

Atera SIGNO 044 005 manual

Atera

Atera SIGNO 044 005 manual

Fiamma VENT Installation and usage instructions

Fiamma

Fiamma VENT Installation and usage instructions

Mont Blanc Scott Fitting instructions

Mont Blanc

Mont Blanc Scott Fitting instructions

Discount Car Stereo AUX-JAG quick start

Discount Car Stereo

Discount Car Stereo AUX-JAG quick start

CrimeStopper CA-504.BRKT install guide

CrimeStopper

CrimeStopper CA-504.BRKT install guide

Quadratec QR3 installation manual

Quadratec

Quadratec QR3 installation manual

Feniex FUSION-S FS-4918 manual

Feniex

Feniex FUSION-S FS-4918 manual

Metra Electronics 99-3009 installation instructions

Metra Electronics

Metra Electronics 99-3009 installation instructions

Warn 82530 installation instructions

Warn

Warn 82530 installation instructions

manuals.online logo
manuals.online logoBrands
  • About & Mission
  • Contact us
  • Privacy Policy
  • Terms and Conditions

Copyright 2025 Manuals.Online. All Rights Reserved.