manuals.online logo
Brands
  1. Home
  2. •
  3. Brands
  4. •
  5. Vaxcel
  6. •
  7. Outdoor Light
  8. •
  9. Vaxcel T0468 Instruction manual

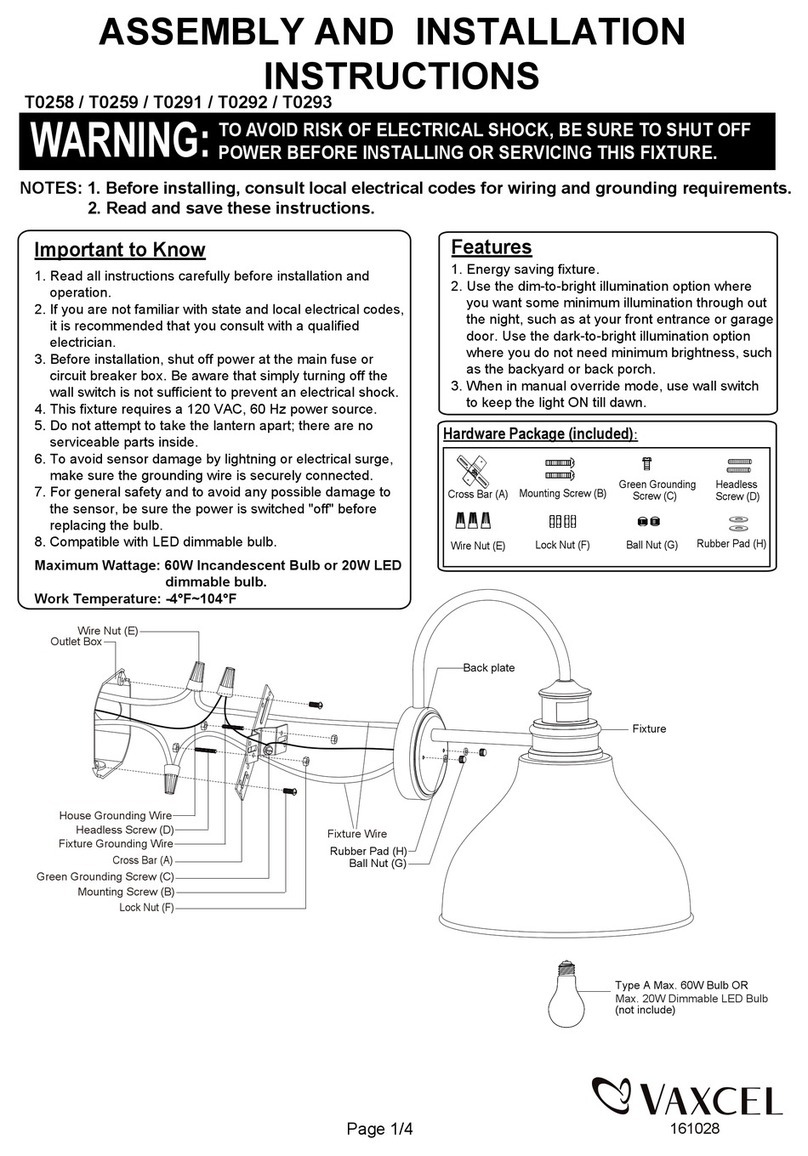
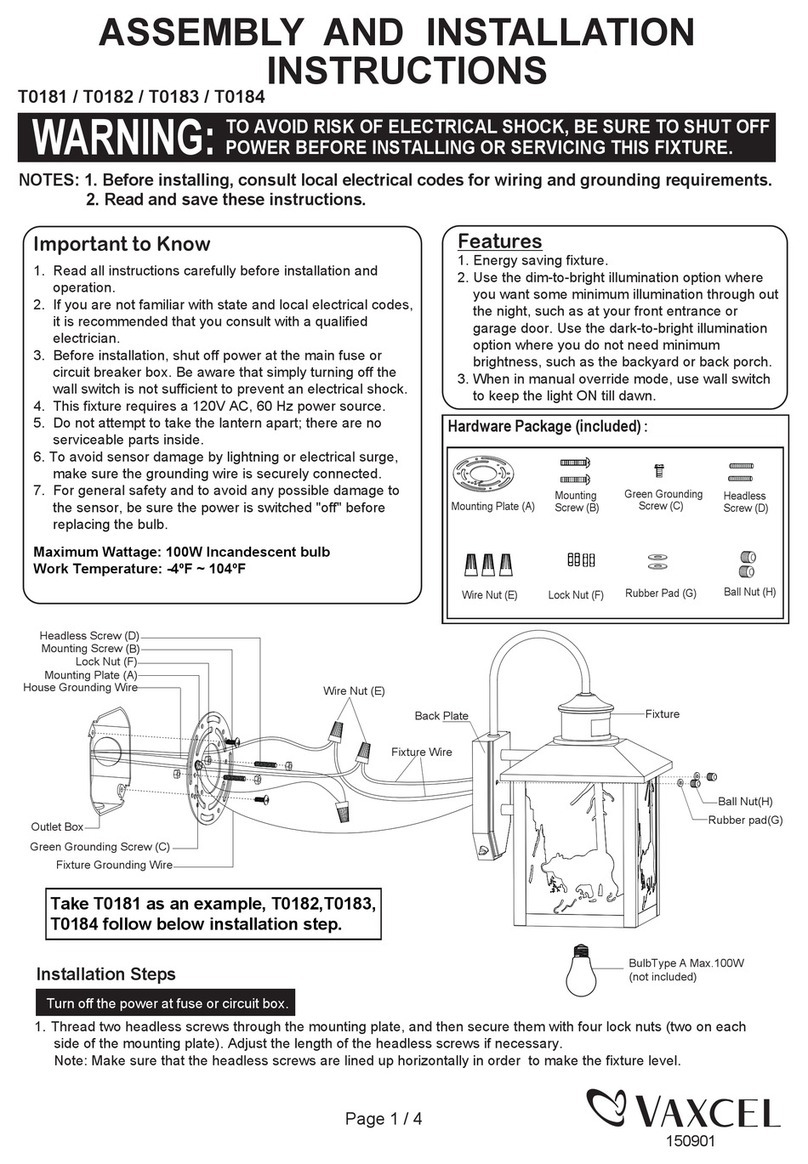
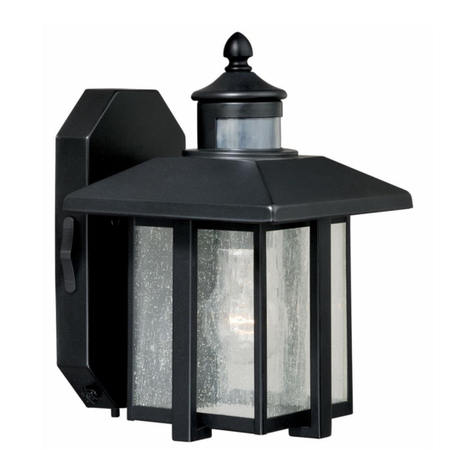
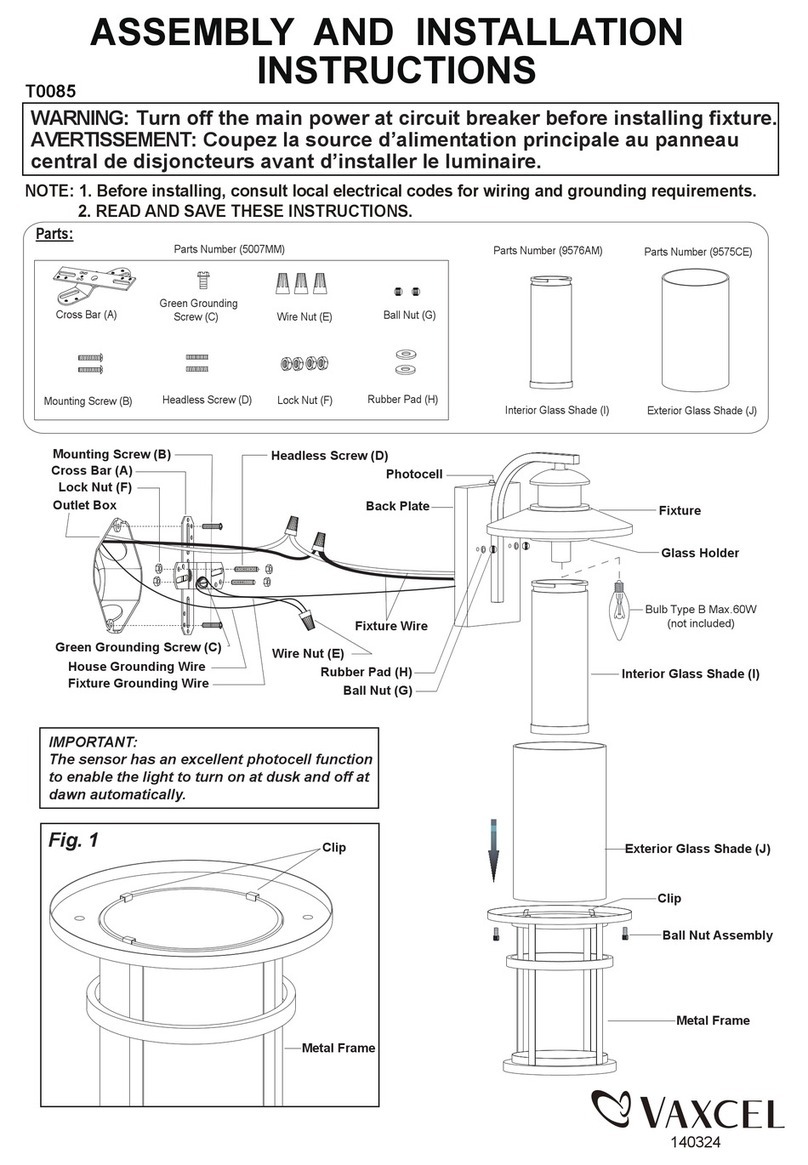
Vaxcel T0468 Instruction manual

ASSEMBLY AND INSTALLATION
INSTRUCTIONS
NOTES: 1. Before installing, consult local electrical codes for wiring and grounding requirements.
2. READ AND SAVE THESE INSTRUCTIONS.
T0468
Hardware Package (included):
WARNING:
TO AVOID RISK OF ELECTRICAL SHOCK, BE SURE TO SHUT OFF
POWER BEFORE INSTALLING OR SERVICING THIS FIXTURE.
181029
Green Grounding
Screw (E)
Headless screw (D)
Mounting Screw (B) Wire Connector (C)
Lock Nut (F)
Mounting plate (A)
Ball Nut (G)
Glass Panel
Glass Frame
Clip
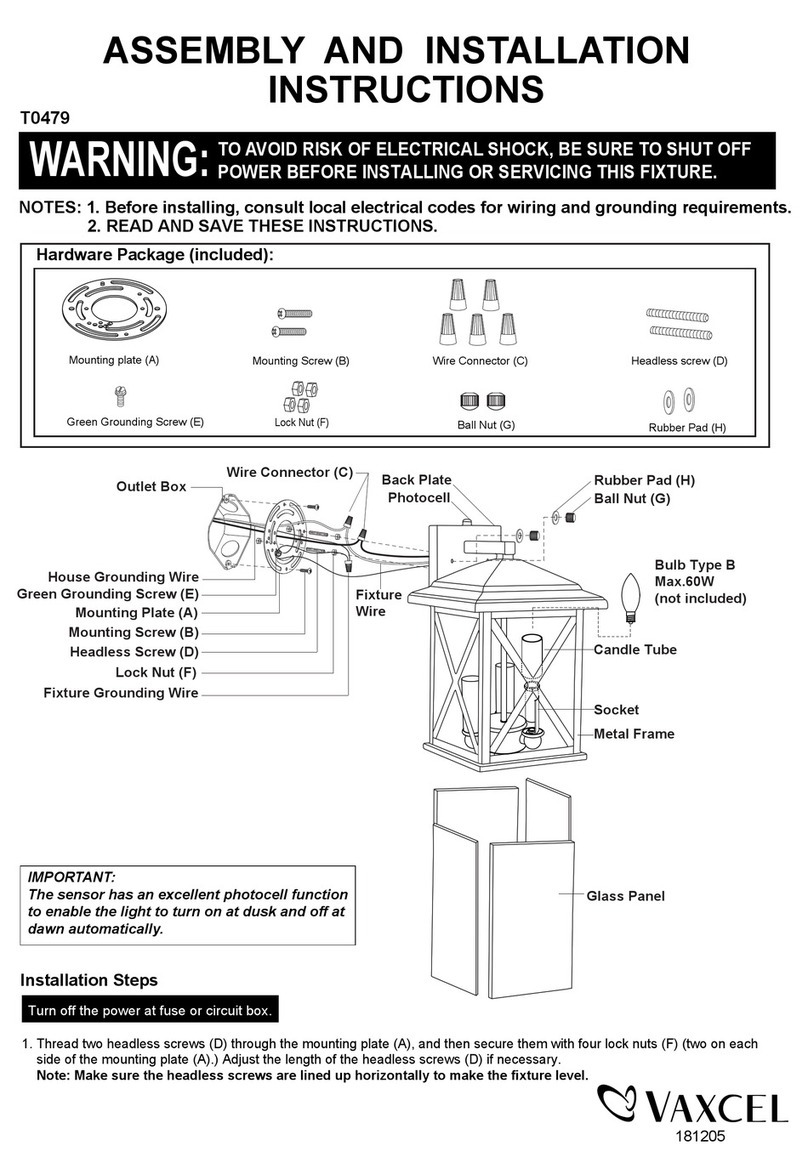
1. Thread two headless screws (D) through the mounting
plate (A), then secure them with four lock nuts (F) (two
on each side of the mounting plate). Adjust the length
of the headless screws (D) if necessary.
Note: Make sure that the headless screws (D) are lined up
horizontally, to ensure that the fixture will be level.
2. Attach the mounting plate (A) to the outlet box by using two
mounting screws (B).
3. Take a glass panel and gentle slide it into the glass frame
in place, secure it by pressing two clips on top side of the
glass frame and two clips on the bottom of the glass frame.
Repeat with the other glass panels. (See Fig.1)
Turn off the power at fuse or circuit box
Fig.1
Bulb Type B Max.60W
(not included)
House Grounding Wire
Fixture Grounding Wire
Wire Connector (C)
Mounting Plate (A)
Outlet Box
Fixture Wire
Lock Nut (F)
Back Plate
Photocell
Fixture
Rubber Pad (H)
Ball Nut (G)
Headless Screw (D)
Mounting Screw (B)
Green Grounding Screw (E)
Rubber Pad (H)
IMPORTANT:
The sensor has an excellent photocell function
to enable the light to turn on at dusk and off at
dawn automatically.
181029
4. Pull out the outlet wires and the house grounding wire from the outlet box. Make wire connections
using the wire connectors (C):
---Connect the black wire from the fixture to the black wire from the power source.
---Connect the white wire from the fixture to the white wire from the power source.
---Attach the fixture grounding wire to the mounting plate (A) with the green grounding screw (E).
Then connect it to the house grounding wire with a wire connector (C).
Carefully put the wires back into the outlet box.
5. Attach the back plate to the mounting plate (A) by inserting the headless screws (D), then secure it
with two rubber pads (H) and two ball nuts (G).
CAUTION: With silicone caulking compound, caulk completely around where the back
plate meets with the wall surface to prevent water from seeping into the outlet box.
6. Install a bulb (not included). See relamping label at socket area or packaging for maximum allowed
wattage.
Turn on the power at fuse or circuit box
1. Turn off the power at the main fuse or circuit breaker box before starting installation.
2. Loosen the wire connectors connected with the wires from photocell. (See Fig.2)
Note: Do not move the photocell to prevent water from seeping into the outlet box.
3. Take a white pigtail and black pigtail and make wire connections using wire connectors (C):
(See Fig.3)
a. The black wire from the fixture to one end of the black pigtail.
b. The white wire from the fixture to one end of the white pigtail.
c. The other end of the black pigtail to the black wire from the power source.
d. The other end of the white pigtail to the white wire from the power source.
Put all wires back into the back plate of the fixture.
Photocell
White Wires From Photocell
Wire Connector
Wires From Fixture
Wires From Fixture
Wires From
Main Power
Wire Connector (C)
White Pigtail
Pigtail
Red Wires From Photocell
Black Wires From Photocell
Operation the Unit Without Photocell
Fig.2 Fig.3
181029
Assembly Kit
6000MM (1SET)
Glass X 4
10033RG
The following parts are available for re-order if damaged or missing.
Spare Parts List:
Green Grounding
Screw (E)
Headless screw (D)
Mounting Screw (B) Wire Connector (C)
Lock Nut (F)
Mounting plate (A)
Ball Nut (G) Rubber Pad (H)
AC
B
A: 9-1/2"
B: 18.5"
C: 12-1/4"

Other Vaxcel Outdoor Light manuals

Vaxcel T0521 Instruction manual

Vaxcel

Vaxcel T0521 Instruction manual

Vaxcel T0575 Instruction manual

Vaxcel

Vaxcel T0575 Instruction manual

Vaxcel T0541 Instruction manual

Vaxcel

Vaxcel T0541 Instruction manual

Vaxcel T0178 Instruction manual

Vaxcel

Vaxcel T0178 Instruction manual

Vaxcel T0112 User manual

Vaxcel

Vaxcel T0112 User manual

Vaxcel T0040 Instruction manual

Vaxcel

Vaxcel T0040 Instruction manual

Vaxcel T0476 Instruction manual

Vaxcel

Vaxcel T0476 Instruction manual

Vaxcel T0297 Instruction manual

Vaxcel

Vaxcel T0297 Instruction manual

Vaxcel Lambda T0627 Instruction manual

Vaxcel

Vaxcel Lambda T0627 Instruction manual

Vaxcel T0572 Instruction manual

Vaxcel

Vaxcel T0572 Instruction manual

Vaxcel T0717 Instruction manual

Vaxcel

Vaxcel T0717 Instruction manual

Vaxcel Theta T0612 Instruction manual

Vaxcel

Vaxcel Theta T0612 Instruction manual

Vaxcel T0350 Instruction manual

Vaxcel

Vaxcel T0350 Instruction manual

Vaxcel T0165 Instruction manual

Vaxcel

Vaxcel T0165 Instruction manual

Vaxcel T0080 Instruction manual

Vaxcel

Vaxcel T0080 Instruction manual

Vaxcel T0620 Instruction manual

Vaxcel

Vaxcel T0620 Instruction manual

Vaxcel T0062 Instruction manual

Vaxcel

Vaxcel T0062 Instruction manual
Vaxcel T0503 Instruction manual

Vaxcel

Vaxcel T0503 Instruction manual
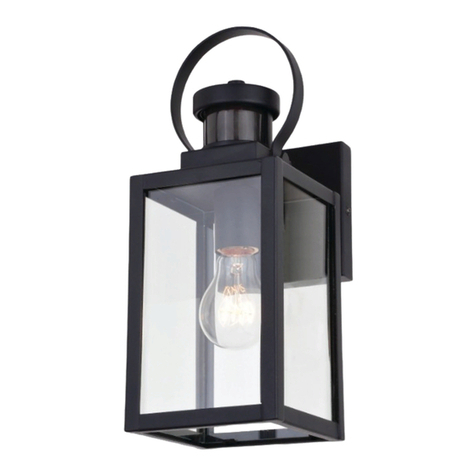
Vaxcel T0103 Instruction manual

Vaxcel

Vaxcel T0103 Instruction manual

Vaxcel T0698 Instruction manual

Vaxcel

Vaxcel T0698 Instruction manual
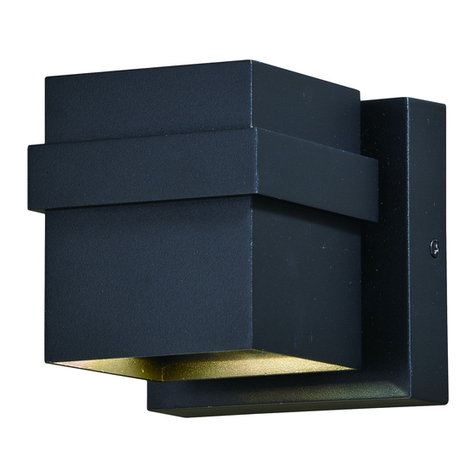
Vaxcel T0595 Instruction manual

Vaxcel

Vaxcel T0595 Instruction manual

Vaxcel T0571 Instruction manual

Vaxcel

Vaxcel T0571 Instruction manual

Vaxcel Chatham Instruction manual

Vaxcel

Vaxcel Chatham Instruction manual

Vaxcel T0172 Instruction manual

Vaxcel

Vaxcel T0172 Instruction manual

Popular Outdoor Light manuals by other brands

Conrad Electronic 77 54 07 operating instructions

Conrad Electronic

Conrad Electronic 77 54 07 operating instructions

Dale Tiffany TA100122 Assembly instructions

Dale Tiffany

Dale Tiffany TA100122 Assembly instructions

HEPER DRAGO 8 LED Installation & maintenance instructions

HEPER

HEPER DRAGO 8 LED Installation & maintenance instructions

atmosphera 157701 installation instructions

atmosphera

atmosphera 157701 installation instructions

Renkforce 1361116 operating instructions

Renkforce

Renkforce 1361116 operating instructions

Glatz OSYRION Spot Installation and operating instructions

Glatz

Glatz OSYRION Spot Installation and operating instructions

LF allen+roth LB2906 manual

LF

LF allen+roth LB2906 manual

FLINQ FQC8274 instruction manual

FLINQ

FLINQ FQC8274 instruction manual

elfaBASE HELLO KITTY LAMP Product Instruction

elfaBASE

elfaBASE HELLO KITTY LAMP Product Instruction

SLV M-POL 90 instruction manual

SLV

SLV M-POL 90 instruction manual

Lunux HELLUX PILZ 401-5 Series instruction manual

Lunux

Lunux HELLUX PILZ 401-5 Series instruction manual

Commercial Electric 849-816 installation manual

Commercial Electric

Commercial Electric 849-816 installation manual

LIGMAN CAPSULE 3 installation manual

LIGMAN

LIGMAN CAPSULE 3 installation manual

Safavieh COLLIN TBL4214A quick start guide

Safavieh

Safavieh COLLIN TBL4214A quick start guide

Quoizel DE8959IB Assembly instruction sheet

Quoizel

Quoizel DE8959IB Assembly instruction sheet

Philips HUE Liane user manual

Philips

Philips HUE Liane user manual

Fazzini 02.737.00 user manual

Fazzini

Fazzini 02.737.00 user manual

Philips 168258716 user manual

Philips

Philips 168258716 user manual

manuals.online logo
manuals.online logoBrands
  • About & Mission
  • Contact us
  • Privacy Policy
  • Terms and Conditions

Copyright 2025 Manuals.Online. All Rights Reserved.