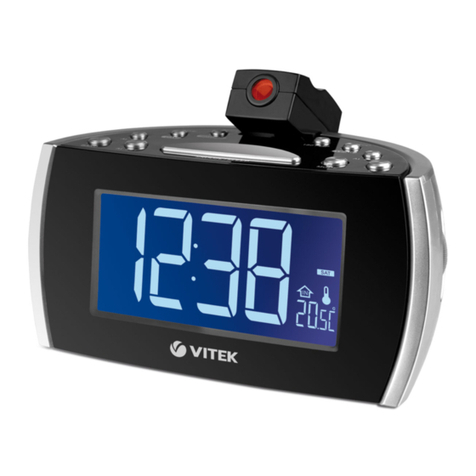
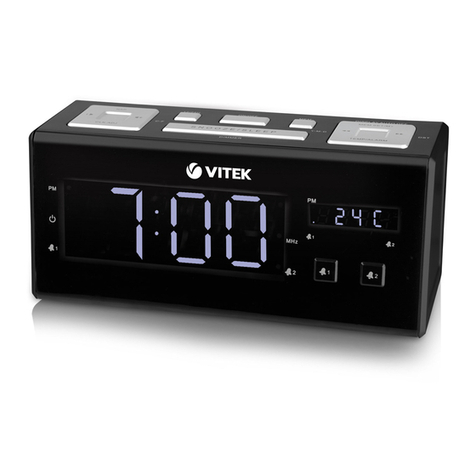
Vitek VT-3516 BK User manual

1
VT-3516 BK
VT-3516 IM.indd 1 26.01.2012 12:48:26

2
VT-3516 IM.indd 2 26.01.2012 12:48:27
3
E N G L I S H
CLOCK RADIO
DESCRIPTION
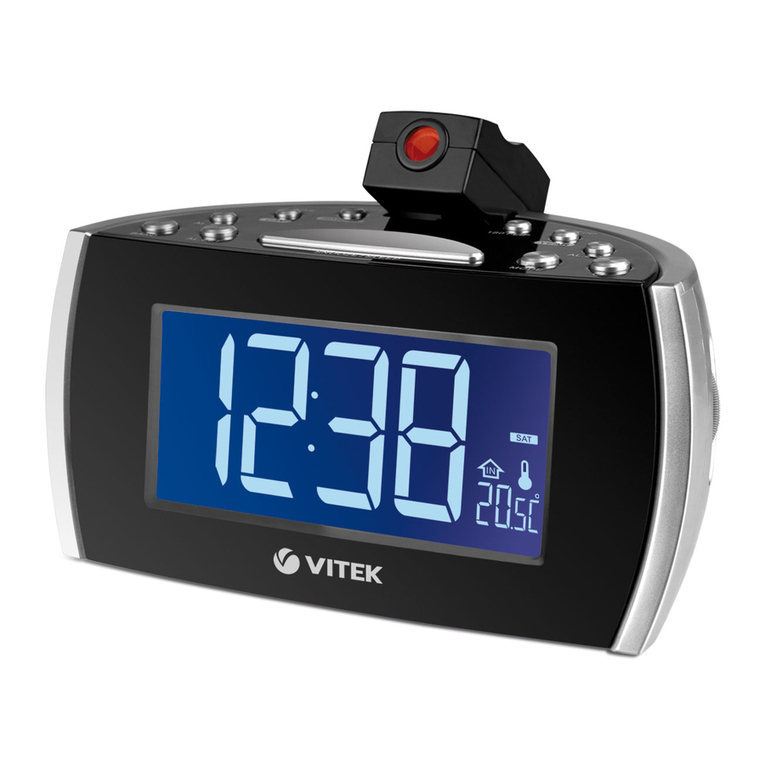
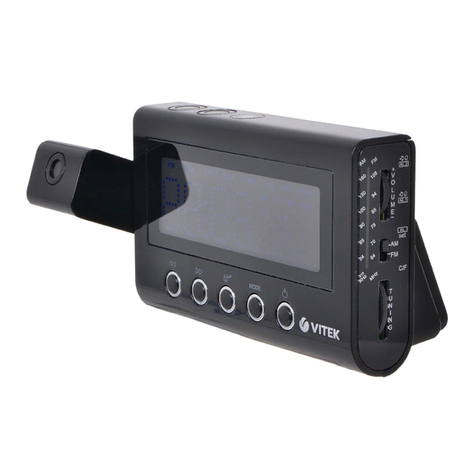
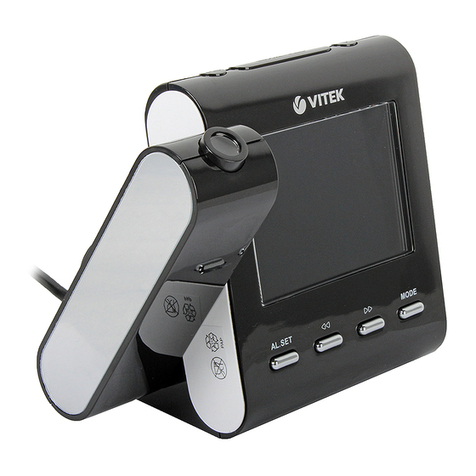
1. Projector
2. Display
3. «NAP/M+/MEM.SET» button for display auto
switch/ radio stations recording and switch-
ing/ countdown timer setting.
4. First alarm on/off/setup button «ALARM 1»
5. Second alarm on/off/setup button «ALARM
2»
6. «SNOOZE/SLEEP/DIMMER» button for
alarm signal repeat /sleep timer/display
brightness setting
7. «CLK.ADJ./TEMP» button for date and time
setting/for displaying temperature and fre-
quency when tuning radio.
8. Button for frequency decreasing when radio
tuning /current date «Y-M-D» displaying
9. «DST/C-F» button for frequency increasing
when radio tuning / setting a clock to sum-
mer/winter time/temperature measurement
unit selection.
10. «DISPLAY» button for on/off switching of
sequential displaying mode / volume level
increase.
11. Radio on/off button
12. Volume level decrease button
13. «FOCUS» projector focus control
14. «180°FLIP» button of projected image rota-
tion
15. «PROJECTION ON/OFF» projector on/off
button
16. Temperature indication
17. FM-antenna cord
18. Power cord
19. Battery compartment lid
20. «RESET» button
21. Label
Display
22. Radio on indicator
23. «AL 2» second alarm on indicator
24. «AL 1» first alarm on indicator
25. Display auto switch off indicator
26. «PM» time indicator
SAFETY MEASURES
Before connection, usage and tuning of clock
radio read the instruction carefully. Follow all
warnings and operating recommendations for
unit operation contained in this instruction.
Keep this manual and use it for future reference.
• Make sure that unit operating voltage corre-
sponds to voltage of your mains.
• In order to avoid risk of fire or electric shock,
do not expose the unit to rain or moisture.
• Do not immerse the unit, its power cord or
power plug into water or other liquids.
• To prevent fire or electric shock hazard do
not use this unit in places with high humid-
ity, near kitchen sinks or bath tubs filled with
water, near swimming pool, in wet base-
ments, etc. Prevent the unit from dripping
and splashing.
• Do not overload sockets or extension cords
as this can result in fire or electric shock.
• Place the clock radio in such a way that you
can easily pull out the plug from the socket in
case of any malfunction.
• For additional unit protection during lighting
storm and in cases when you are not going to
use it for a long time, unplug it. It will prevent
the unit from being damaged by lightning
and power surges.
• To unplug the unit, take its plug, do not pull
the cord.
• To prevent shock hazard do not remove the
cover by yourself. Do not repair the unit or
make any changes in it by yourself. If there
are any damages in the unit disconnect it
from the mains and apply to the authorized
service center.
• Install the unit on flat surface in places with
proper ventilation. Do not block the unit’s
ventilation openings.
• Place the unit on the flat stable waterproof
surface, away from equipment with strong
magnetic field, for example, from video and
audio recording devices or big speakers,
as magnetic electric field lines from these
devices cause interferences while unit oper-
ation.
• Do not connect FM-antenna with external
antenna.
• Do not set the unit near heat sources such
as radiators, heaters, stoves, or in places
exposed to direct sunlight, excessive dust,
vibration or mechanical shocks. It is prohib-
ited to place sources of open fire, such as
candles on the unit.
• Do not let foreign objects get into unit open-
ings.
• This unit is not intended for usage by chil-
dren or disabled persons unless they are
VT-3516 IM.indd 3 26.01.2012 12:48:27
4
ENGLISH
given all the necessary instructions on safety
measures and information about danger, that
can be caused by improper usage of the unit.
• Keep the unit out of reach of children.
• Never allow children to use the unit as a toy.
• The unit is intended for household usage
only.
Power connection
– To connect the unit to the mains insert the
plug of power cord (18) into the socket. Make
sure that unit operating voltage corresponds
to voltage of your mains.
– The unit is equipped with an integrated bat-
tery reserve supply system, that allows to
save settings of current time, timer, alarm and
recorded radio stations in case of AC supply
voltage interruption. Once the voltage gets
normal, the unit switches to supply from the
net adapter.
– Open the battery compartment lid (19) hav-
ing preliminary unscrewed the fixing screw.
Insert a CR2032 battery (not included), fol-
lowing the polarity.
– Close the battery compartment lid (19) and
tighten up the screw.
Attention!
Batteries leakage can cause injuries or unit dam-
age. In order to avoid unit damage, follow these
instructions:
– insert the battery following the polarity (“plus”
upward);
– remove the battery if you are not planning to
use the unit for a long time;
– do not dismantle the battery, do not subject it
to high temperatures; and
– replace the battery in time.
Date and time setting
1. Connect the unit to the mains.
2. Press and hold the «CLK.ADJ.» button (7).
The year digits will start flashing on the dis-
play.
3. Use the buttons (8) and (9) to select the nec-
essary year.
4. Press the «CLK.ADJ.» button (7). The month
digits will start flashing on the display.
5. Use the buttons (8) and (9) to select the nec-
essary month.
6. Press the «CLK.ADJ.» button (7). The day
digits will start flashing on the display.
7. Use the buttons (8) and (9) to select the nec-
essary day.
8. Press and hold the “CLK.ADJ.” button (7),
time format symbols will start flashing on the
display: 24 hours (24 Hr) or 12 hours (12 Hr).
9. Use the buttons (8) and (9) to select the time
format (12 Нr or 24 Нr).
10. Press the «CLK.ADJ.» button (7). The hour
digits will start flashing on the display.
11. Use the buttons (8) and (9) to select the
necessary hour.
Note: To set the afternoon time in 12 hours
format (12 Hr) consequently press the buttons
(8) and (9) until the indicator (26) «PM» appears.
12. Press the «CLK.ADJ.» button (7). The minute
digits will start flashing on the display.
13. Use the buttons (8) and (9) to select the nec-
essary minutes.
14. To finish the setup procedure press the “CLK.
ADJ.” button (7).
Note: If buttons (8) and (9) are not pressed
within 30 seconds during setup process, the unit
will switch to the current time mode.
Current date view
1. To view the date in the current time mode
(radio is off) press the «Y-M-D» button (8).
2. To view the year, current date and time con-
sequently press the «Y-M-D» button (8).
Setting a clock to summer/winter time
1. Connect the unit to the mains.
2. Press and hold the “DST/C-F” button (9) until
the time digits change.
Alarm setup (ALARM 1 and ALARM 2)
1. To view the settings of the first alarm in the
current time mode press the «ALARM 1»
button (4).
2. Press again and hold the «ALARM 1» button
(4) in the mode of alarm settings. The hour
digits will start flashing on the display.
3. Use the buttons (8) and (9) to select the
necessary hour.
4. Press the “ALARM 1” button (4). The minute
digits will start flashing on the display.
5. Use the buttons (8) and (9) to select the nec-
essary minutes.
6. Press the “ALARM 1” button (4). Symbols of
alarm signal repeating mode will appear on
the display . Use the buttons (8) and (9) to
select the necessary mode.
1-1 without repeat,
1-5 alarm signal repeating from Monday to
Friday,
1-7 alarm signal repeating seven days a week,
6-7 alarm signal repeating on Saturday and
Sunday.
VT-3516 IM.indd 4 26.01.2012 12:48:27
5
E N G L I S H
7. Press the “ALARM 1” button (4). The alarm
signal symbols will start flashing on the dis-
play. Use the buttons (8) and (9) to select the
necessary alarm signal. sound signal (sym-
bol «bu») or radio (tuned station frequency
appears)
Note: If you want to select the radio as alarm
signal, preliminary tune the required radio station
(see “Radio stations reception”).
8. If you have selected “radio” signal type, press
the «ALARM 1» button (4) and select the
alarm desired volume level using the buttons
(8) and (9).
9. To finish the first alarm setting press the
«ALARM 1» button (4).
10. Repeat steps 2-10 for the second alarm
«ALARM 2» (5).
Note:
– If buttons (8) and (9) are not pressed
within 30 seconds, the unit will switch to
the current time mode.
– Alarm operation is only possible when the
unit is connected to the mains.
Switching alarms on/off
1. To switch the alarm (alarms) press and hold
the «ALARM 1» button (4) and/or the «ALARM
2» button (5) on in the current time mode until
(24) «AL 1» and/or (23) «AL 2» indicators,
respectively, appear on the display.
2. To switch the alarm (alarms) off press and
hold the same button in the current time
mode again. Indicator of the corresponding
alarm will switch off.
Alarm snooze
1. You can switch off the alarm signal for 9 min-
utes by pressing the “SNOOZE/SLEEP” but-
ton (6). The indicator of the selected alarm
will flash, alarm signal will be repeated in 9
minutes.
2. To switch off alarm sound signal press the
“ON/OFF” button (11) or button of corre-
sponding alarm (4) ALARM 1 or (5) ALARM 2.
Note: The alarm/radio signal will sound for 30
minutes if you do not press any buttons.
Display (2) brightness setup
Set up the necessary display brightness by
pressing the “DIMMER” button (6) repeatedly in
the current time mode.
Sequential displaying mode
You can switch on the time, year, current date and
temperature sequential displaying mode.
1. To activate this mode press and hold the
«DISPLAY» button (10) until the symbol «on»
appears on the display.
2. To switch off the sequential displaying mode
press and hold the «DISPLAY» button (10)
until the symbol «OFF» appears on the dis-
play.
Display (2) automatic switching off
1. To activate the mode press and hold the
«NAP/M+» button (3) until the indicator (25)
«OFF» appears. The display will switch off in
10 seconds.
Note: This function is inactive in the radio mode.
1. To switch off the function press and hold the
«NAP/M+» button (3) until the «OFF» indica-
tor (25) switches off.
Countdown timer
1. Press the «NAP/M+» button (3) in the current
time mode, the symbol «n90» will appear on
the display, that means countdown timer
actuation in 90 minutes.
2. Set the time of timer actuation from 10 to 90
minutes with 10 minutes step by pressing the
«NAP/M+»button (3) repeatedly.
3. To view the remaining time press the «NAP/
M+» button (3).
4. After the set time runs off you will hear a
sound signal, to switch it off press the but-
ton (11).
5. To cancel this function press the «NAP/M+»
button (3) repeatedly until “OFF” symbol
appears on the display (2) or switch on the
radio pressing the button (11).
Temperature displaying
1. To view the built-in thermometer readings
press the «TEMP» button (7) once in the
current time mode and twice - in the radio
mode.
2. To select temperature measurement units
(Celsius degrees, Fahrenheit degrees) press
the «TEMP» button (7), then «DST/C-F» but-
ton (9).
Radio stations reception
1. Connect the unit to the mains and press the
button (11).
2. Use the buttons (8) and (9) for tuning to the
desired radio station.
Manual tuning: consequently press the buttons
(8) and (9) to select the desired radio station with
step 0.1 MHz in Fm mode.
VT-3516 IM.indd 5 26.01.2012 12:48:27
Table of contents
Languages:
Other Vitek Clock Radio manuals

Vitek
Vitek VT-3523 BK User manual

Vitek
Vitek VT-3525 W User manual

Vitek
Vitek VT-6606 BK User manual

Vitek
Vitek VT-3525 SR User manual

Vitek
Vitek VT-3517 User manual

Vitek
Vitek VT-6604 BK User manual

Vitek
Vitek VT-6608 BK User manual

Vitek
Vitek VT-3514 User manual

Vitek
Vitek VT-3502 User manual

Vitek
Vitek VT-3513 User manual

Vitek
Vitek VT-3509 User manual

Vitek
Vitek VT-3585 User manual

Vitek
Vitek VT-3512 User manual

Vitek
Vitek WX-4051 MS User manual

Vitek
Vitek VT-3527 BK User manual

Vitek
Vitek VT-3518 SR User manual

Vitek
Vitek VT-3517 BK User manual

Vitek
Vitek VT-3519 SR User manual

Vitek
Vitek VT-3526 SR User manual

Vitek
Vitek VT-3508 GY User manual