manuals.online logo
Brands
  1. Home
  2. •
  3. Brands
  4. •
  5. WAC Lighting
  6. •
  7. Lighting Equipment
  8. •
  9. WAC Lighting M6000-STAKE User manual

WAC Lighting M6000-STAKE User manual

WAC Lighting retains the right to modify the design of our products at any time as part of the company's continuous improvement program. APRIL 26, 2017 5:08 PM
waclighting.com
Phone (800) 526.2588
Fax (800) 526.2585
Headquarters/Eastern Distribution Center
44 Harbor Park Drive
Port Washington, NY 11050
Central Distribution Center
1600 Distribution Ct
Lithia Springs, GA 30122
Western Distribution Center
1750 Archibald Avenue
Ontario, CA 91760
1
INSTALLATION INSTRUCTION
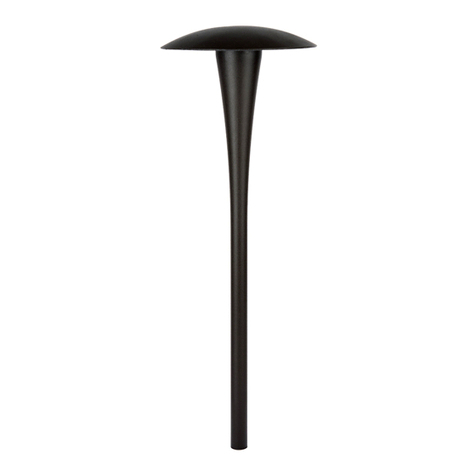
POWER STAKE
M6000-STAKE
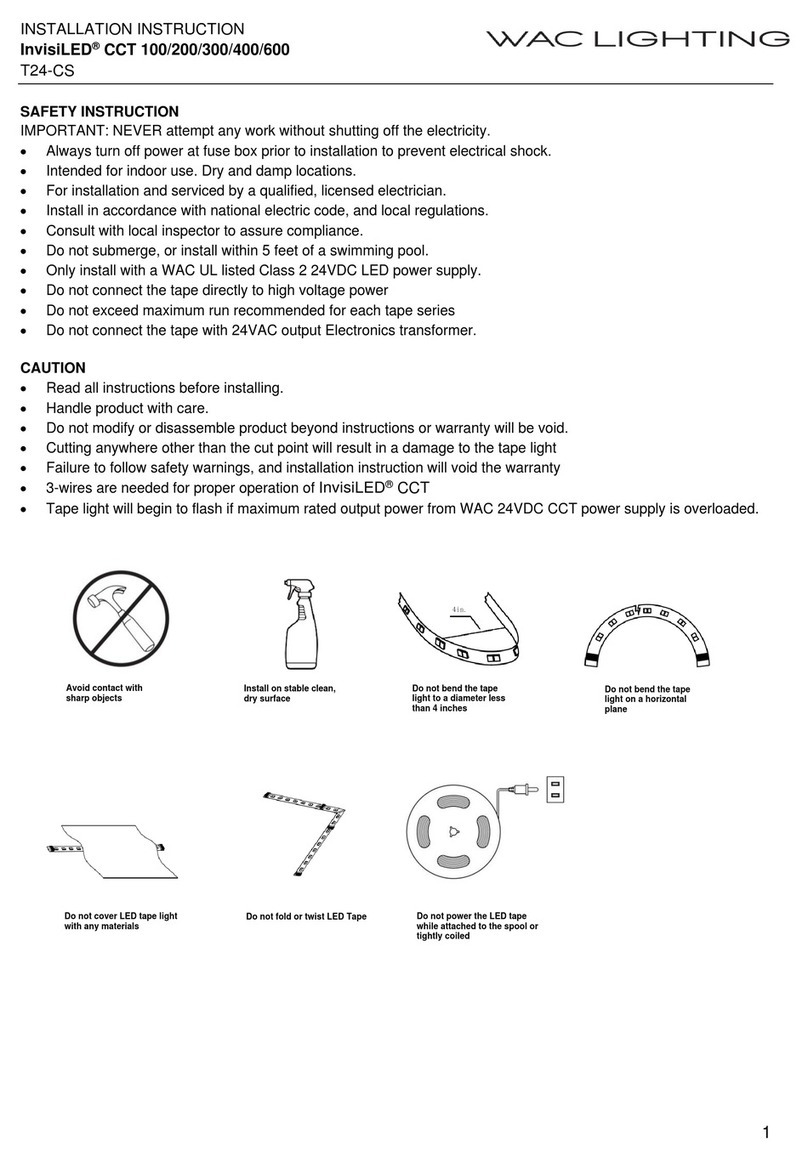
THIS INSTRUCTIONS APPLY TO THE MODEL BELOW:
ACCESSORIES M6000-STAKE
Philips Head Screw
Qty: 8pcs
7MPF0312S1
Hex Set Screw
Qty: 5pcs
7MPF0406G1
Hex Key
Qty: 1pcs
WARNING
IMPORTANT: NEVER attempt to do any work without shutting o the electricity.
1. Read all instructions before installing.
2. System is intended for installation by a qualied electrician in accordance with the National Electrical Code and local regulations.
3. Place the wall switch in the“OFF”position.
4. Go to the main fuse box, or circuit breaker. Unscrew the fuse(s) or switch“OFF”the circuit breaker switch(es) that control the power to the
space that you are working on.
CAUTION
- All parts must be used as indicated in these instructions. Do not substitute any parts, leave parts out, or use any parts that are worn out
or broken. Failure to follow this instruction may invalidate the UL listing of this xture.
AVERTISSEMENT
IMPORTANT : Coupez l’électricité avant TOUTE manipulation.
- Lisez toutes les instructions avant d’installer.
- Système est destiné à être installé par un électricien qualié en conformité avec le code national de l’électricité et les règlements locaux.
- Placez l’interrupteur mural en position d’arrêt (« OFF »).
- Toujours mettre le fusible ou le disjoncteur en position arrêt dans la pièce ou des travaux électriques sont prévus
MISE EN GARDE
- Toutes les pièces doivent être utilisées tel qu’il est indiqué dans ces instructions. Ne remplacez pas les pièces, n’en laissez
pas de côté et ne les utilisez pas si elles sont usées ou brisées. Le non-respect de ces instructions peut annuler
l’homologation UL du luminaire.
ADVERTENCIA
IMPORTANTE: NUNCA intente hacer trabajos sin desconectar el suministro eléctrico.
- Lea y comprenda todas las instrucciones e ilustraciones por completo antes de proceder con el ensamblaje e instalación de esta lámpara.
- Sistema está disenado para ser instalado por un electricista calicado, de acuerdo con el código eléctrico nacional y las normas locales.
- Coloque el interruptor de la pared en la posición “OFF” (APAGADO).
- Diríjase a la caja de fusibles o a la caja del interruptor de circuito principal en su hogar. Coloque el interruptor de alimentación principal
en la posición “OFF” (APAGADO).
PRECAUCIÓN
- Todas las piezas deben usarse como lo indican estas instrucciones. No reemplace las piezas, noomita piezas durante la instalación ni utilice
piezas gastadas o rotas. El incumplimiento de esta indicación podría invalidar la calicación UL esta lámpara.
WAC Lighting retains the right to modify the design of our products at any time as part of the company's continuous improvement program. APRIL 26, 2017 5:08 PM
waclighting.com
Phone (800) 526.2588
Fax (800) 526.2585
Headquarters/Eastern Distribution Center
44 Harbor Park Drive
Port Washington, NY 11050
Central Distribution Center
1600 Distribution Ct
Lithia Springs, GA 30122
Western Distribution Center
1750 Archibald Avenue
Ontario, CA 91760
2
Power Stake Cap
Power Stake Fin
Power Stake Fin
Mounting Screw
Power Stake Fin
Light Fixture
1/2” NPT Threaded Hole
Power Stake Cap
Cap Locking Screws
PVC Stake
Incoming UF
Supple line
cable of conduit
PVC Stake
Power Stake Cap
Mounting Screw
STEP 2: INSTALLING THE POWER STAKE
1. Put the Power Stake Fin together by sliding it into the slots.
2. Mount the Power Stake Fin onto the PVC stake by using the
Philips Head Screws. (Note: Make sure to leave 3”clearance from
the top of the PVC Stake for installing the Power Stake Cap.)
3. Install the Power Stake Cap onto the PVC Stake by using the Hex
Set Screws and Hex Key.
STEP 2: INSTALLING THE POWER STAKE
1. Make sure your main power is o.
2. Excavate a trench for the UF supply line cable or conduit/
conductors and the Landscape Power Stake. The Landscape
Power Stake requires approximately a one (1) square foot hole
to facilitate installation. The excavated should be
approximately 15” deep. This will allow the hex-head set screw
on the Power Stake to remain above ground when the
installation is completed.
3. Turn the hex-head set screw counterclockwise to remove the
Power Stake Cap from the top of the PVC Light Stake.
4. Feed the light xtures black, white, and ground wires through
the top of the Power Stake Cap. Then, thread the light xture
until it’s rmly attached to the Power Stake Cap.
5. Fed the incoming supply line cable through the slanted
bottom of the PVC Light Stake.
Note: If you are wiring multiple light xtures in series, also
bring the second supply line cable into the PVC Light Stake.
6. Using appropriate UL Listed wire connectors, splice the white
wire from the light xture to the incoming supply line cable(s)
white wire(s), and the black wire from the light xture to the
incoming supply line’s black wire(s).
Then splice the ground wire from the light xture to the
incoming supply line cable(s) ground wire(s).
7. Place the Power Stake Cap with attached light xture over the
PVC Light Stake. Carefully push the incoming supply line cable
down into the PVC Light Stake. Tighten the hex-head screw
clockwise on the Landscape Power Stake Cap.
8. Lower the completely wired and assembled Landscape Power
Stake into the excavated hole. Make sure that the excavated
hole is approximately 13” deep to allow the hex-head set
screw on the Landscape Power Stake Cap to remain above the
ground.
9. Back ll the soil around the Landscape Power Stake.
10. Repeat steps for other xtures in the same electrical circuit.
11. Turn the main power supply back on and make sure the
xtures light up.
Fig.1
Fig.2
INSTALLATION INSTRUCTION
POWER STAKE
M6000-STAKE
Other WAC Lighting Lighting Equipment manuals

WAC Lighting LD-700MA03-EDIM-IS User manual

WAC Lighting

WAC Lighting LD-700MA03-EDIM-IS User manual

WAC Lighting InvisiLED Classic LED-T24 User manual

WAC Lighting

WAC Lighting InvisiLED Classic LED-T24 User manual

WAC Lighting GATE 12V User manual

WAC Lighting

WAC Lighting GATE 12V User manual

WAC Lighting Volta 2" LED Series User manual

WAC Lighting

WAC Lighting Volta 2" LED Series User manual

WAC Lighting WS-90627 User manual

WAC Lighting

WAC Lighting WS-90627 User manual

WAC Lighting LED-350MA03-RB User manual

WAC Lighting

WAC Lighting LED-350MA03-RB User manual

WAC Lighting WTK-6010 Series User manual

WAC Lighting

WAC Lighting WTK-6010 Series User manual

WAC Lighting BA-FT08-WT User manual

WAC Lighting

WAC Lighting BA-FT08-WT User manual

WAC Lighting Falcon Series User manual

WAC Lighting

WAC Lighting Falcon Series User manual

WAC Lighting H-LED160 User manual

WAC Lighting

WAC Lighting H-LED160 User manual

WAC Lighting LD-700MA03-EDIM-IS User manual

WAC Lighting

WAC Lighting LD-700MA03-EDIM-IS User manual

WAC Lighting InvisiLED CCT 100 User manual

WAC Lighting

WAC Lighting InvisiLED CCT 100 User manual

WAC Lighting 6011 User manual

WAC Lighting

WAC Lighting 6011 User manual

WAC Lighting WT-RT User manual

WAC Lighting

WAC Lighting WT-RT User manual

WAC Lighting LED-TC Series User manual

WAC Lighting

WAC Lighting LED-TC Series User manual

WAC Lighting Silo X10 User manual

WAC Lighting

WAC Lighting Silo X10 User manual

WAC Lighting Paloma MO-LED512 User manual

WAC Lighting

WAC Lighting Paloma MO-LED512 User manual

WAC Lighting HR-3LED-H20A User manual

WAC Lighting

WAC Lighting HR-3LED-H20A User manual

WAC Lighting HTK-793 User manual

WAC Lighting

WAC Lighting HTK-793 User manual

WAC Lighting Modern Forms 708-LED User manual

WAC Lighting

WAC Lighting Modern Forms 708-LED User manual

WAC Lighting dweLED FM-96916 User manual

WAC Lighting

WAC Lighting dweLED FM-96916 User manual

WAC Lighting 5221 User manual

WAC Lighting

WAC Lighting 5221 User manual

WAC Lighting dweLED 299-LED Wall Sconce User manual

WAC Lighting

WAC Lighting dweLED 299-LED Wall Sconce User manual

Popular Lighting Equipment manuals by other brands

LIGMAN KIOS 6 installation manual

LIGMAN

LIGMAN KIOS 6 installation manual

American DJ Festive Light Pak User instruction

American DJ

American DJ Festive Light Pak User instruction

EuroLite TR-5 user manual

EuroLite

EuroLite TR-5 user manual

JBL L-U-W 35 manual

JBL

JBL L-U-W 35 manual

Fly Dragon Light Sky SHARK400BSW user manual

Fly Dragon

Fly Dragon Light Sky SHARK400BSW user manual

DORIC Omnetics PZN-12 user manual

DORIC

DORIC Omnetics PZN-12 user manual

LESS CHROMA user manual

LESS

LESS CHROMA user manual

Raytec SPARTAN HP series installation guide

Raytec

Raytec SPARTAN HP series installation guide

Leviton 9866-B0W instructions

Leviton

Leviton 9866-B0W instructions

Hypnocube HypnoSquare instructions

Hypnocube

Hypnocube HypnoSquare instructions

arianna PHILEO Mounting instructions

arianna

arianna PHILEO Mounting instructions

Contest irLEDFLAT 1x30TCB user guide

Contest

Contest irLEDFLAT 1x30TCB user guide

Goodyear GY 01SL Operation

Goodyear

Goodyear GY 01SL Operation

Solight 1V46 user guide

Solight

Solight 1V46 user guide

iSolution iMove 350SR user manual

iSolution

iSolution iMove 350SR user manual

Astera Lightdrop AL3-series user manual

Astera

Astera Lightdrop AL3-series user manual

STRANDS 809084 instructions

STRANDS

STRANDS 809084 instructions

IQ-group E-680 Installer's guide

IQ-group

IQ-group E-680 Installer's guide

manuals.online logo
manuals.online logoBrands
  • About & Mission
  • Contact us
  • Privacy Policy
  • Terms and Conditions

Copyright 2025 Manuals.Online. All Rights Reserved.